Master Bathroom Vanity Makeover
*This post in partnership with Floor & Decor.
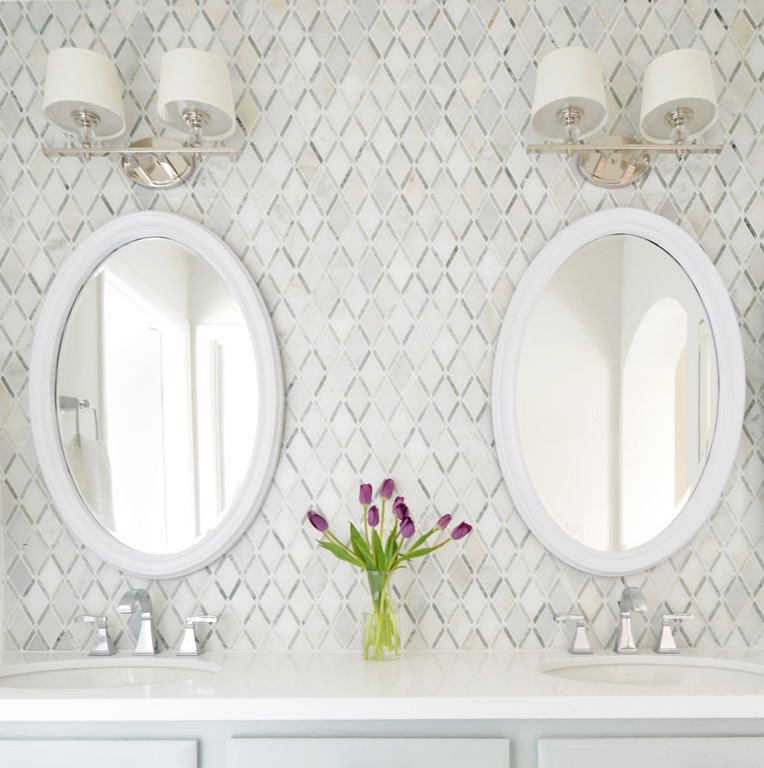
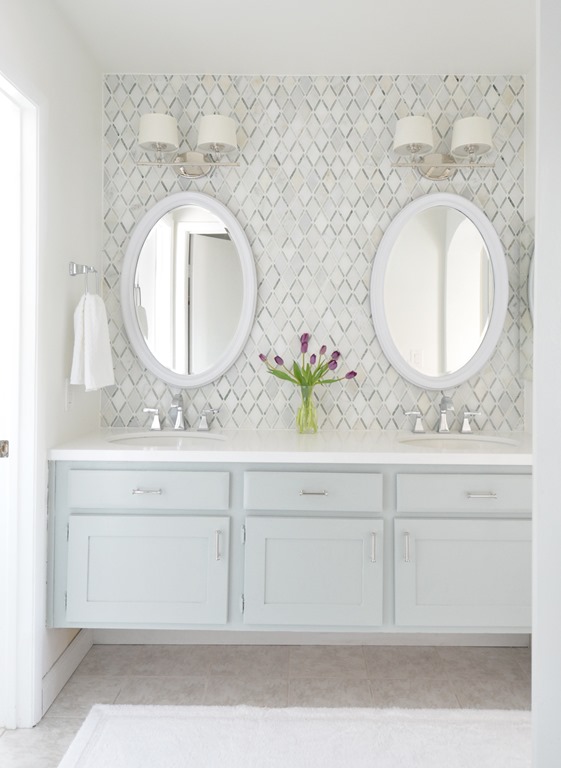
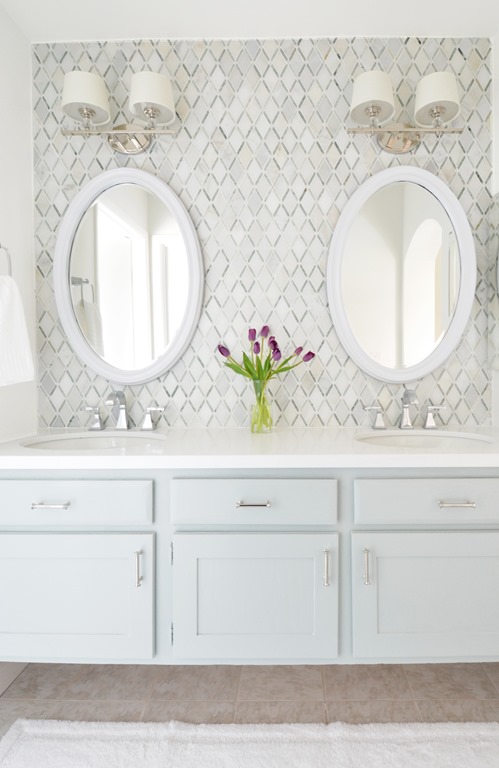
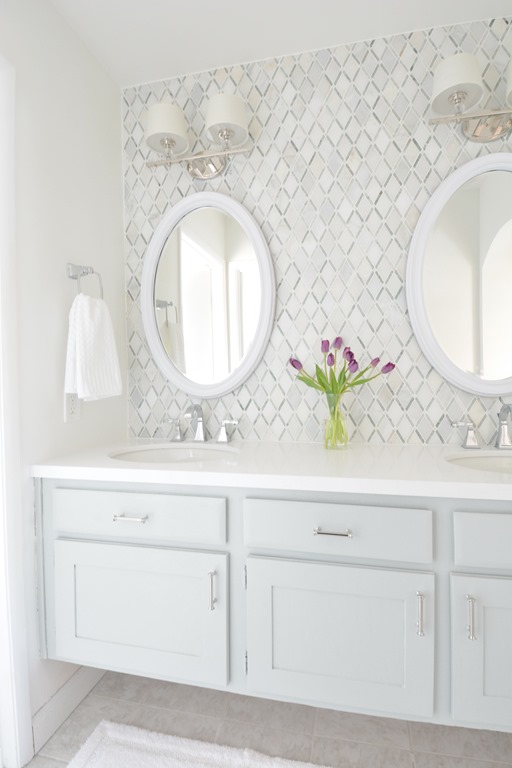
I’ve always turned to paint and fabric as tools for dramatic transformations but let’s go ahead and add tile to that list too. This master bathroom vanity space has been a work in progress for six months, in it I repurposed the existing cabinet and designed around it, but the wow factor comes from this new diamond pattern backsplash tile.

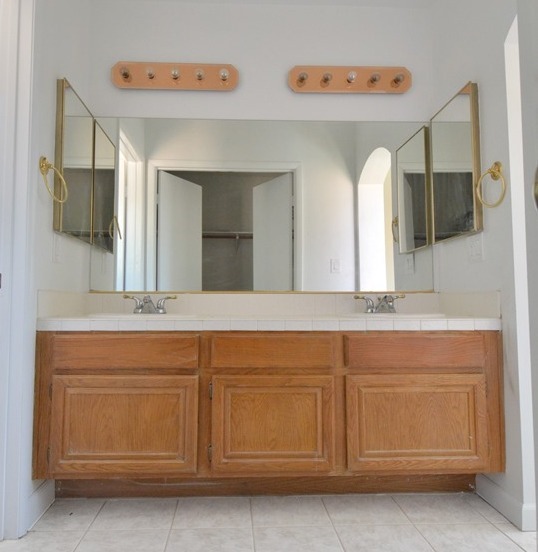
This shared prep space isn’t grand in size, it’s six feet across with an eight foot ceilng but the problem was it was stuck in the late 80s with its builder grade cabinets, shiny brass fixtures, and dated vanity lights. I knew I could make it a stunner with the help of some beautiful tile, fresh fixtures and paint – voila!
Six months ago:


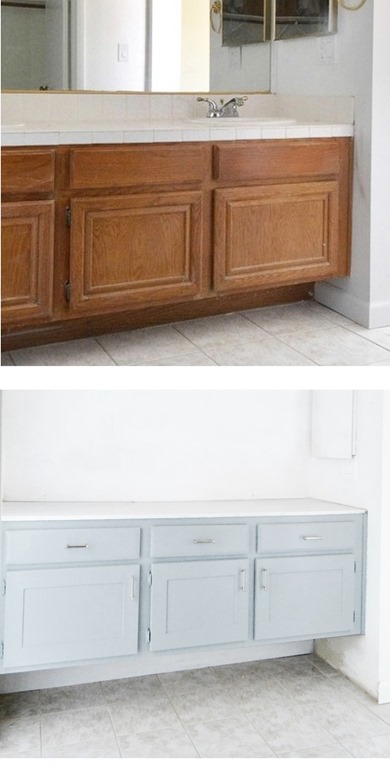
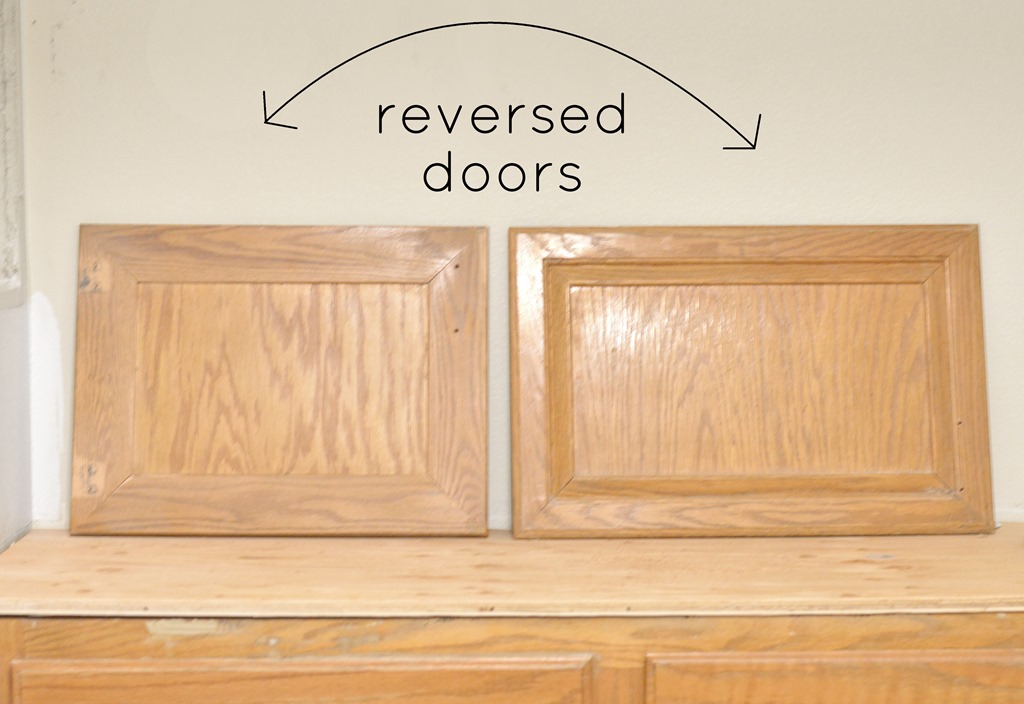
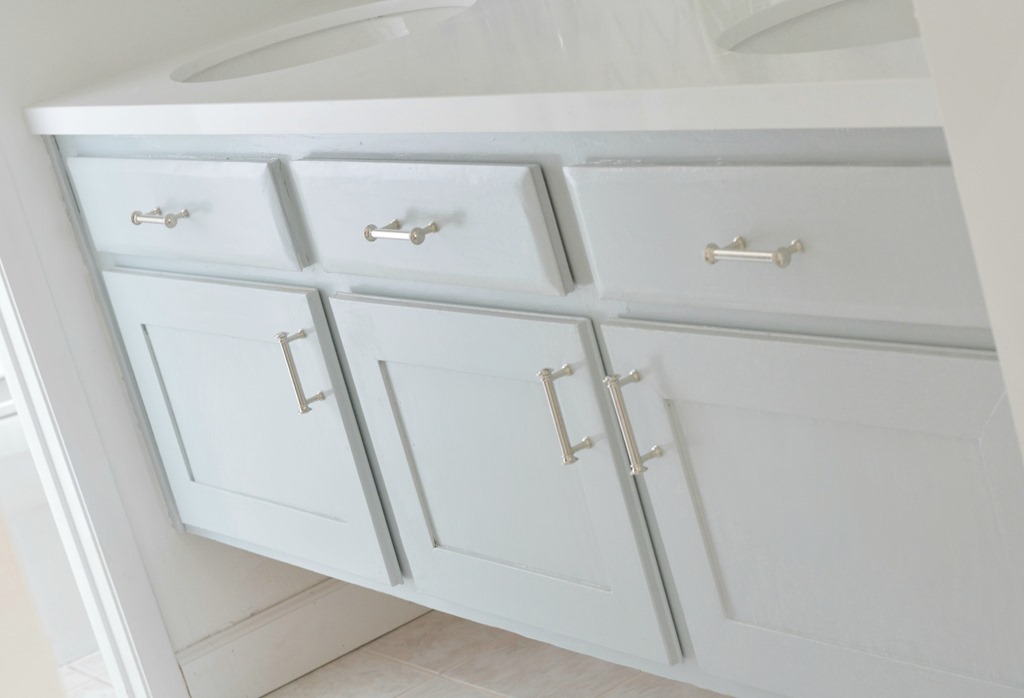
Back in January, we reworked the existing vanity to create a floating vanity by removing the countertop and base and building a new support system. I also reversed the doors to take advantage of the Shaker style on the other side.


Matt reminded me of something I had forgotten. When we first bought this house last year, the entry to the master bathroom had saloon doors, with it came a few John Wayne impersonations… "Hey little lady, what say we ride into the sunset over to them pretty red rock mountains …."
I never understood the need for these doors, they were so strange and blocked all the light from the bedroom, also unnecessary for privacy since the shower room is separate. Check out those old blinds and balloon valances too, aw yeah.


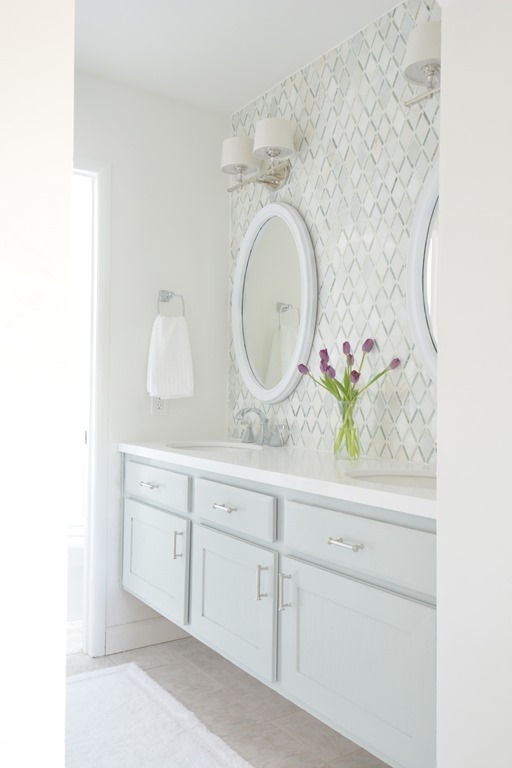
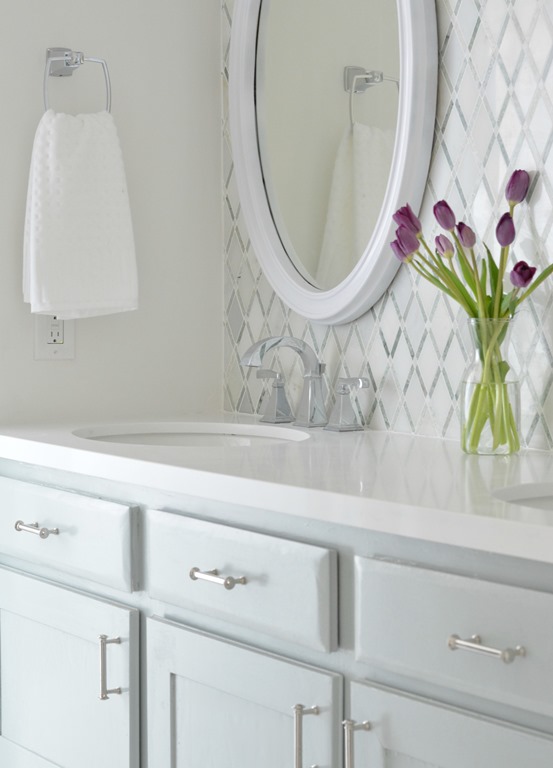
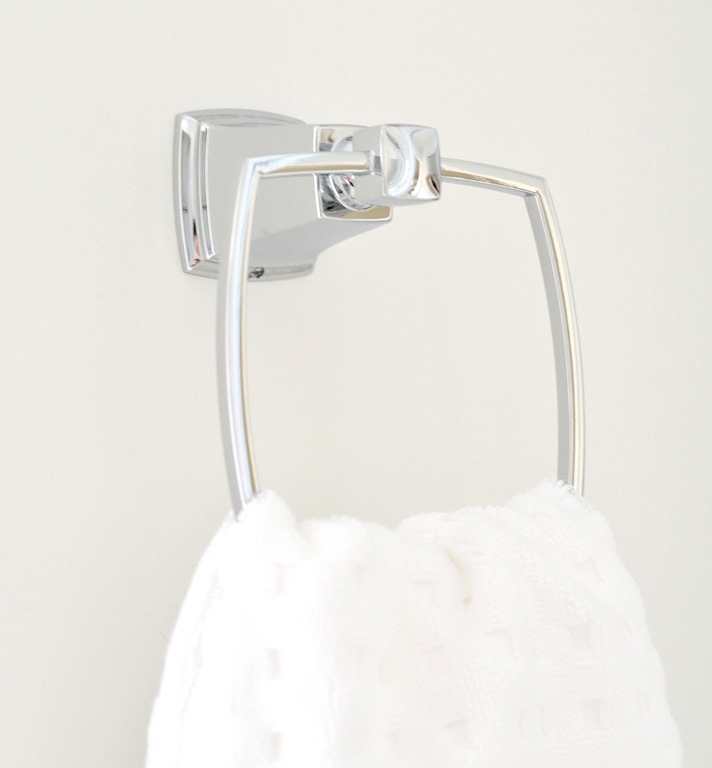
I replaced the medicine cabinet on the right with a simple beveled edge version and removed the medicine cabinet on the left by filling in the gap with framing and drywall to allow for a ring towel holder. I also repainted the vanity a different color, this is Silver Marlin by Benjamin Moore, it has a green undertone to complement the tile, better than the blue undertone present in the previous Winter Solstice it was painted before.
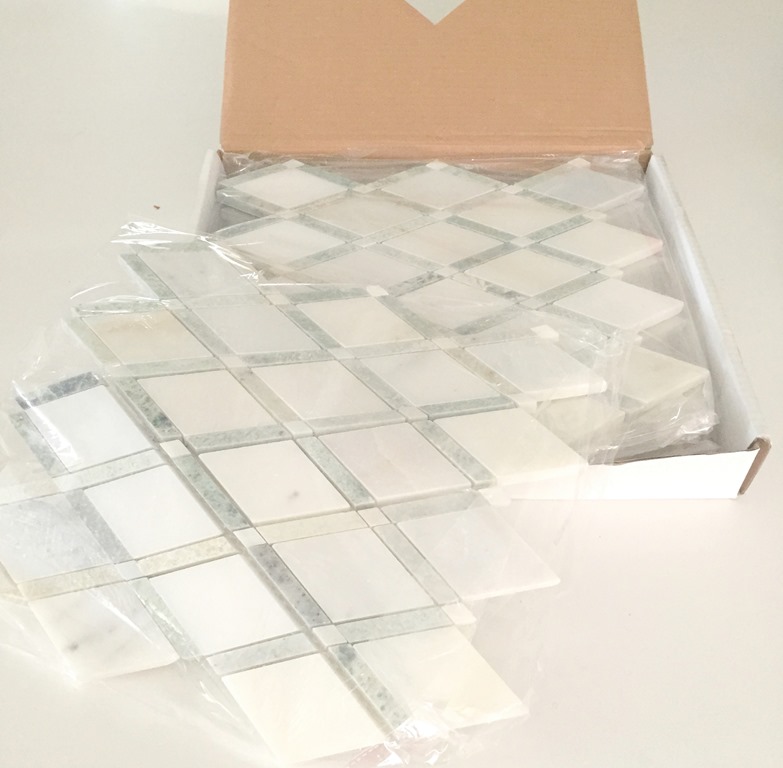
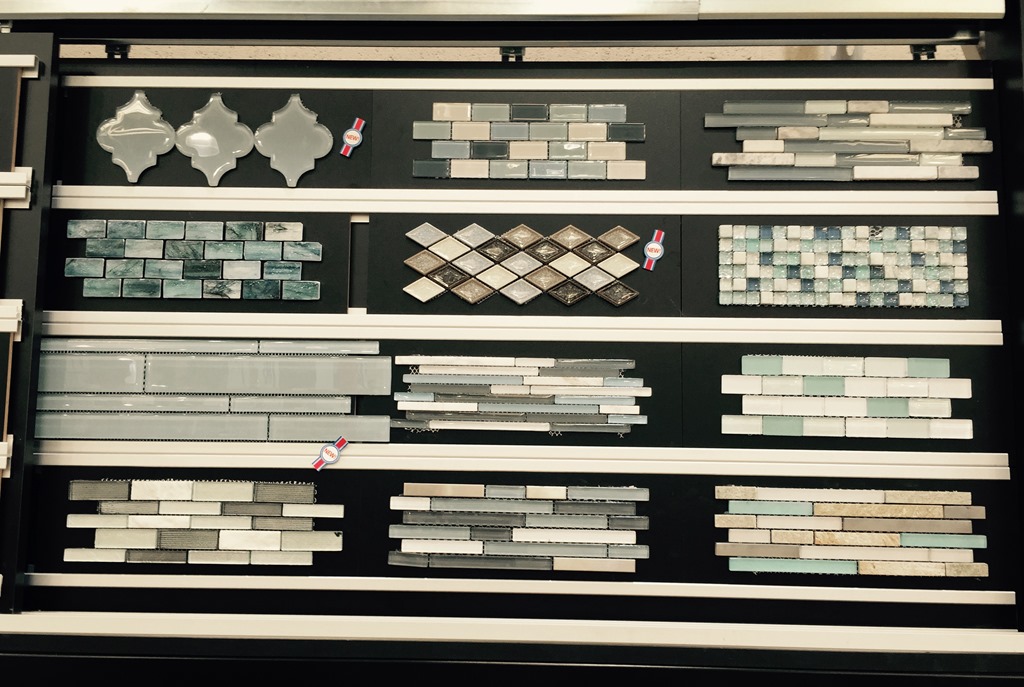
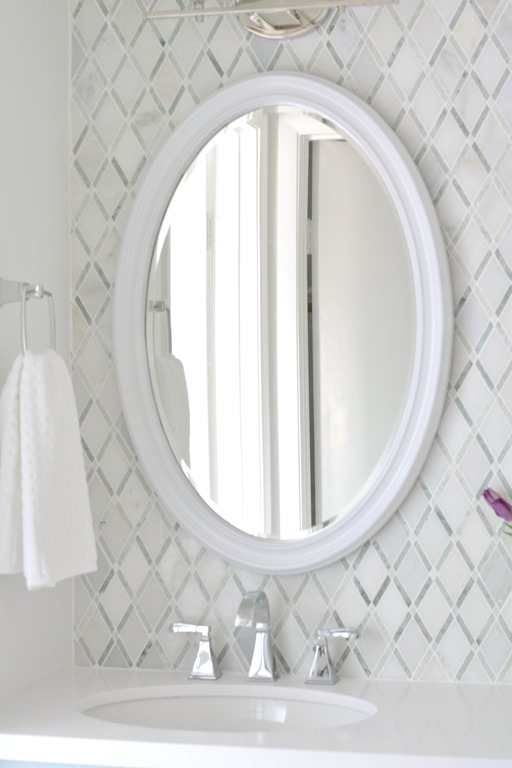
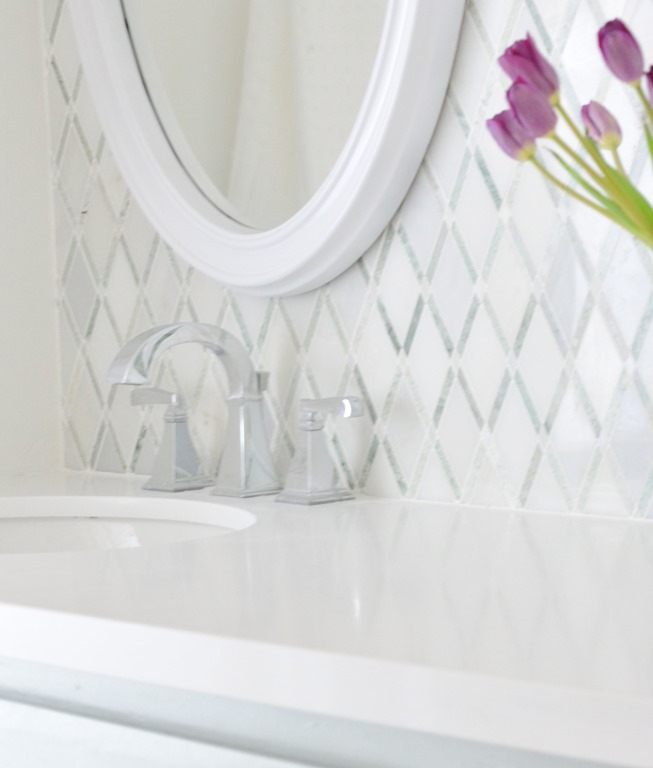
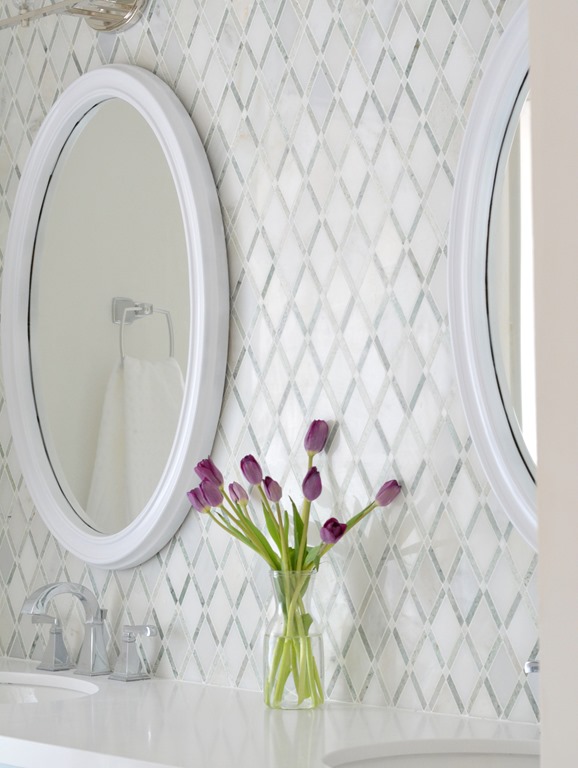
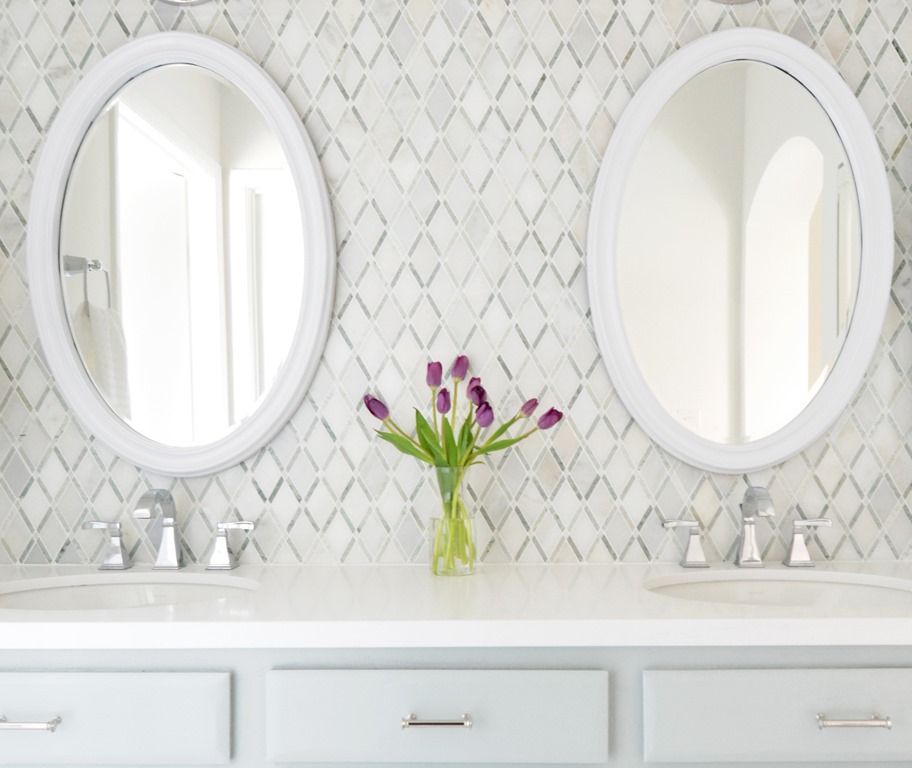
But back to the tile. It comes in boxes and I shopped for it at Floor and Decor. This is the diamond pattern Carrara White Caribbean Green Mosaic, I spied it online and went into their store to check it out in person and was Insta smitten, the diamonds are grey and white and the diagonal pieces are all shades of green, some light some dark, the variegated tones makes it more interesting up close.

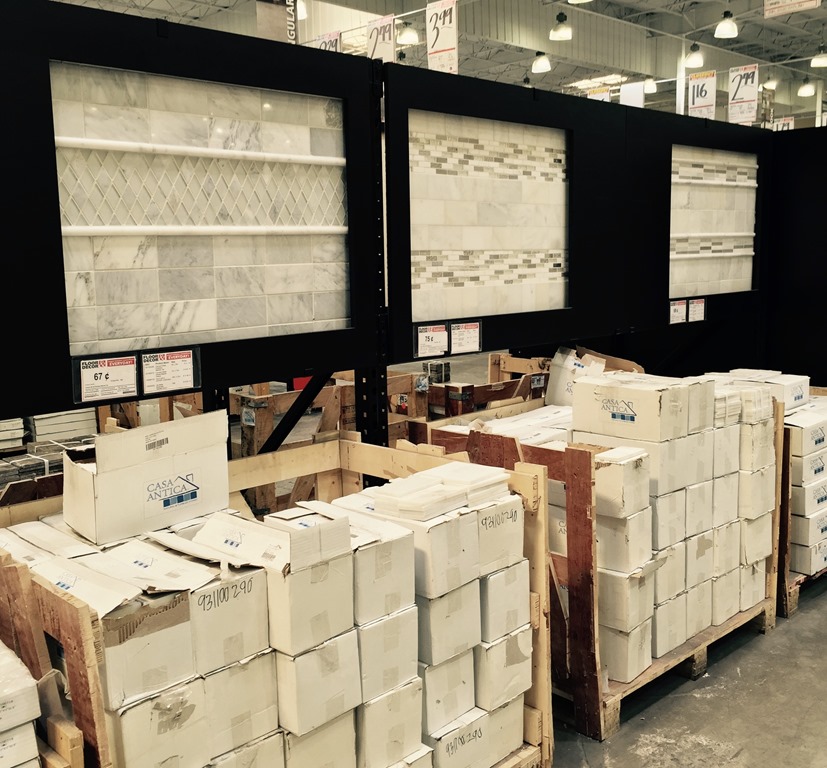
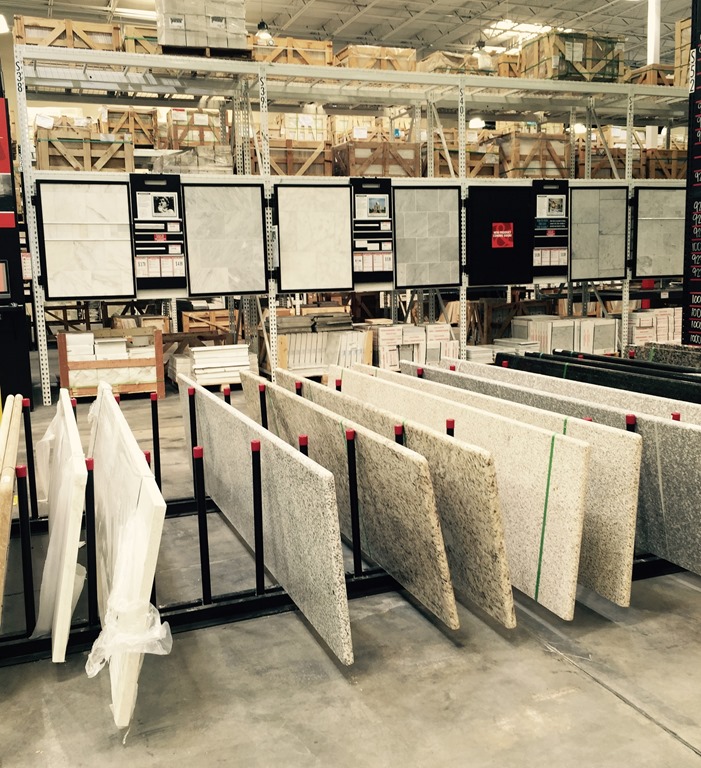
I had never been to a Floor & Decor store before, I was impressed with the selection, prices, and the quantities! The stores are HUGE, 60,000-80,000 square feet and each store stocks thousands of tile, stone, and wood products, ready to take with you for your project because they keep hundreds of square feet in stock. They carry tile, wood, laminate, and vinyl plank flooring, countertops (butcher block and granite), and supplies for installation of all these surfaces.


The manager Bill gave me a tour of the Las Vegas store (thanks Bill!) and I learned they source directly from manufacturers around the globe to guarantee the lowest prices. I had great customer service, Floor & Decor also has a design center with on site inspiration offering free design services to help you pull a look together.


For the design of this space I chose overhead vanity lights instead of sconces. I love a sconce/mirror combo with a single sink but for this double sink there wasn’t quite enough space on the sides of the mirrors, so I chose vanity bath lights. Also since the ceiling height is eight feet, the vanity lights above elongate the space and draw the eyes up as does the diamond tile installed in the vertical direction.

The countertops are Caesarstone, I’ll have more to share on this quartz surface after the kitchen remodel reveal since we installed the same surface in there. I also opted for chrome faucets and oval mirrors below the nickel vanity lights – see sources below.


Additional bathroom sources: oval mirrors (spray painted gloss white) / oval undermount sinks / nickel bath light / chrome faucets / hardware #21022 / towel ring
Installing a mosaic tile backsplash isn’t difficult, I’ve done it myself in bathrooms and in kitchens and even tiled planters before. For this project I hired a helper because I didn’t have a tile saw in Las Vegas among my tools. You can rent them of course but instead I enlisted the help of the same subcontractor who helped us install the tile floors to bring over his tile saw and help install the tile on the wall.
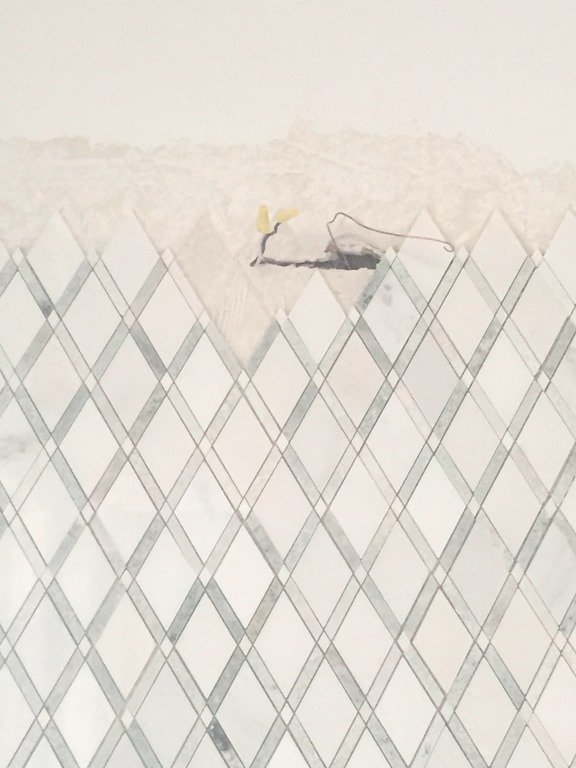
The process is simple, there are so many tutorials online, but here are the basics: prep the wall and make sure it can support your tile, repair any damage necessary. We had removed the large mirror and needed to patch the wall in a few places where the previous glass adhesive had torn away bits of the drywall. We also had to move the electrical wires over 5 inches so that the overhead vanity lights would be centered over the faucets (move electrical wires with caution and make sure to turn off power! hire an electrician if necessary!)


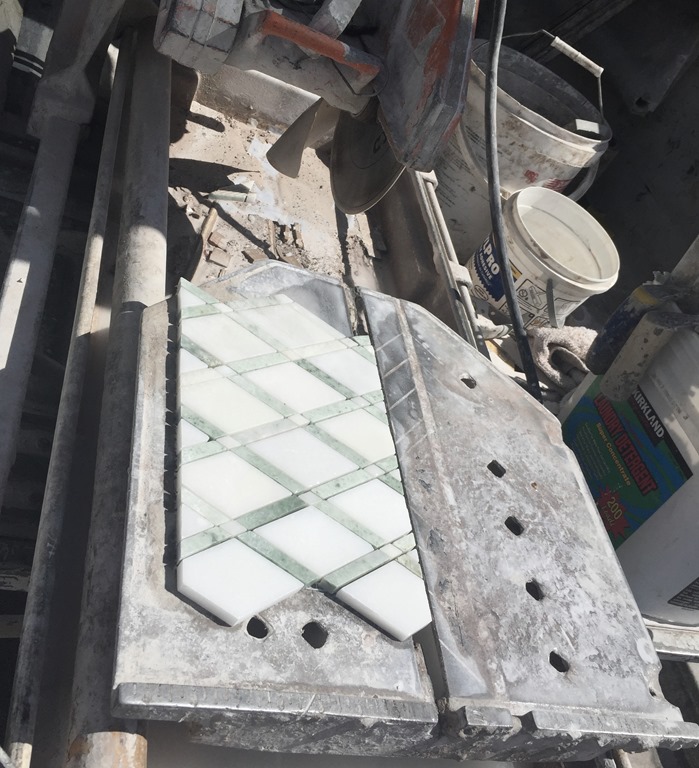
A tile saw is a necessary tool for the side, top, and bottom cuts, also if you’re working around light switches. If you’re inexperienced definitely hire a professional but you can also rent a tile saw and do it yourself.

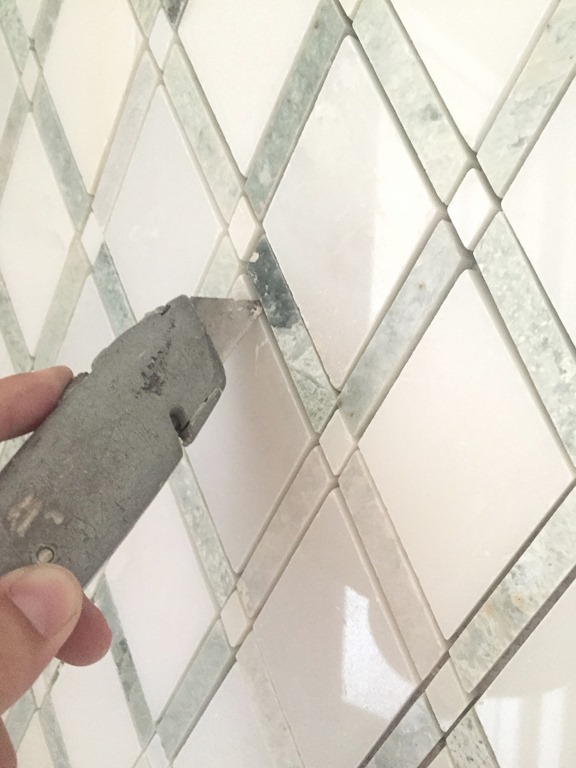
There were a few sheets of tile that had really dark green diagonal pieces which I didn’t care for so I removed them and substituted lighter pieces with a box cutter blade.

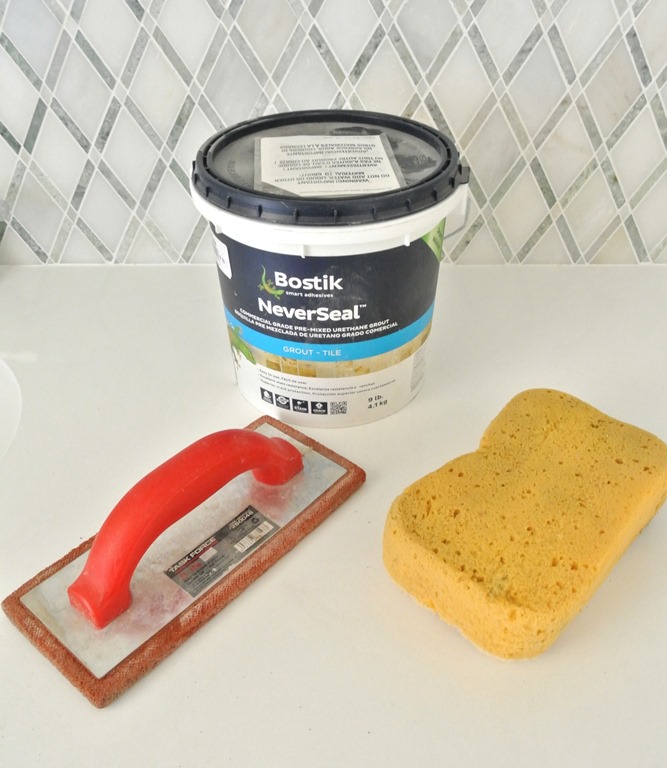
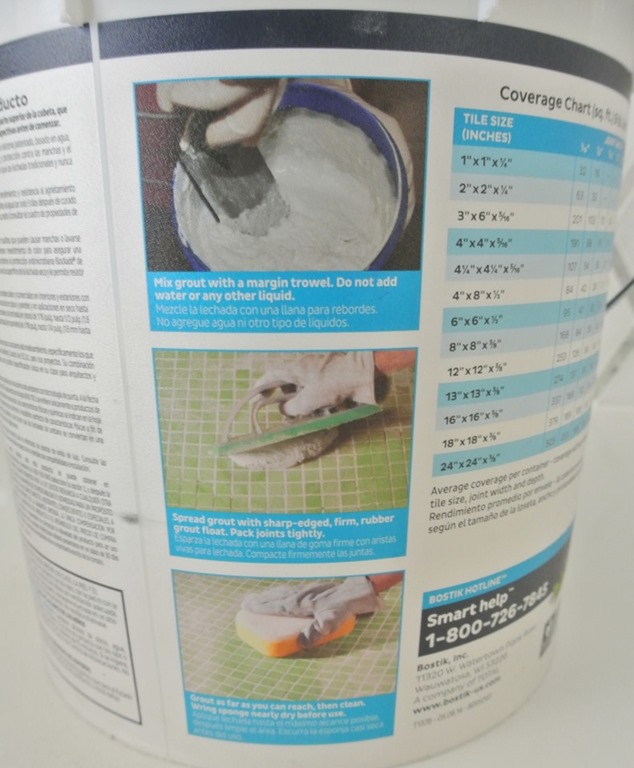
Allow the tile to set for a day then apply the grout with a grout float, wipe it down with a sponge, you can buy premixed or dry grout and mix it up yourself.


I couldn’t be happier with this tile! It did require some tweaks to get this it just right, selecting the individual sheets in the store and removing a few of the dark pieces, but wow, I think it’s absolutely stunning, I wish you could see it in person and touch it too.


*This tile project and post is sponsored by Floor & Decor, the tile for this project was complimentary and I was compensated for my time, all opinions are my own.
…
Master Bathroom Vanity Makeover is a post from Centsational Girl Republishing this article in full or in part is a violation of copyright law. © 2009-2015, all rights reserved.
The post Master Bathroom Vanity Makeover appeared first on Centsational Girl.