
Bra-making Sew Along: Pattern Tracing
Let’s take a look at our patterns!

Today and tomorrow I’m going to prep the pattern and make a test bra for my friend. I’ve been drafting different bras so I needed a quick and dirty way to test them without sewing in the elastic. So I’ll share how I’ve been doing that. There are some things you can’t predict in a tester bra or cups, and you may just want to skip this part. But if you want to save your materials for the good stuff and do some fitting and styling fun next week, give it a whirl!
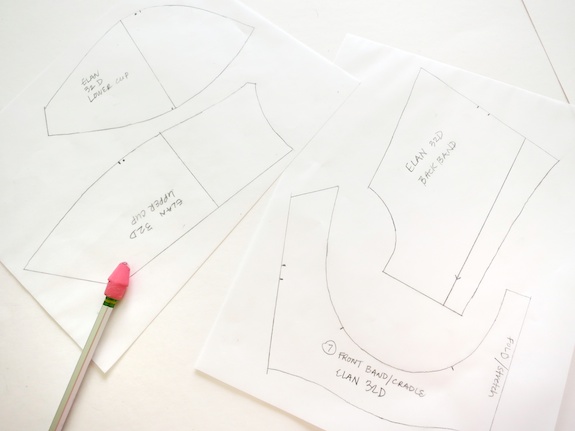
Before I get to tracing, let’s take a look at our pattern pieces. This is an illustrated scan of the pieces in Elan 645, and most of your patterns will be in some combination of these pieces.

If you are working with a three-piece cup (such as the Danglez patterns), sometimes the lower cup consists of two pieces, or there will be a side panel that reaches into the strap. A couple of the suggested patterns also include a fabric strap piece.
You’ll also notice that the band and cradle can have various seams, some with a seam below the cup, some with a side seam, or both. These are mostly just style differences.
tracing the pattern
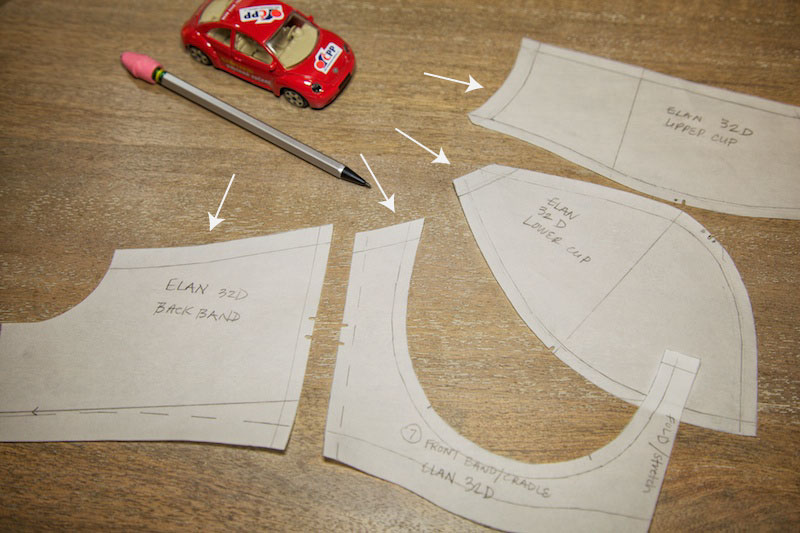
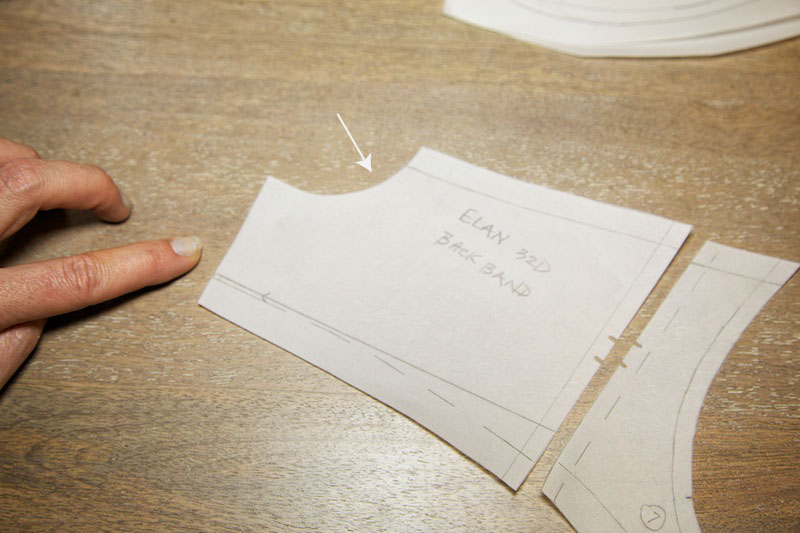
When tracing your pattern don’t forget to transfer pattern markings like notches, direction of stretch (the ‘grainline’) and bust point. I’m going to trace a 32D from the Elan pattern.

The Elan pattern also has a little facing piece for the top of the cup. I might not use it but I traced it anyway.
For my initial pattern, I’m using this vellum paper to trace off but later I’m going to transfer the pattern to oak tag or something like card stock. I find it much easier and more accurate to weigh down the patterns and trace around them with chalk, rather than pin and cut. You could do this straight away if you wanted.
the seam allowances
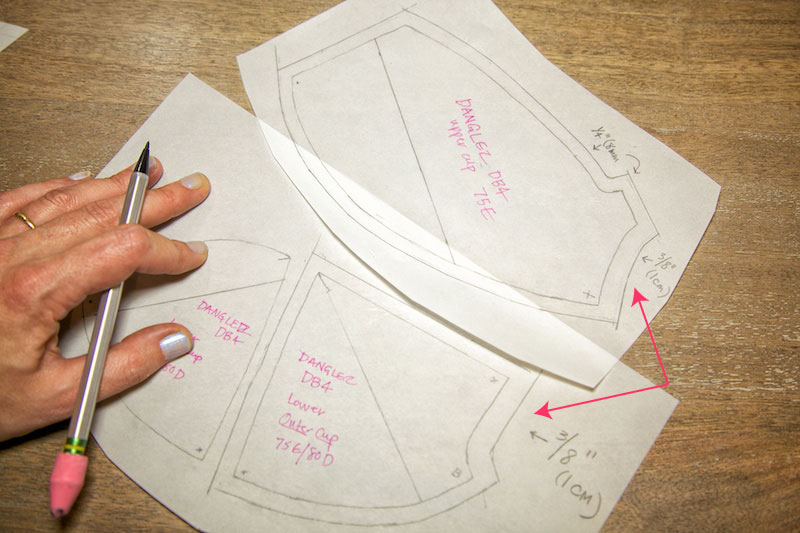
Now there’s one more step I like to do and that’s draw in the seamlines. This is certainly not an essential thing, but I find them helpful when making fitting adjustments. Some of you may have the Danglez or another European pattern which comes without seam allowances so you’ll need to add them on.
Bras use small, precise seam allowances. The major seams are all 1/4″ (6mm), and trust me, these small allowances help with sewing precision, especially in sewing convex to concave curves! They also help the curves to lay smoothly.
The underarm seam on cups and top of the band are 3/8″ (1cm), for 3/8″ picot elastic.


The hemline and bottom of the entire band is 1/2″-5/8″ (12-15mm) for your band elastic. Check your pattern to see if it has specifics. For the Danglez pattern, add the width of the elastic you plan to use.


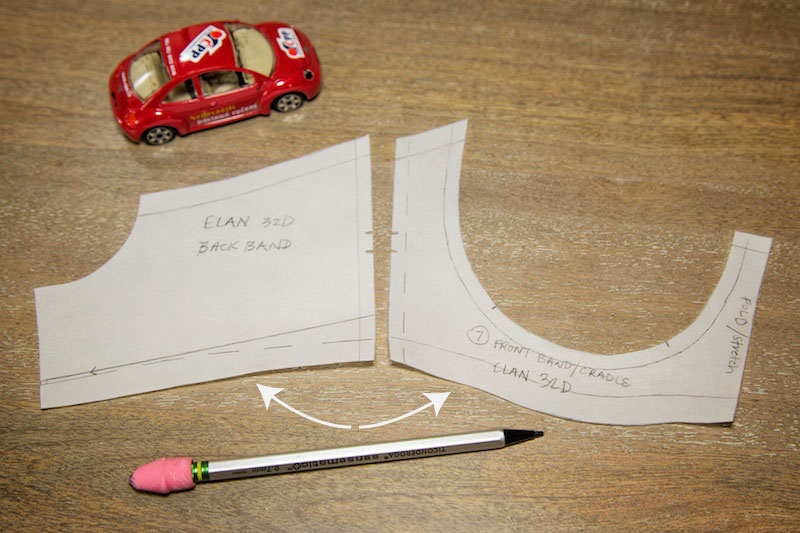
Everything else is 1/4″ (6mm). The center front of the band is either cut on fold or has a seam allowance–check your pattern to make sure! (ETA: I totally goofed and had 1/4″ at 8mm before–I still don’t think in metric!)
Alrighty, I’m ready to cut and sew a test bra! I hope to have photos of the process by tomorrow but it’s been abysmally dark and rainy here. (Bad photo light… bad.)