Free Cape Pattern and Tutorial
Today I’ve got another fantastic sewing tutorial from one of The Cottage Mama guest contributors ~ Christie Jones from Sewing In Be Tween. If you have some little ones entering that tween stage, you’ll definitely want to check out this new sewing blog focused on sewing for the older girls. Please give a warm welcome to Christi sharing her Best All ARound Cape Tutorial.

Hi! I am Christie from Sewing In Be Tween and I am so excited to share my tutorial with you. When I am looking for a great all around pattern, I look for a few different things. I want a pattern that is size versatile, that can serve many purposes, and that I can sew up quickly. This pattern ticks all of those boxes! This is my Best All Around Cape. This cape can be made in any size from infant to adult, with any woven fabric, and can be super dressy, cozy and cute, it is reversible, and it’s perfect for a costume (For a BOY even??). Also, the “All-Around” is a play on words as this cape is drafted based on a circle skirt. So, let’s get started!
Materials Needed:
An outer fabric – For a girl’s size 12 we used right at 1 yard, for the women’s we used 1.5 yds
A lining fabric – Same as above
Ribbon – We used 2″ ribbon but you can use your choice of width
Coordinating thread
Recommended fabrics: Suiting, Satin, Silk, Flannel, Quilting Cottons
How to Measure:
You will need to get two measurements to determine how to cut your fabrics. First, get a piece of yarn or cord and measure around the base of the neck. This will give you the neck circumference.


For this sample, the girl’s size 12 neck measurement was 18″ and the length was 15″.
Now let’s make the pattern!
Cutting Your Pattern Pieces:
This pattern doesn’t require any printed pattern pieces, but it DOES require some math. Wait, wait! Don’t be scared! This is not going to be hard. We have to determine how deep to cut our neck. This method is based off of constructing a circle skirt.
First, you have to know your circumference which is the measurement around the neck that you took above. To make it simple to cut, you will use this circumference to determine the radius which is
Radius = Circumference/2 x pi (or Circumference/6.28) My neck circumference was 18. So, Radius equals 18/6.28 or 2.87. Take this number and round it up to the closest .25 inch. So, I will use 3″ as my radius. Now we are ready to cut. First, fold your outer fabric in half widthwise and then fold it up lengthwise so you have two layers on top of each other with one corner completely closed and the other side being open.

Going back to the corner, you will now measure down and make the marks for your length. Add the radius to your length measurement (For me, it was 3″ 15″ = 18″). Repeat the process that you did above, using your tape measure, make marks moving in an arc marking the Radius Length measurement. Now, connect the marks together to make another complete arc.

Now, you are ready to cut.
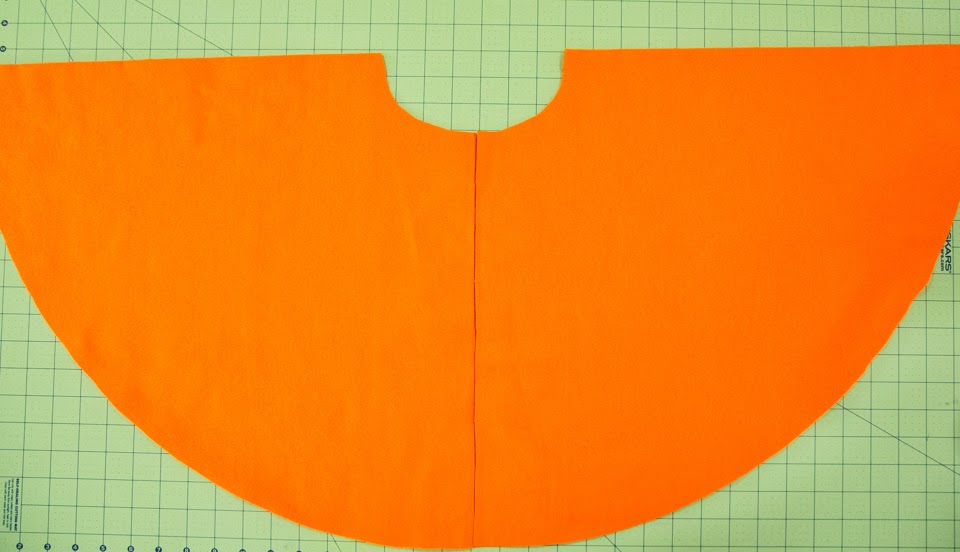
Cut both arcs. Now, use this as your “pattern” to cut your lining fabric. Place the cut outer piece on top of the uncut lining piece which you should have folded in half widthwise and then lengthwise just as you did the first fabric.Now, you should have 2 cut cape pieces that look like the picture below once you open them up.

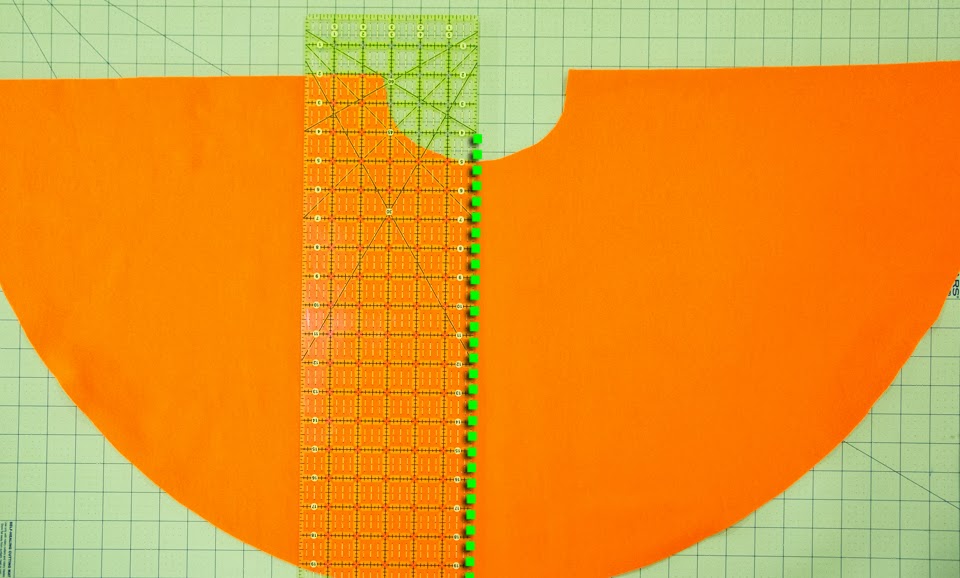
Next, lay the outer piece out flat on your cutting mat and using a ruler measure a straight down the middle of the neckline to mark your cutting line to open the circle to make it a cape. Mark the straight line with a fabric marker or chalk. Once you mark, cut this line through ONE thickness, not both. Repeat with your lining piece.


Next, you will need to cut your ribbon. You can cut this to be the length you want it to be. For the girls size 12 and the adult size, I cut 2 30″ cuts. You can always cut it shorter once you finish.

Sewing Your Cape:
Take your outer cape piece and on the cut center edge mark down 1″ down from the top edge with your fabric marker or chalk. Do this on both sides of the cut center edge. This is going to be your placement line for your ribbon.
Once you have it marked, take your ribbon piece and place it face down (right sides together) with the upper edge being along the marked line.


Take your ribbon and roll it up to about 3″ from the edge and pin it so you won’t accidentally sew it while you are sewing your cape pieces together.


Leave an opening along the bottom edge around 4″ so you will be able to turn the cape right side out once you sew.

Once everything is pinned, sew all around the cape with the exception of the 4″ opening using a 3/8″ seam allowance.

Once you sew, clip the curve around the neck and clip the corners so the cape will lay nicely once you turn it right sides out.

Now, reach inside and pull the cape right sides out. Using a point turner or chopstick, poke out the corners. Take the cape over to the iron and press it out nicely.

Make sure you turn the edges of the opening in the same seam allowance and press them together. You can now either hand sew that opening closed or you can catch it when you edge stitch. Next, you are going to edge stitch all around the cape.


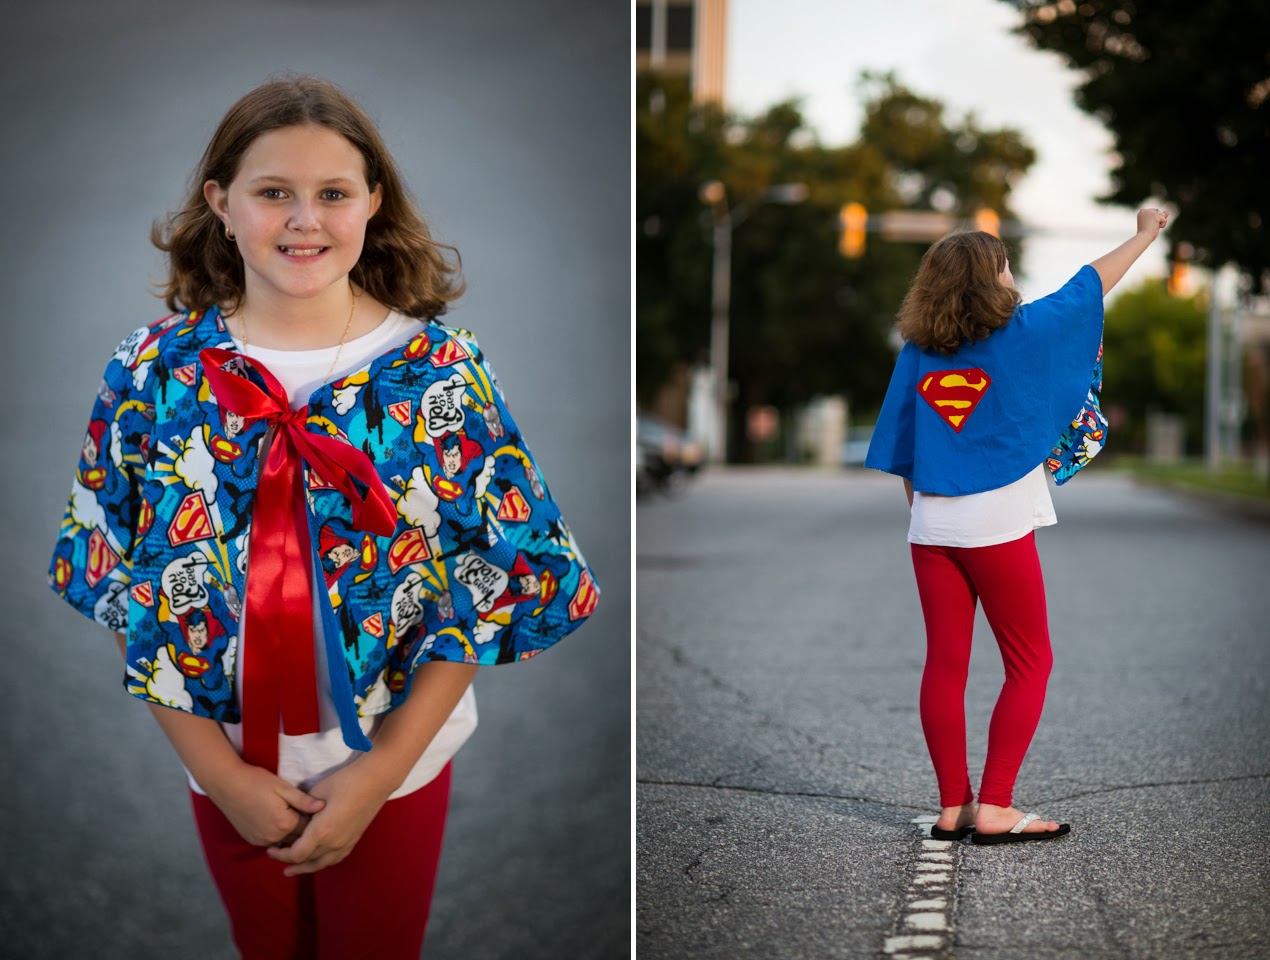
Once you get this down, you can whip these up pretty quickly. Use suitings and satins for dressy capes, use flannels to have something cozy and hands free to wrap up in while you are travelling, at the Friday night football games or just to accessorize. Or, make a fun applique and use it at Halloween for a quick costume for a girl or boy! You can add ruffles, monograms, sew on ribbons, make it whatever you want it to be!


I hope you have enjoyed this tutorial and I thank Lindsay for having us here today!
The post Free Cape Pattern and Tutorial appeared first on The Cottage Mama.