
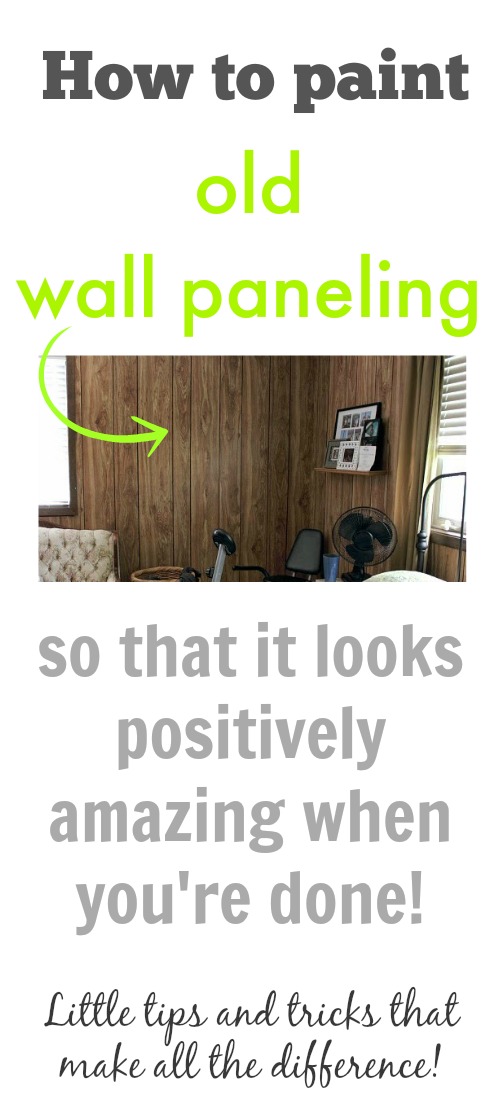
How to paint old wall paneling

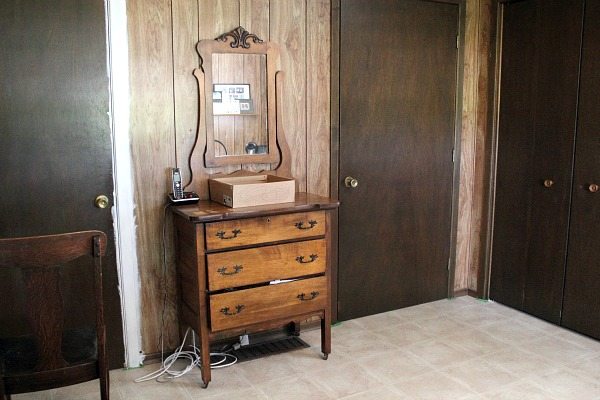
You know that weird old wall paneling, the stuff that everyone used to have in their basements back in the 70′s? Well, I’ve got a bit of that in my house. And by a bit, I mean it’s pretty much everywhere.
If you’ve got some wall paneling too, and you don’t love how it looks, have no fear! Help is here! I promise you that it can look really fantastic if you just go about painting it the right way. And it’s not hard!
Let’s refresh our memories and reflect on just how bad some of this paneling has been in this house, shall we? Remember the master bedroom?


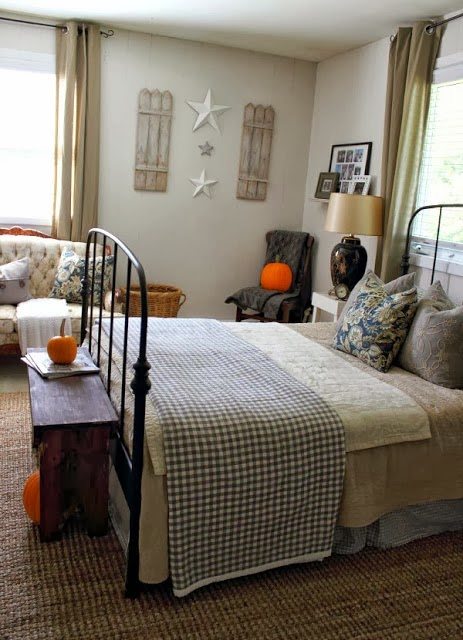
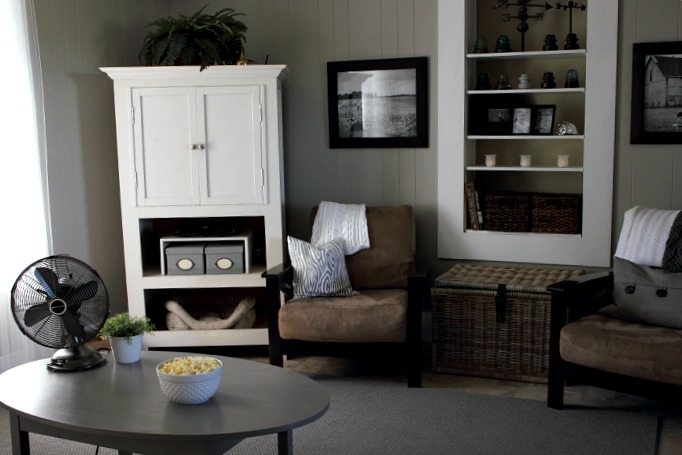
I actually love the extra bit of character that the painted paneling brings into this room.
I found myself painting paneling again this Summer when we started working on Kennedy’s room. I thought that by now I should probably be something of an expert on painting paneling, so I thought I’d share some of the tips I’ve learned in case you’re thinking about tackling a project like this too!
Fill any holes or gaps
Look really closely at your paneling, especially if it’s a dark color and find the spots where there might be gaps or holes that you hadn’t noticed before. With dark paneling, you often won’t see the imperfections, but painting them will makes them obvious. Take a few minutes and fill them in before you start painting and they won’t be noticeable at all.
Start by painting the trim
Really work the trim color into the grooves of the paneling, and even bring it up onto the wall a little bit to make sure that you get really good coverage where the trim and the wall meet. If you’re going to be installing new baseboards, install those after all of your painting is done to get a really crisp look.
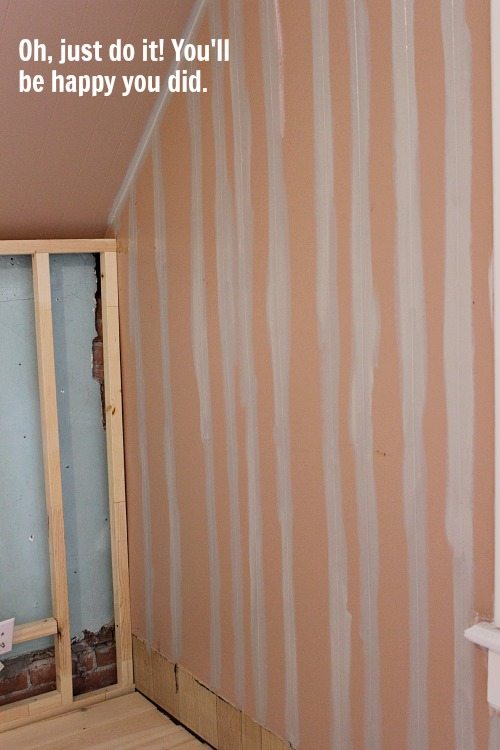
Cut in around all of your trim, corners, and in AAAALLL of the grooves of the paneling…. twice.
This absolutely makes a huge difference. You’ll think that your roller can reach in the shallow grooves, but trust me, it’s not the same. You will notice a difference and your end result won’t be as fresh and flawless. Take the time and do your two coats of brush work. You know I wouldn’t tell you to do extra work if it wasn’t really worth it!


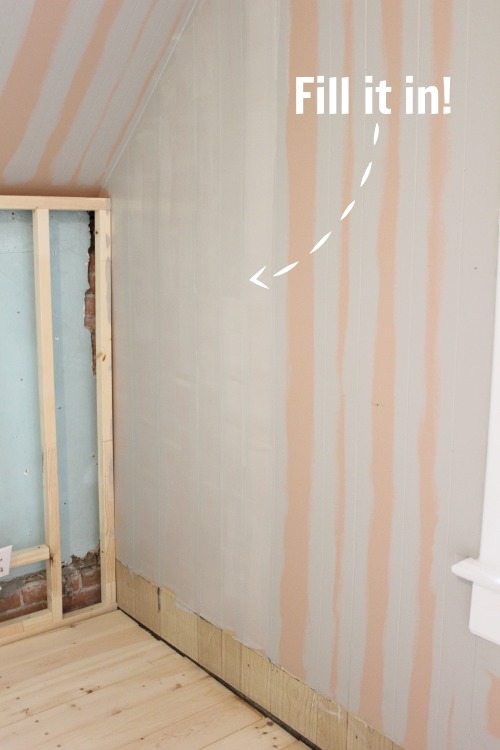
Fill in the rest with a roller!
Once you’re done with your brush work, fill in all the rest of the unpainted areas by rolling on 2-3 coats with a roller. I always use a small foam roller, even on large rooms because I find that they’re just really light and easy to handle and that makes the job go by quickly. Plus, I love the smooth finish they provide.

Crown molding is your friend
It can be hard to make the place where the paneling meets the ceiling look really good with just paint. That’s where crown molding comes in! Covering that area up with even just a small molding really makes the room look more “finished”.
And that’s pretty much all you need to know! I find light, bright colors or crisp greys look best on wall paneling and really bring a nostalgic feel to any 70′s basement-style room that might need a little quick update. If you’ve been thinking about it, try it out! You’ll be amazed at what a big difference a little paint can make!
And…
If you love paint as much as I do, make sure you stop in for a chat with me at the following Home Depots over the next few weeks. I’ll be there with CIL paints helping you pick the perfect paint color for your room from 6-8pm and helping you get over your “paint paralysis”.
September 18: St. Catherine’s, Ontario
September 25: Ancaster, Ontario
October 2: Hamilton Mountain, Ontario
October 9: Hamilton, Ontario
October 16: Burlington, Ontario
See you there!
The post How to paint old wall paneling appeared first on The Creek Line House.