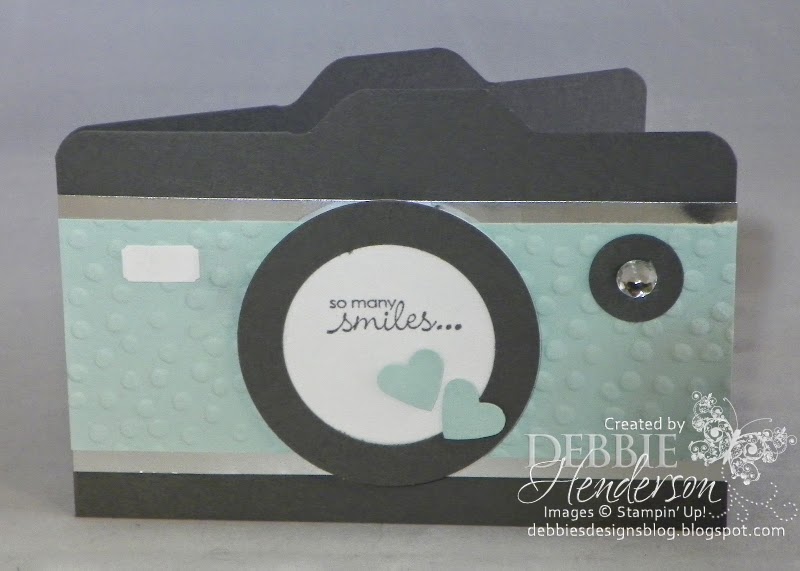
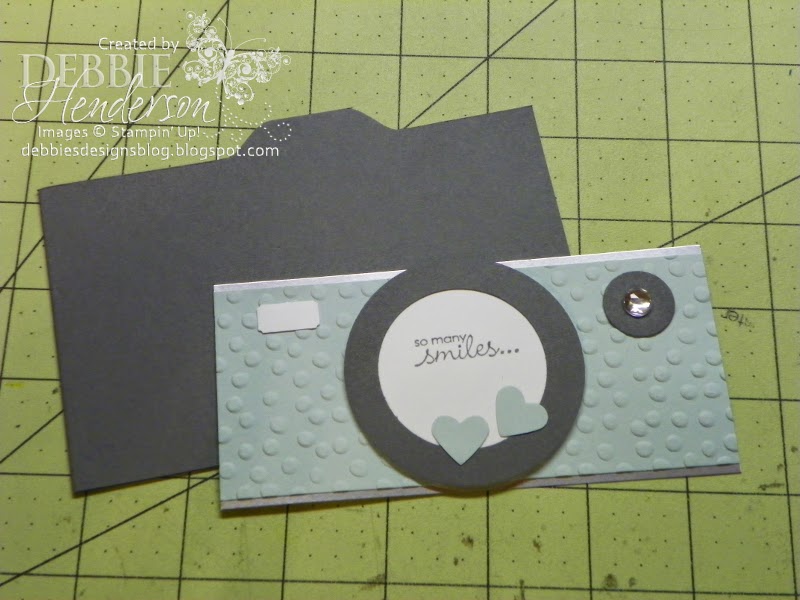
Envelope Punch Board Camera Card!
I posted this camera card and other projects after I held my Envelope Punch Board Class HERE and I received an overwhelming amount of emails asking for a tutorial. It's your lucky day!


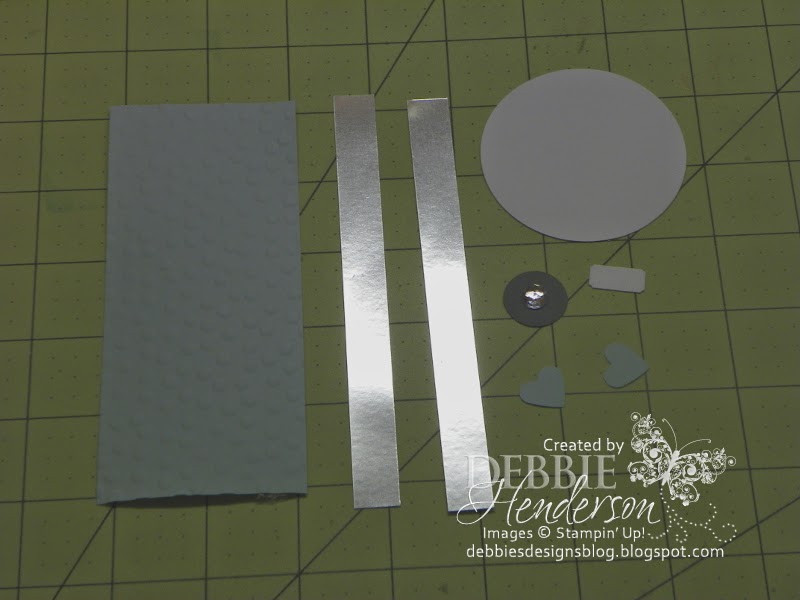
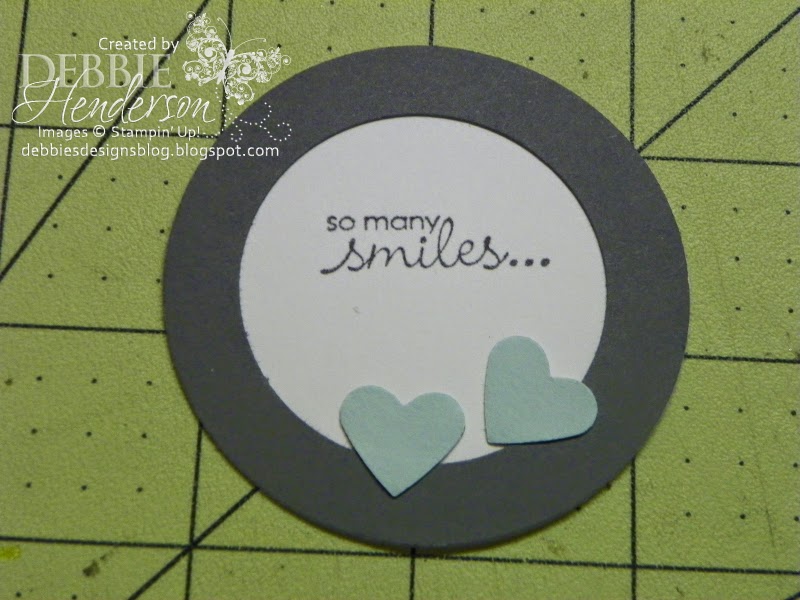
- (1) Whisper White Cardstock circle cut with the 2 1/2" Circle Punch
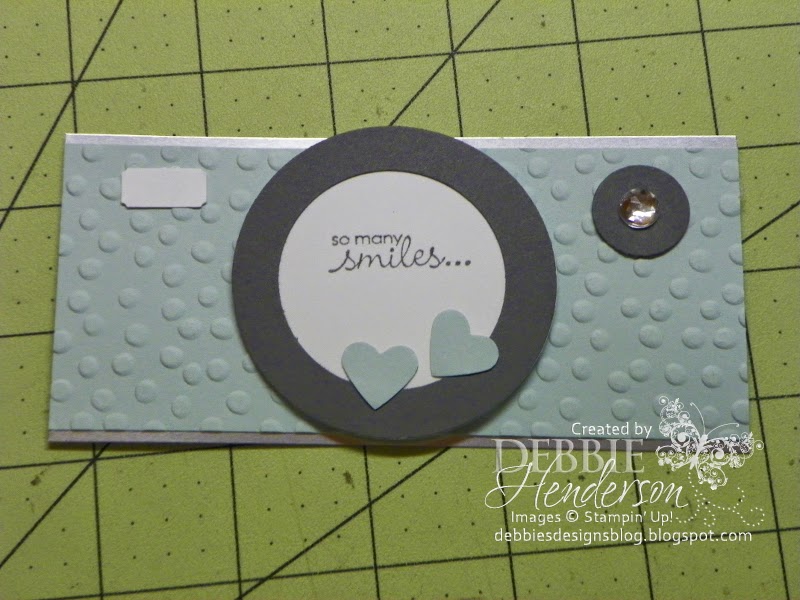
- (1) Small ticket cut with the Ticket Punch and Whisper White Cardstock
- (2) Hearts cut with the Small Heart Punch and Soft Sky Cardstock
- (2) Strips of Silver Foil measuring 3/4" x 5 1/2"
- (1) Circle cut with the 3/4" Circle Punch and Basic Gray Cardstock. Add a Jumbo Rhinestone Jewel in the center
- (1) Soft Sky Cardstock piece measuring 2" x 5 1/2" and embossed with the Decorative Dots Embossing Folder

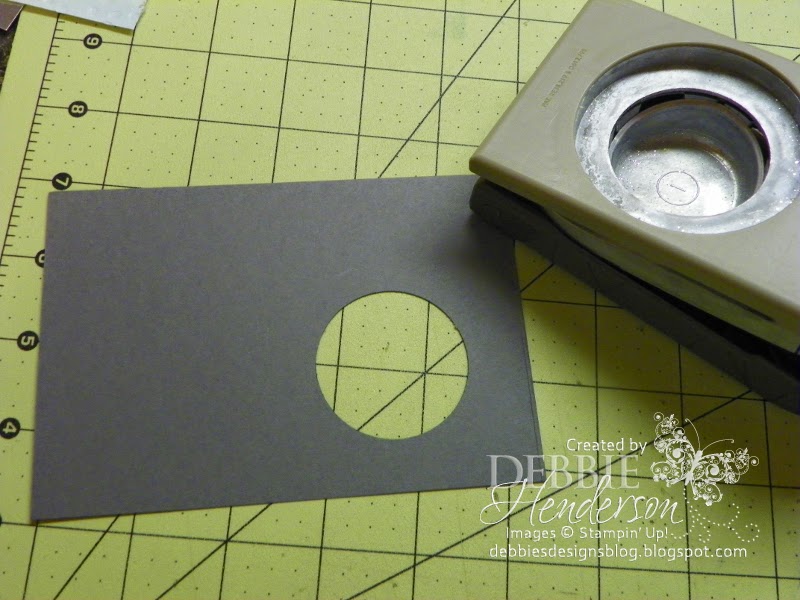
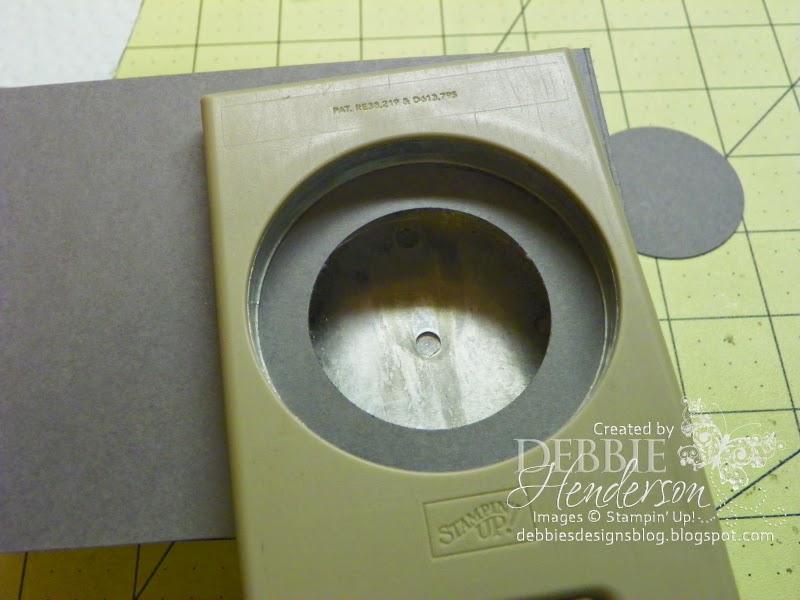
Cut a hole using the 1 3/4" Circle Punch and Basic Gray Cardstock shown above. Using the 2 1/2" Circle Punch, place the hole you created above inside the punch and center as shown below:


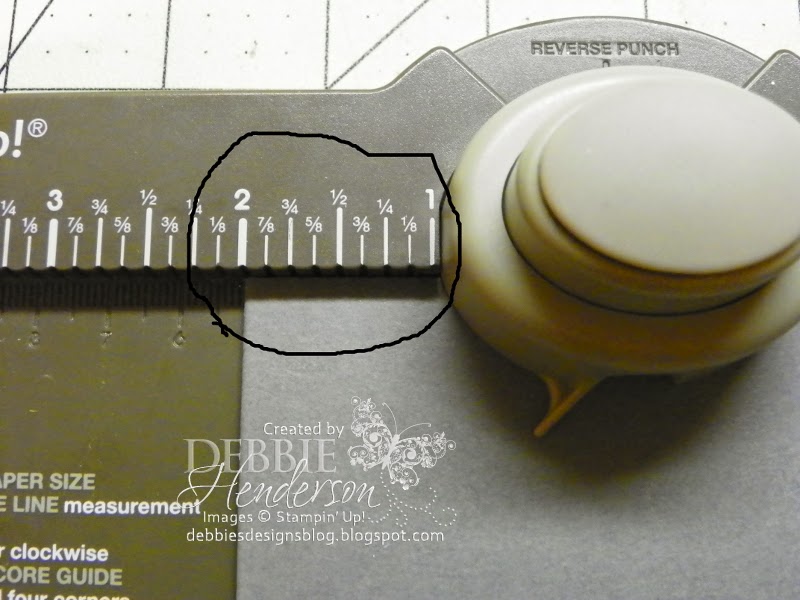
Glue the ticket shape, the lens and the small circle as shown above and now it's time to prepare your card base. Start out with a piece of Basic Gray Cardstock measuring 3 3/4" x 11". Score in half at 5 1/2" and fold. Place the end with the fold towards the left on the 2" mark on your Envelope Punch Board and "punch":

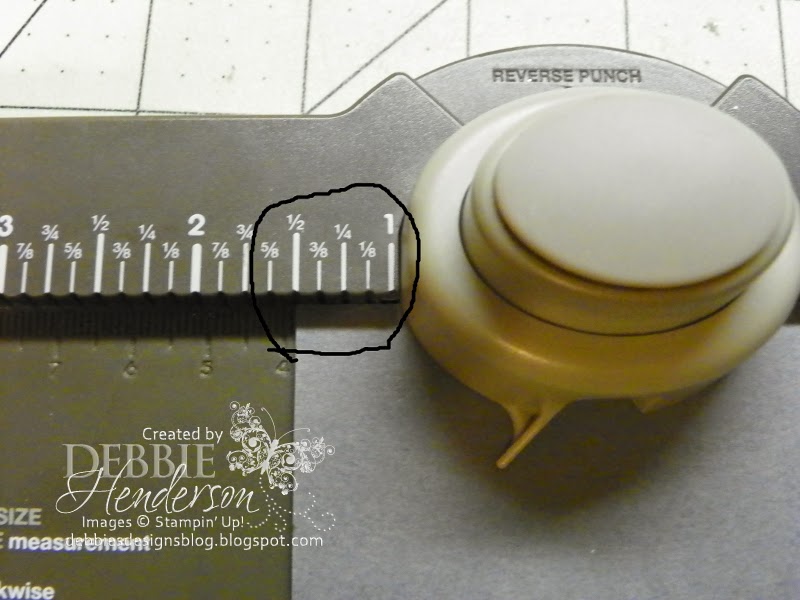
Now take your cardstock piece and flip it so that the end without the fold is now on the left-hand side. Place the edge at 1 1/2" on your Envelope Punch Board and "punch":

Now take the side of the card base with the two notches and line up the deepest part of each notch where the blade will cut as shown in the diagram:


Thanks again for your kind words on this project. I will be posting more projects soon for you to try out. Thanks for stopping by to visit!


[email protected] Debbie Henderson Stampin' Up! Manager [email protected] Shop 24/7: http://www.stampinup.net/esuite/home/debbiehenderson/