1 INCH SCALE CONTEMPORARY STAINLESS REFRIGERATOR TUTORIAL - How to make a 1 inch scale refrigerator from mat board.

This is the refrigerator I made for the corner cabinet dollhouse. I made the original from bass wood, this one is made from mat board.

I will use Elmer's wood glue for most of the tutorial.
I must also say that my internet has been missing most of this month so I hope to get this tutorial up. We will probably have to wait for the patterns to get to Nancy and for them to get back to me and then to be put into the tutorial! Let's hope for the best.

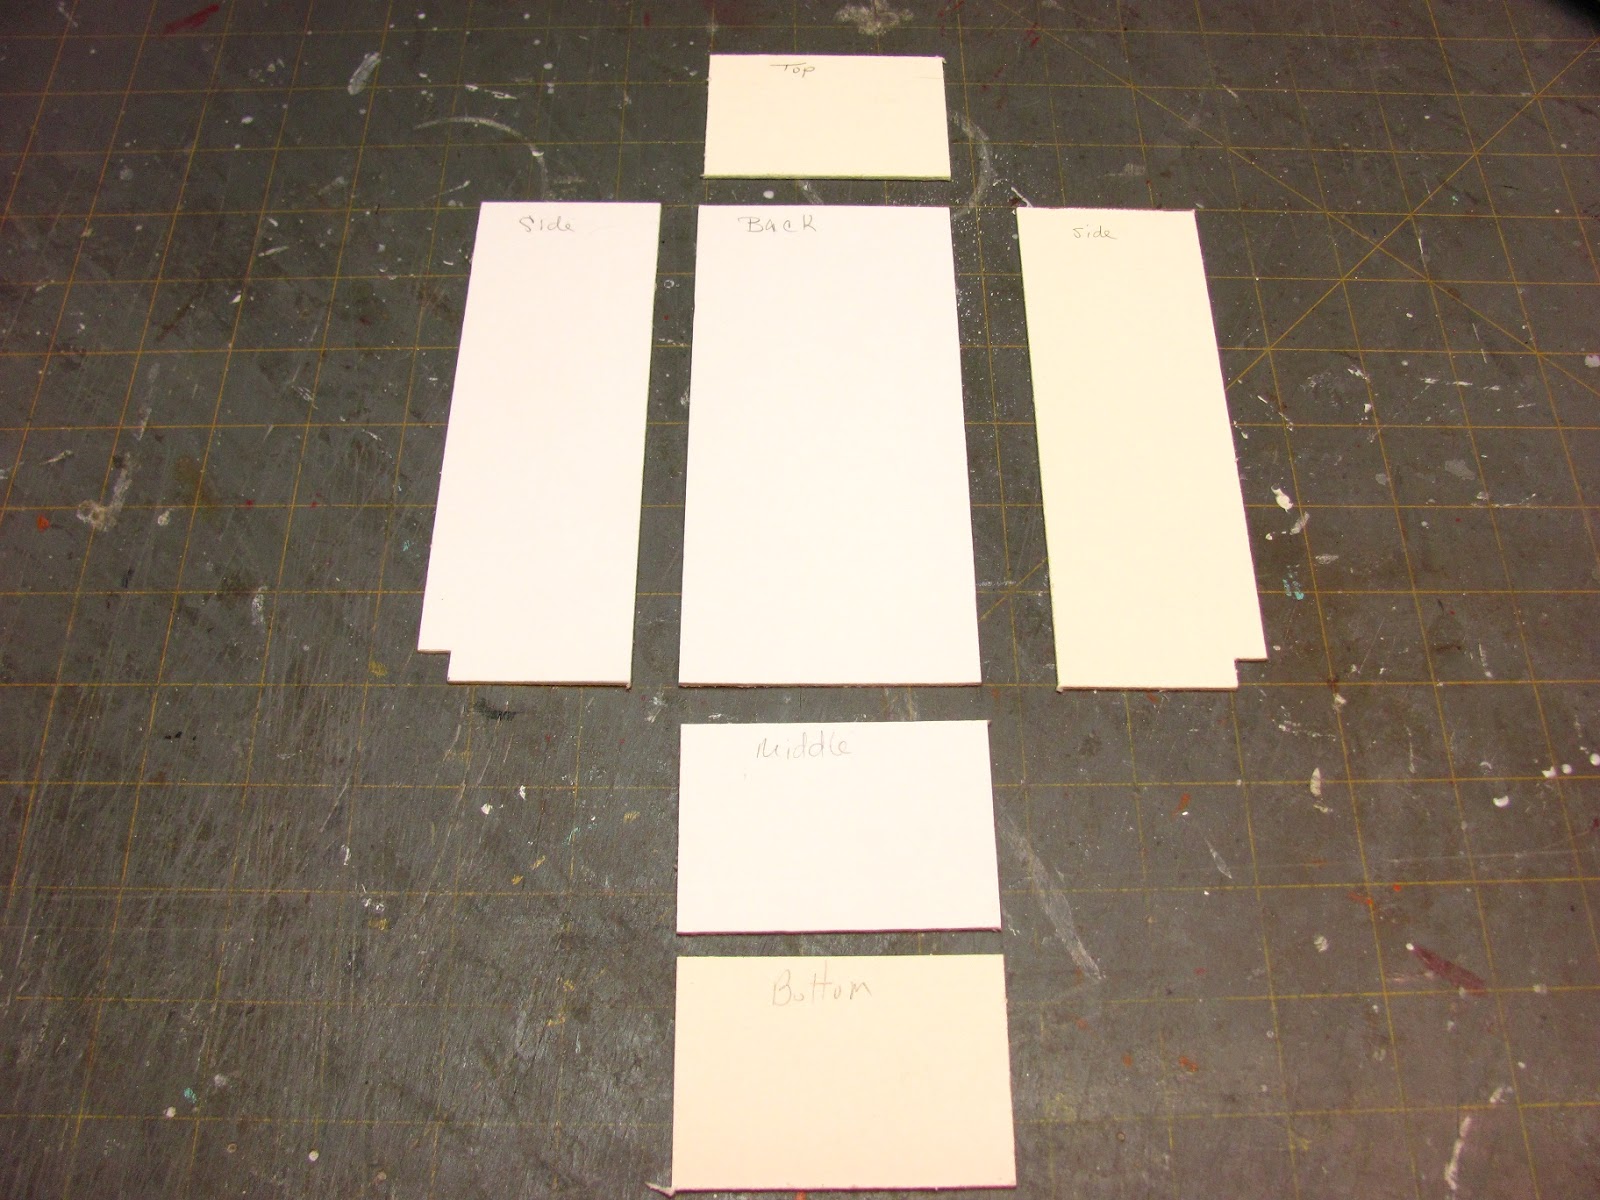
These are my pieces for the refrigerator.
Top: 2 3/4" x 1 7/8", 1 layer mat board.
Back: 2 3/4" x 5 15/16", 1 layer mat board.
Sides: cut 2, 1 7/8"x 6", cut out the toe kick, 1/4" up from the bottom and 5/16" in from the side. Use one layer mat board.
Middle: 2 3/4" x 1 13/16", cut two from mat board and glue together.
Bottom: 2 3/4"x 1 13/16", 1 layer mat board.
We will have Nancy's patterns when the internet allows.


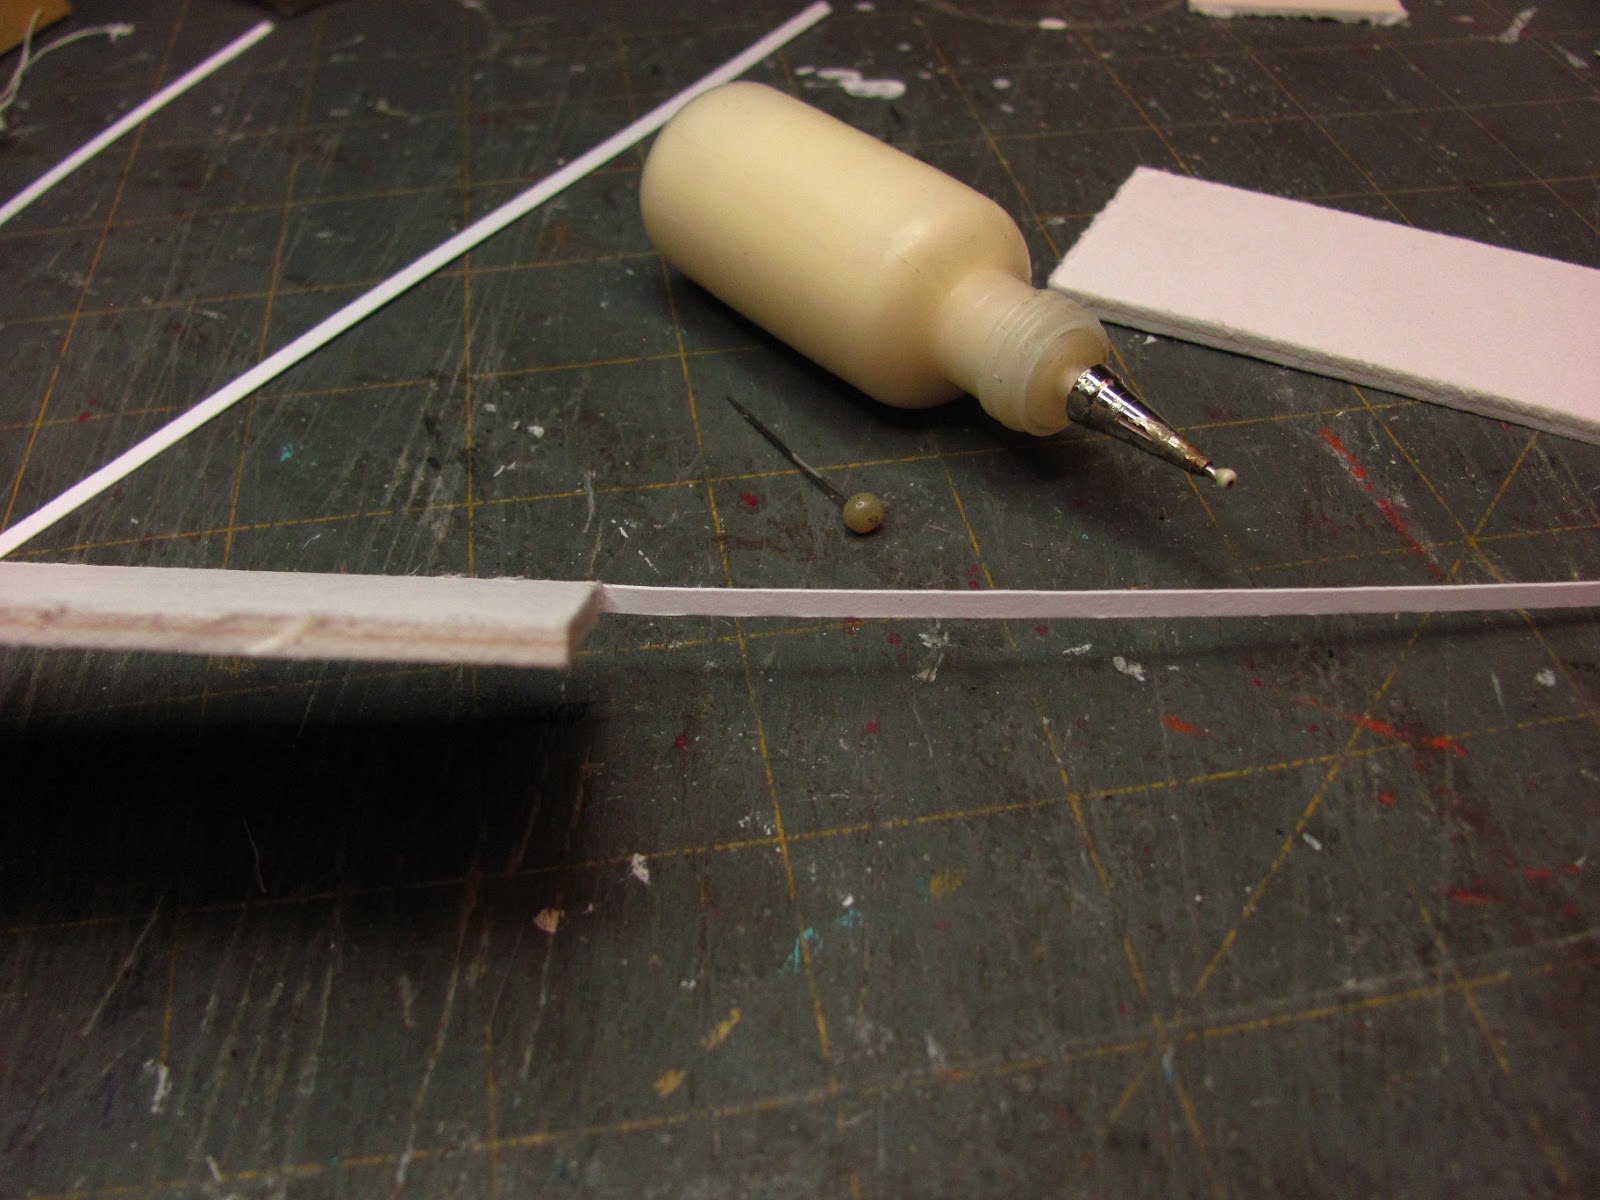
Cut a strip of mat board 1/4" wide and at least 9" long.
Cut one at 2 3/4" long and cut two at 1 7/16" long.


Glue the 1 7/16" x 1/4" pieces on the sides. Keep the bottom edges even.
I call these spacers and they make it easier to keep the bottom and shelf even.


Cut a strip of mat board 1 7/8" wide at least 9" long.
Cut one at 2 3/4" and two at 1 3/4" long.
These are the spacers for the middle shelf.
Glue the 2 3/4" x 1 7/8" piece onto the back.


Cut a few 1/8" wide strips from card stock. We are going to use these for the handles and for wrapping around the doors.


On scrap paper draw a line and mark 2 3/8" apart on that line.
Glue a stack of circles at each mark.
Do this three times for three handles.

Go back to the 1/8" wide strips that have been glued two layers together.
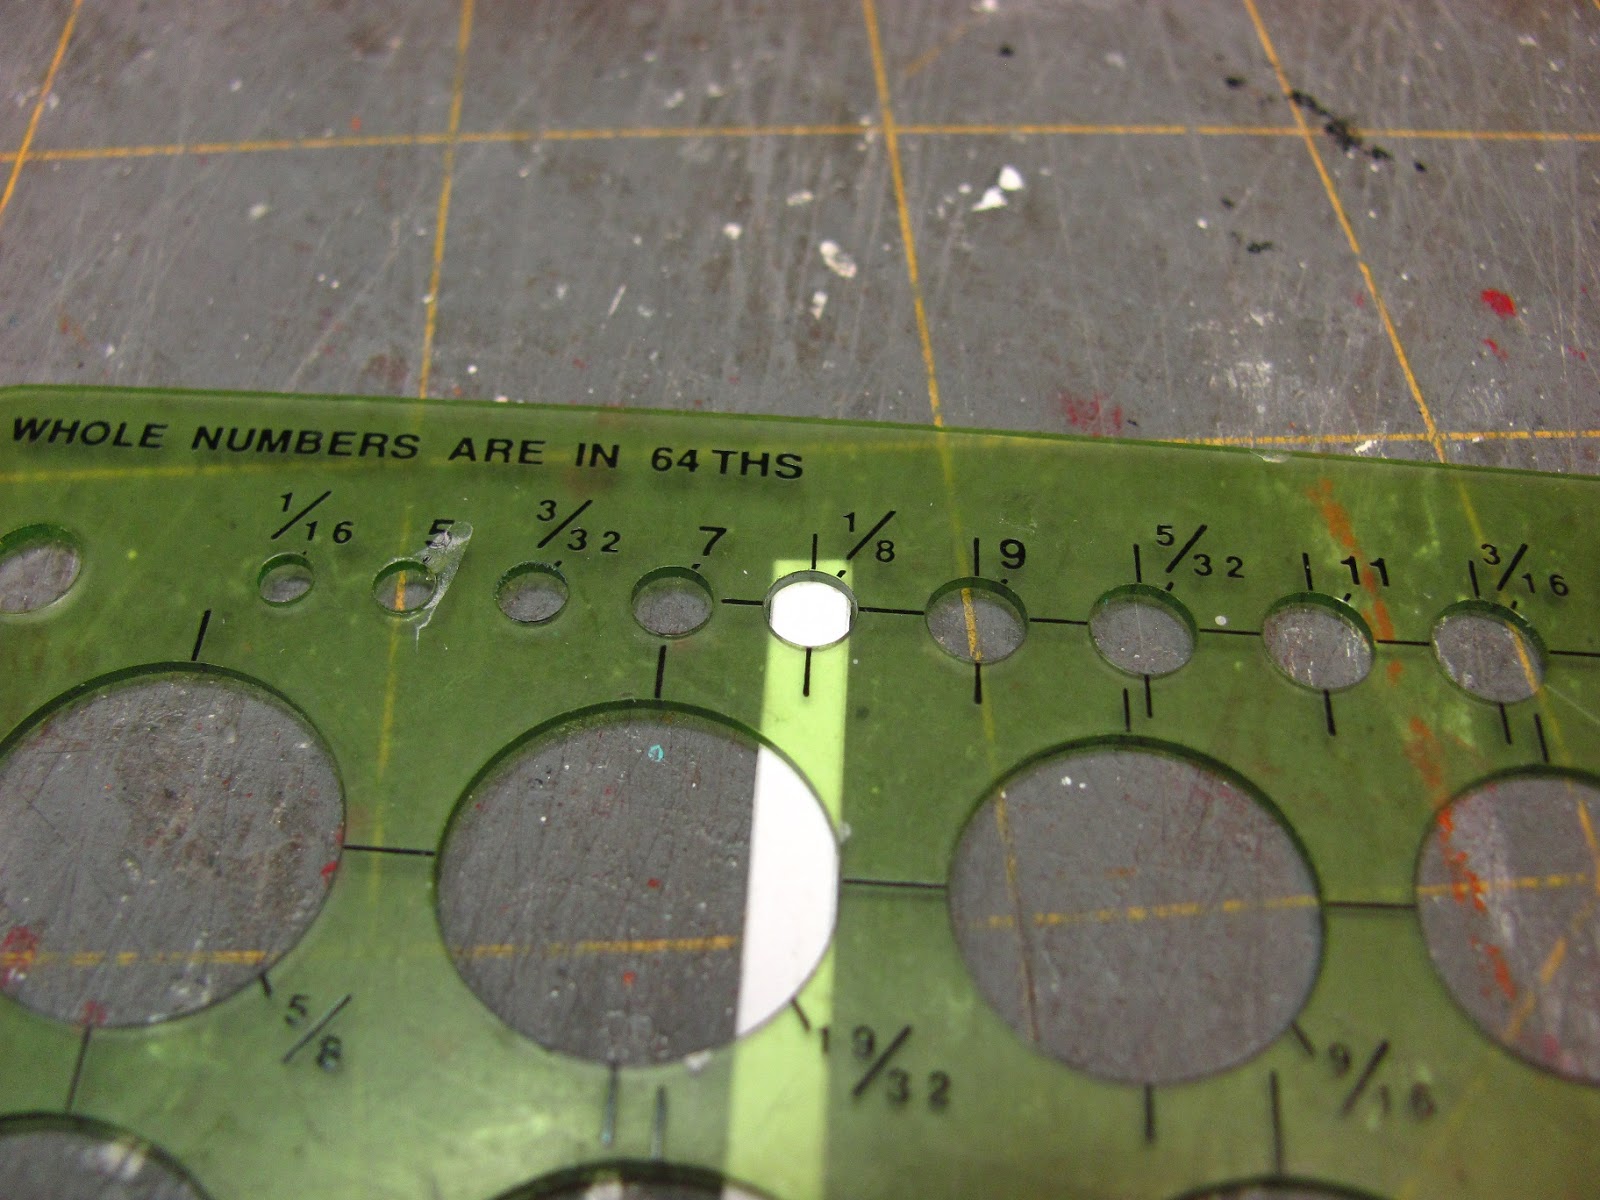
Use the circle template to trace a 1/8" rounded end.


I used a piece of mat board and a doubled piece of card stock as a spacer.
Apply glue to the stacked circles and glue one strip on.

Glue a second strip on. Press them together while the spacer is in. Make sure you have a good seal between the layers.
Make three and set aside to dry.


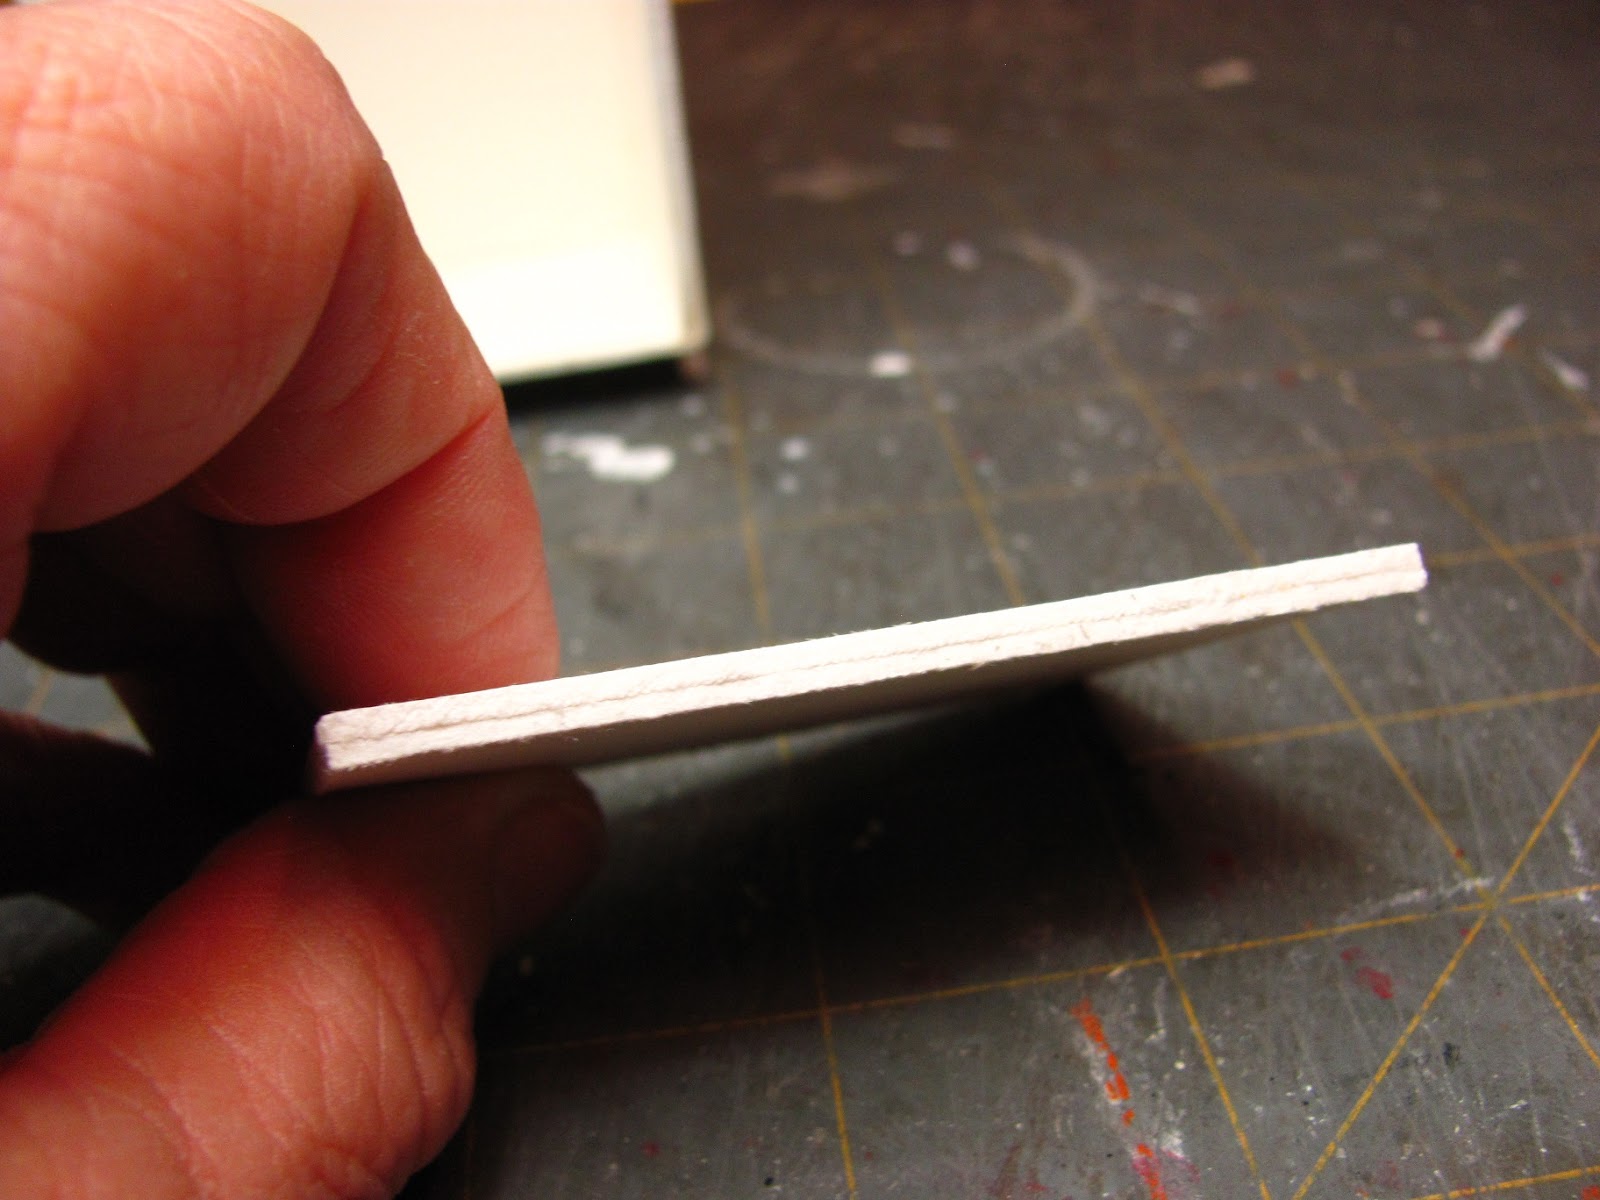
Glue two layers together. Leave the other piece of mat board. This will be for the rubber seal.
Get a strip of 1/8" wide card stock.

Apply glue to the edge of the doubled piece of mat board and press the card stock strip onto the edge all around.

Cut 1/16" from one long side and one short side of the single layer of mat board you have left.
This is your rubber seal.

Cut 6 pieces of mat board 1 7/16" x 3 11/16". These are the two refrigerator doors plus the rubber seals.
Glue two together for each door. Leave the other two for the rubber seals.

Apply glue to the edges of the doors and press a 1/8" wide strip of card stock onto the edges all around.


Paint just the edges of the 3 "rubber seals". I would paint at least two coats, sanding a bit between the coats.
I used 220 grit sand paper.

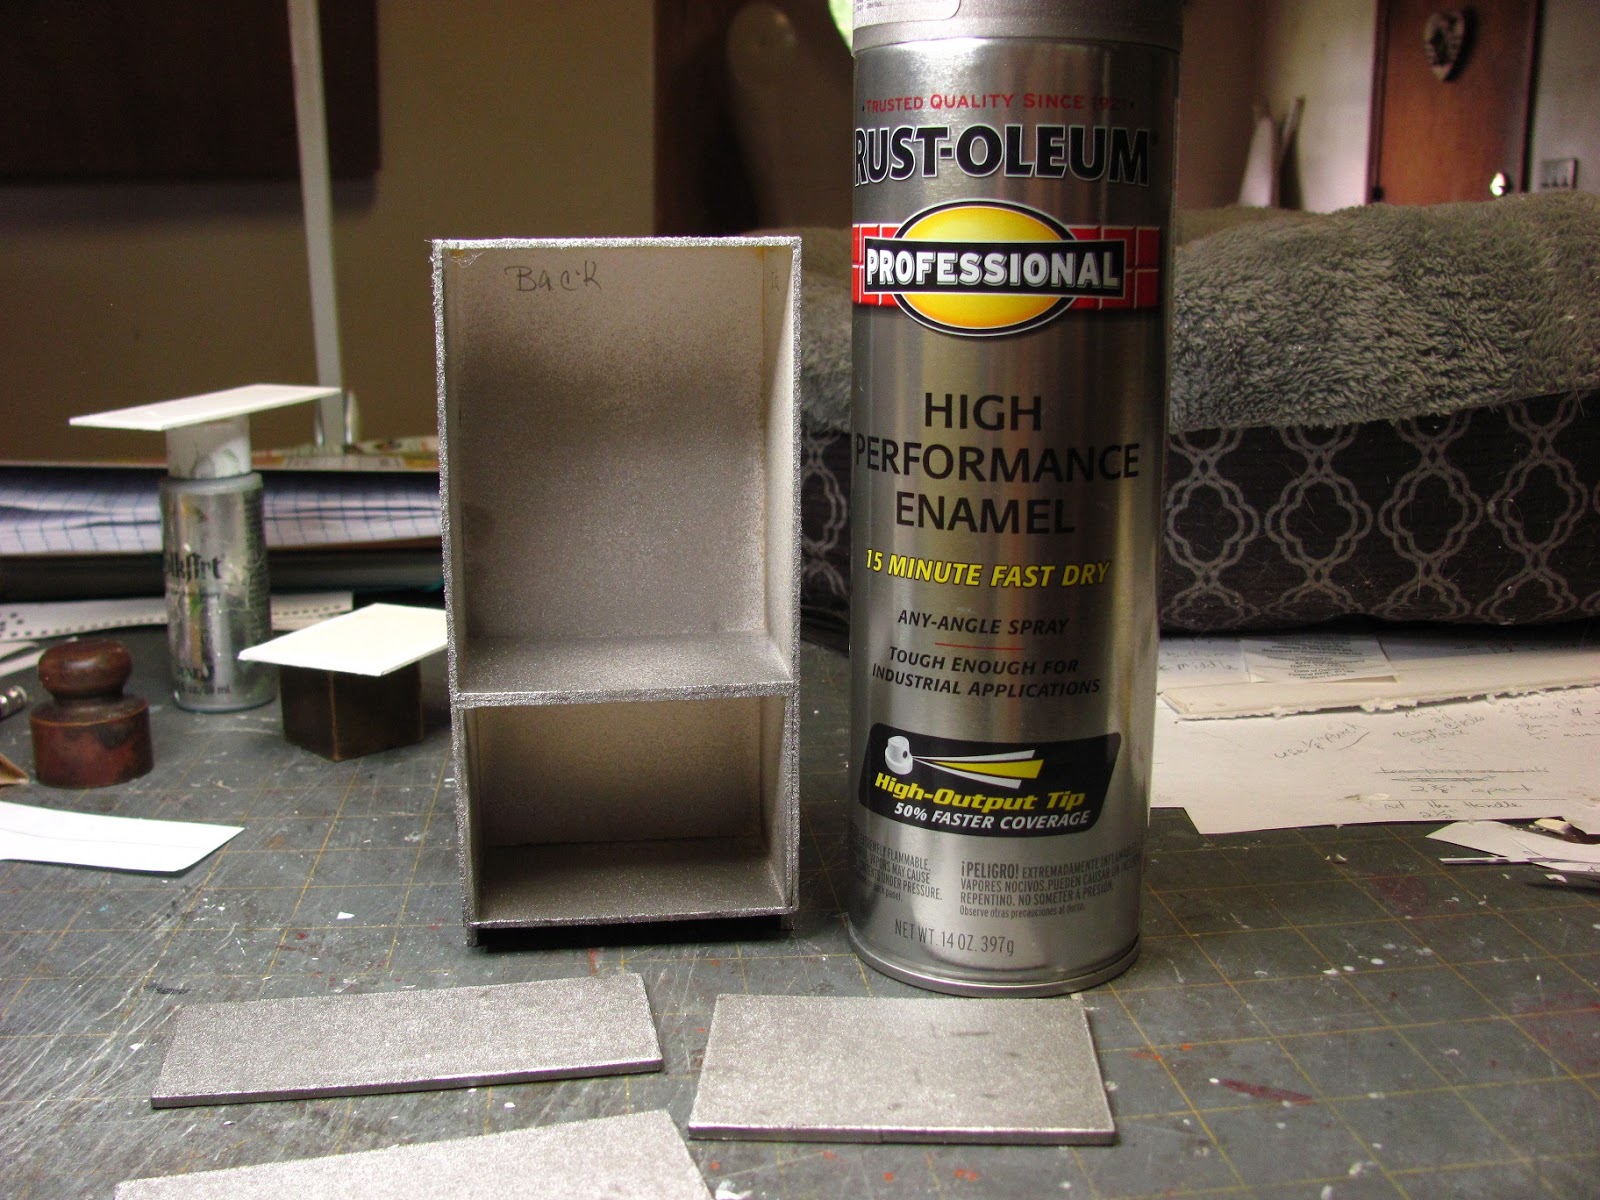
Get started painting the body of the refrigerator and doors.
Let the coats dry and sand with 320 grit paper and graduate to 400 or higher grit paper between coats until you are happy with the results.


Let the first coat dry and apply a second coat.
When that is dry carefully sand smooth with 220 sand paper.
Apply a couple more coats of the paint/gesso paste and let dry. Sand smooth.

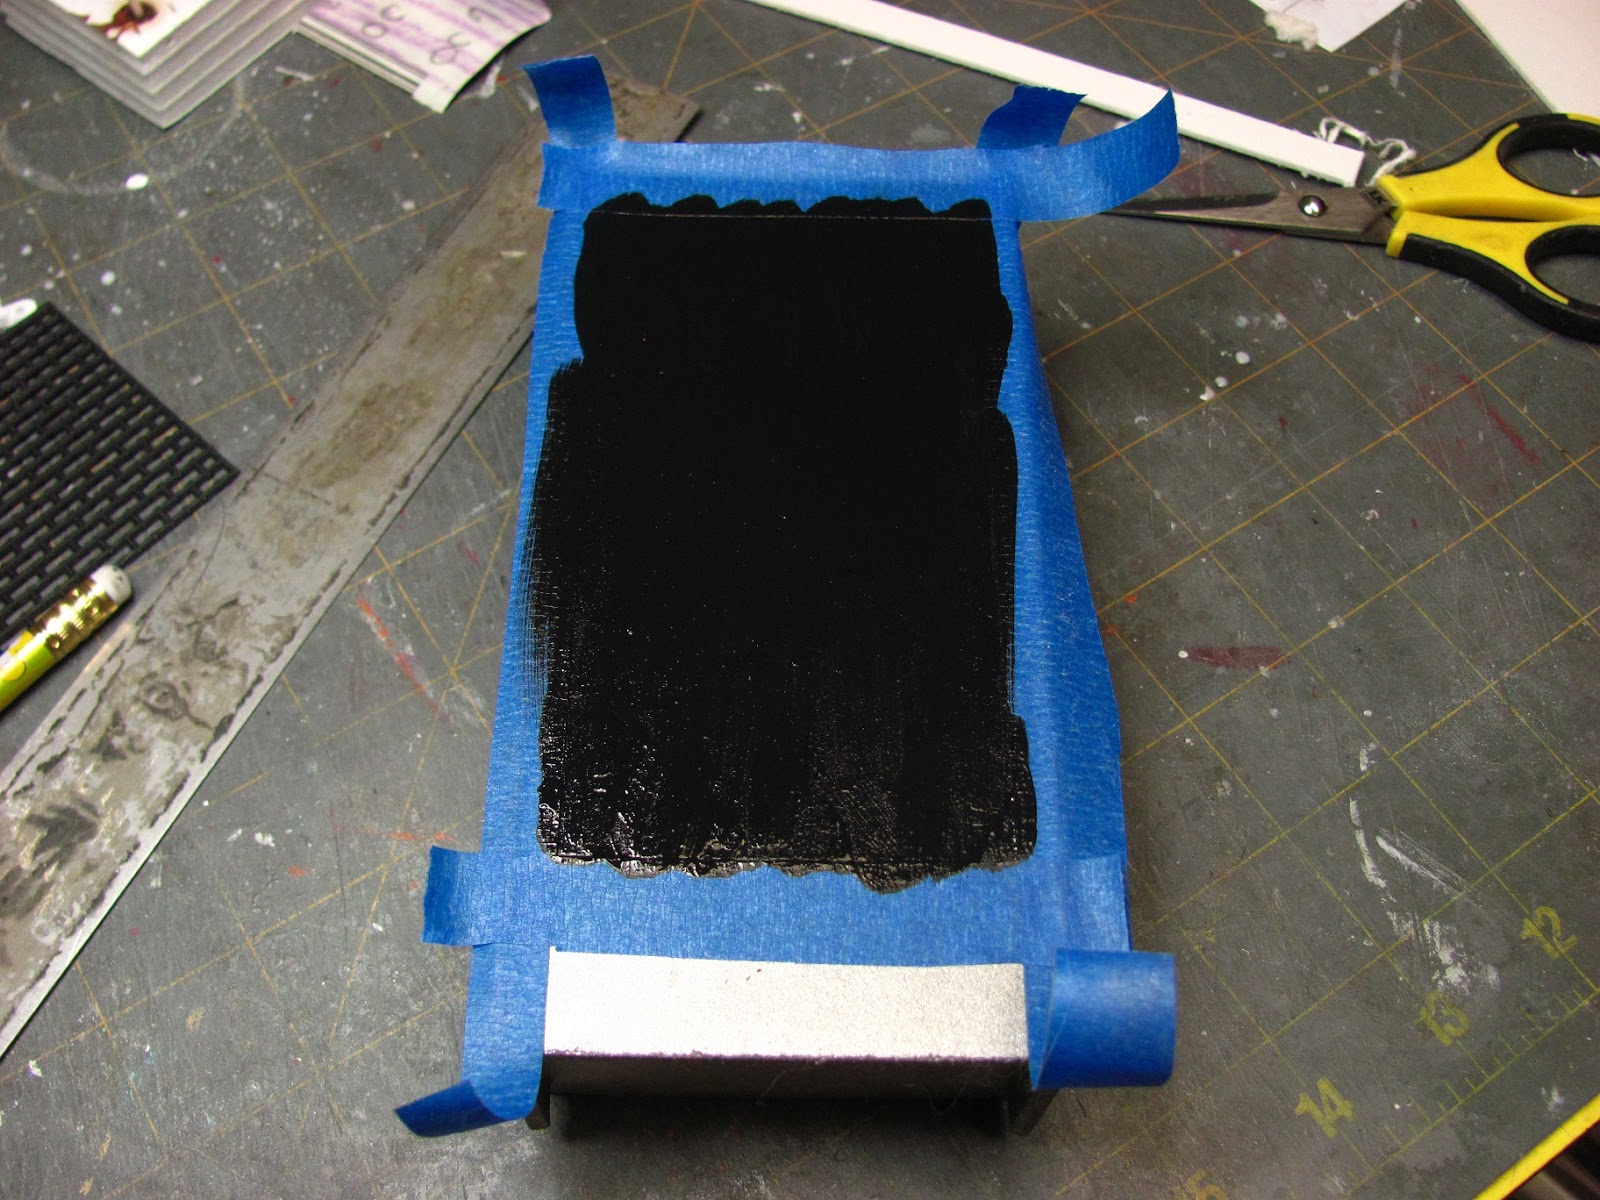
I am using painter's tape to mask off an area on the back of the refrigerator.
Measure 1/2" down from the top, 1" up from the bottom and 1/4" in from each side.


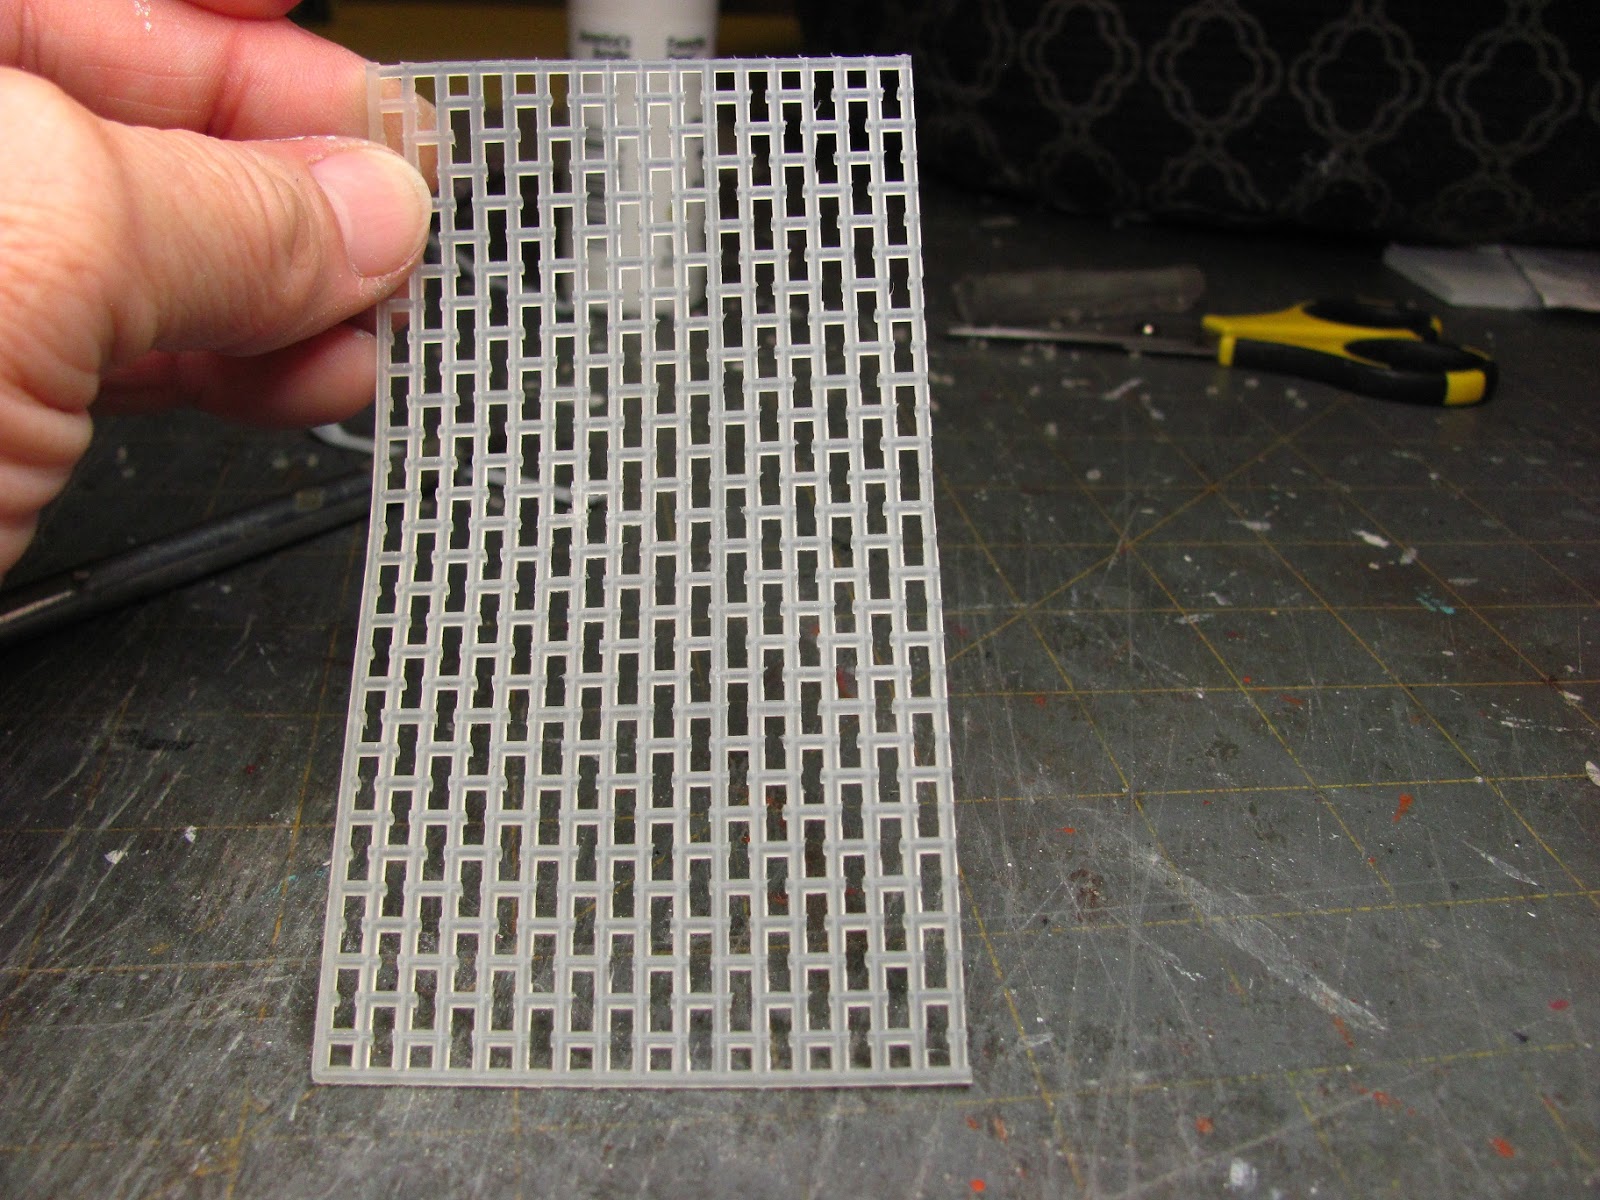
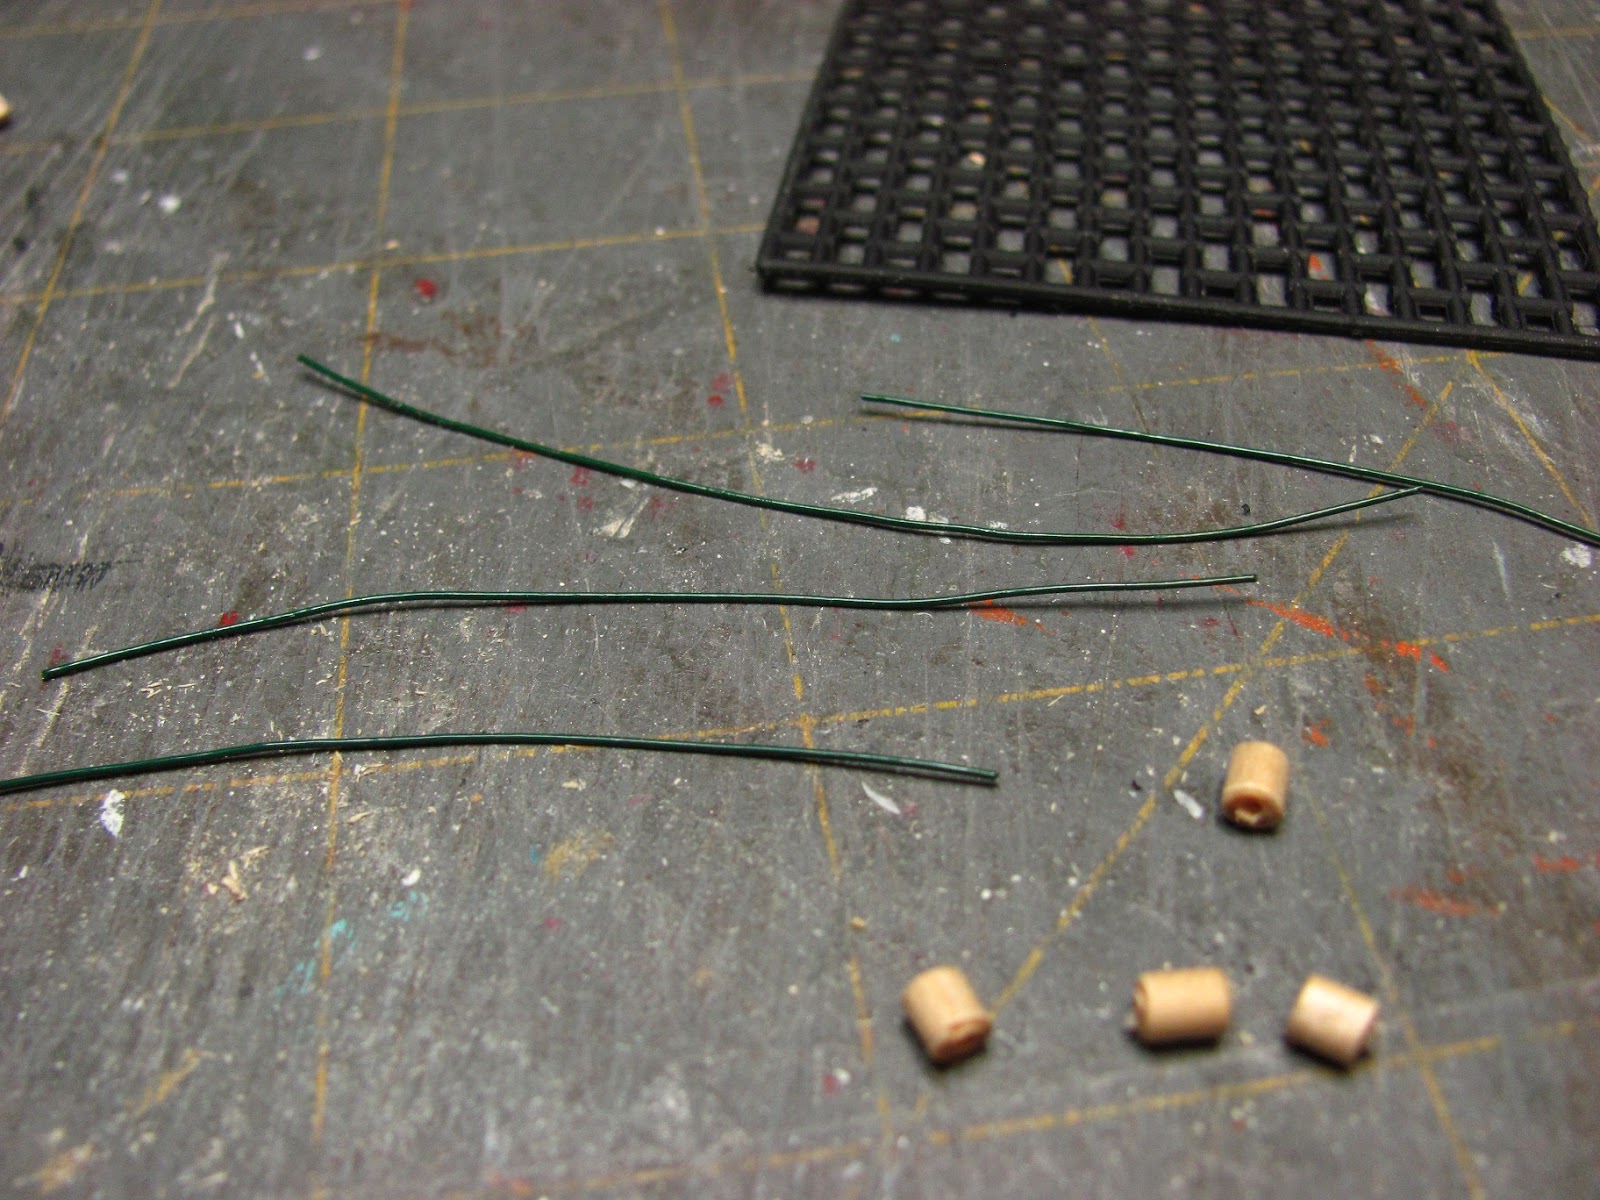
For the grille on the back of the refrigerator I used plastic canvas. This piece has 6 holes per inch.
Cut a piece 16 holes x 30 holes.


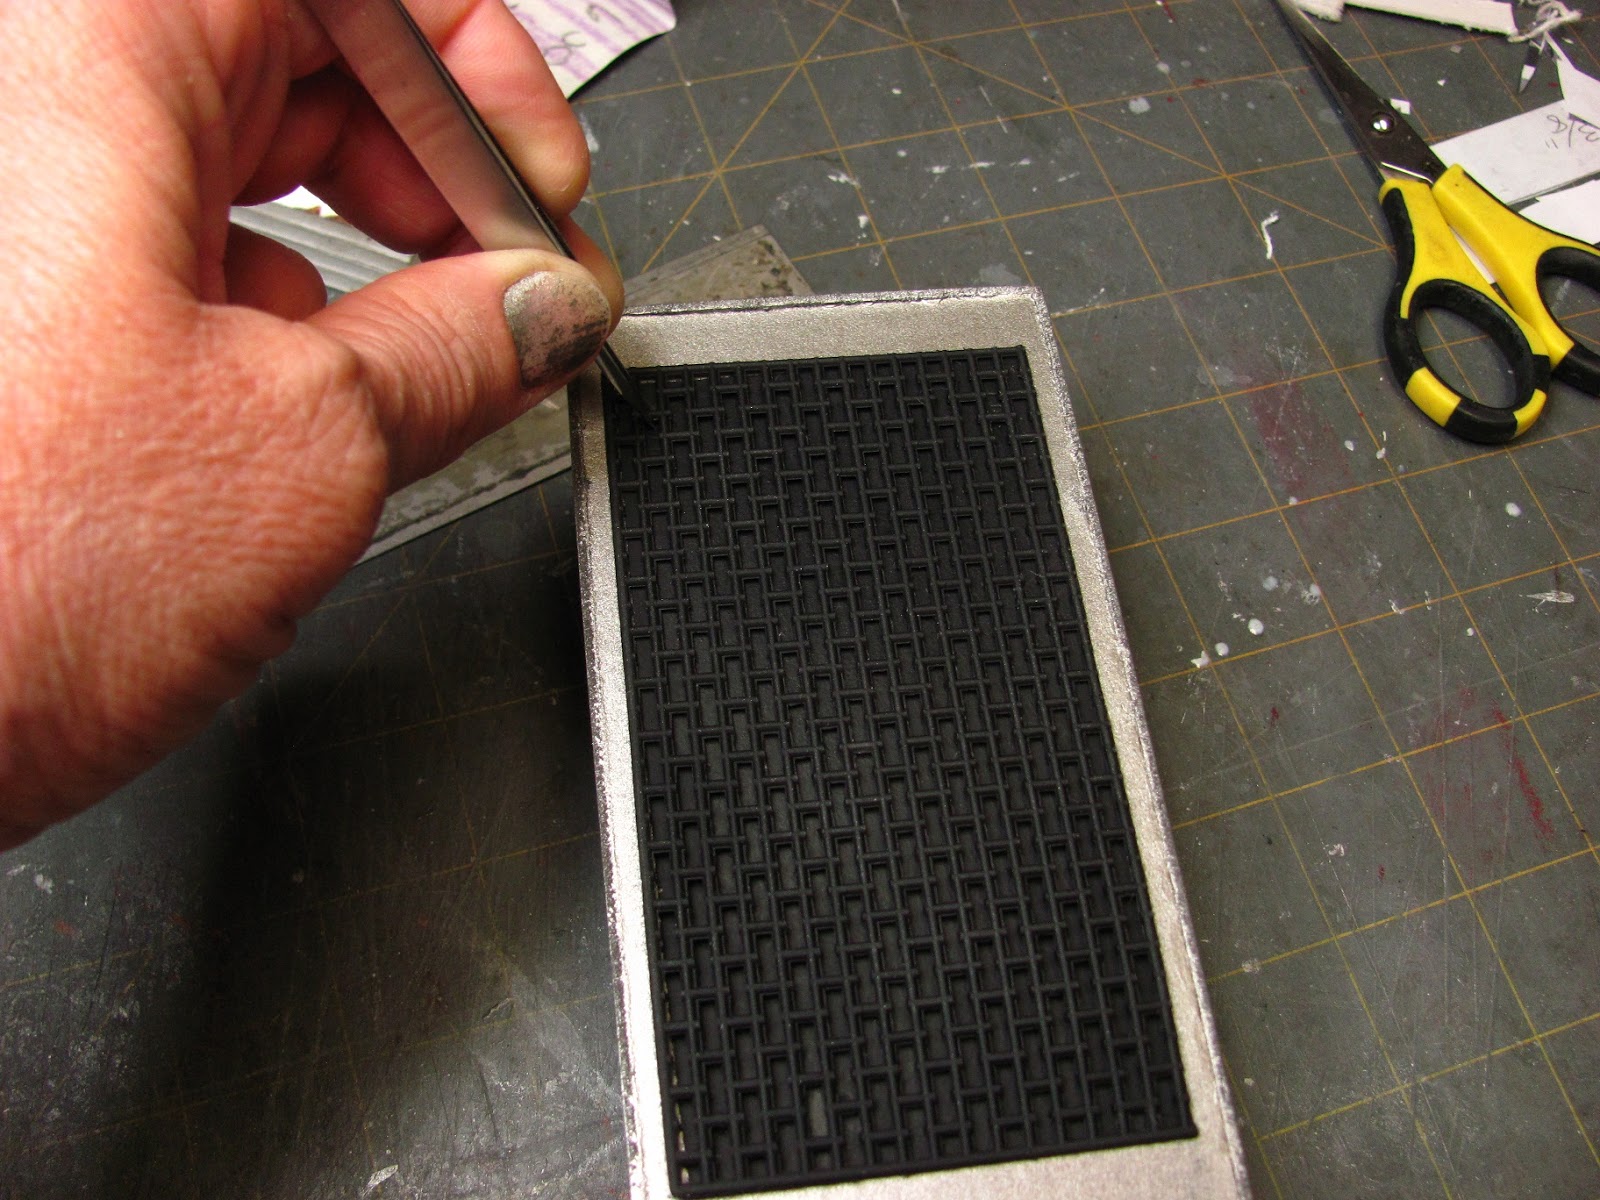
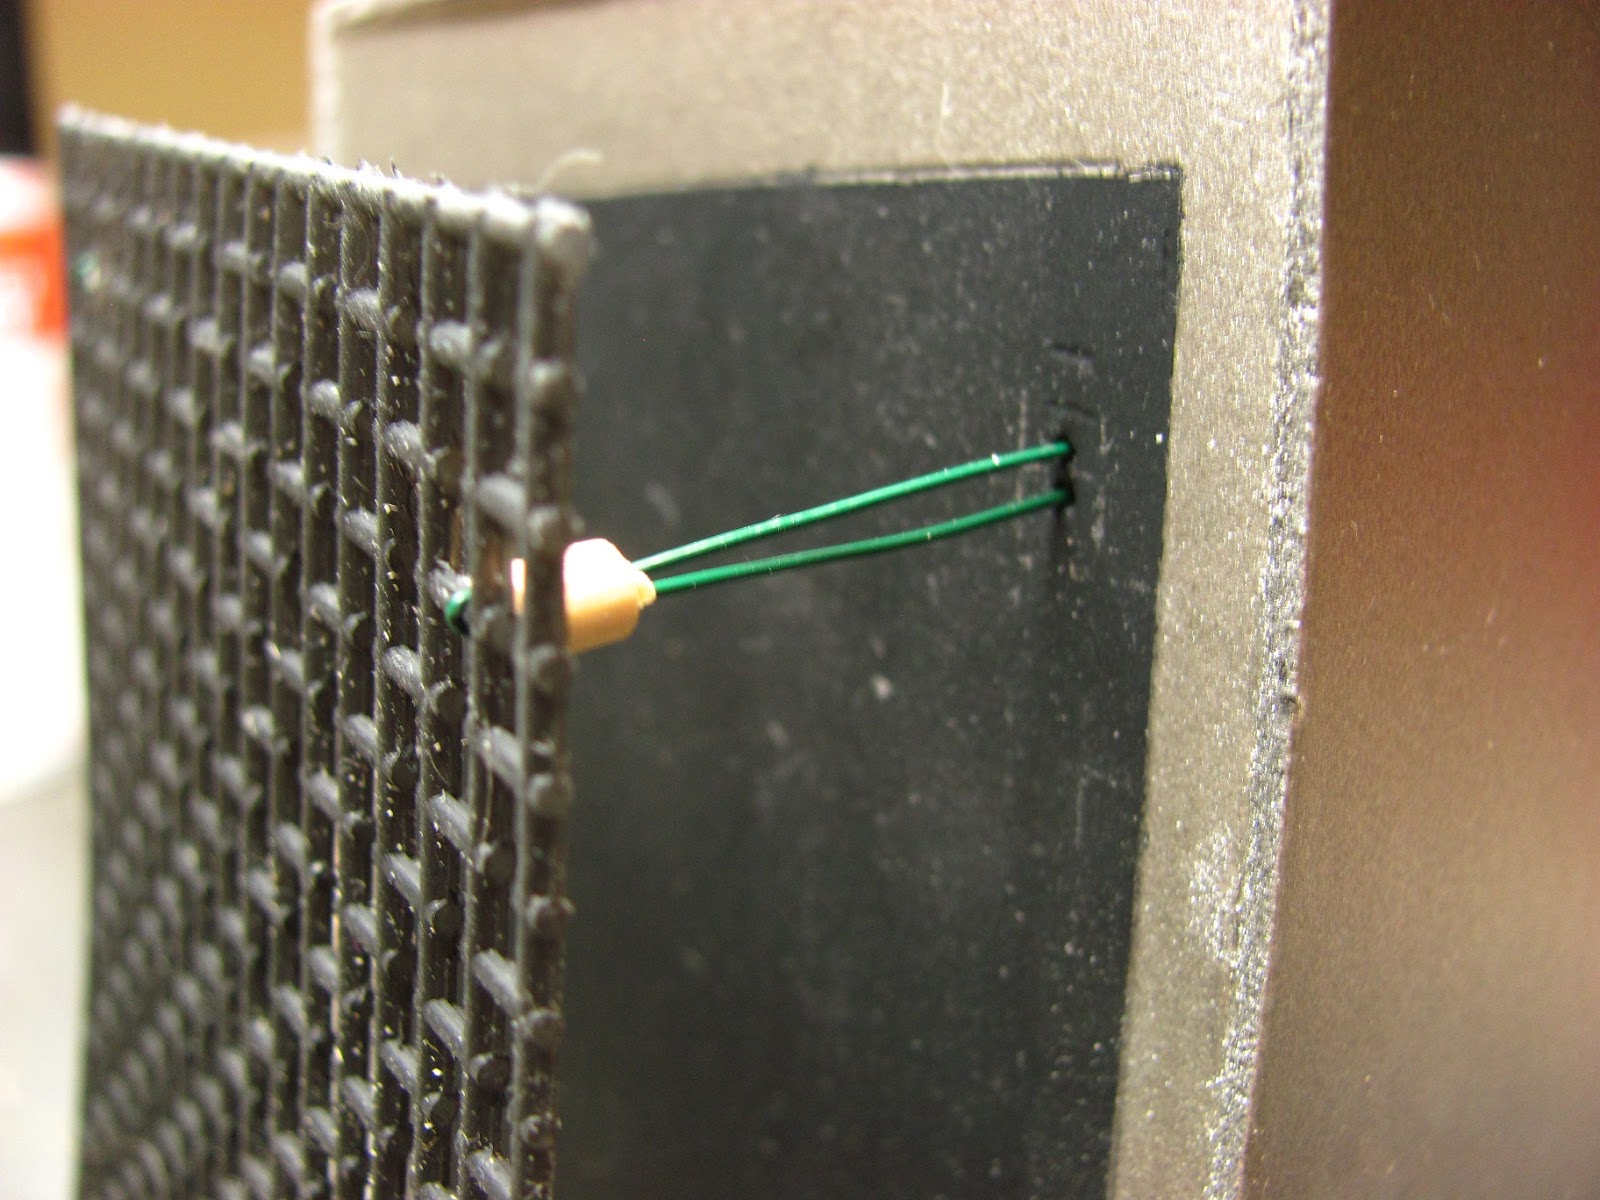
Remove the tape.
Place the grille onto the back.
Use your tweezers to mark two holes over a cross bar in each corner.


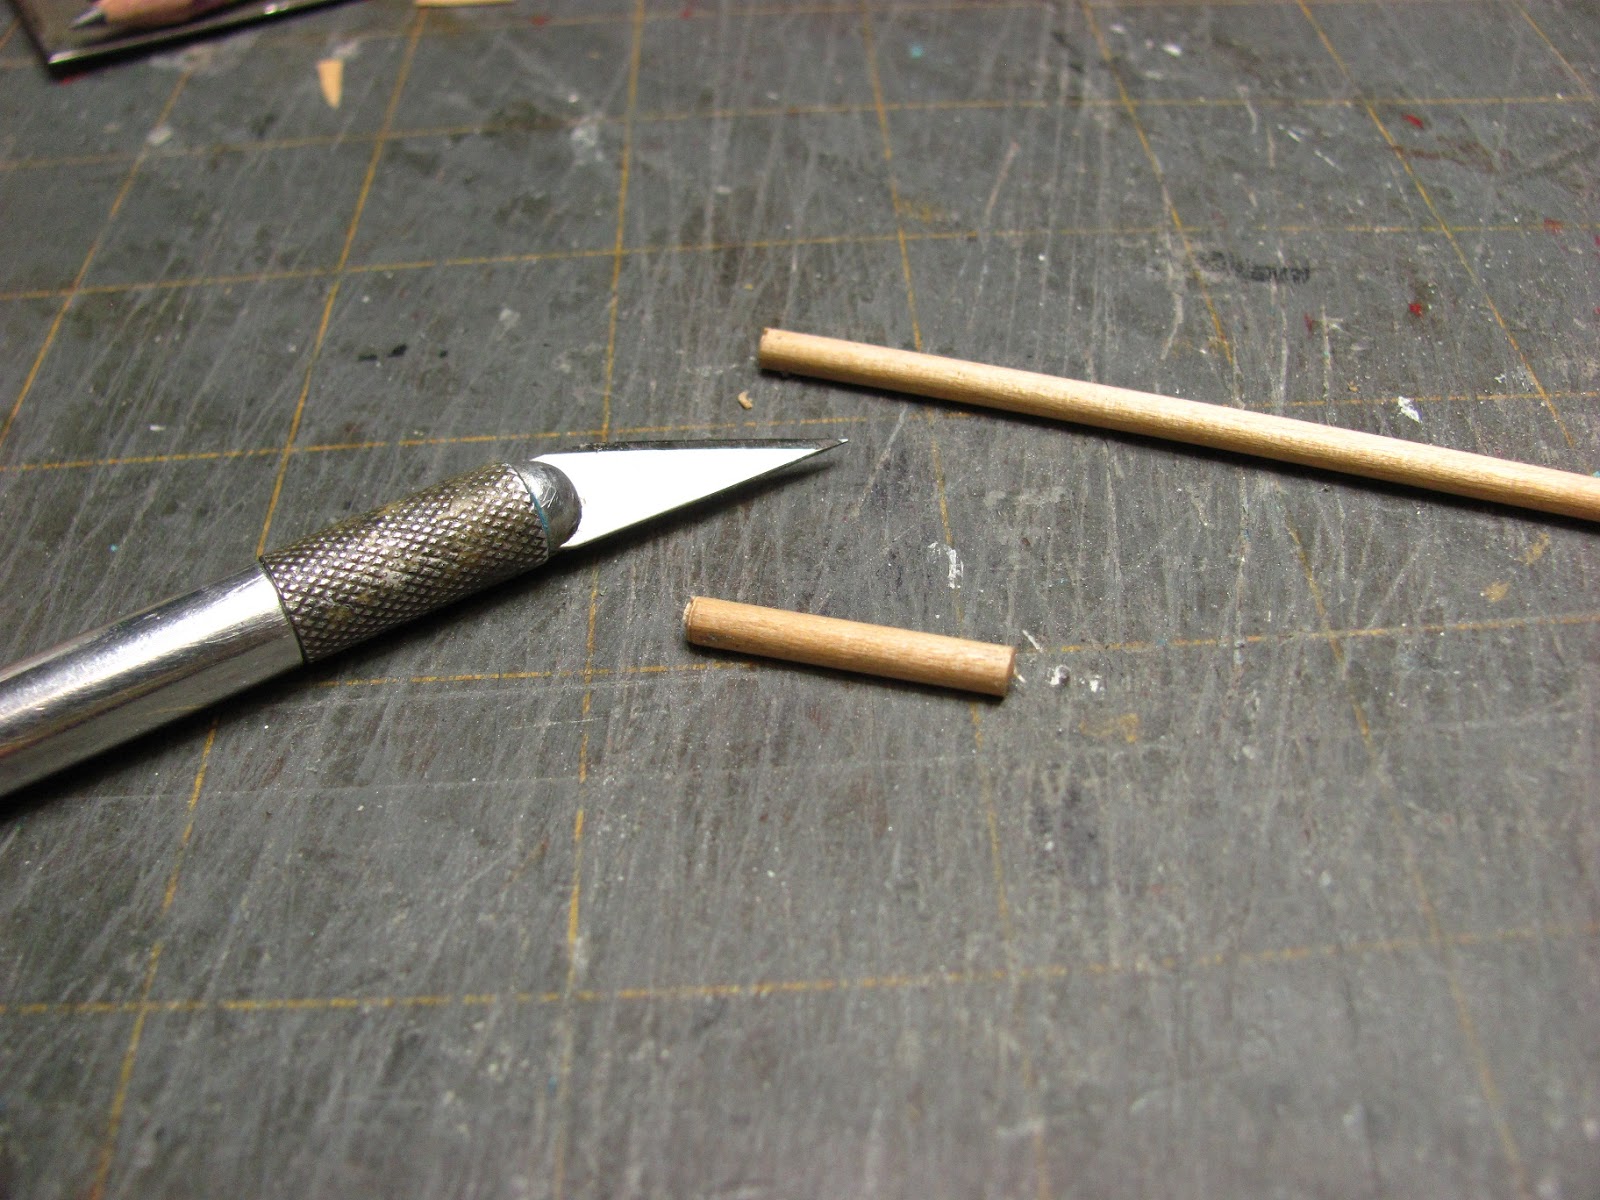
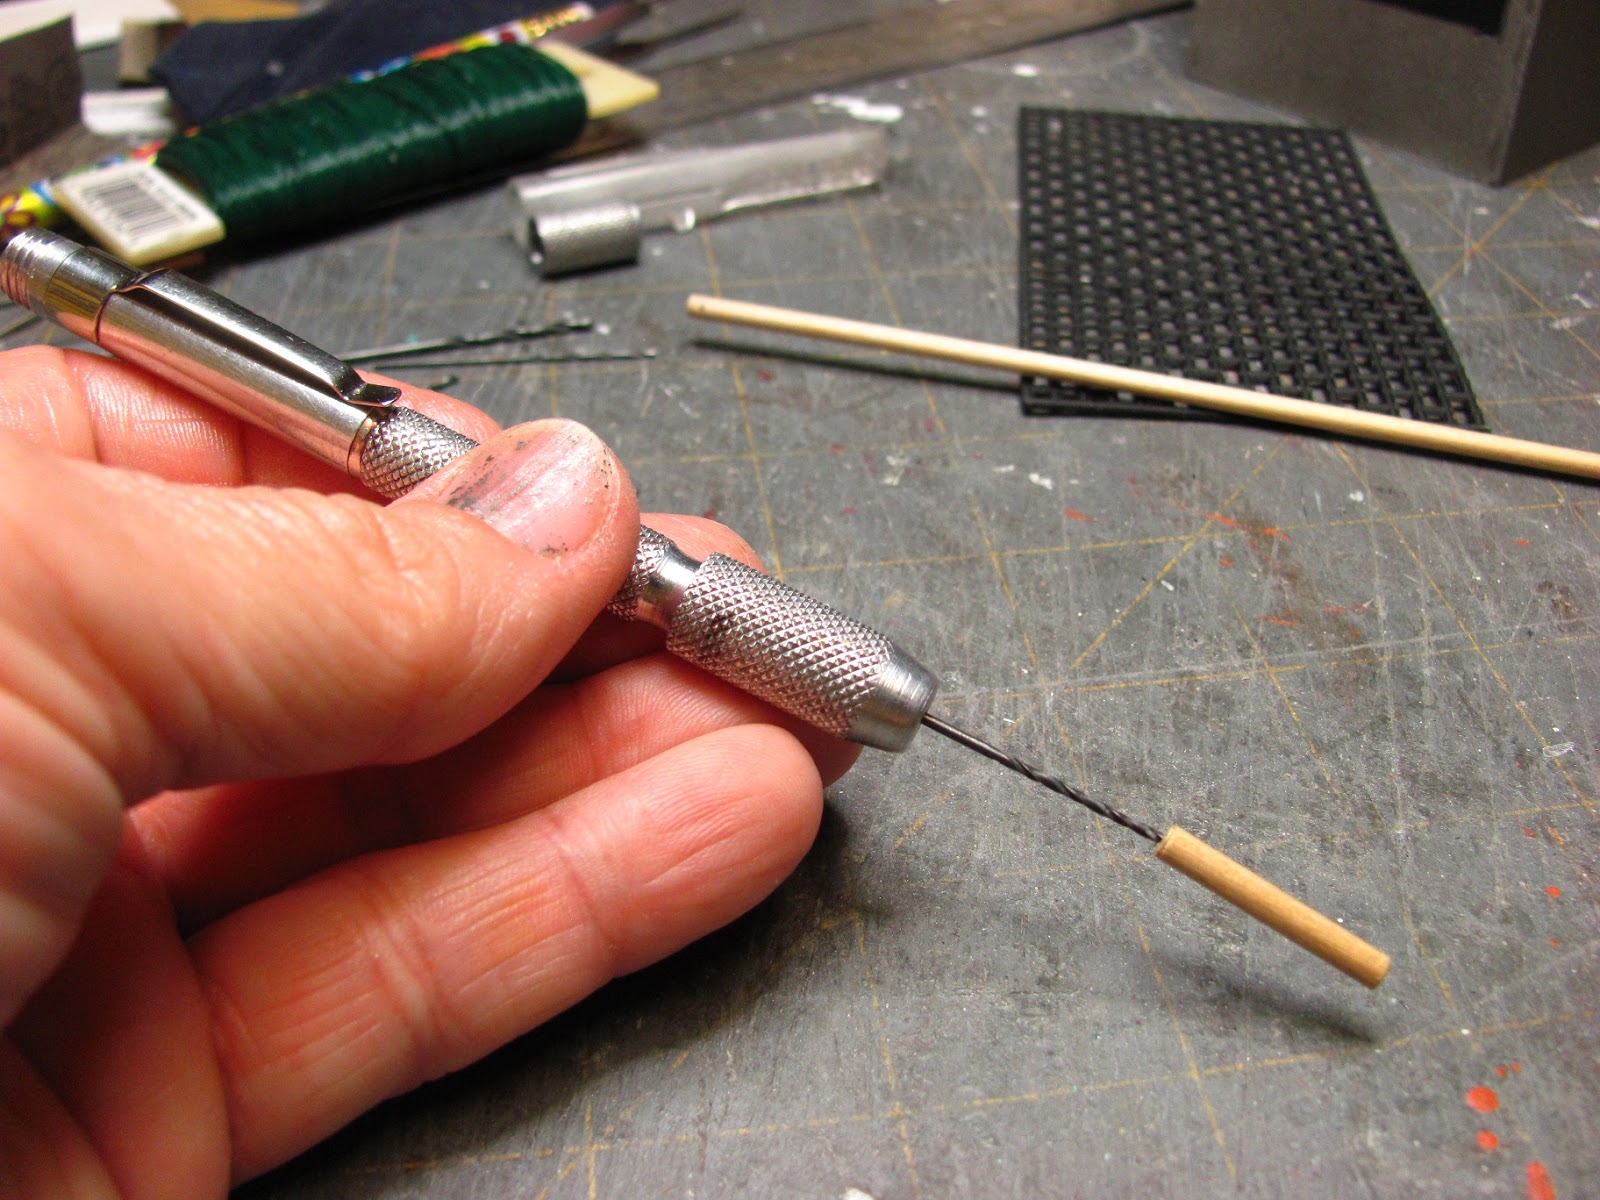
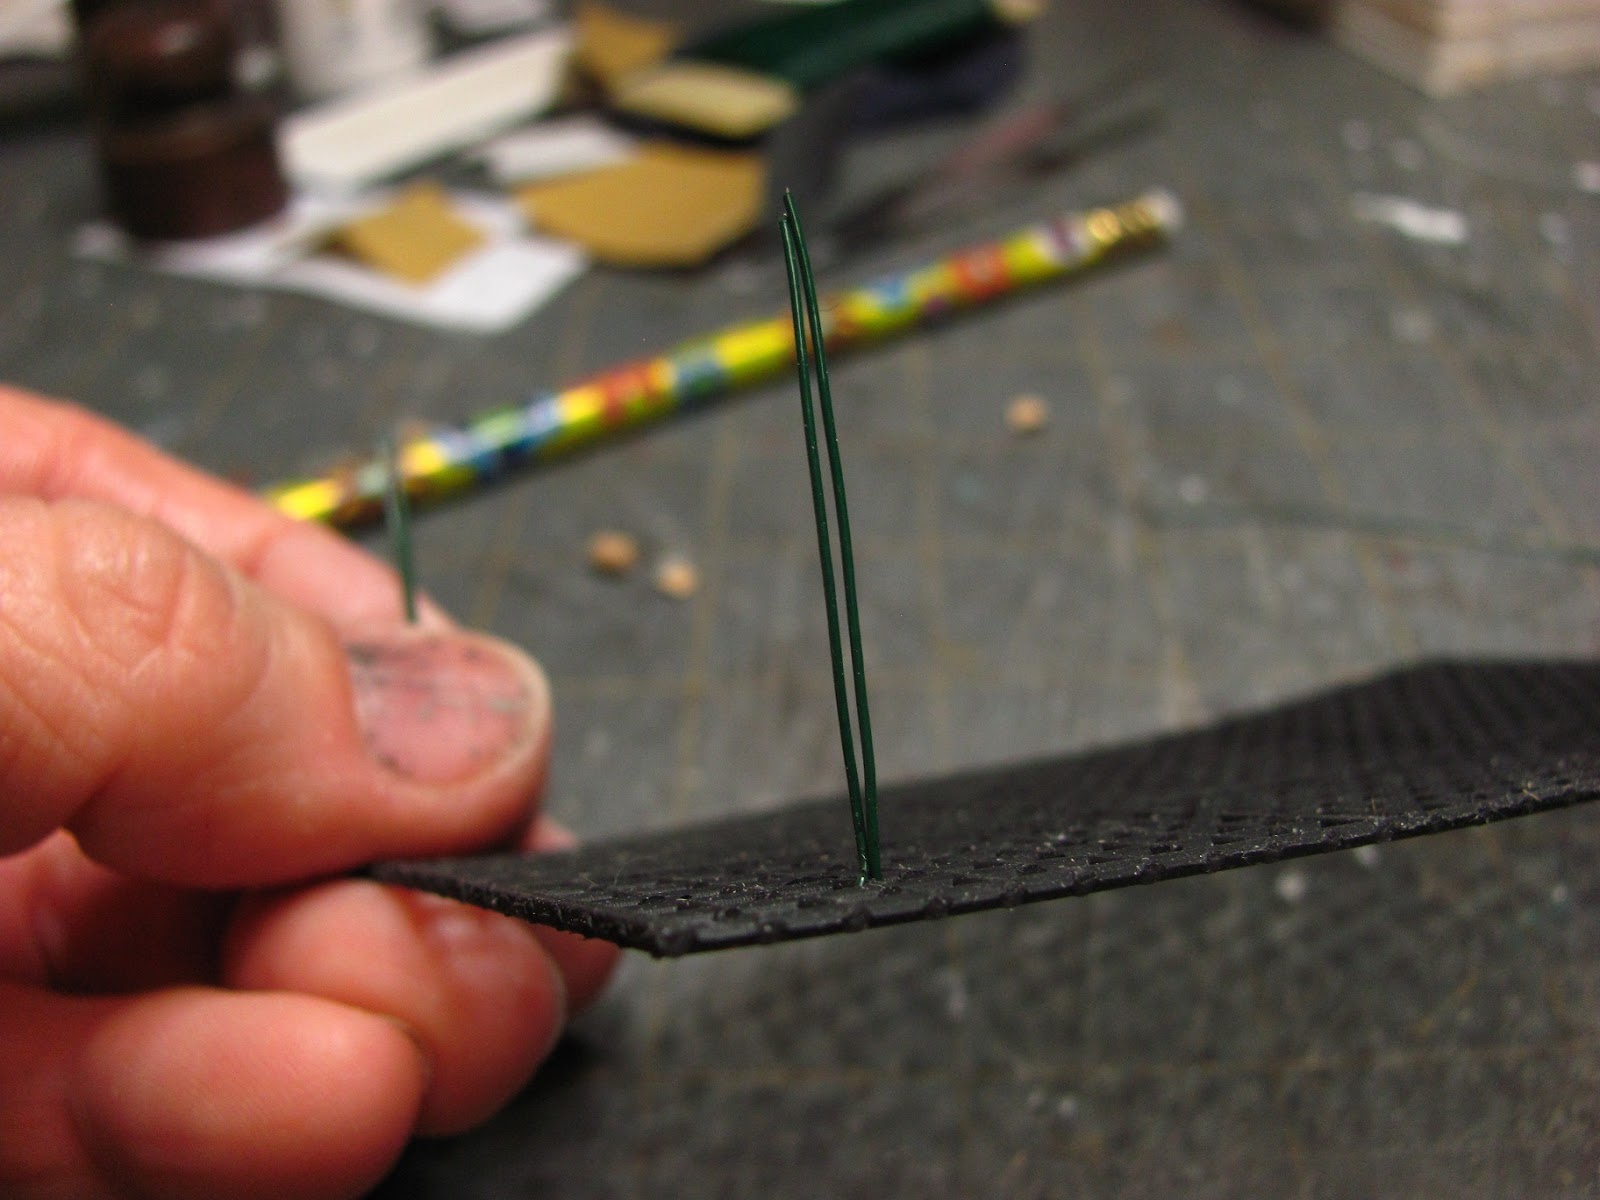
Choose a bit that will make a hole that the 26 gauge wire will fit though.
Drill into the dowel a little bit over a 1/8" long.


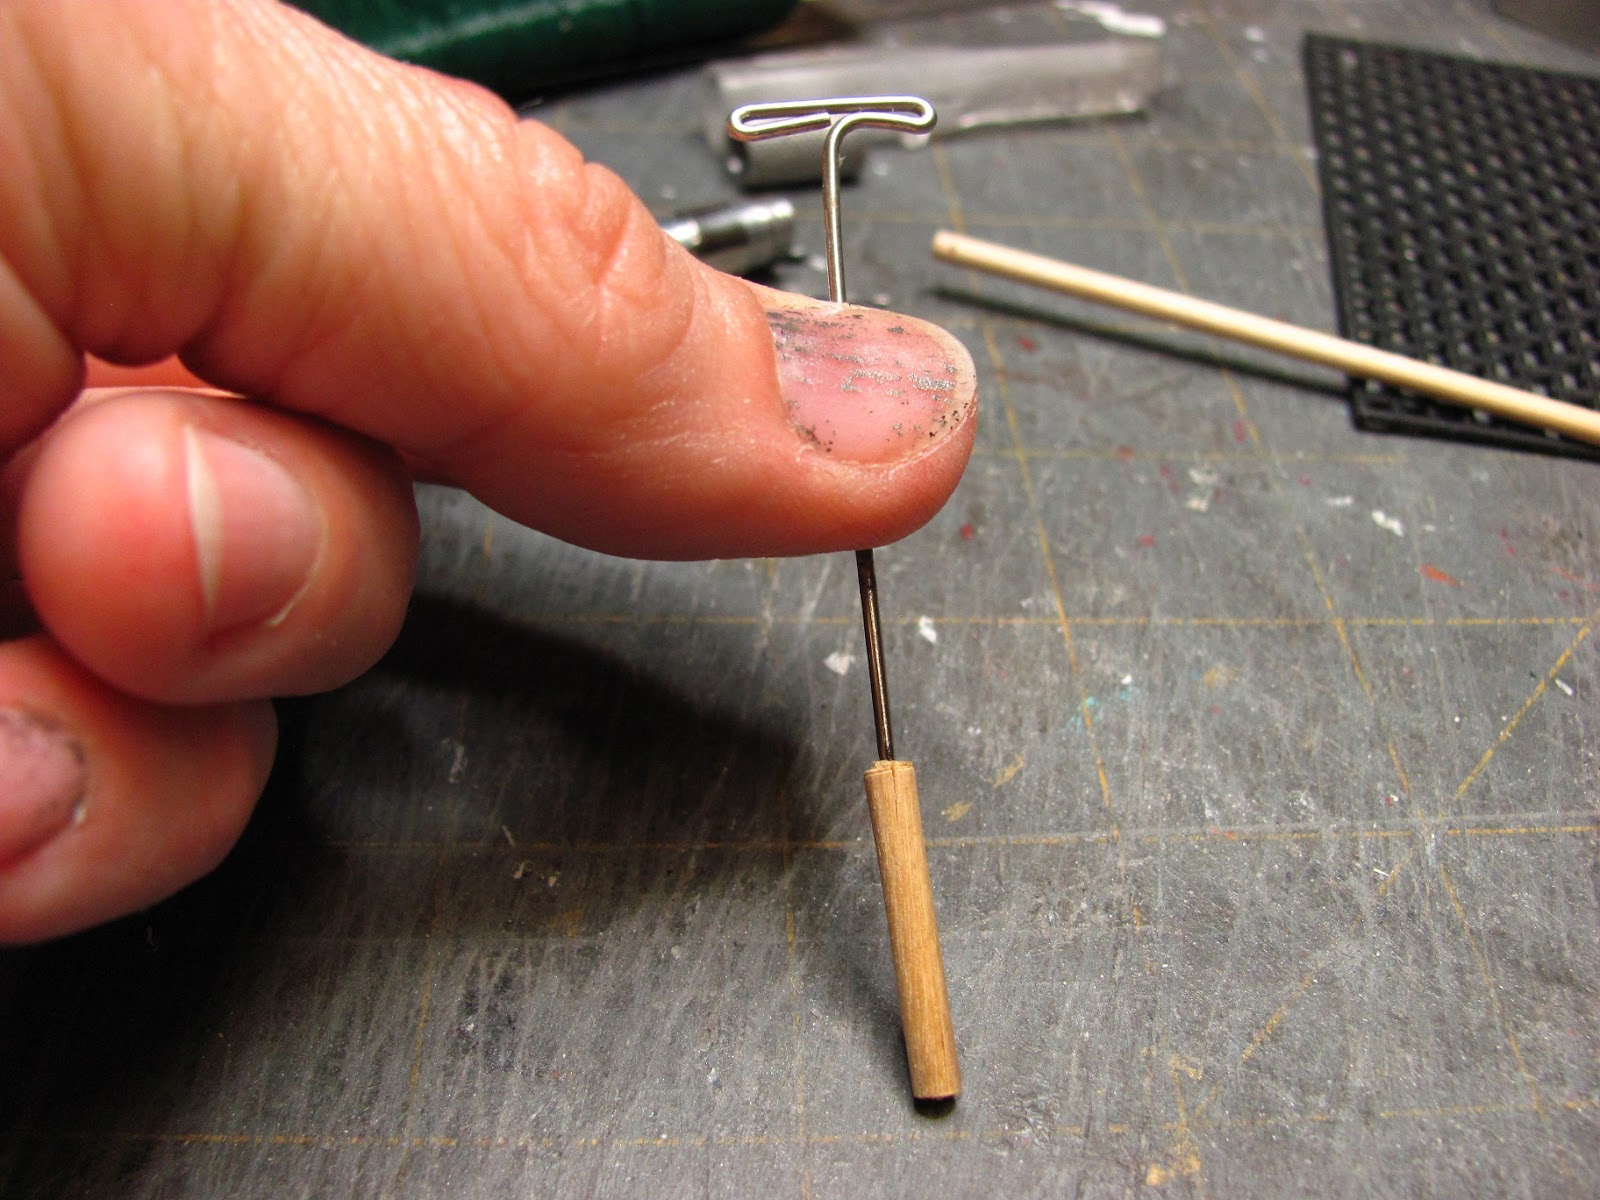
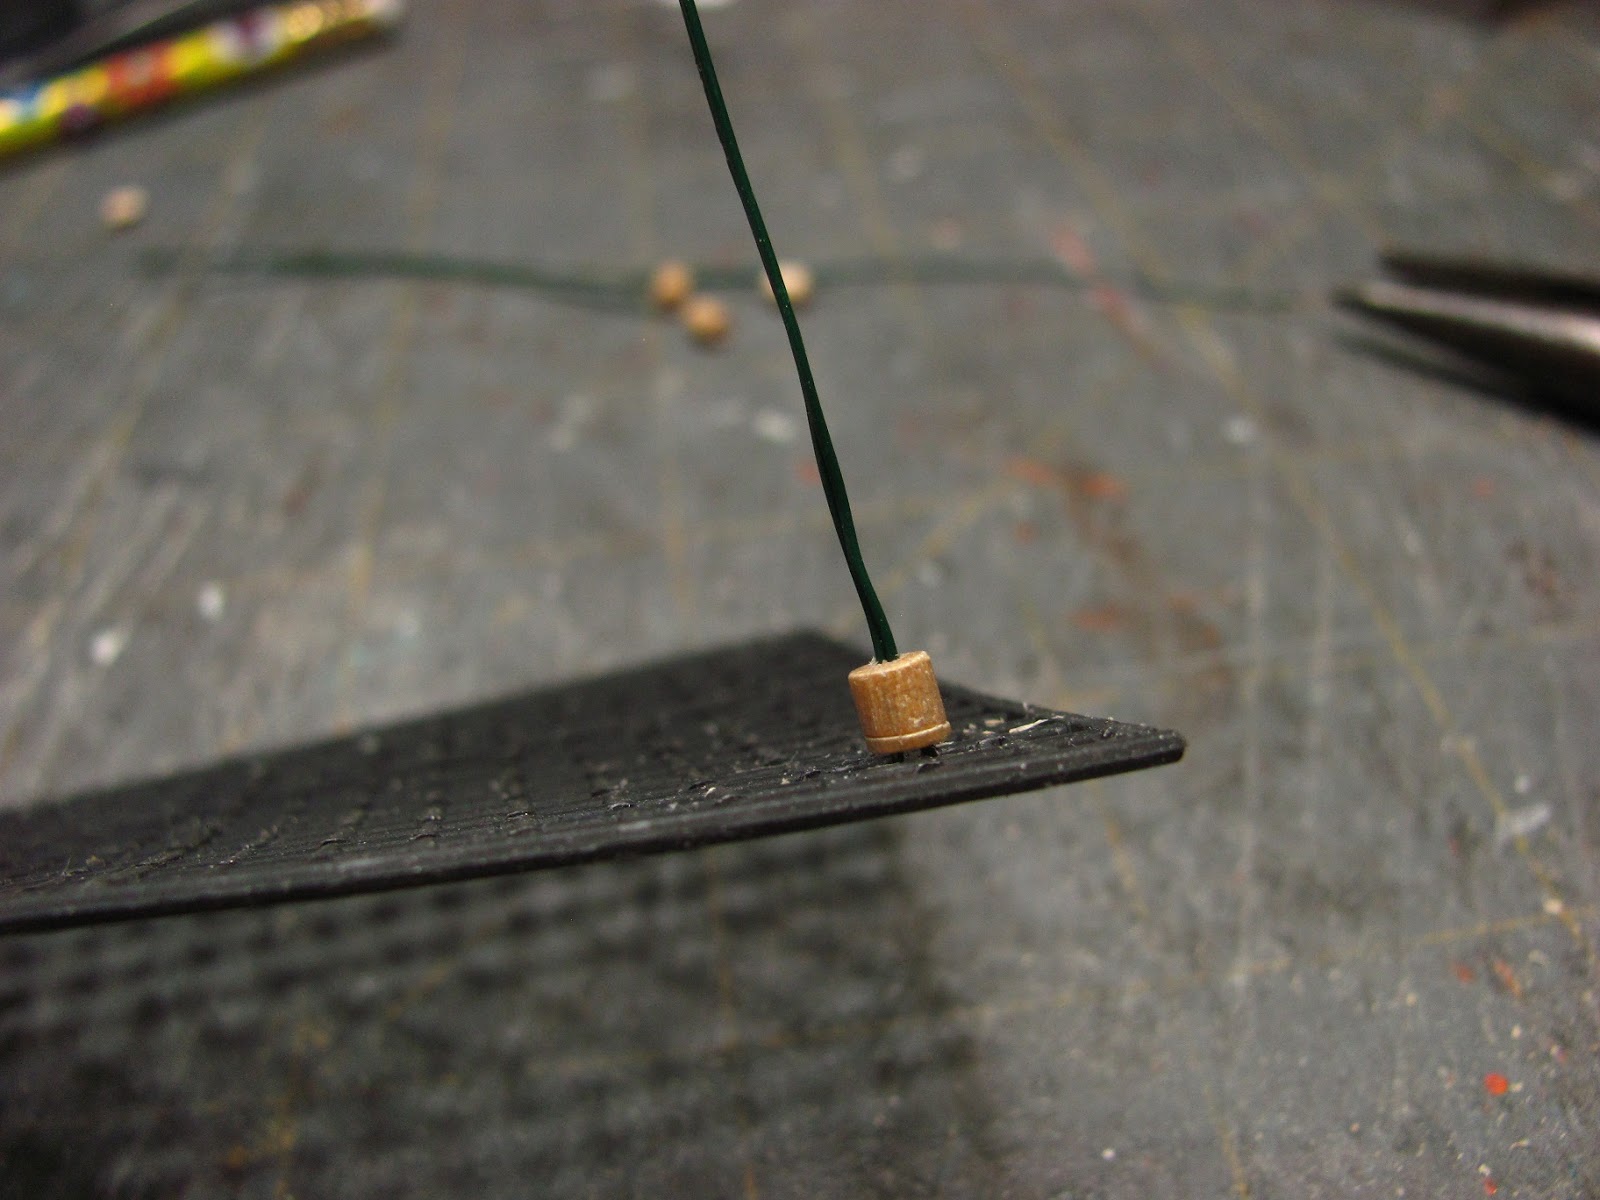
Thread the dowel on.
Just thought of an easier way, use a large black seed bead instead of the dowel????


I used tacky glue to glue the doors to their rubber seals.
I did this because I wanted the quick tack. I am going to clamp this together and I don't want things to slip.

Apply the tacky glue to the door and press the rubber seal onto the door leaving a tiny edge all around.
It is important when you clamp to put a scrap of mat board over your door so that the clamps won't mar the surface of your door.
Clamp all around. Repeat this for the other two doors.


Cut a piece of mat board 1/4" wide and 2 7/8" long for a kick plate.
Paint this black, let dry and glue to the front of the refrigerator.


Put the doors on keeping the edges even.
Put scrap mat board on top of the doors and weight them down.
I left this overnight.


I went to the model car isle at Micheals and bought a small can of chrome spray paint.
I used this for the handles.

I lightly glued the handles to a scrap of mat board and sprayed the handles with the chrome spray paint.
This paint takes a long time to dry. Be careful when you touch it, you can leave fingerprints.
When the handles are dry carefully remove them from the mat board with your craft knife.

I used tacky glue to glue the handles on. You can use super glue if you want. I am not good at applying that and generally make a mess.


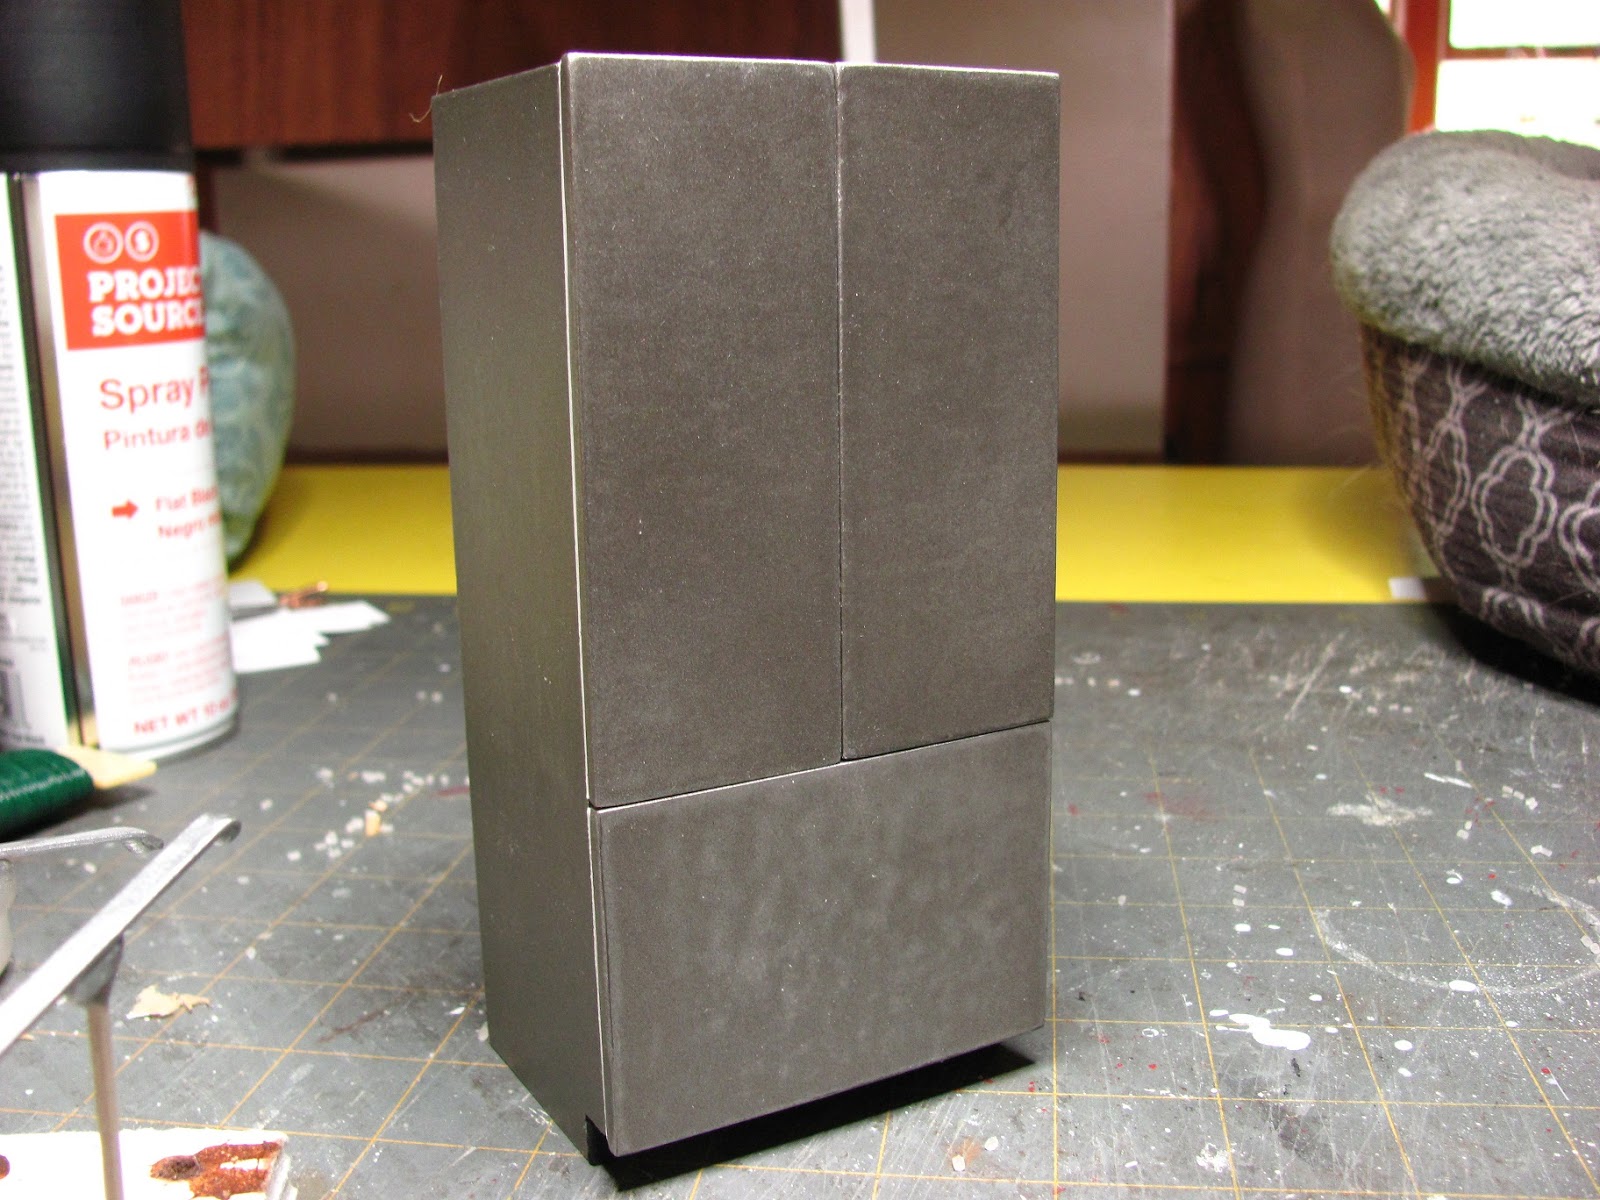
Showing another view.
Now, you have the stove and refrigerator to make your contemporary kitchen. I do hope you try this out.
Have you all seen the kits in Hobby Builders?? I am putting together more kits so if you have a favorite chances are I will be adding it to the list.
As always,
Have fun, Expand on it, Make it better . . . . Just Keep Making Minis!
TTUL
Kris