
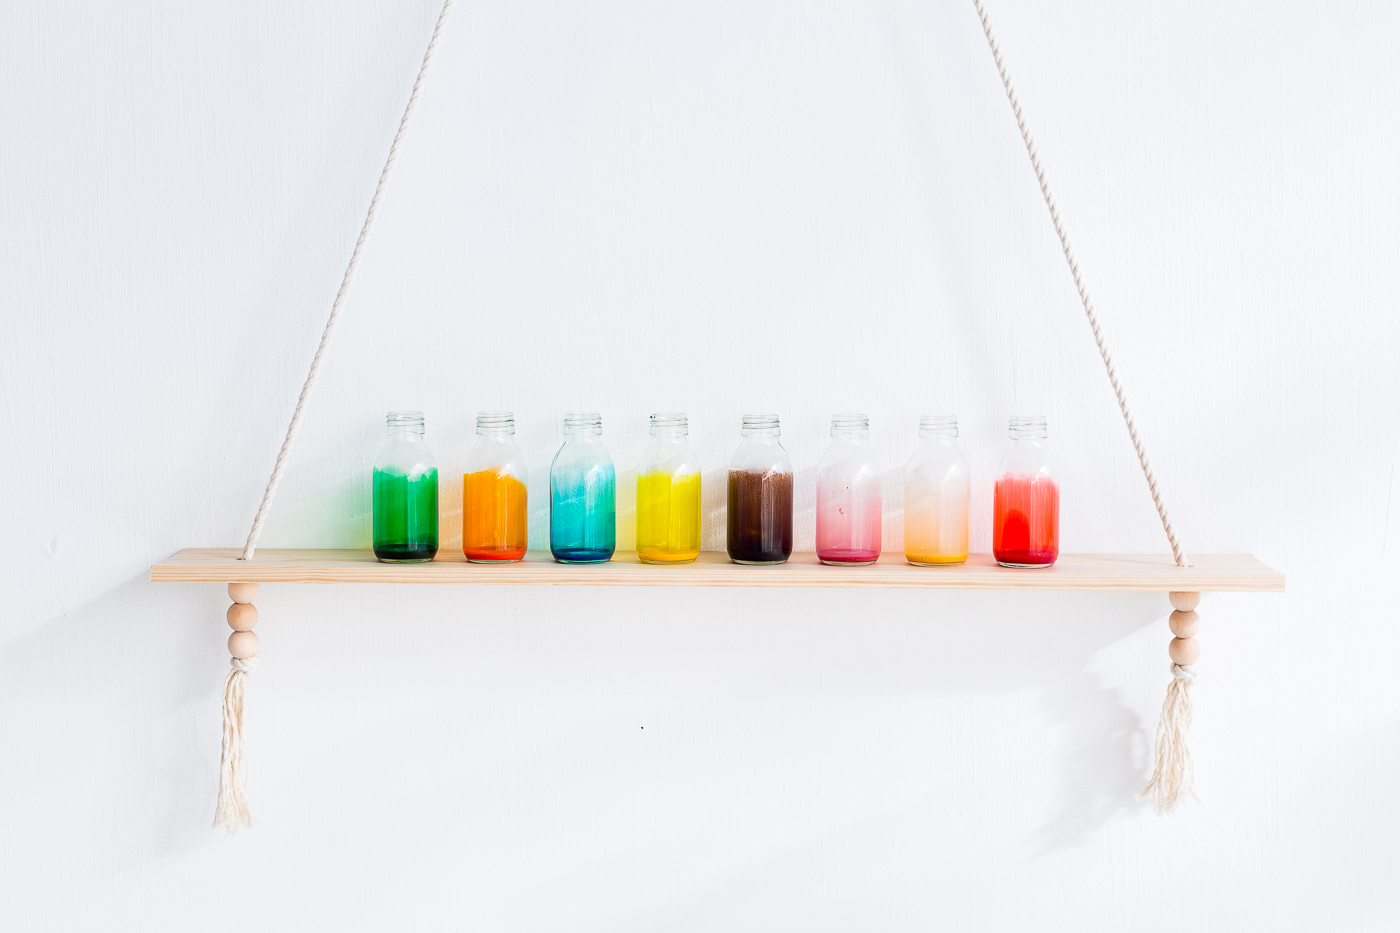
DIY Stained Glass Bottles

I’ve always been a little obsessed with stained glass. I love exploring old churches with those beautiful windows. If you find them at the right time of day the colour from the light can change the atmosphere around you. It’s quite magical.
I’ve wanted to try recreating that look for years. I love playing with perspex but there’s nothing quite like the way sunlight moves through glass.

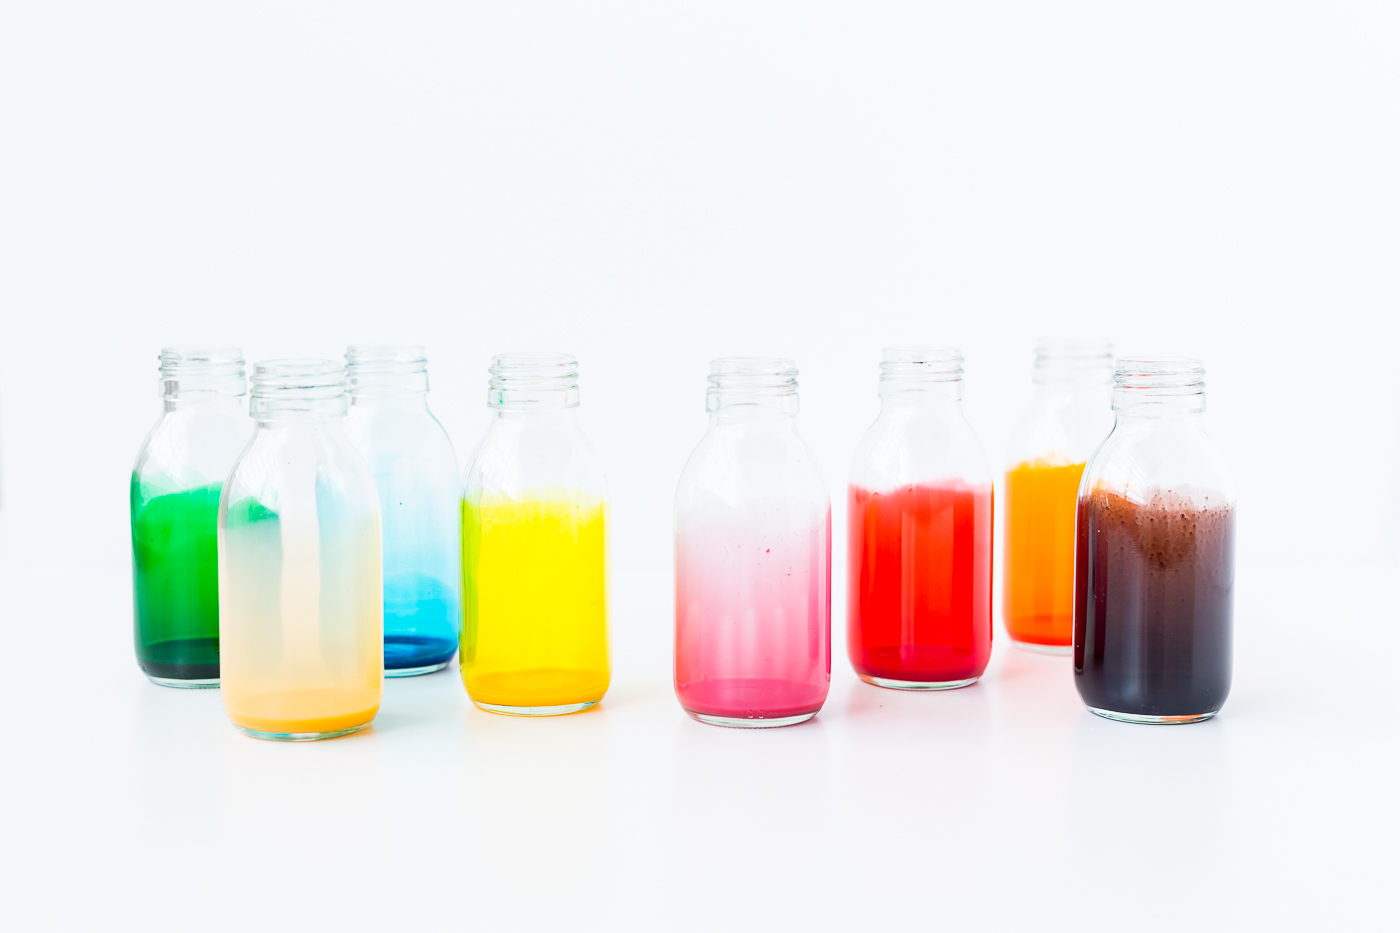
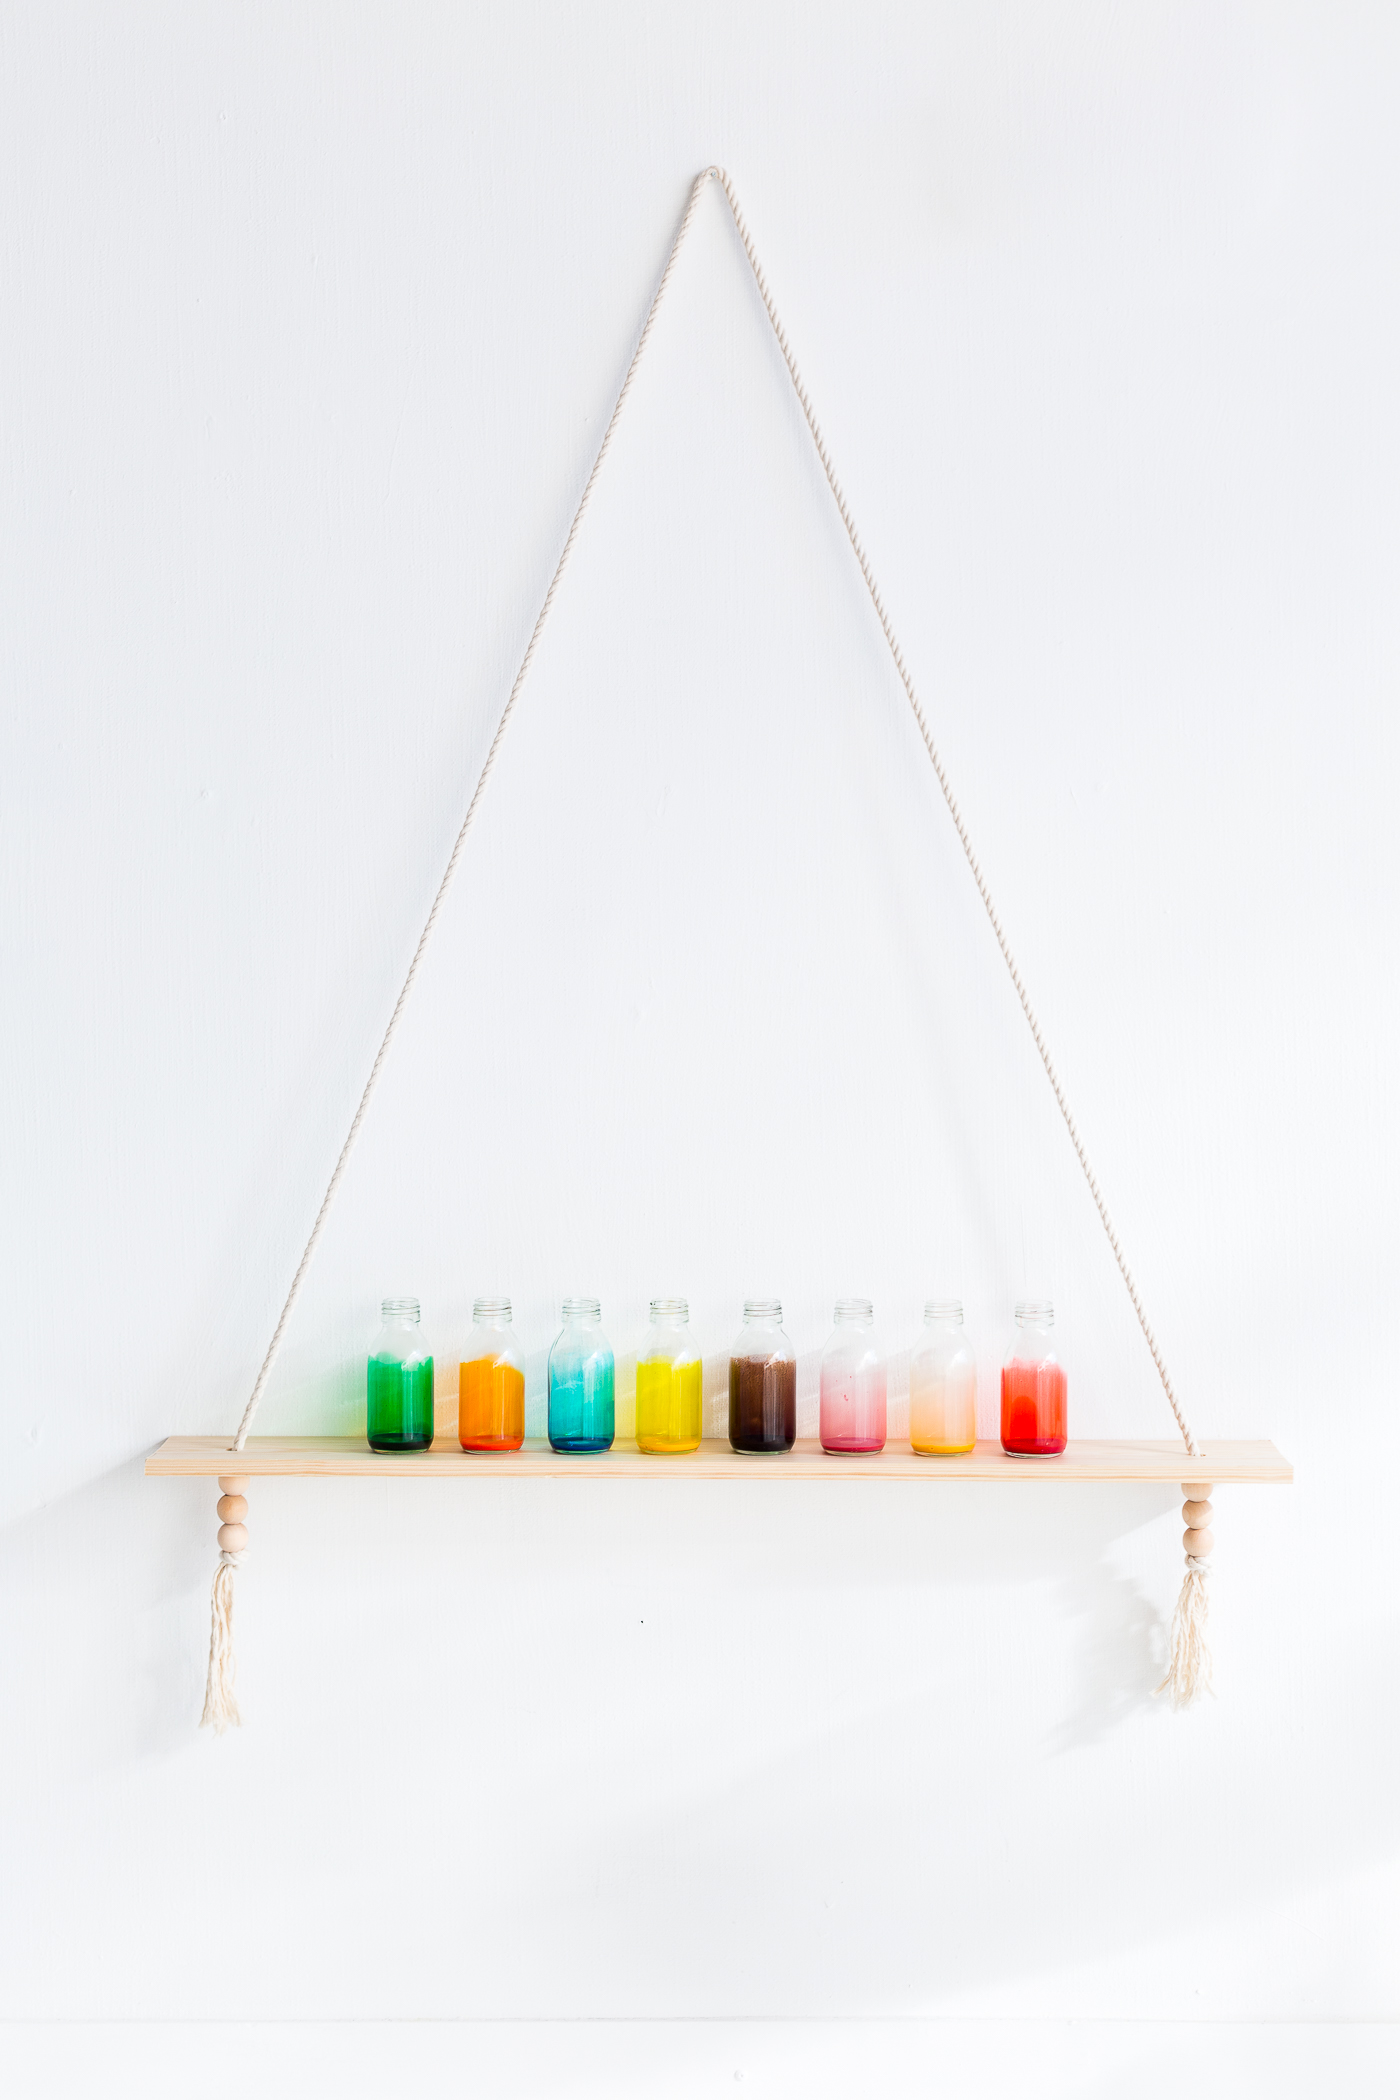
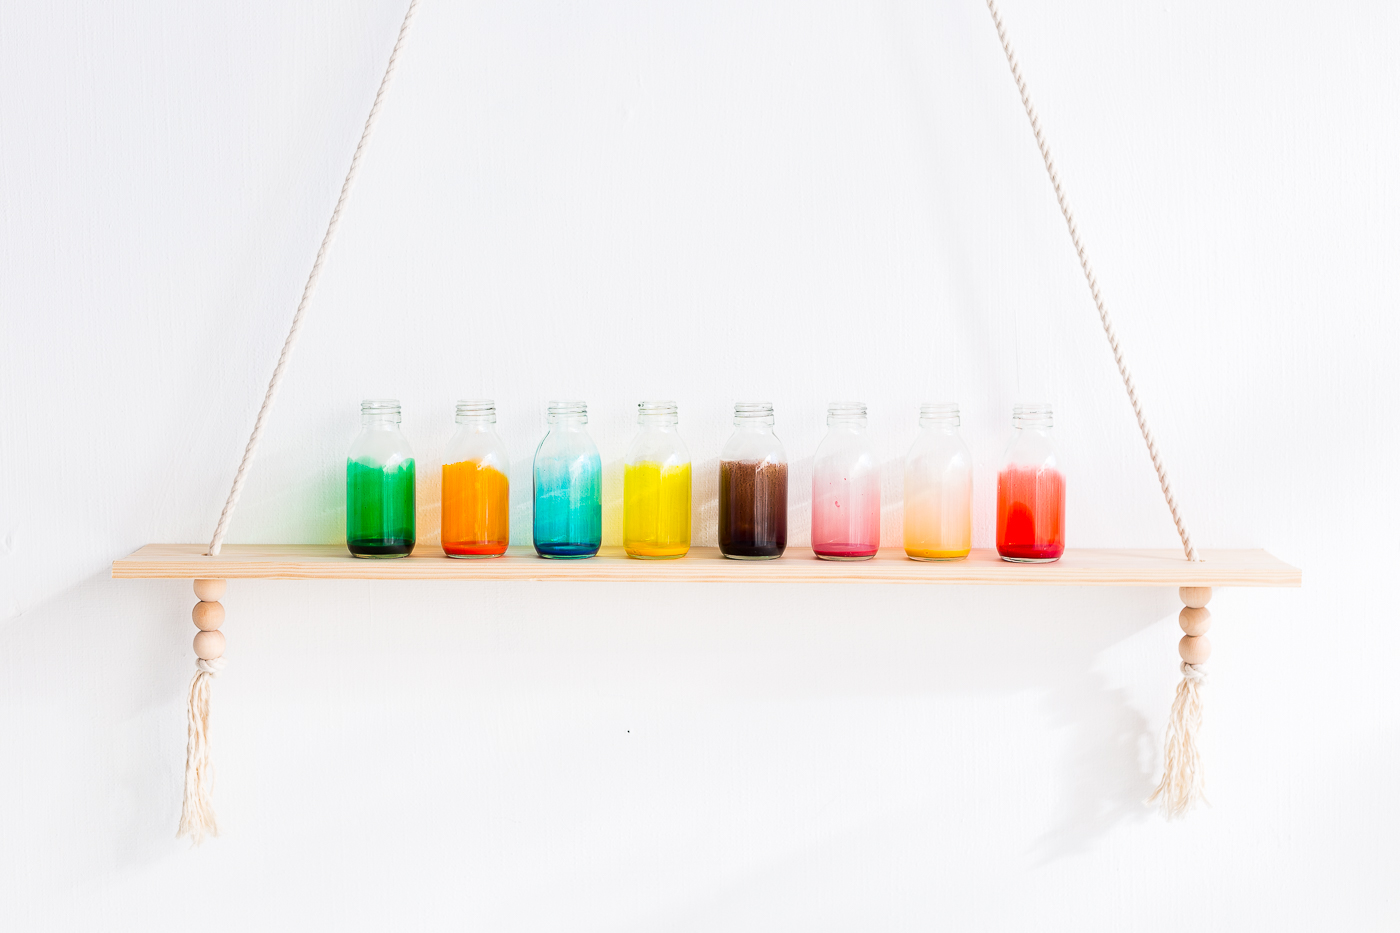
So I’ve made these colourful, translucent bottles for beautiful storage, small vases or just very pretty windowsill accents that you can whip inexpensively.


Instructions
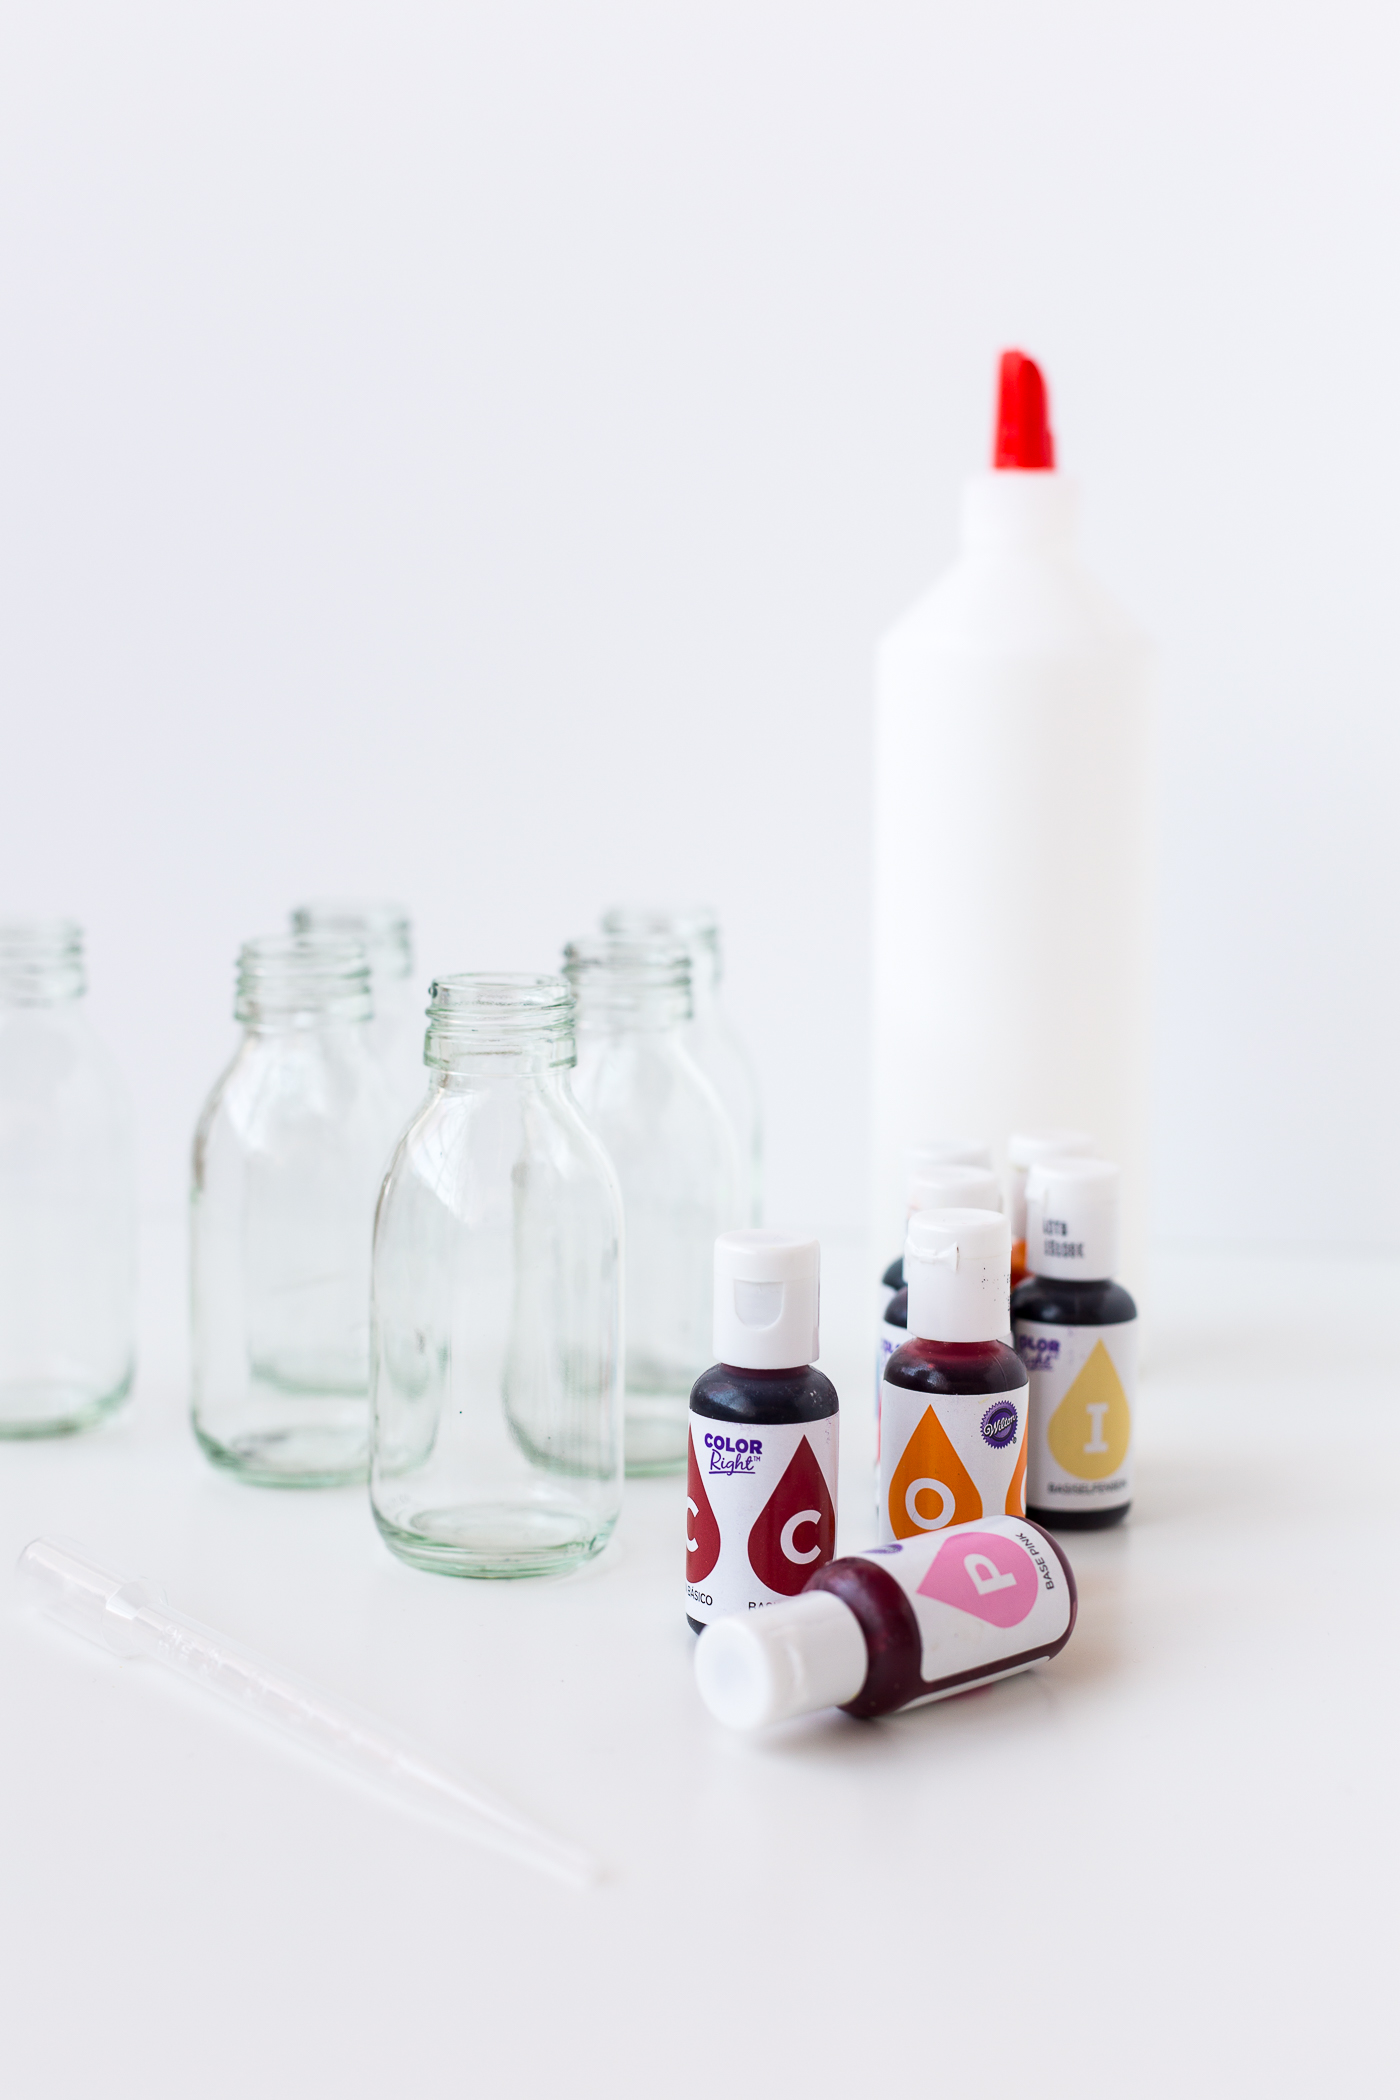
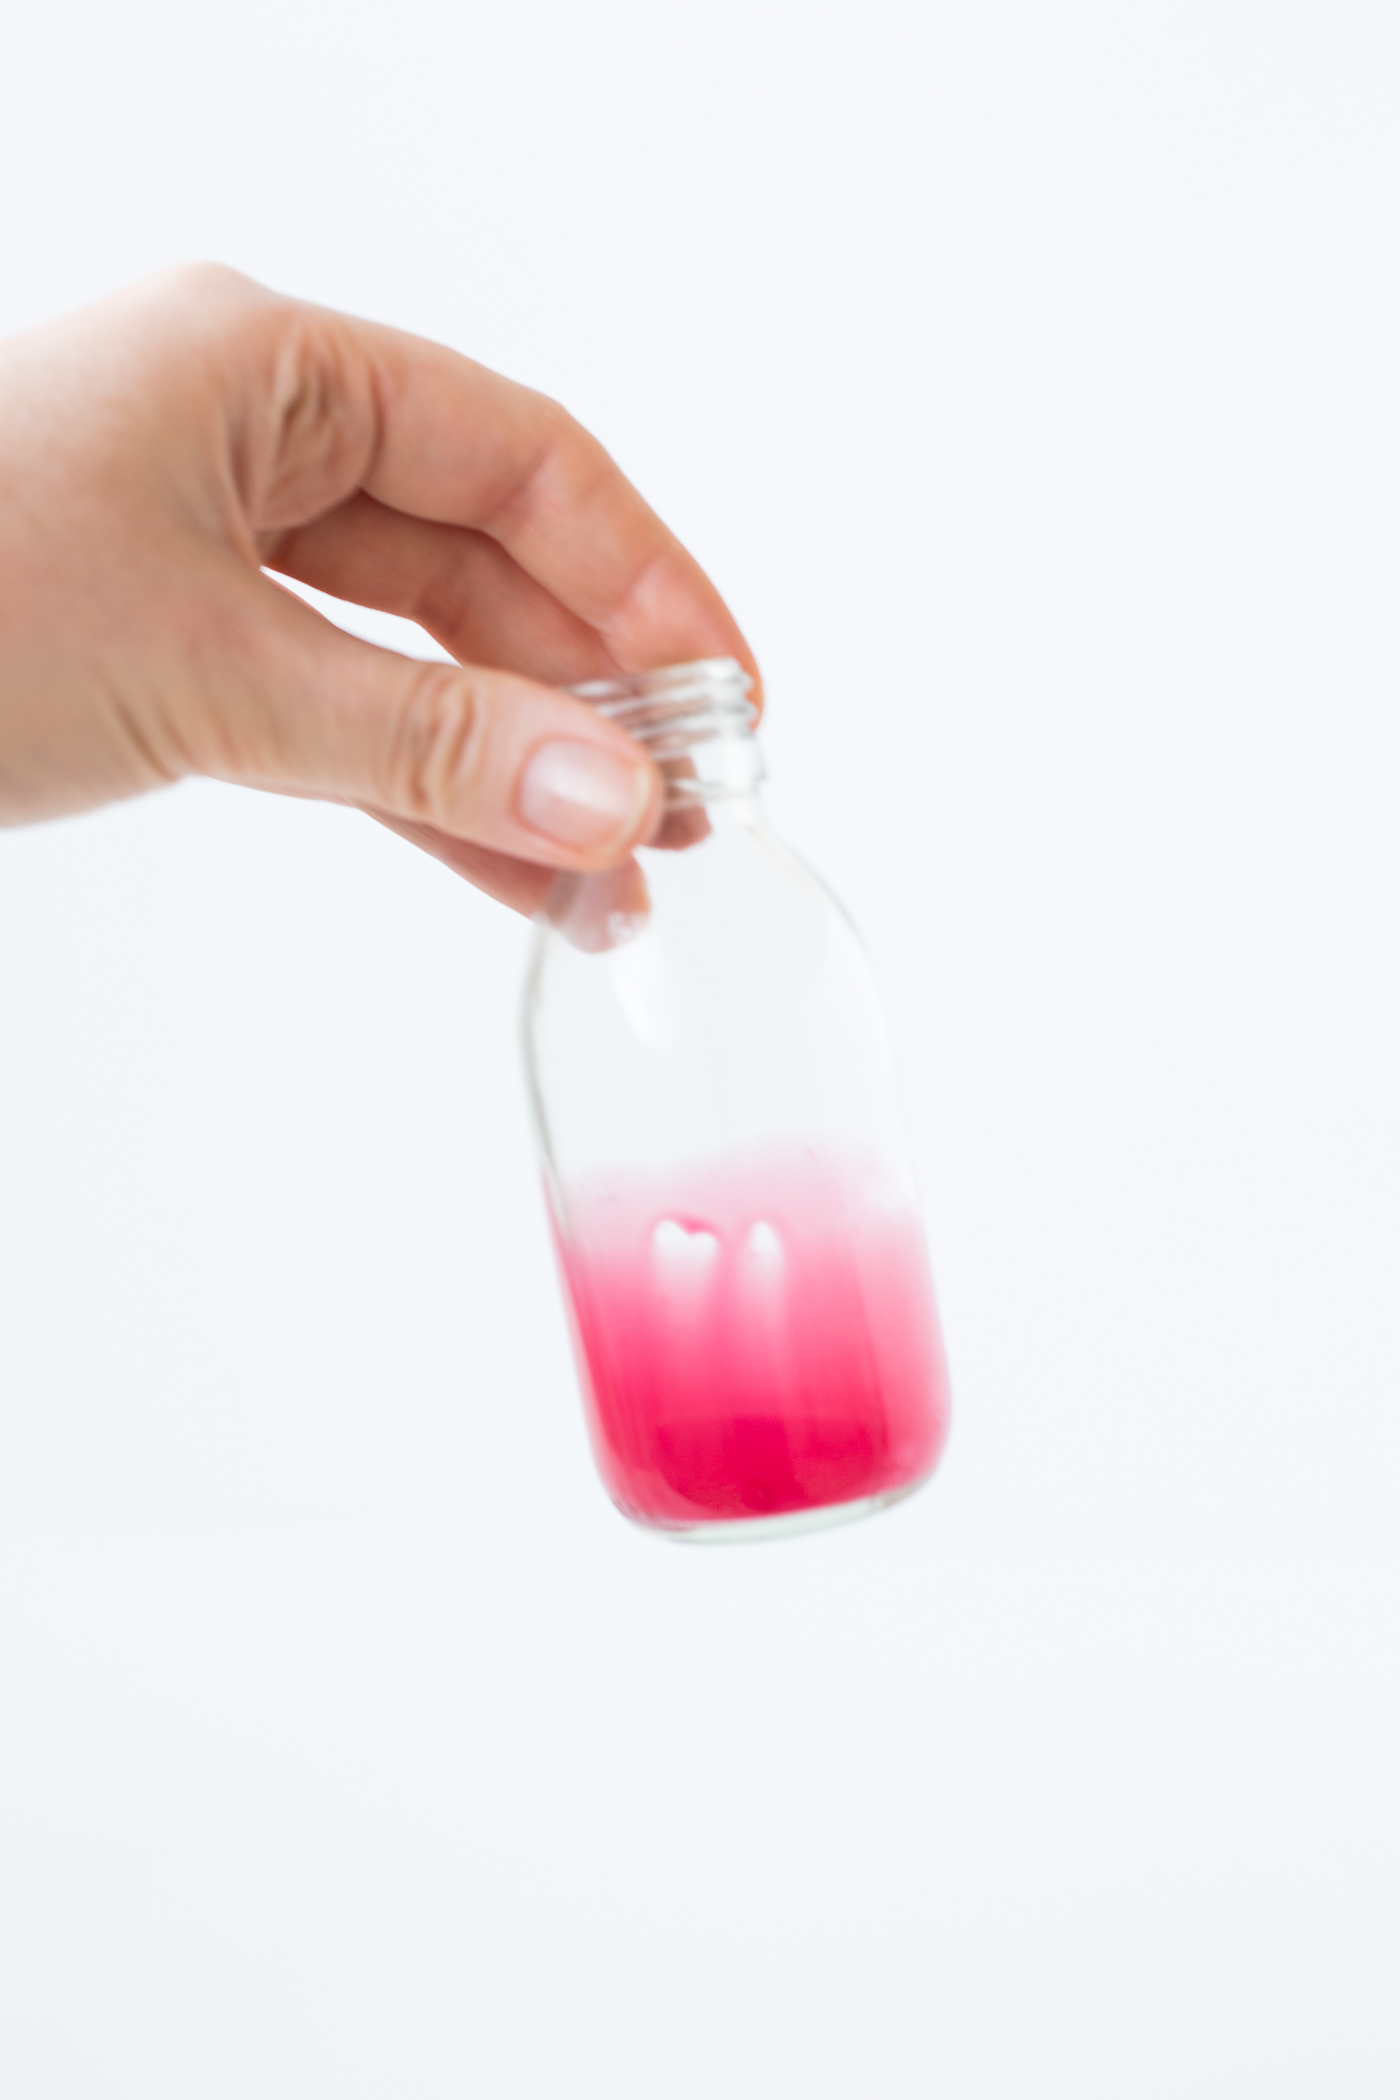
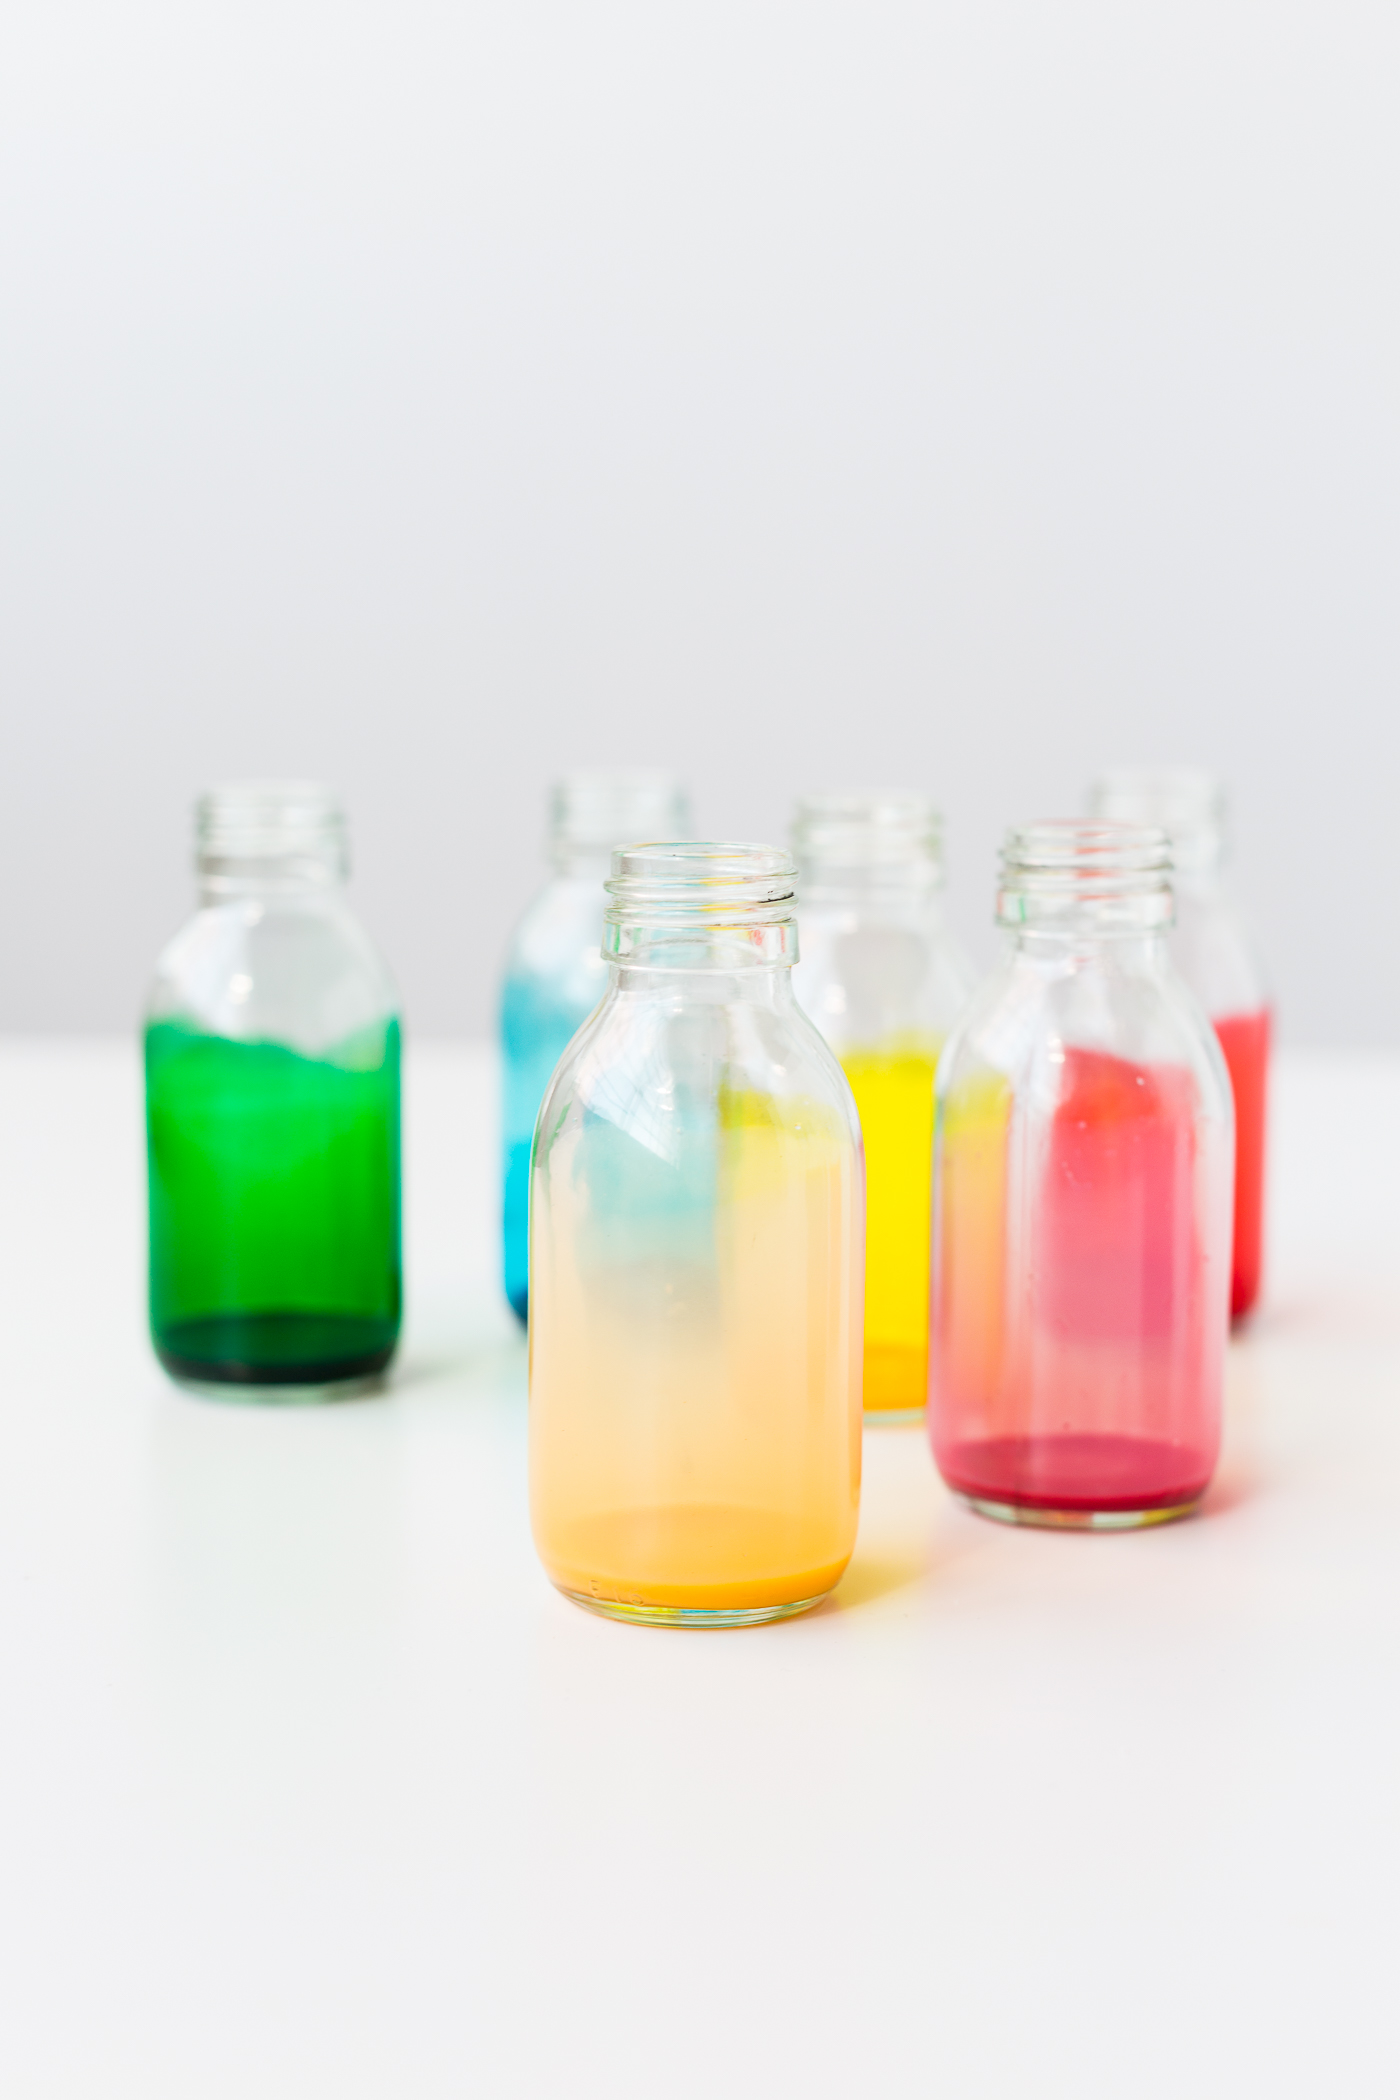
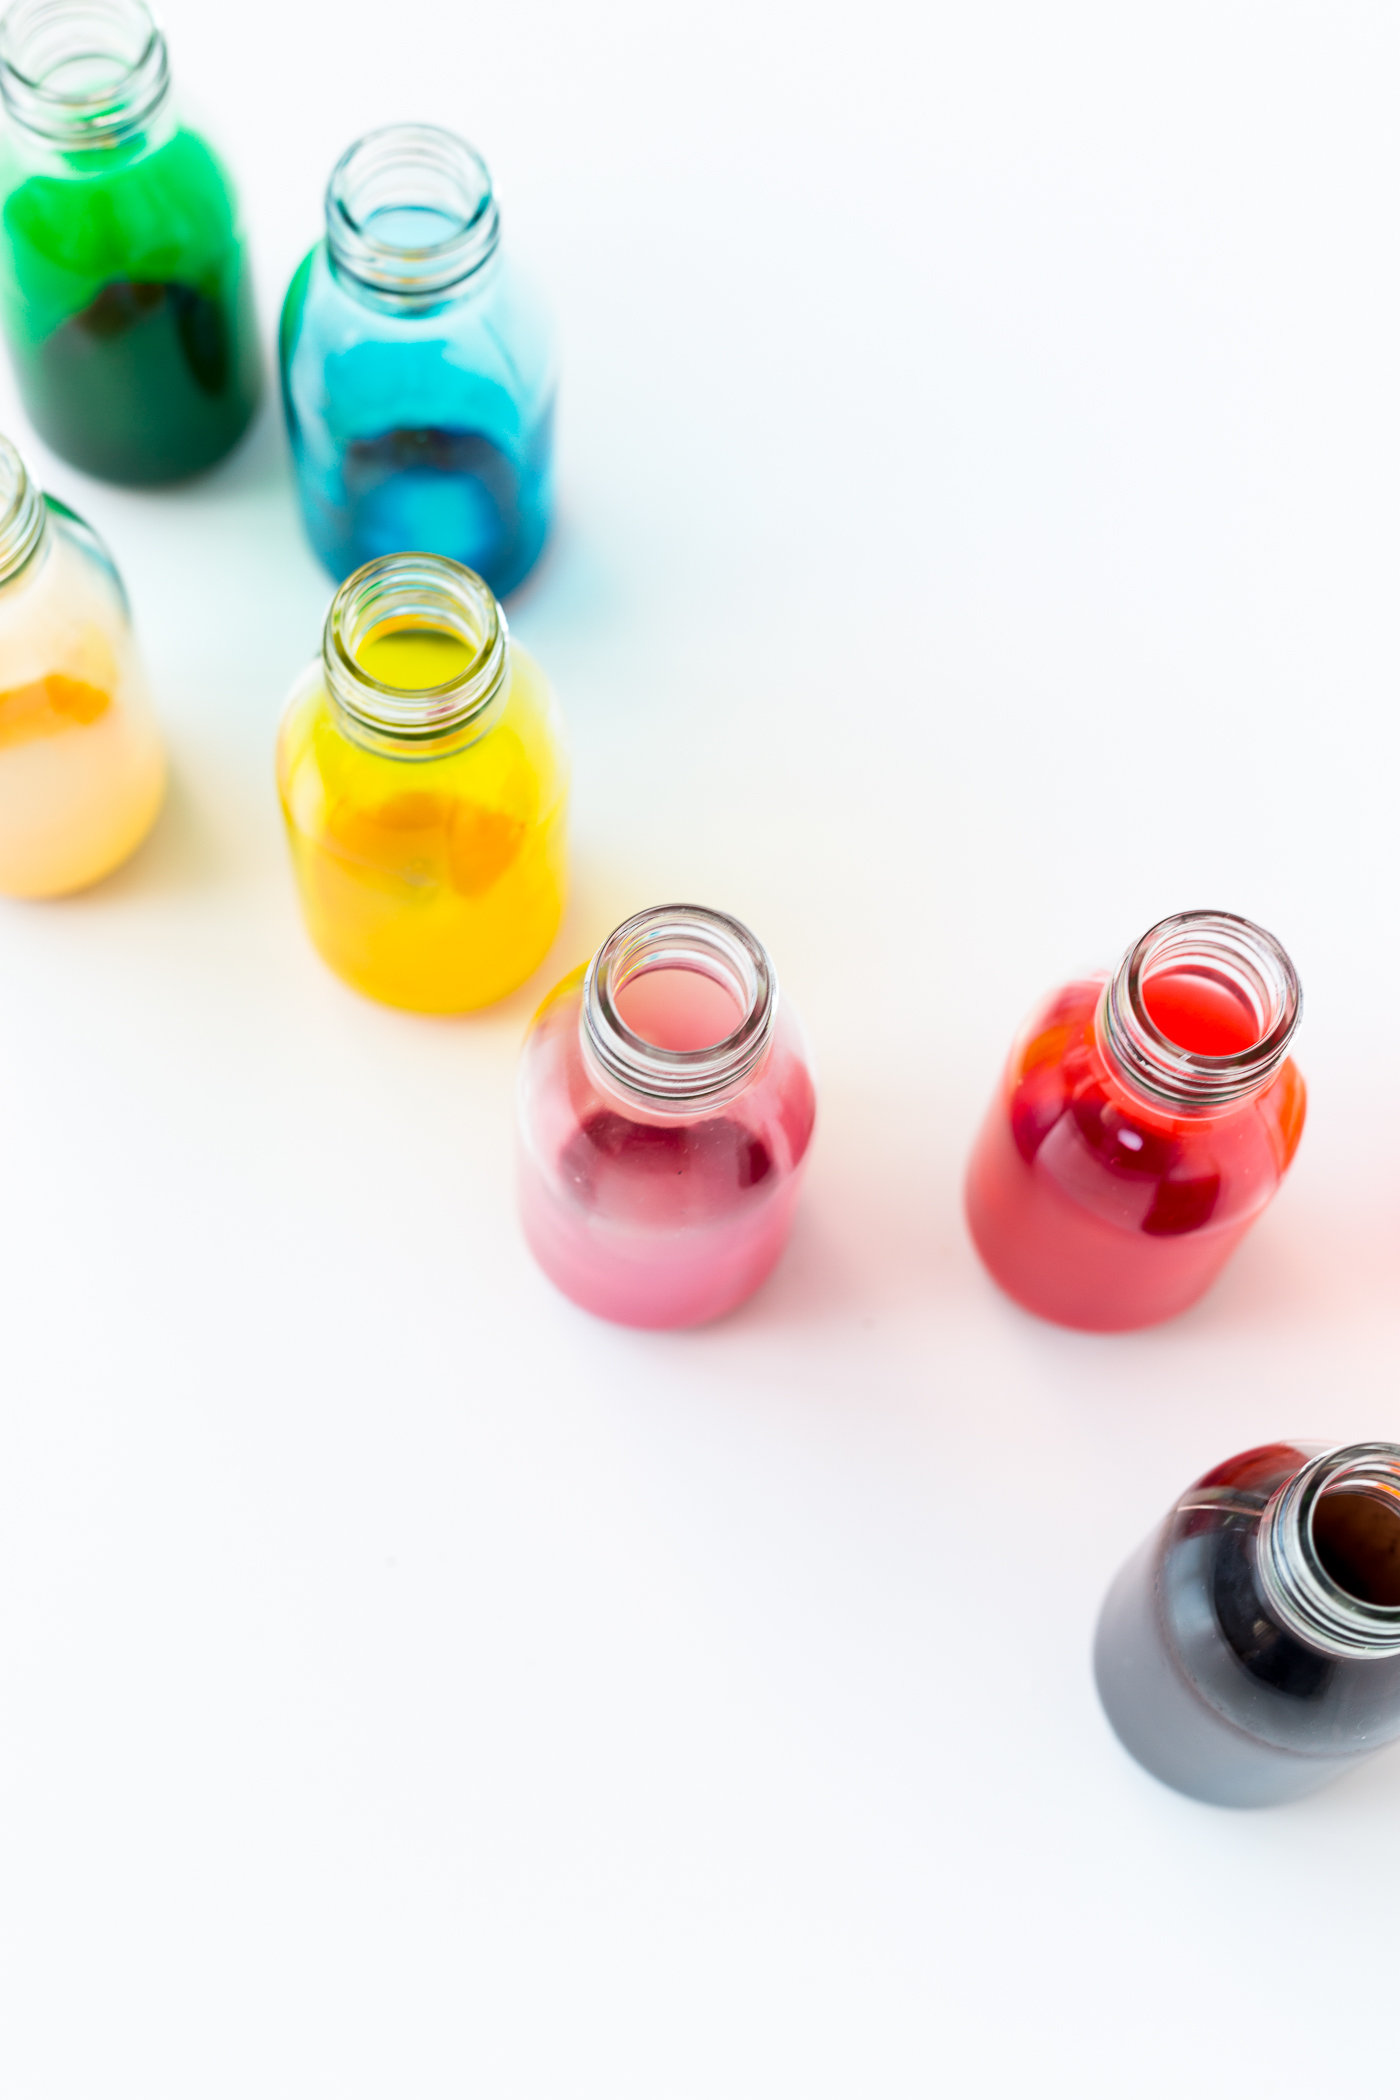
After cleaning and drying your bottles, pour in a small amount of PVA glue. The amount will change with the size of the bottle, but as a rough guide you will want to just cover the bottom. Squeeze in a few drops of the food colouring and around 10 drops of water to each 1/2 teaspoon of PVA glue. (This is a rough guide and you can add more of anything later on if you need to)


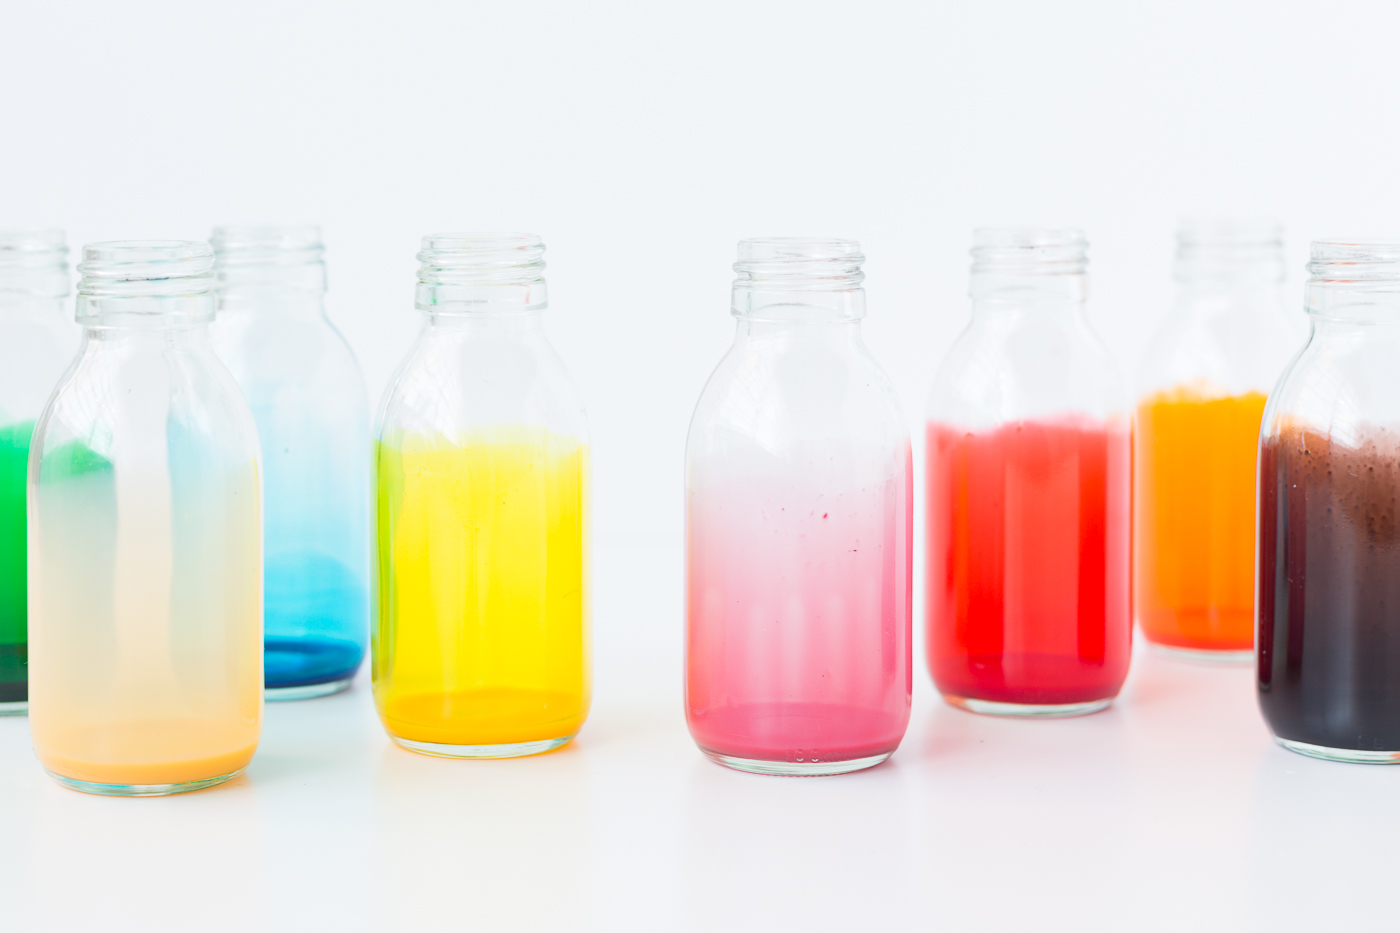
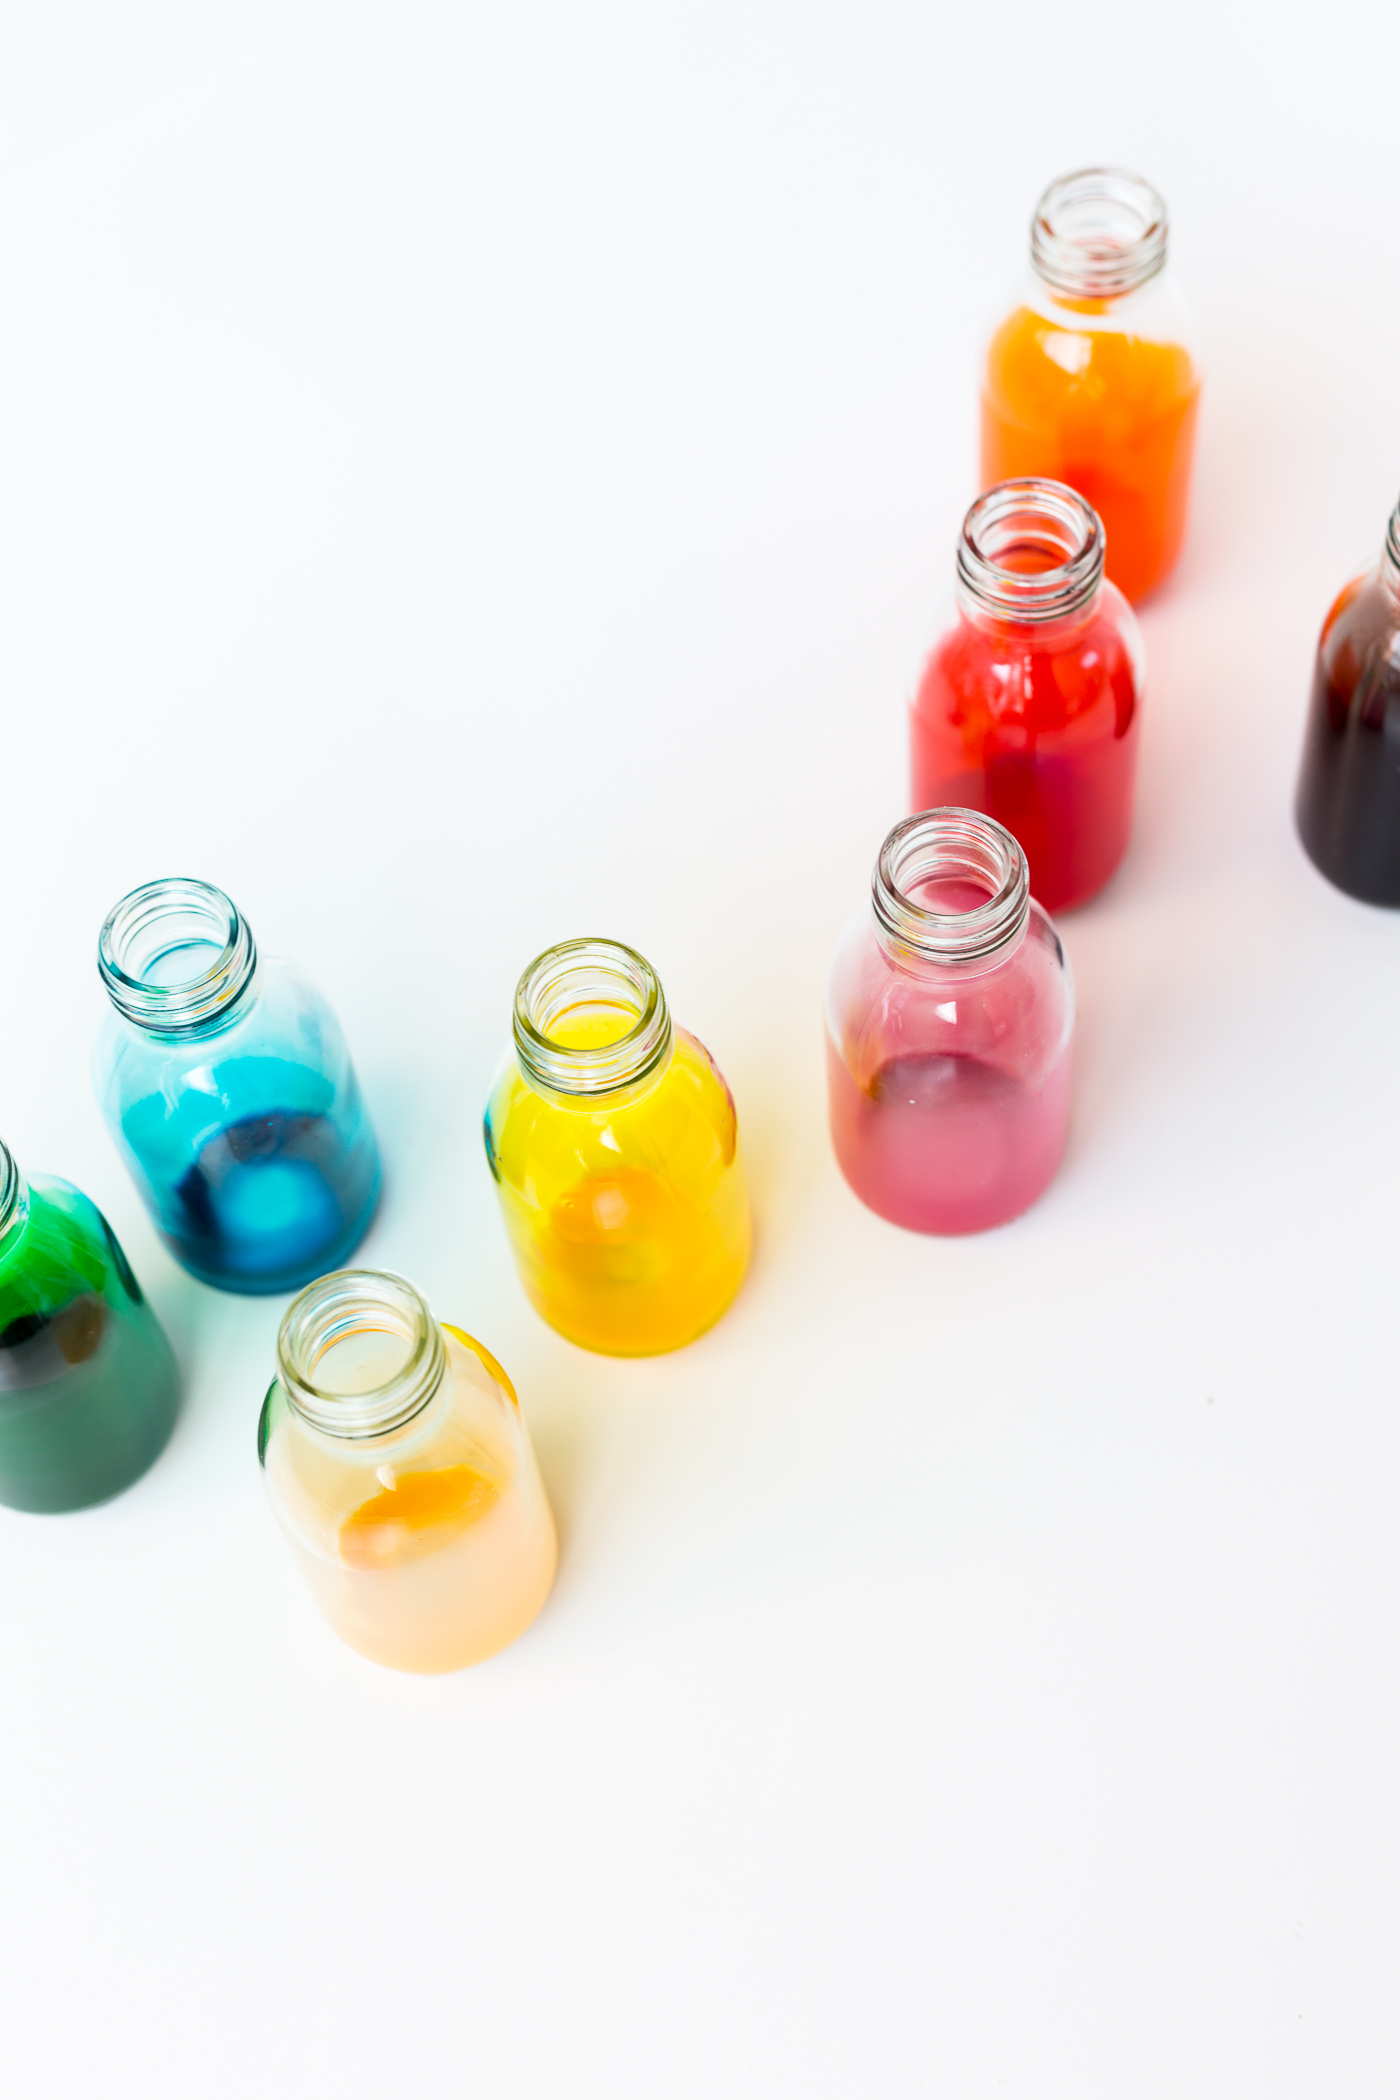
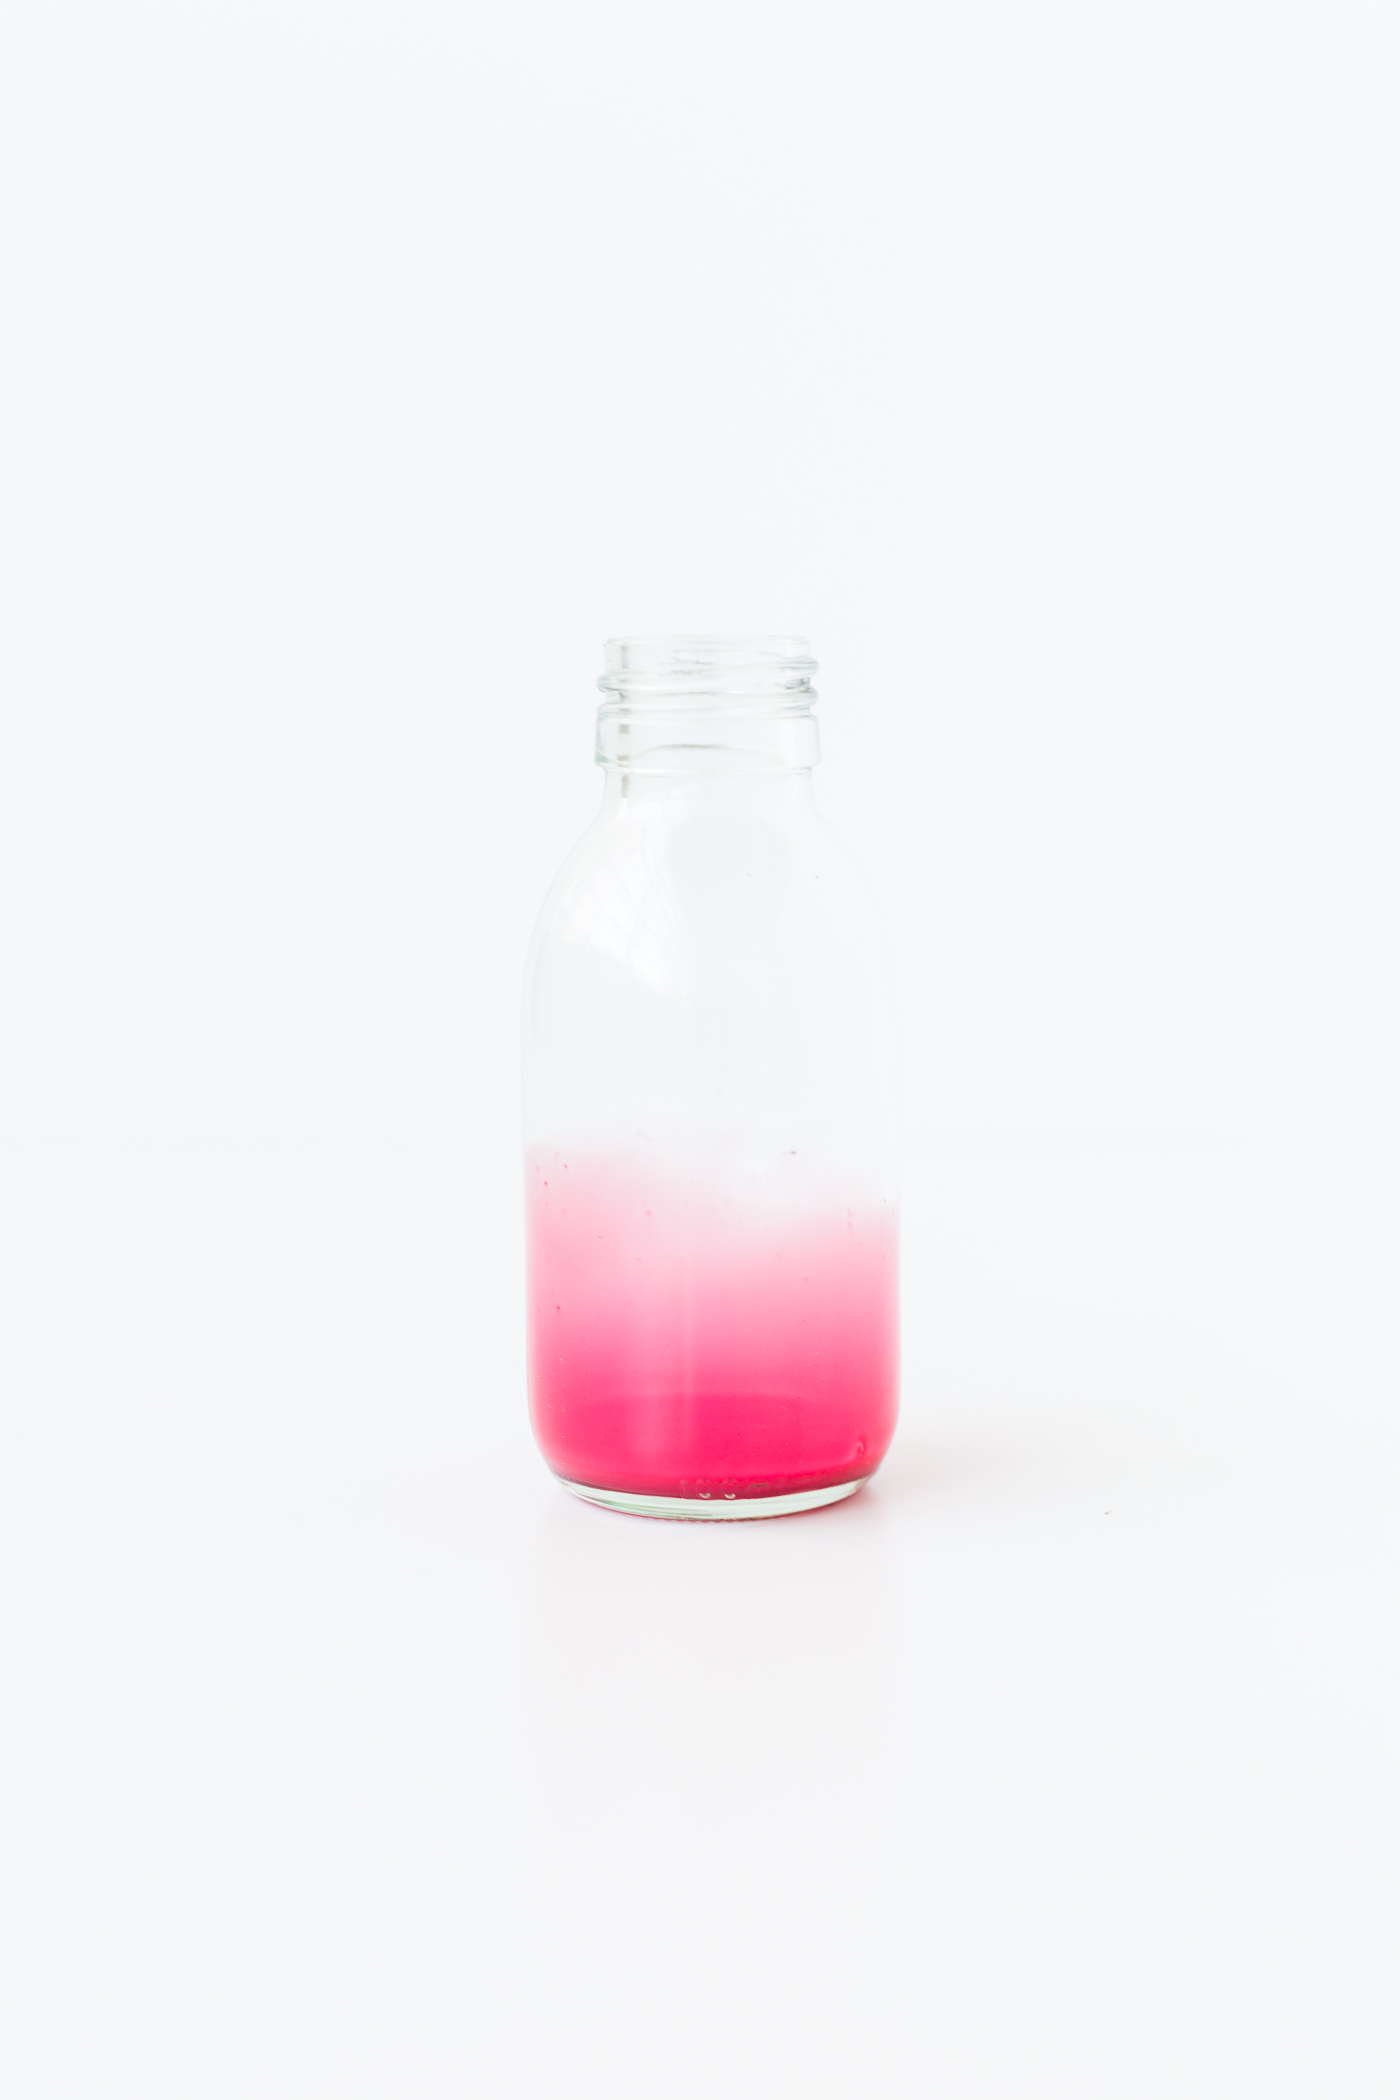
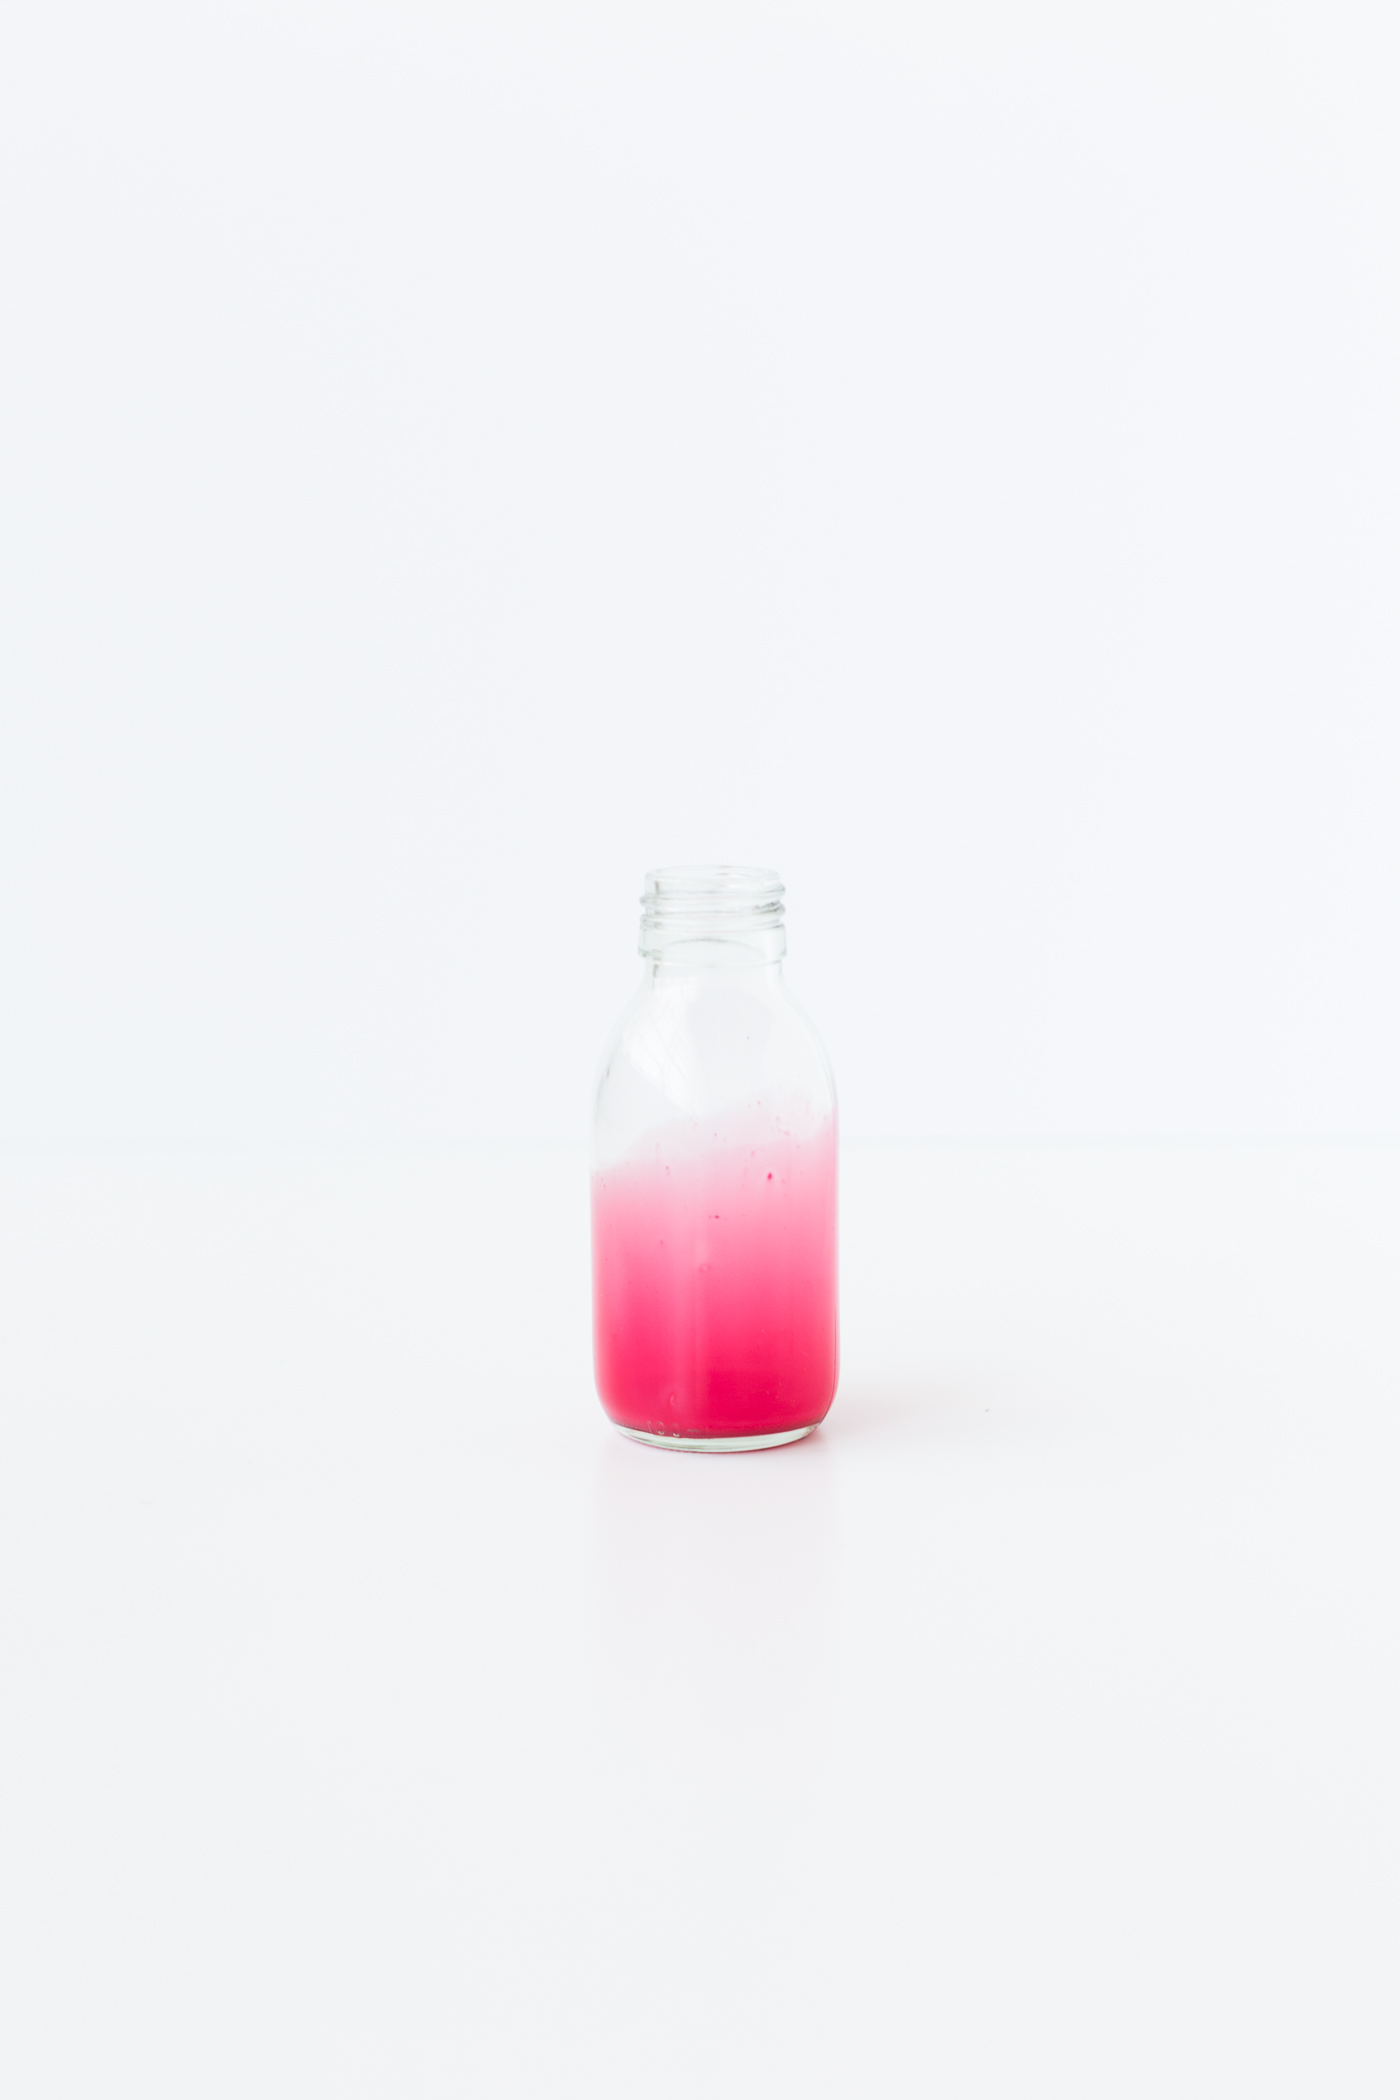
The glue should now be thin enough to run over the surface of the glass, but also thick enough to stick to and ‘dye’ the surface. Once you’ve covered half of the bottle leave it to rest. The excess glue will to the bottom of the bottle. Repeat this step over a 24 hour period until all the glue dries.


It took me a couple of tries to get the consistency perfect. If the glue is too thick just carefully add more water. If it’s too wet then it’s best to start again. You don’t want excess liquid in the bottle as it will dye the glass when you try pour it out.

If you want to use these bottles as vases coat the insides with a layer of waterproof Mod Podge, using the same technique as we did to dye them.


The post DIY Stained Glass Bottles appeared first on Fall For DIY.