Birthday Suit

The Tod recently celebrated his birthday and I thought that I'd start a tradition for him to sew him a birthday (suit)set for him.
I remember growing up with my Oma sewing me dresses for my birthdays. It was the most special gift that I treasure. She would start a week before by taking my measurements, then she would hand-draw the pattern out of proper Swedish parchment -- not newspapers as she would normally do for "regular" clothes. After she finished sewing, she would sign my name and the date on each of the patterns and put them all in an envelope. It was as close to a couture as I could ever get.
My Oma managed to sew me a set for the Tod long before he was born; a shirt and a matching pants. It was to me, a perfection. She sew the button holes by hand, each one of them. She did a few piped pockets, from a bias tape that she would, no doubt, made herself. The inside is all French-seamed -- a kind of invisible seam, the best there is and the most time-consuming. I will treasure this piece forever.

This amount of detail is probably rarely done anymore. The buttonholes were hand-sewn one by one, so was the seam around the arm and the bias tape. French seams were used on this shirt and the matching pants.
The pattern I use for this set is from Sew Chic Kids, the Japanese book I used to make the Tod's hoodie here. Japanese pattern books are, in general, very diagrammatic with a few written directions. This means one must pay keen attention to every symbols, arrows, and sequences -- they are there for a reason and not by mistake.

The pants feature an elasticized waist, a mock fly and functional front and back pockets. Functional for little people and cute, too!
For example, the waistband for the pants were drawn using dashed lines on two of the four sides. This means one needs to fold the tracing paper into quarter (half, and half again) and line each folded side on the dashed line before tracing the pattern. The result should be twice the length and twice the width of the pattern drawn on the diagram. Pretty confusing -- this is where experience will help you decipher things that are otherwise not mentioned.

Fold tracing paper in quarter, place each fold on the dashed lines (see arrows above) and trace pattern.
It has been a while since I sew a proper shirt, but this one I found to be a breeze to follow. It features fully-finished yoke. Instead of following their direction, I found
this nifty YouTube tutorial of sewing finished yoke featuring a "jelly-roll" maneuver. Again, this is where experience will help decide whether to follow direction verbatim or go with easier technique.

Sewing the collar to the perfect rounded shape was quite a challenge. I'm sure with practice I can perfect this... or maybe with just a change of a fresh, sharp needle.
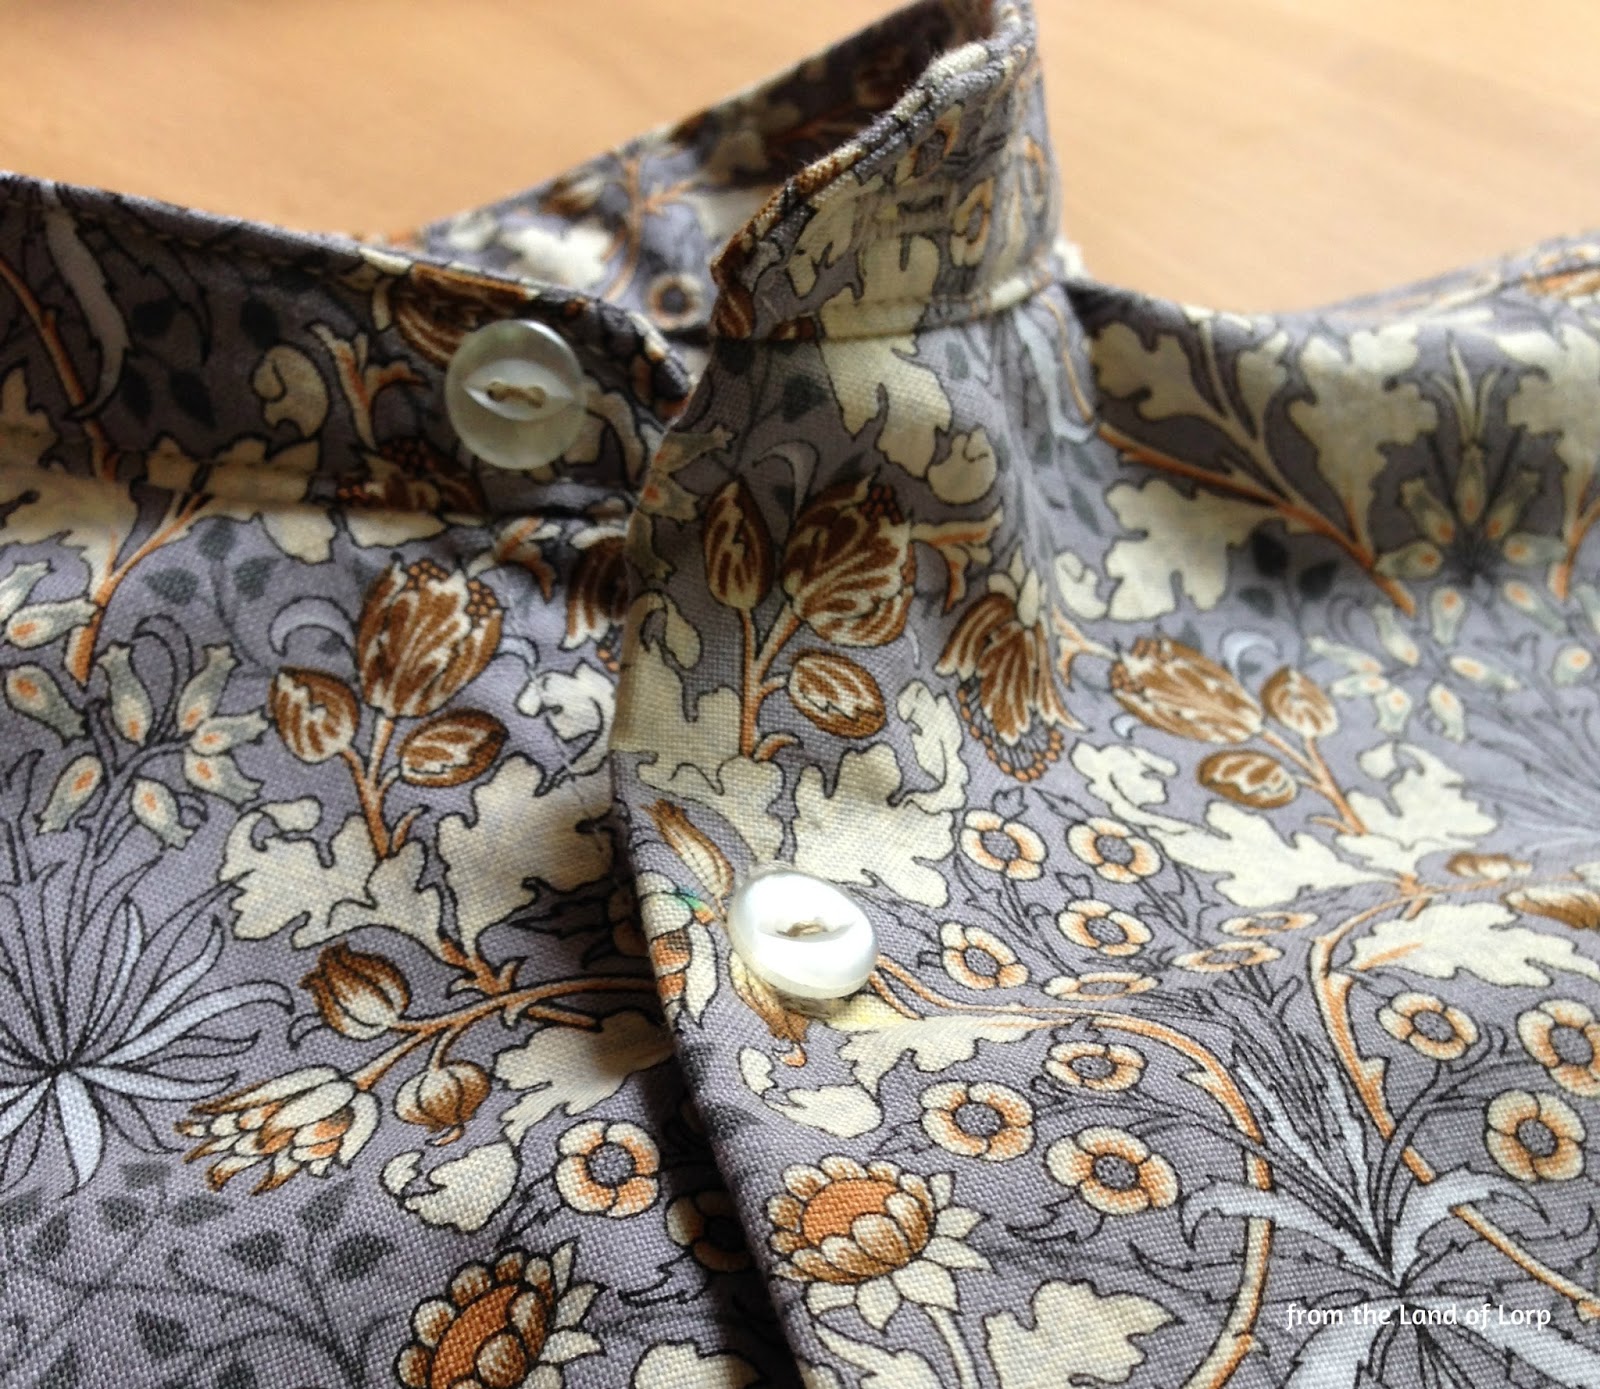

The shirt features fully-seamed yoke, shirt tail and Mandarin collar, draper enough for a man.
Overall, I'm very pleased with the project. It took me almost a month to complete this from start-to-finish, but I really like the challenge and the patterns are just super cute for a little boy. The shirt is made from a quilting-weight cotton for that extra crisp look. The pants are from medium-weight cotton chino. These fabrics were found in my own stash.

I hope your Summer has been great! Blogging will continue to be quite slow until I've got a regularly scheduled child care (i.e. the Tod is back in school!).
More posts from