
DIY: A Jeweled Spring Hat
Transition style can be such a difficult code to crack, especially as winter turns into spring. Finding clothes and accessories that keep you warm but emit a fresh spring vibe through color and texture, and layering it all so you can lighten up your look at the day gets warmer, can be a tricky process.
I love shopping winter sale racks for things I can modify to fit that description, like sweaters to cut the shoulders out of, or jeans to slash at the knees and wear leggings under. One of my favorite recent buys is a mint green winter hat from H&M, which I attempted to infuse some new life into via flat back gems.
The result is a new hat that I’m totally in love with, and the whole process only took me about 45 minutes.


What you’ll need:


Hint: I bought a variety of flat back gems in bulk on Etsy. Do a little searching and you can find some there, too. If you’re in NYC, check out M&J for an epic jewel selection.


Step 1: Lay the hat out on a flat surface, and lay out the gems in a motif that you like. Snap a picture of your ideas with your phone, so you can reference it as you’re working.

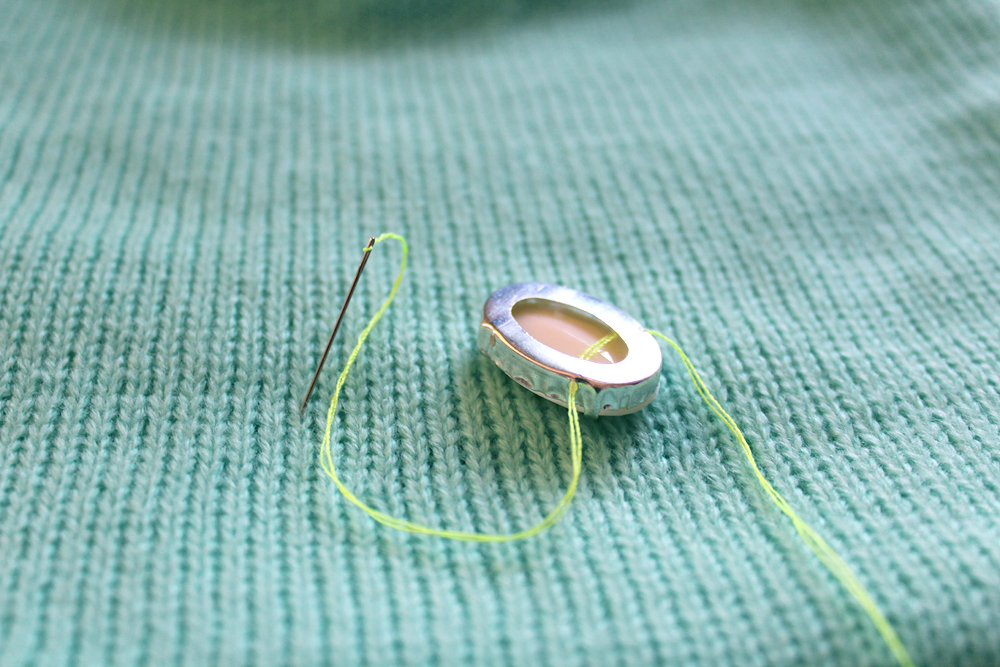
Step 2: Once you’ve settled on a layout, start from the bottom center and add your first gem by tacking it on from the back, threading through the sewing holes and back into the fabric.
Hint: With knit you’ll have the slightest bit of wiggle room to correct a crooked gem by guiding it with a correcting stitch and pulling the thread taught, but be careful as this may cause a pull in the fabric.

Step 3: Work your way up the center of your design. This will provide you with a guide for staying symmetrical as you add the other gems. It may also save thread.
Hint: Make small double stitches as you go to prevent the whole design from falling off if you happen to snag and rip the thread at some point.

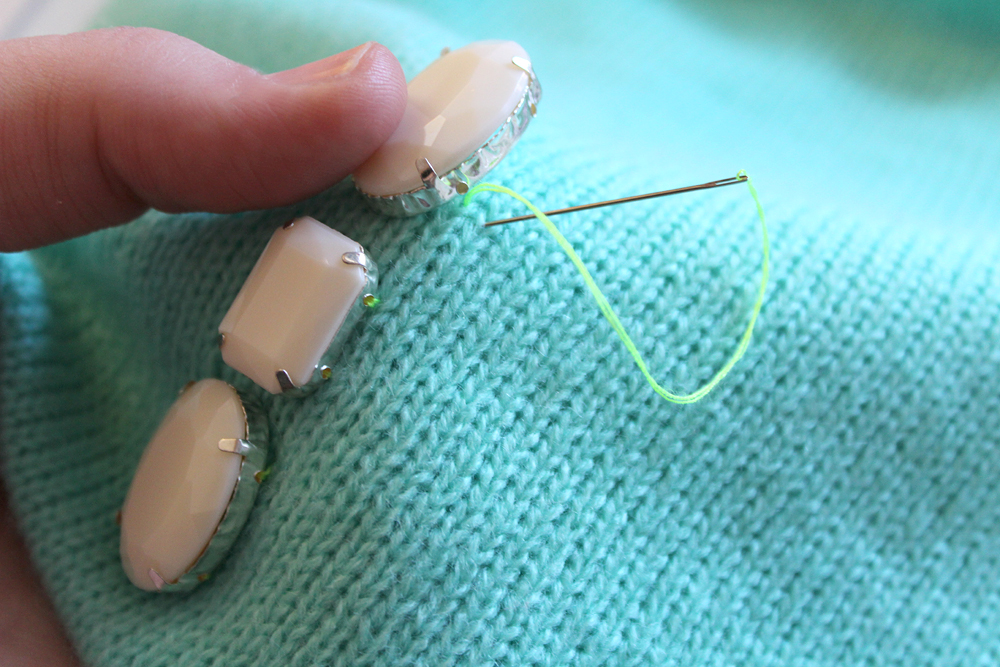
Your thread should look something like this as you stitch your gems up the center. For extra security, you can sew each individually and knot them off… but I definitely don’t have the patience for that. ;}

Step 4: Once the center is done, work your way out on each side, double checking the design as you go, to ensure everything is aligned.
Attn perfectionists: It might make you more confident to mark off your pattern with a white chalk pencil before you begin sewing the gems that are further away from the center (or you can just eyeball it—clearly I’m not a perfectionist!).

In the end, you’ve got yourself a lovely spring hat that looks almost good enough to eat. Yep, I said it. It reminds me of candy. Mmm.


Big smiles from sunny Brooklyn! I hope you enjoyed this little tutorial. If you make something similar, I want to see it! Leave a comment to your blog or instagram post below.
