EP80 Copper Marble Table

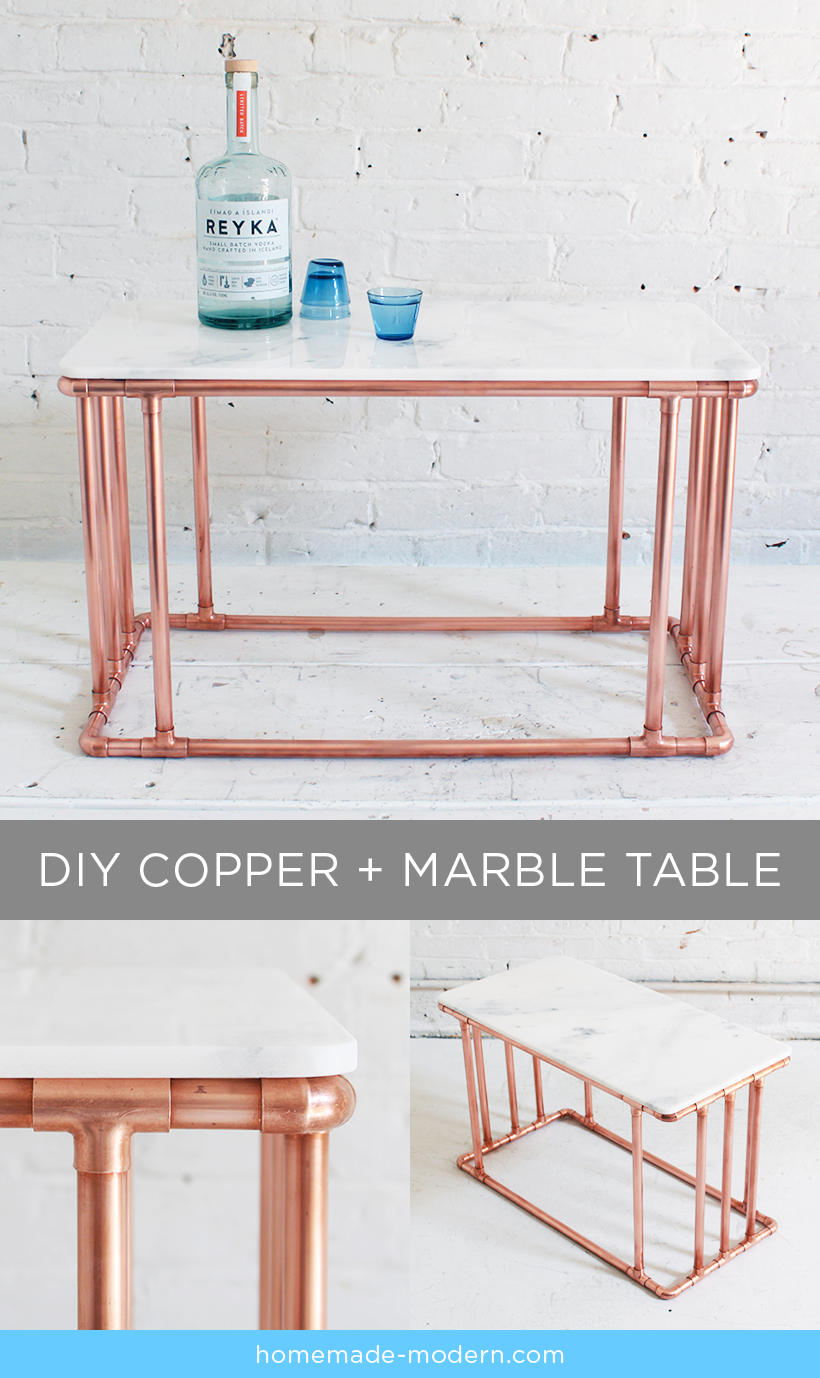
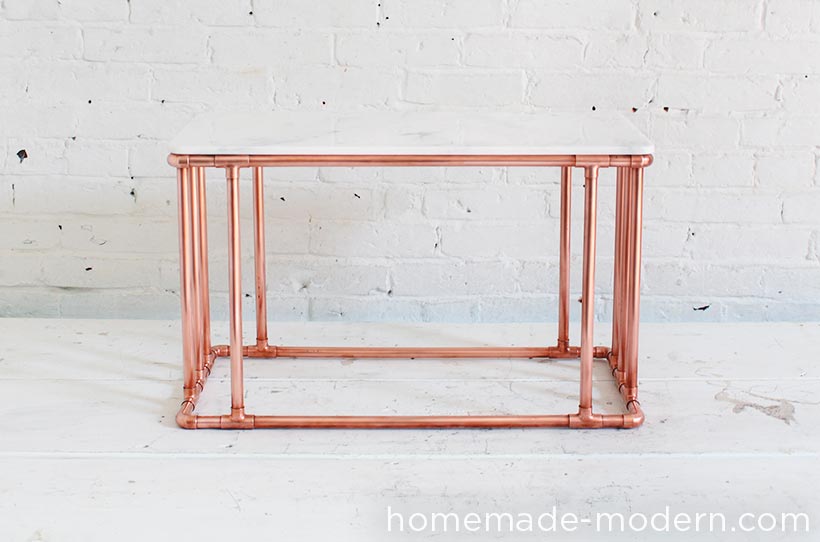
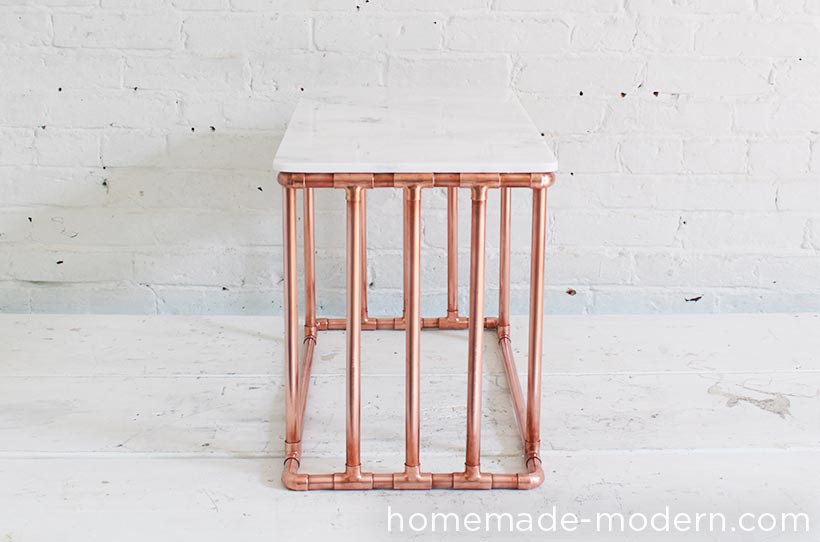
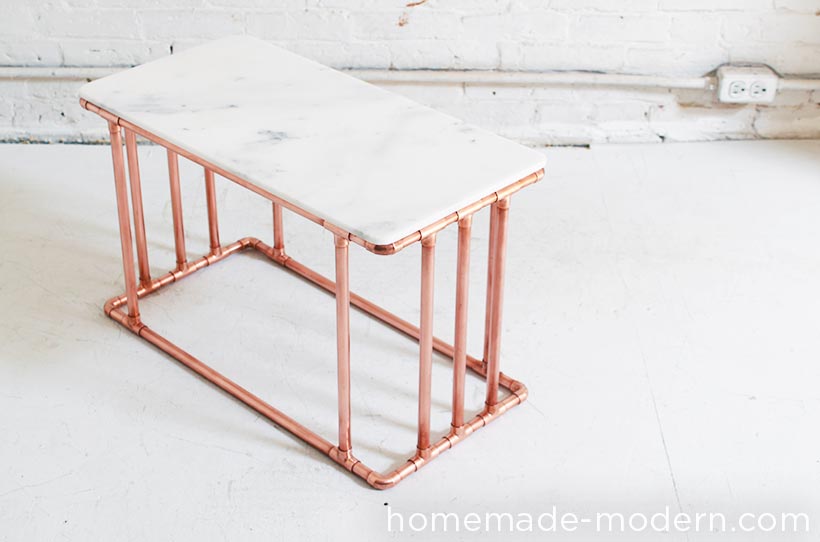
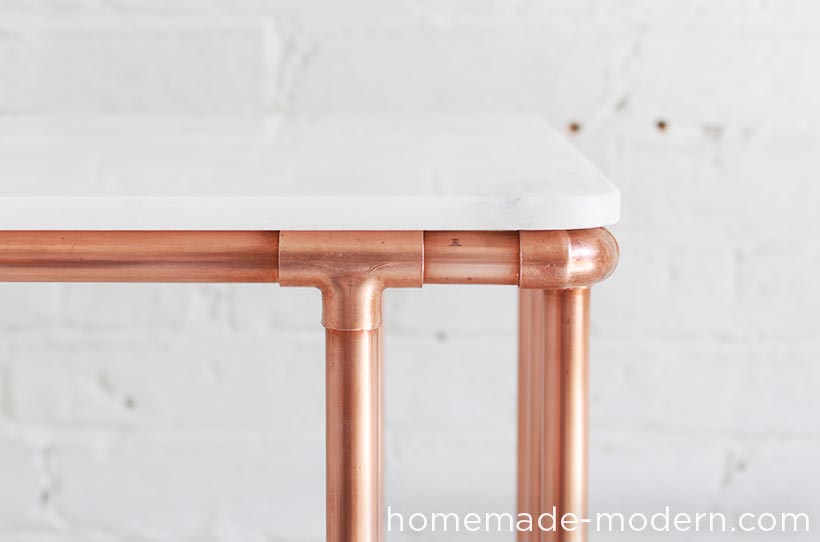
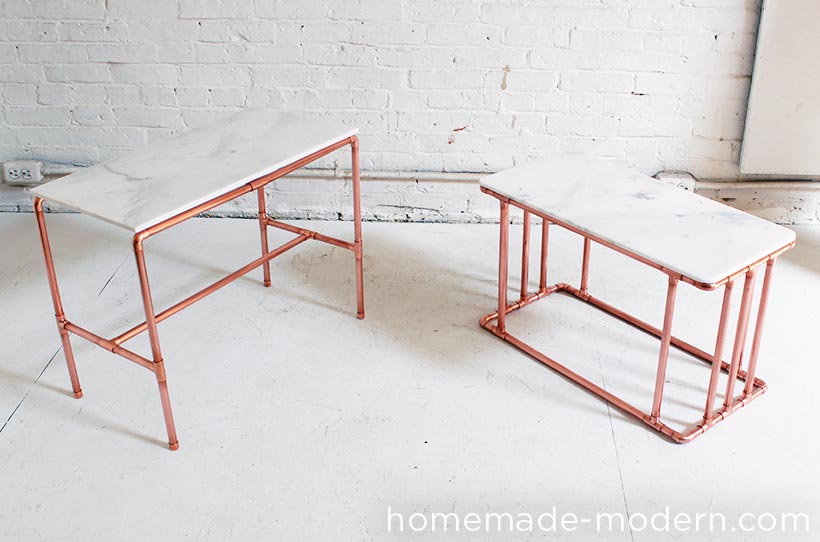
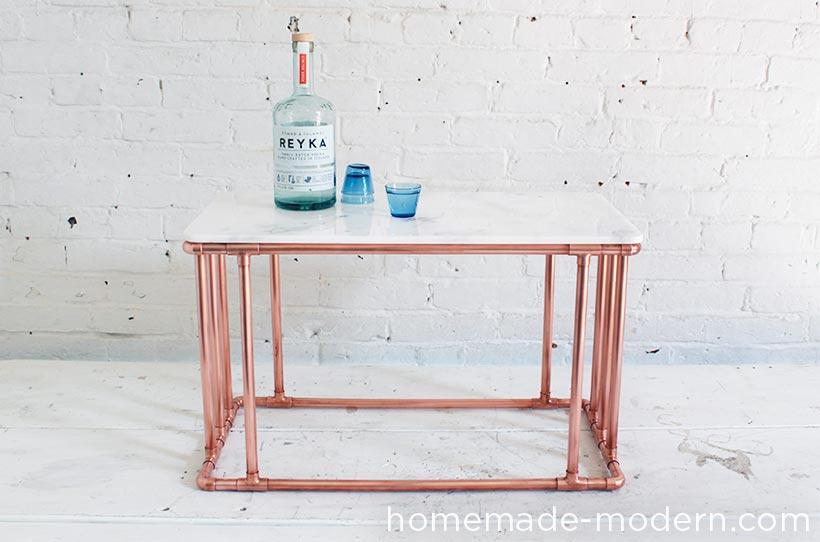
This modern copper coffee table can be made for less than $60 with basic tools. The copper is glued together – NOT soldered – which makes constructing the copper frame safe and easy. The marble top is made from a single piece of 12” by 24” marble tile. We rounded the edges of the tile to match the curves in the copper fitting, but it's not necessary. We used Gorilla Glue to connect the copper and Gorilla Glue Construction Adhesive to glue the marble top to the copper frame.

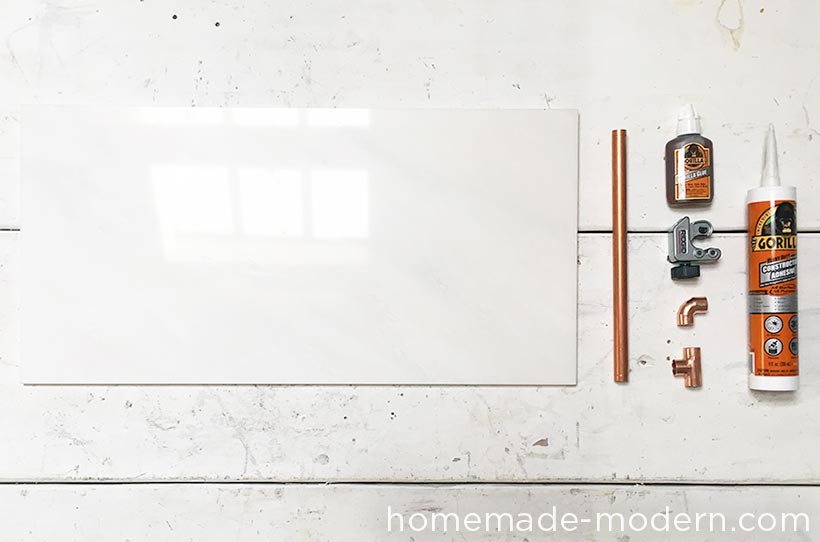
SUPPLIES:
1/2" Copper Pipe
Available at The Home Depot
I buy copper pipe in 10’ long sections because it's cheaper than 5’ sections. I bring my handy tube cutter with me so I can cut it in half and fit it into my car.
1/2" Copper T-Fitting 90º Elbows
Available at The Home Depot
I bought these in packs of 10 at The Home Depot.
Steel Wool
Available at The Home Depot
I used steel wool to polish the copper.
Gorilla Glue
Available at The Home Depot
We used original Gorrilla Glue to glue the copper pieces together.
Gorilla Glue Construction Adhesive
Available at The Home Depot
We used Gorilla Glue Construction Adhesive to glue the marble tile to the copper pipes.
Marble Tiles
Available at The Home Depot
I bought some 12x24 white marble tiles from The Home Depot that cost about $5 a square foot.I prefer stone tile to porcelain or ceramic since the material is solid and the edges are the same as the surface.
TOOLS:


RYOBI Orbital Sander
Available at Home Depot
Rigid Tube Cutter
Available at Home Depot
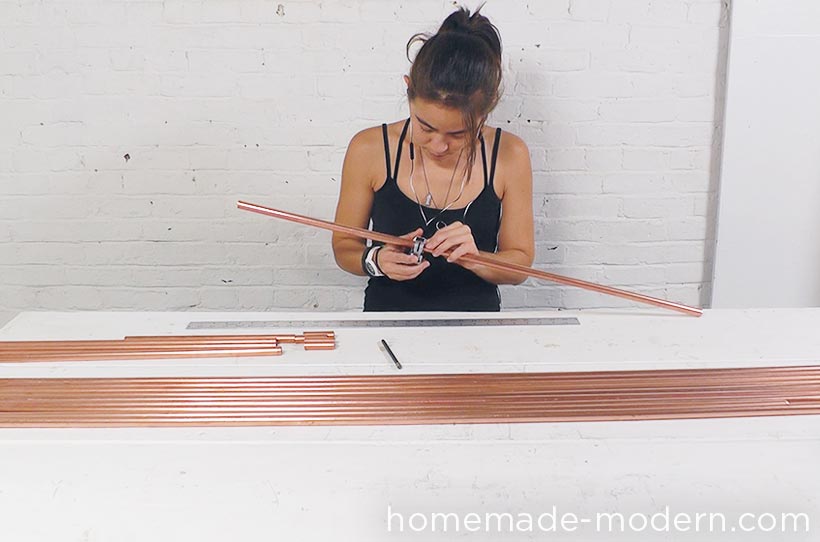
I used a rigid tube cutter to cut the copper pipes.
INSTRUCTIONS:
STEP 1: Cut the Copper
We cut the pieces of 1/2" copper pipe for the table using my Rigid Tube Cutter. Use the diagram below to see the lengths we used. Some of the pieces require filed measurements since the distance of the T-fittings vary. We didn’t plan out the design before hand and just cut pieces that looked cool and would result in a frame that perfectly fit under the 12” by 24” marble tile.


STEP 2: Dry Fit Test
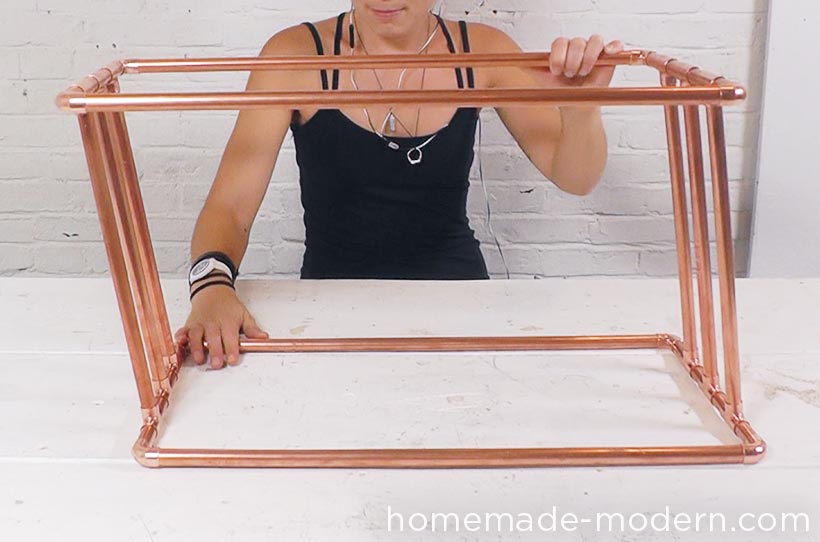
We did a dry fit assembly of all the pieces to see how the frame would look before glueing it. Our first draft didn’t have enough lateral support and was wobbly, so we modified the design and cut more pieces. Make sure you check to see if the copper fits under the tile before glueing the copper pieces together.

STEP 3: Glue the Copper Together
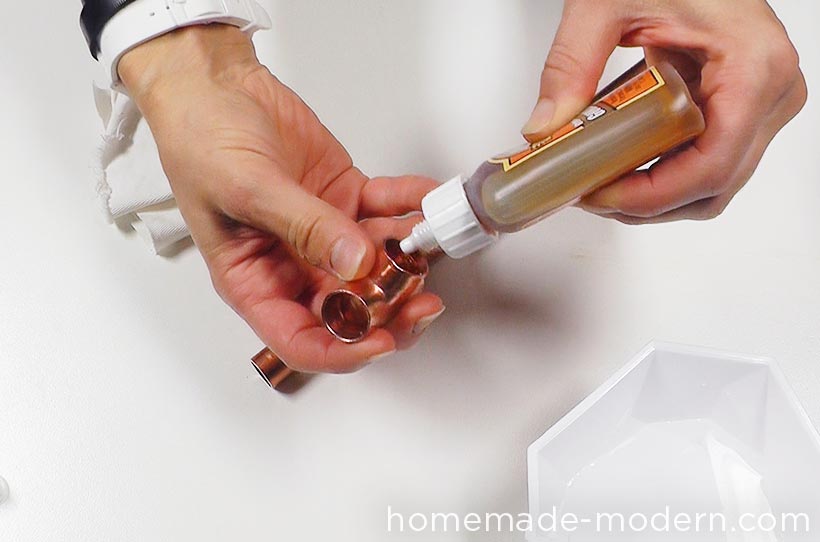
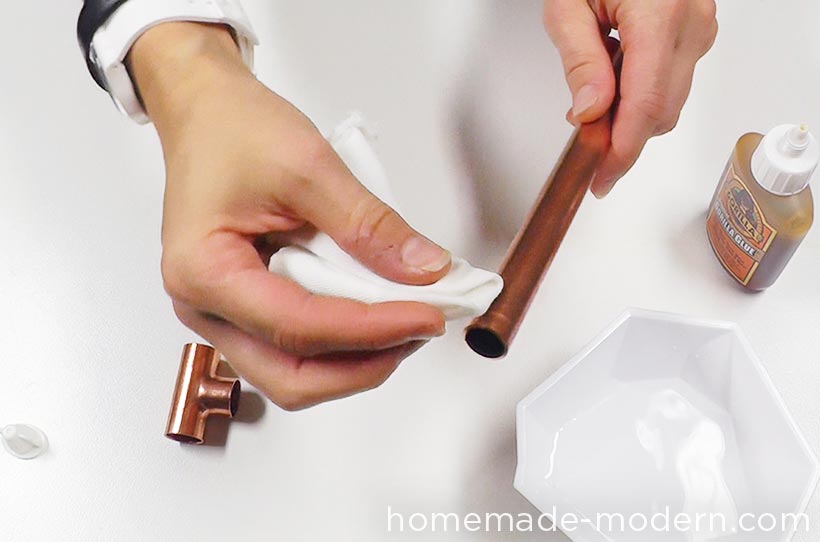
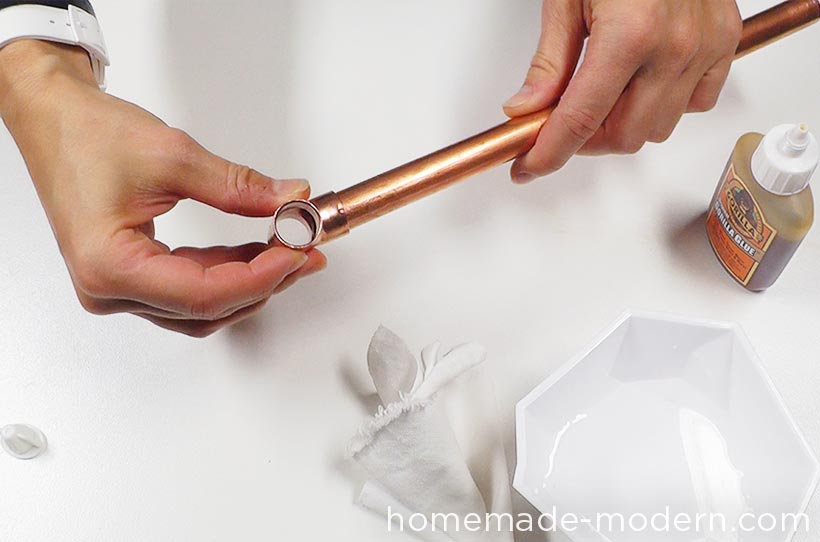
Soldering copper is difficult and involves blow torches, so we prefer glueing copper together for these types of applications. We used Gorilla Glue to connect the joints. When using Gorilla Glue, it's good to get the pieces slightly damp with a wet rag before applying the adhesive.


STEP 4: Mark the Corners of the Tile
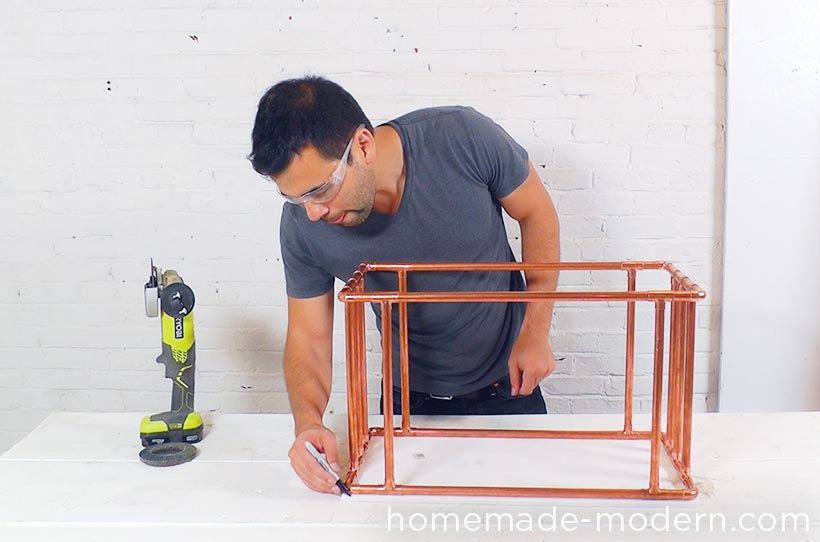
You could just glue the tile on as it is and be done, but we wanted to round the corners of the marble tile so that they matched the rounded corners of the copper pipes. I placed the tile upside down and laid the copper frame on top. Then I used a Sharpie to mark the outlines of the copper.

STEP 5: Cut the Corners of the Marble Tile
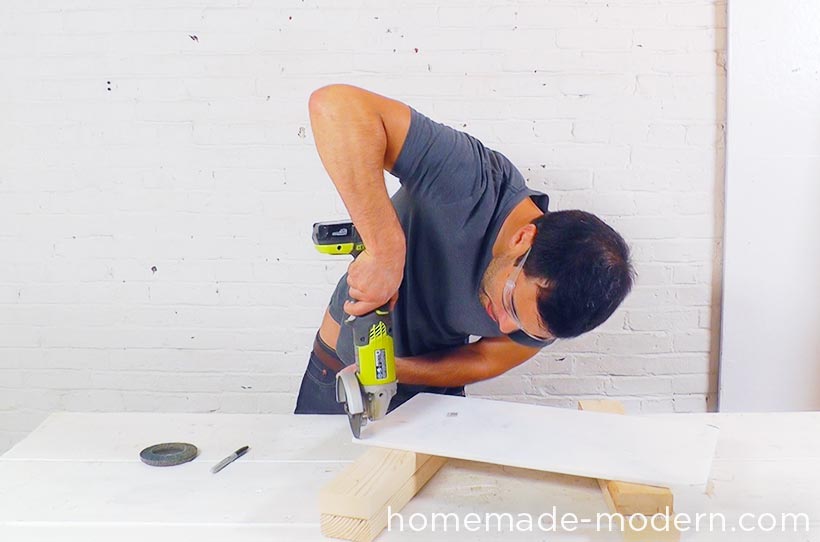
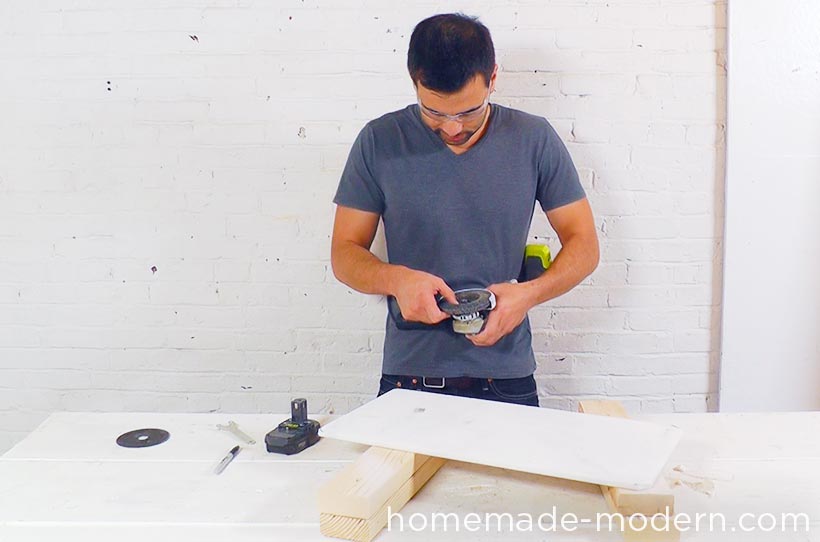
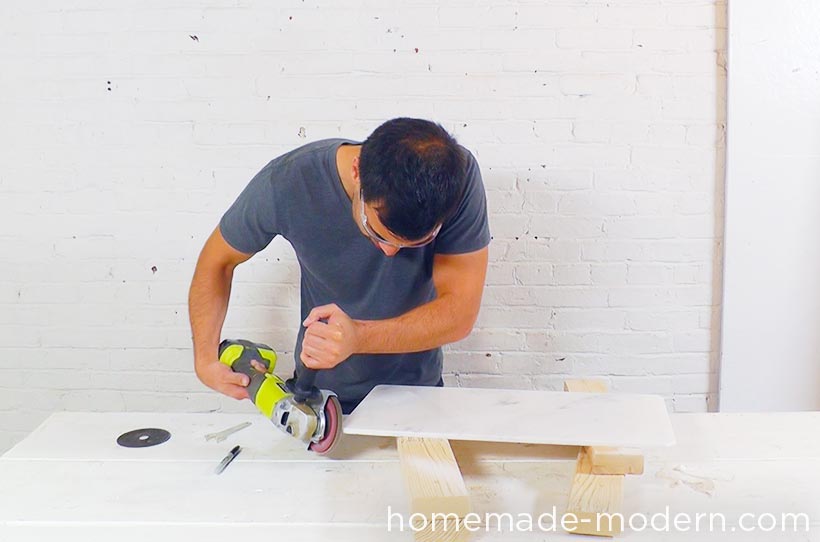
I used my cordless angle grinder with a masonry cutting wheel to cut along the lines that I drew. Then I switched to an abrasive flap disk to smooth and round the corners.


STEP 6: Clean the Copper
I used steel wool to clean the copper.
STEP 7: Glue the Marble to the Copper
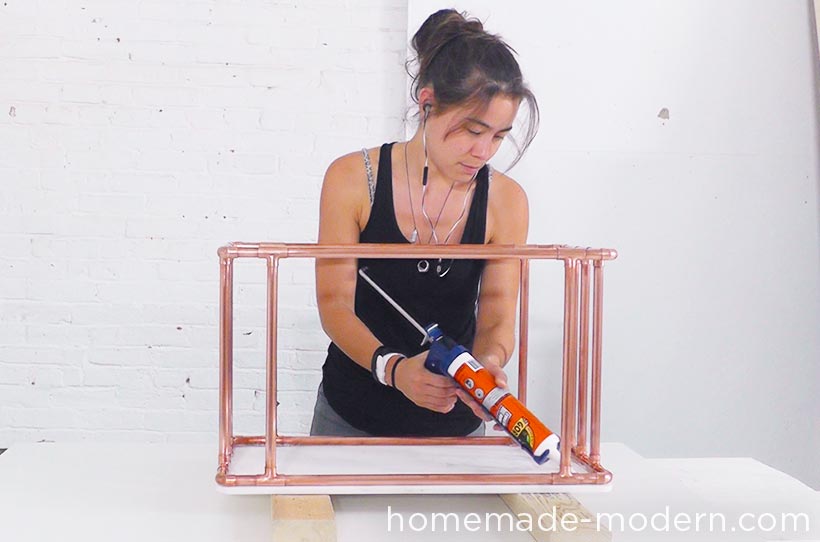
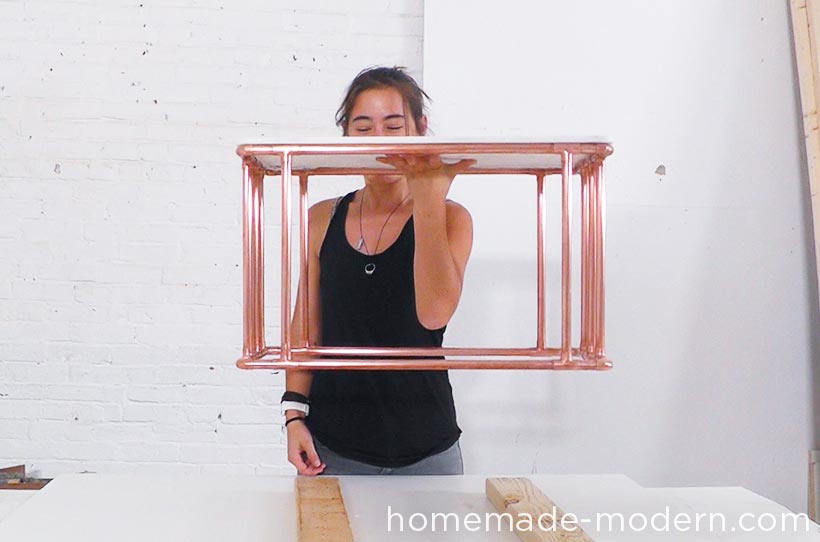
We used Gorilla Glue Construction Adhesive in a caulking gun to glue the marble to the copper frame. Jessie placed a bead of the adhesive along the inside edge of the copper frame. Gorilla Glue Construction Adhesive is quite strong. Once it's cured, the table is pretty sturdy.


Good luck making your own copper marble table and please email or tweet photos to @benuyeda or [email protected].
If you want to see what we're working on next, follow us on Instagram @benjaminuyeda.
Also check out our soon-to-be-released book for additional projects, DIY tips and guides.