EP83 Concrete Doghouse

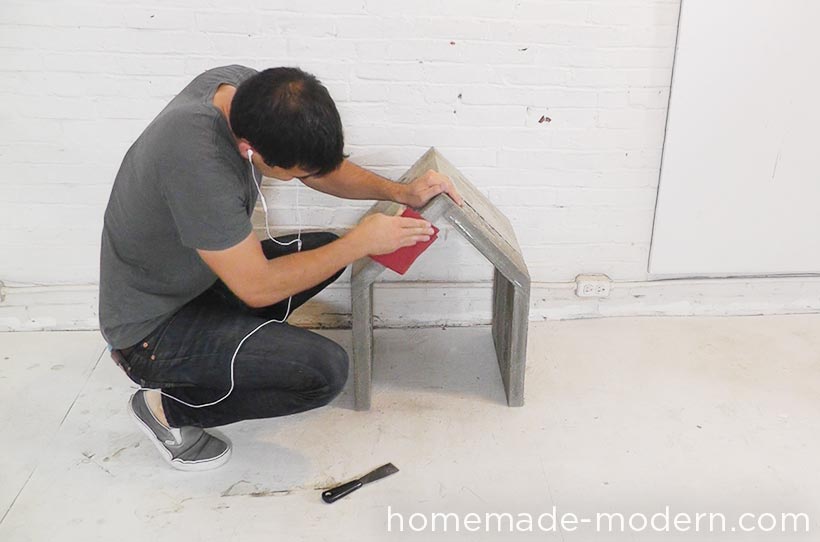
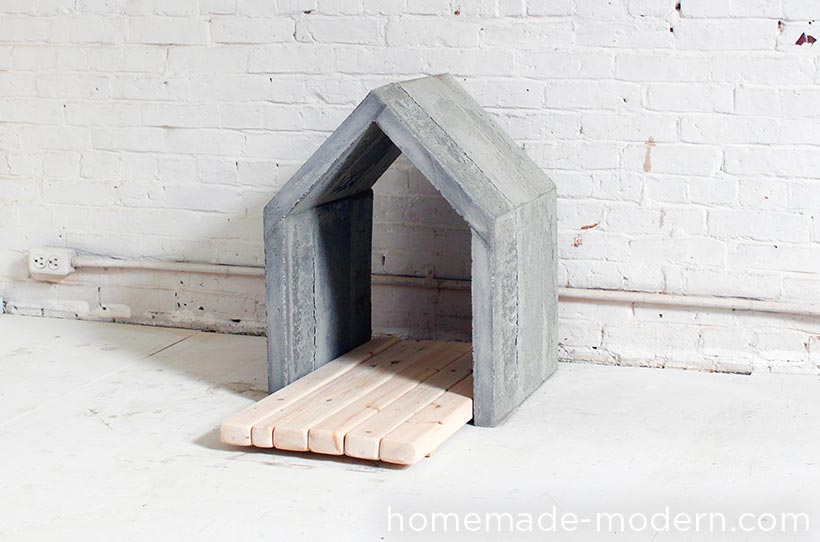
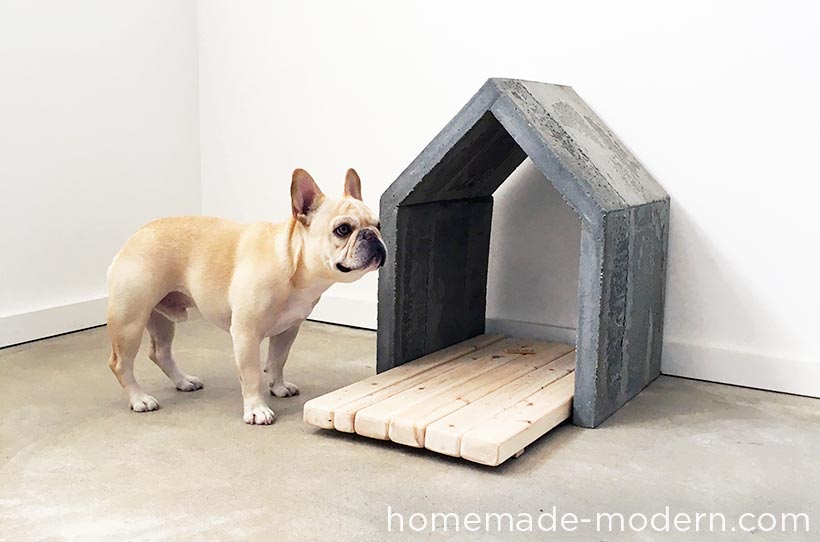
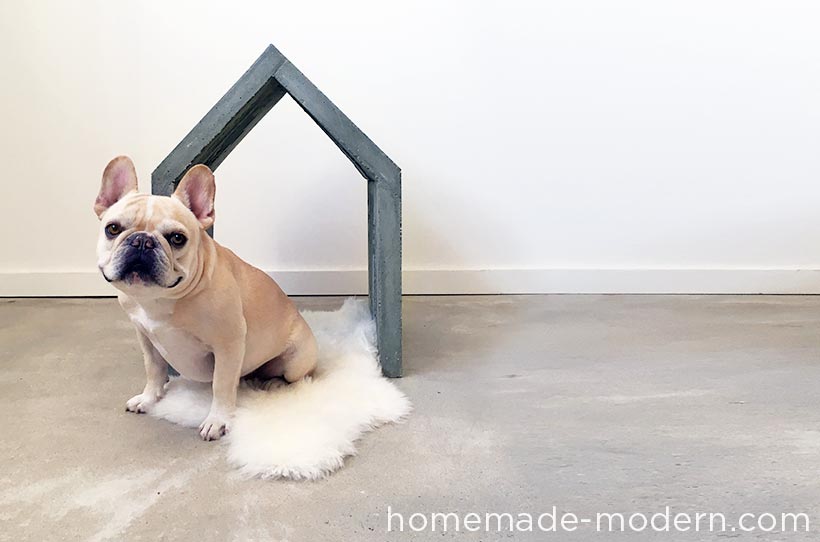
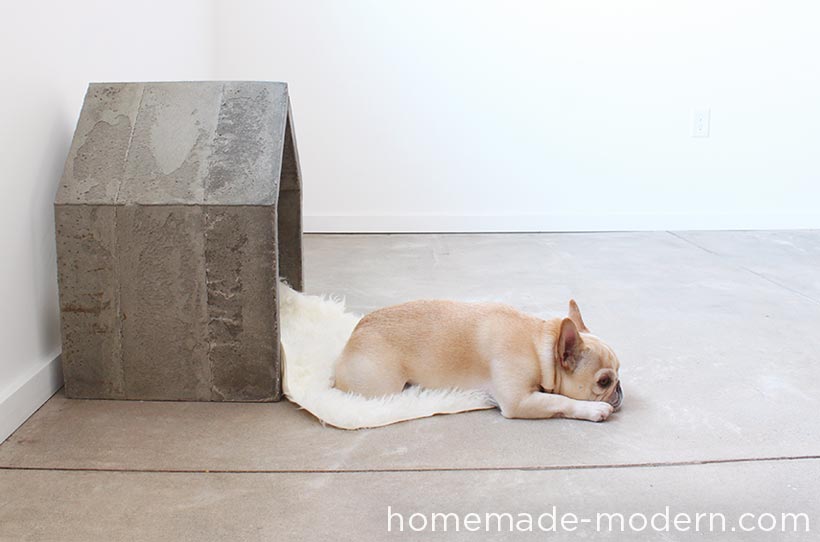
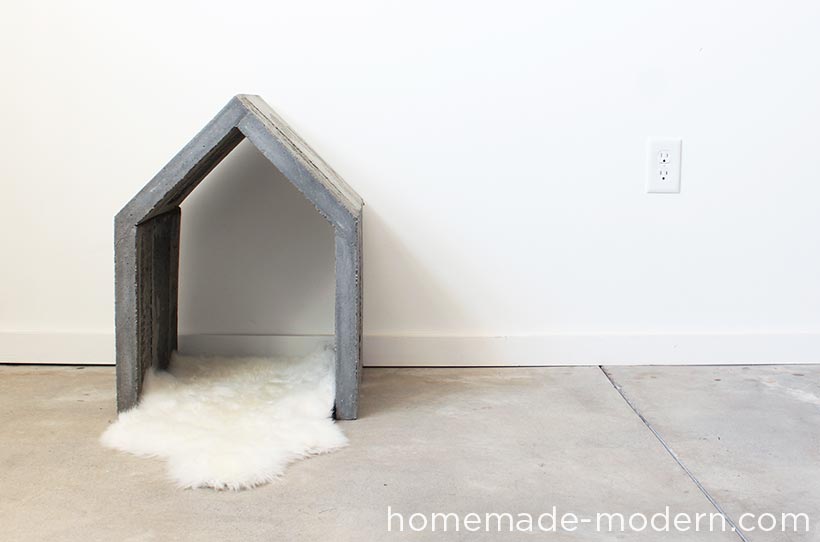
This modern concrete doghouse is made out of Quikrete Countertop Mix poured into a mold made out of 2x4s and Masonite. I poured the concrete in layers so that the weight of the wet concrete wouldn't push the thin Masonite out. I used 1.25 bags of Quikrete Countertop Mix in grey. The finished doghouse weighs about 100lbs. I would refer to the strength test I did with the Lego-formed nesting tables regarding reinforcement.
SUPPLIES:
2x4s
Available at the Home Depot
I used scrap 2x4s to make the bottom and sides of the mold.
1/8" Masonite
Available at the Home Depot
I used 1/8” Masonite for the sides of the mold.

Quikrete Countertop Mix
Available at Home Depot
I used 1.25 bags of Quikrete Countertop Mix in grey. It's not typically in-stock, so you'll have to order it for pick up.
TOOLS:


RYOBI Orbital Sander
Available at Home Depot
INSTRUCTIONS:
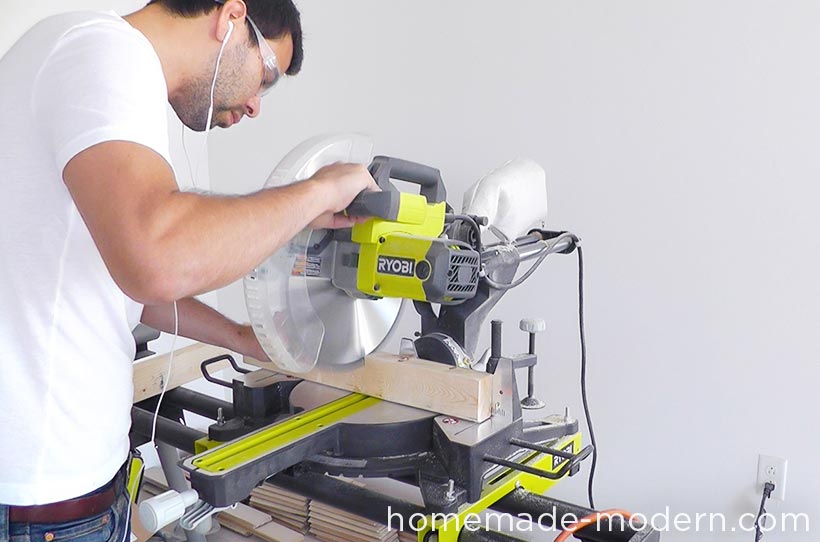
STEP 1: Set Compound Miter Saw to 45º
I set my compound miter saw to 45 degrees.

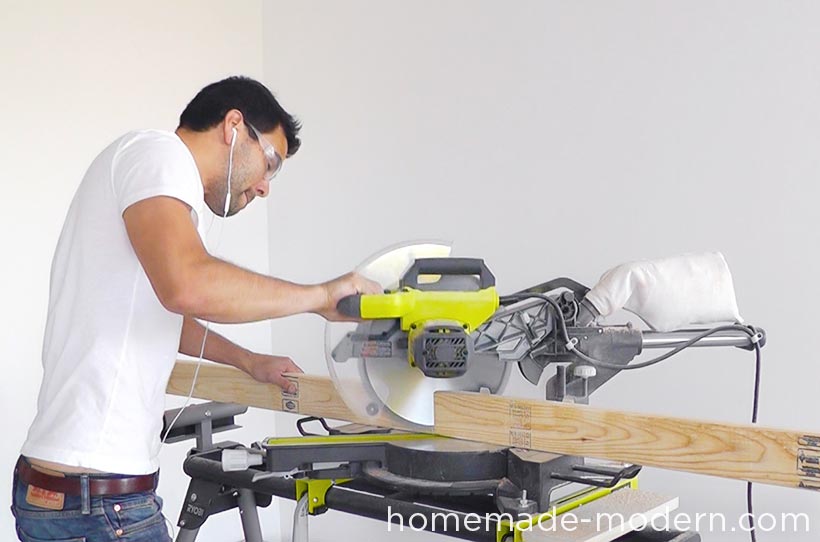
STEP 2: Cut 2x4s at 45º
I cut the 2x4s so that one end of each piece was cut at a 45 degree angle. Trim the length later.

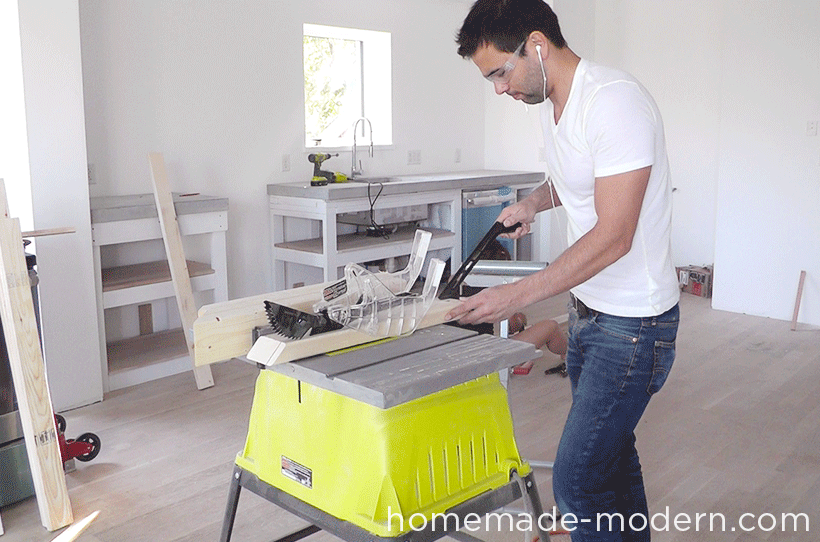
STEP 3: Rip the 2x4s on the Table Saw
I wanted one of the sides of the 2x4s to be flat, so I ripped them on the table saw and removed about 1/2".


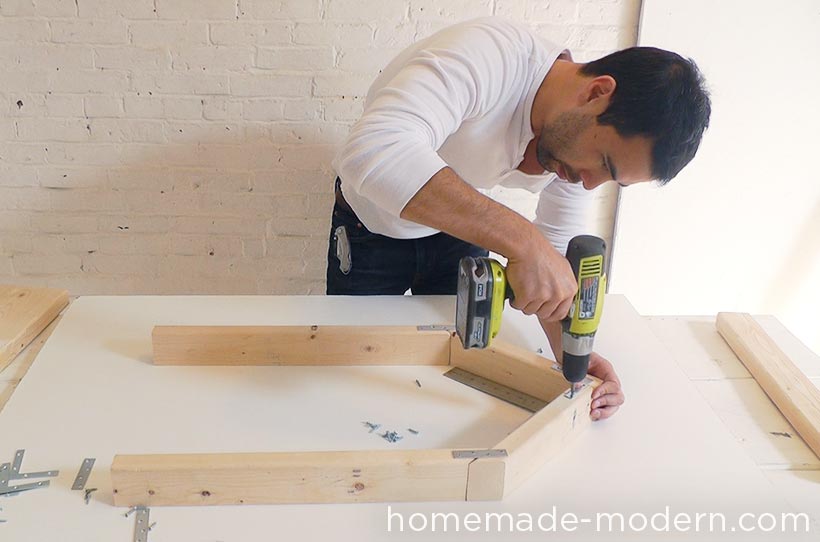
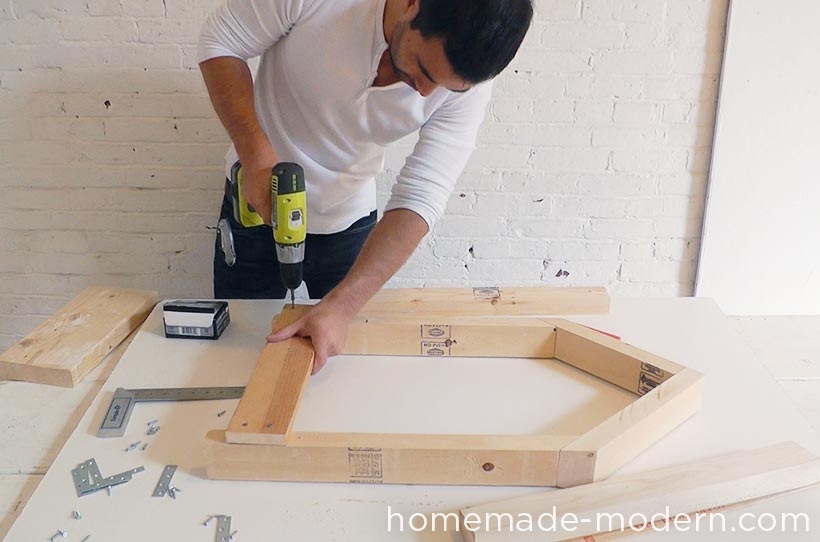
STEP 5: Use Brackets to Make the Bottom Frame
I used steel brackets to connect the 2x4 pieces to make the bottom frame for the mold. I screwed the brackets onto the rounded side of the 2x4 so that the flat side that I ripped would face up and serve as the bottom of the mold.


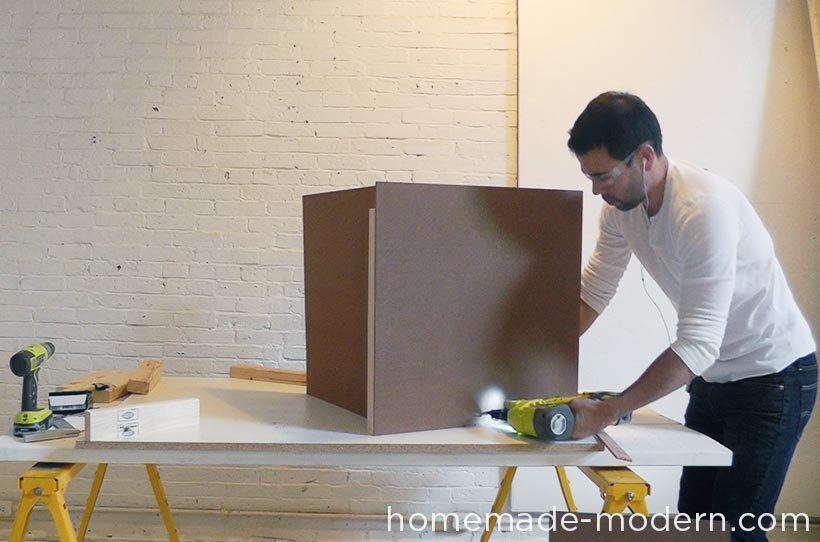
STEP 6: Screw on the Sides of the Mold
I used brackets and a square to screw on 2x4s to make the ends of the mold.

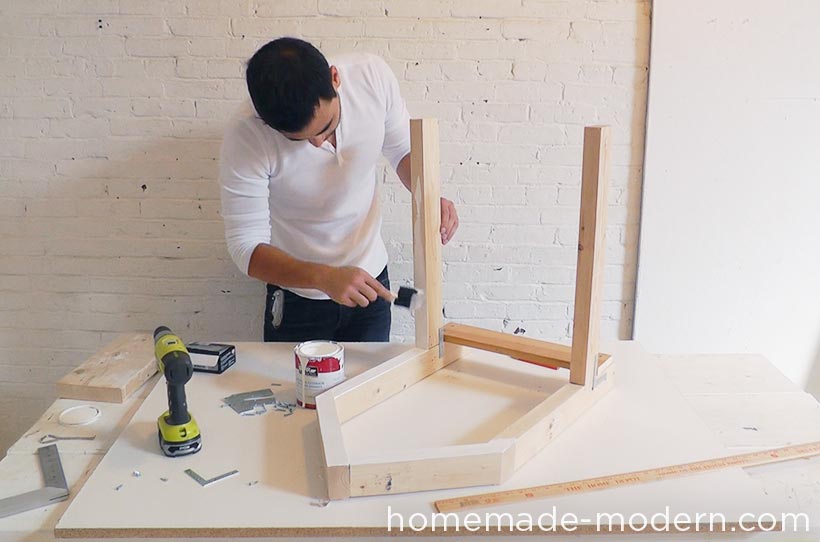
STEP 7: Paint the 2x4s
I used high gloss latex house paint to coat the 2x4s. The paint keeps the wood from absorbing water away from the wet concrete.

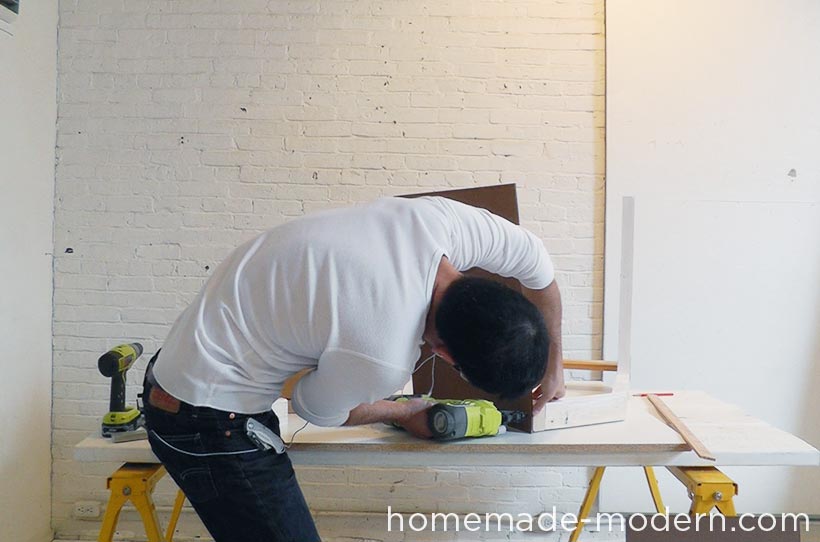
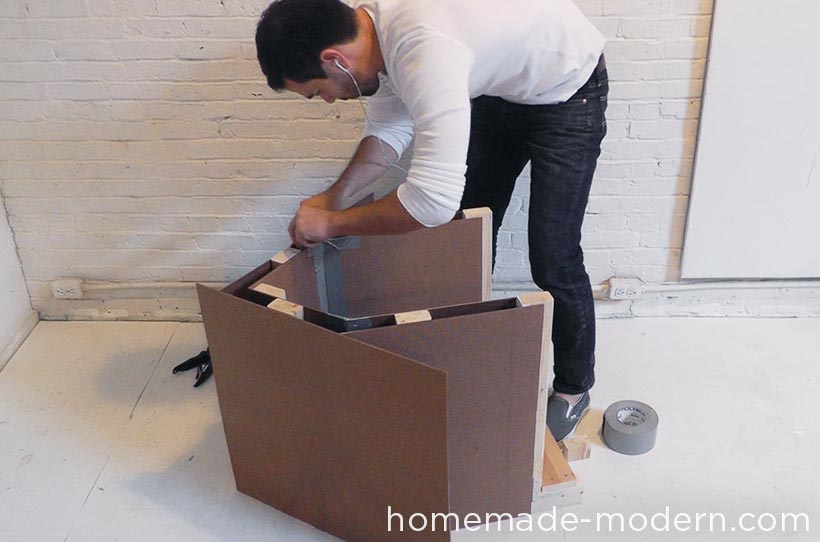
STEP 8: Attach the Masonite
I used my cordless brad nailer to attach the Masonite to the 2x4 frame. Screws would work too, but the nail gun is faster.


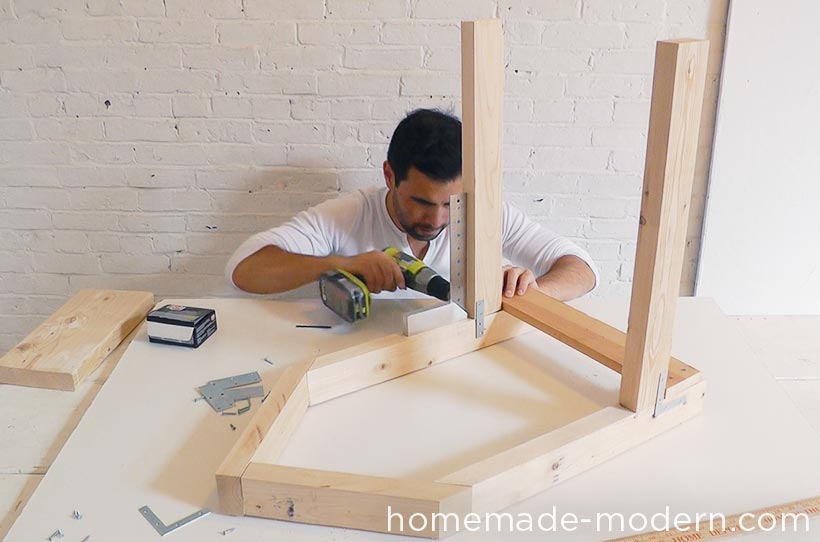
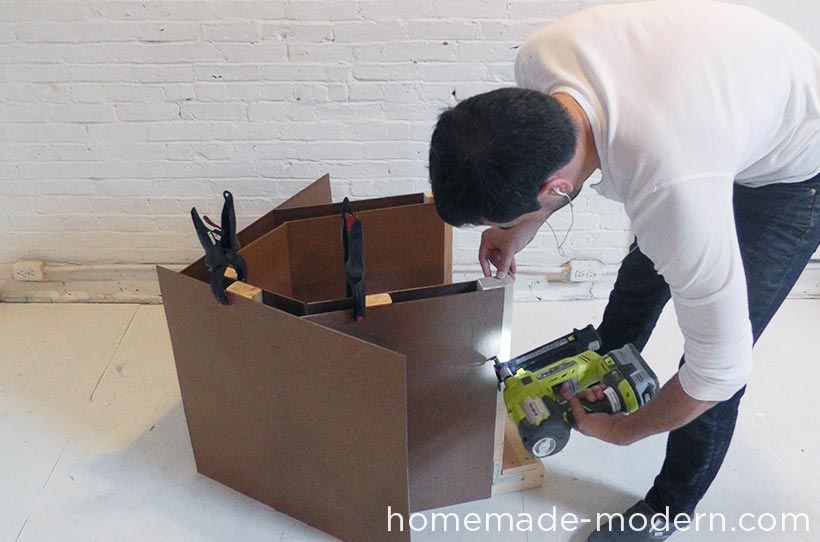
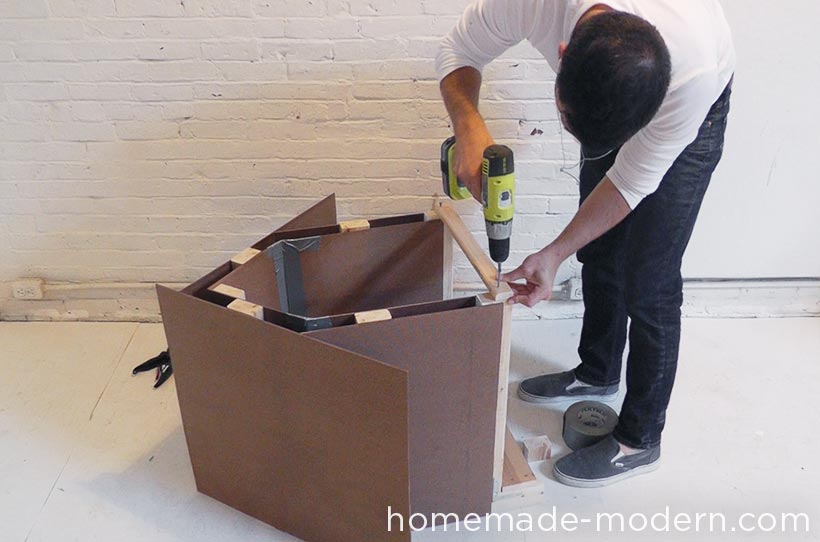
STEP 9: Reinforce the Mold
The wet concrete puts a lot of pressure on the Masonite, so I reinforced the mold with duct tape, a hot glue gun and additional 2x4 blocks nailed to the masonite.


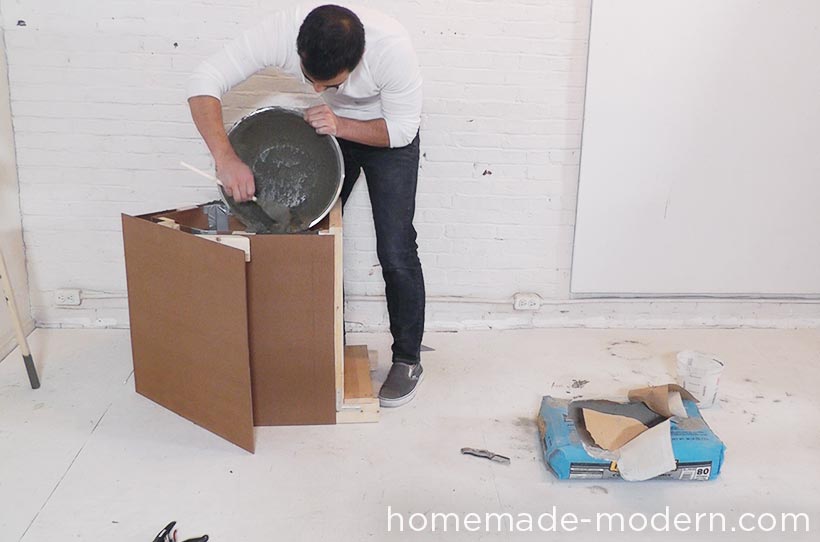
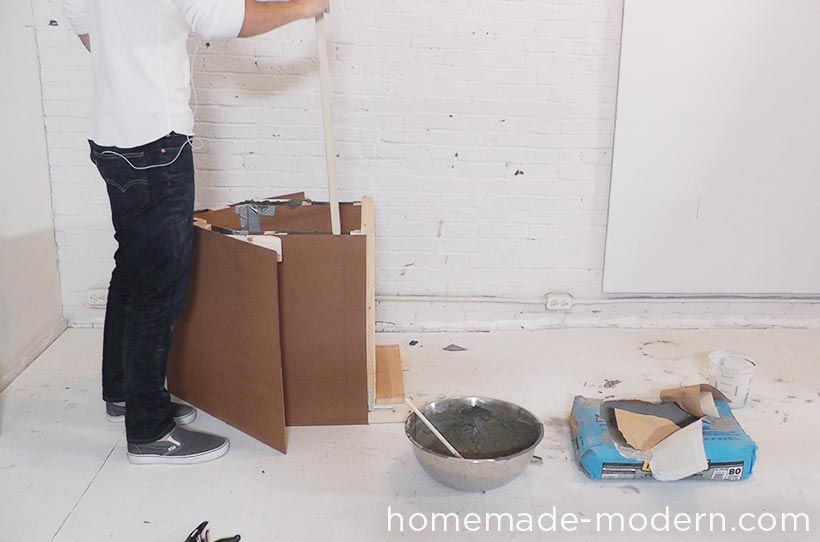
STEP 10: Pour the Concrete in Layers
I wanted to minimize the amount of wet concrete pushing on the mold, so I poured the doghouse in three layers with 20 hours in-between pours. I used a stick to push and vibrate the wet concrete all the way down into the corners of the formwork.


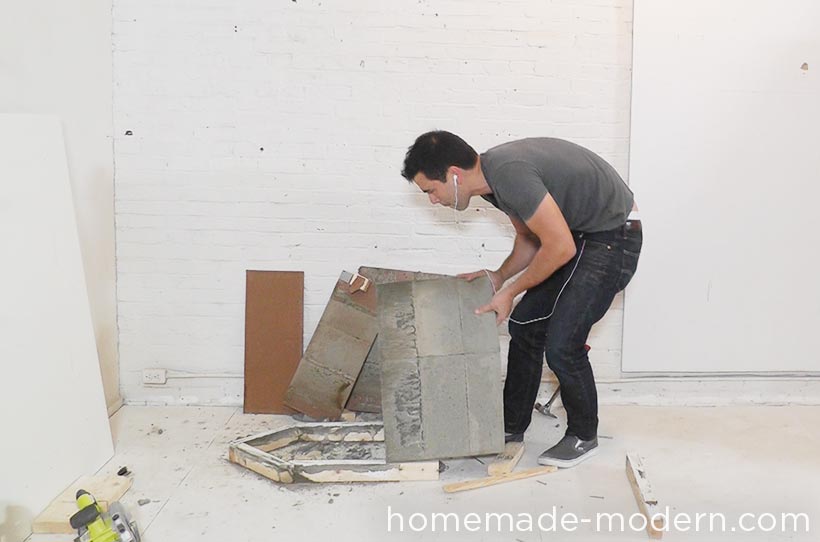
STEP 11: Remove the Form
Once the final layer of concrete has cured for 20 hours, rip off the Masonite panels and remove the doghouse.


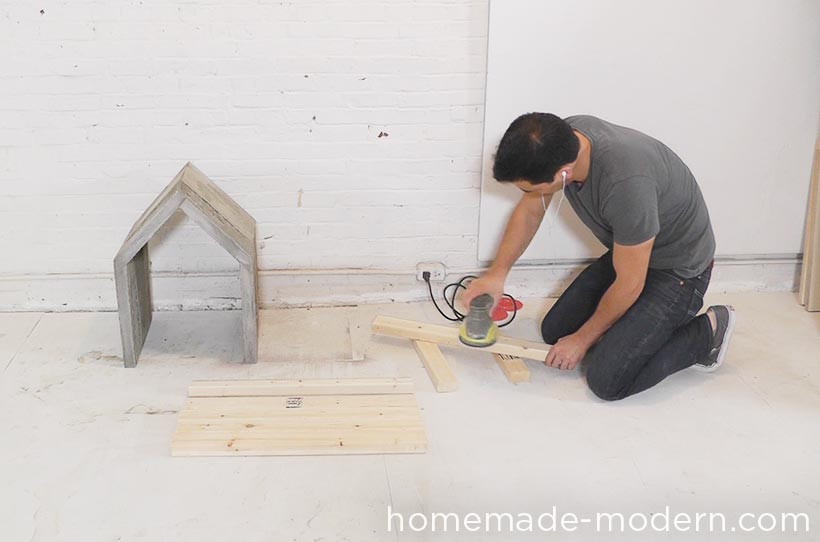
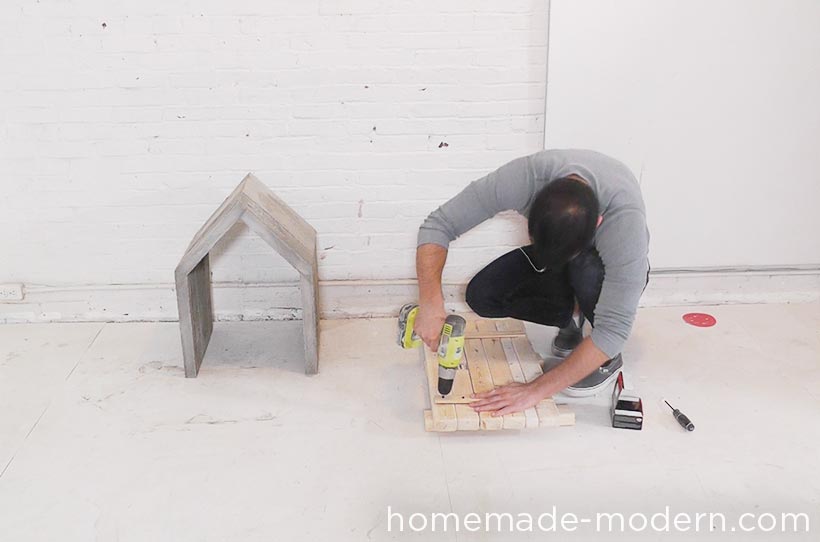
STEP 13: Build a Floor
I made a nice little deck out of scrap 2x3s and 2x2s that I sanded and screwed together. However, the little Frenchie who tested the house preferred a nice sheepskin rug for his floor.


Good luck with your concrete doghouse and please email or tweet photos to @benuyeda or [email protected].
If you want to see what we're working on next, follow us on Instagram @benjaminuyeda.
Also check out our book for additional projects, DIY tips and guides.
More posts from