
A DIY My Little Pony Party
My baby girl turned FIVE a few weeks ago and I figured, age five was the perfect age to throw her first, big party.
I mean, five is a pretty important age.
Some of my very first memories are between age 4 - 5, and I wanted this day to be special - a day that will hopefully be one of her first memories when she's old like me.
Because she's five, she lives in a world of wonder and fantasy. Her favorite things to do include pretending she's a princess, pretending she's a pony, putting on fashion shows, coloring in princess coloring books, and watching pony and princess movies.
Her latest obsession = My Little Pony. And she insisted on having a My Little Pony birthday party.
Now, I'm all for themed birthday parties, but I didn't want her party to be a cartoon explosion. I wanted to keep it classy, but still kid friendly.
Want to see how it turned out?
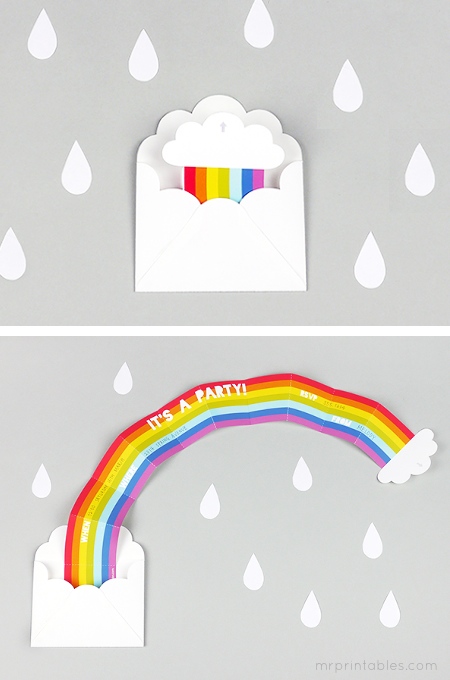
For the invitation, I printed and cut out rainbow invitations from a free printable by Mr. Printables:


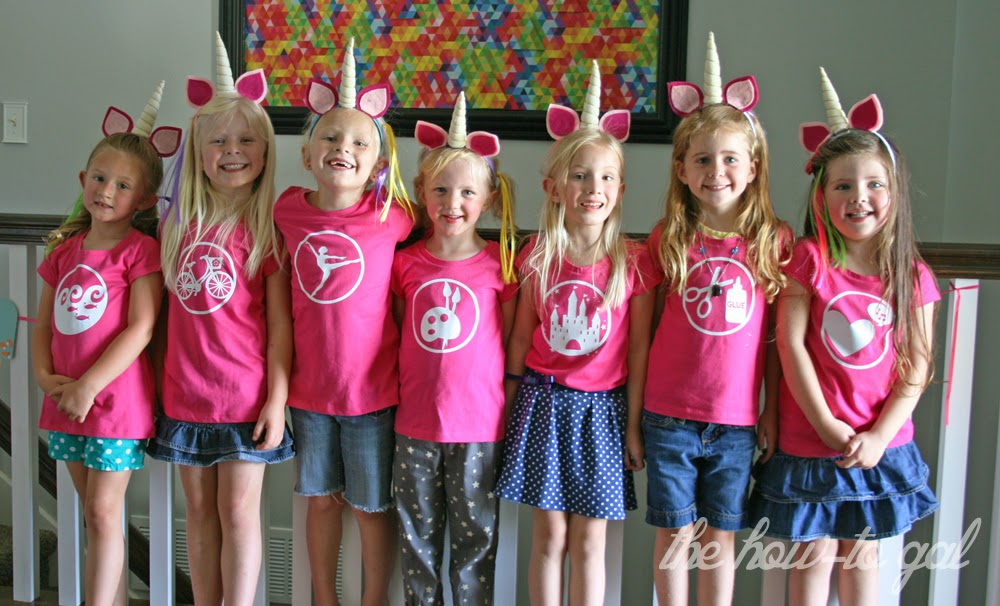
Before the party, I asked each of the moms about their daughter's favorite thing to do. Then, with my Cricut I made custom "cutie mark" t-shirts the girls wore at the party.

Each of the girls loved different things, so all of the shirts were different. They turned out so cute!

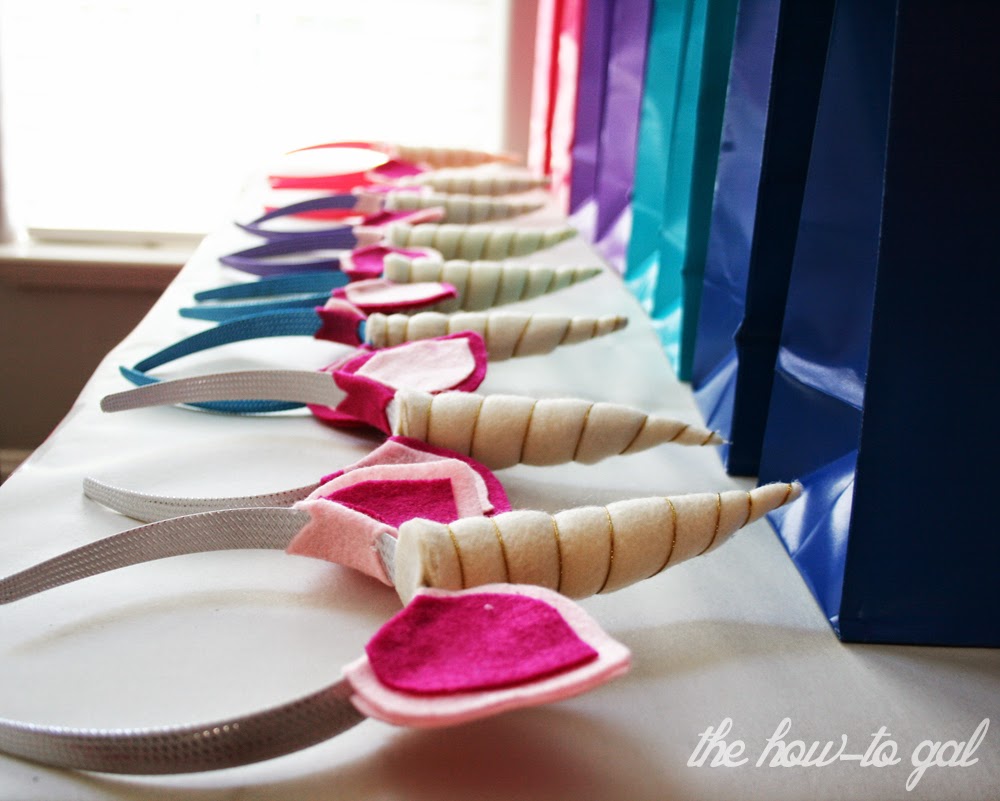
Unicorn horn headbands! I couldn't help myself.
I made one for each of the girls and will be sharing a tutorial later this week.

I filled the swag bags with a My Little Pony coloring book, pens and a puzzle. I made sure the bag was big enough to carry their shirt, unicorn horn and painted pony.
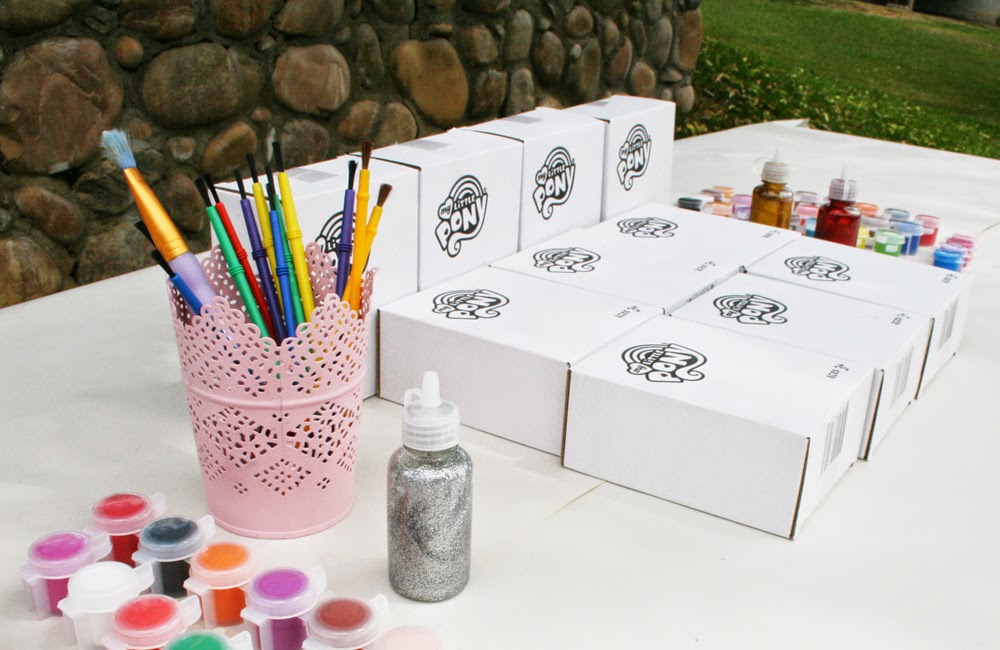
Yes, I said painted pony.
Did you know you can buy blank My Little Ponies on Hasbro's website? Well, you can. I bought one for each girl to paint at the party.


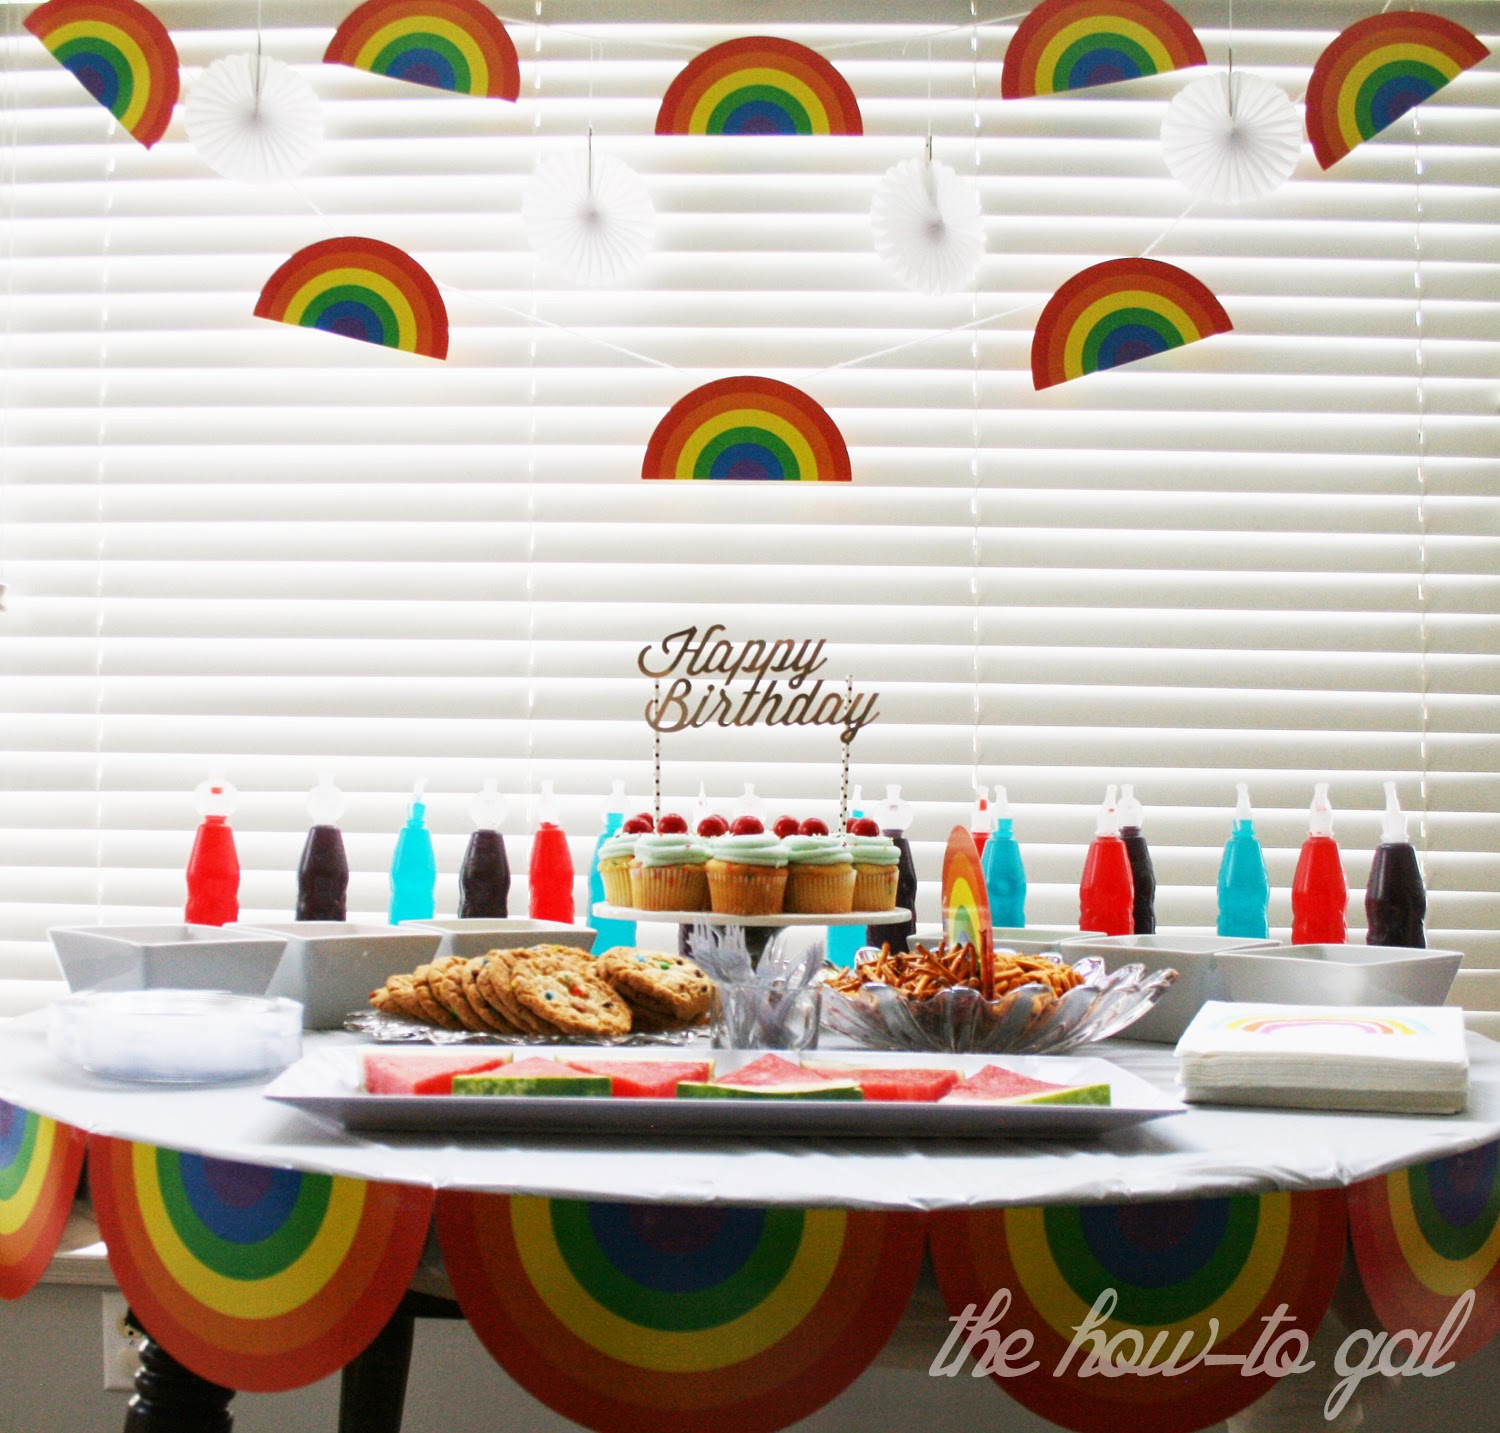
For the food table, I incorporated the rainbow theme from the invitation into the decor. I made the banner from items I found at Zurchers.

Skittles, squeeze-its and cookies, oh my! I wanted to make everything look bright and happy - it wasn't until later that I realized that I gave the girls a SUGAR OVERLOAD. Sorry parents!

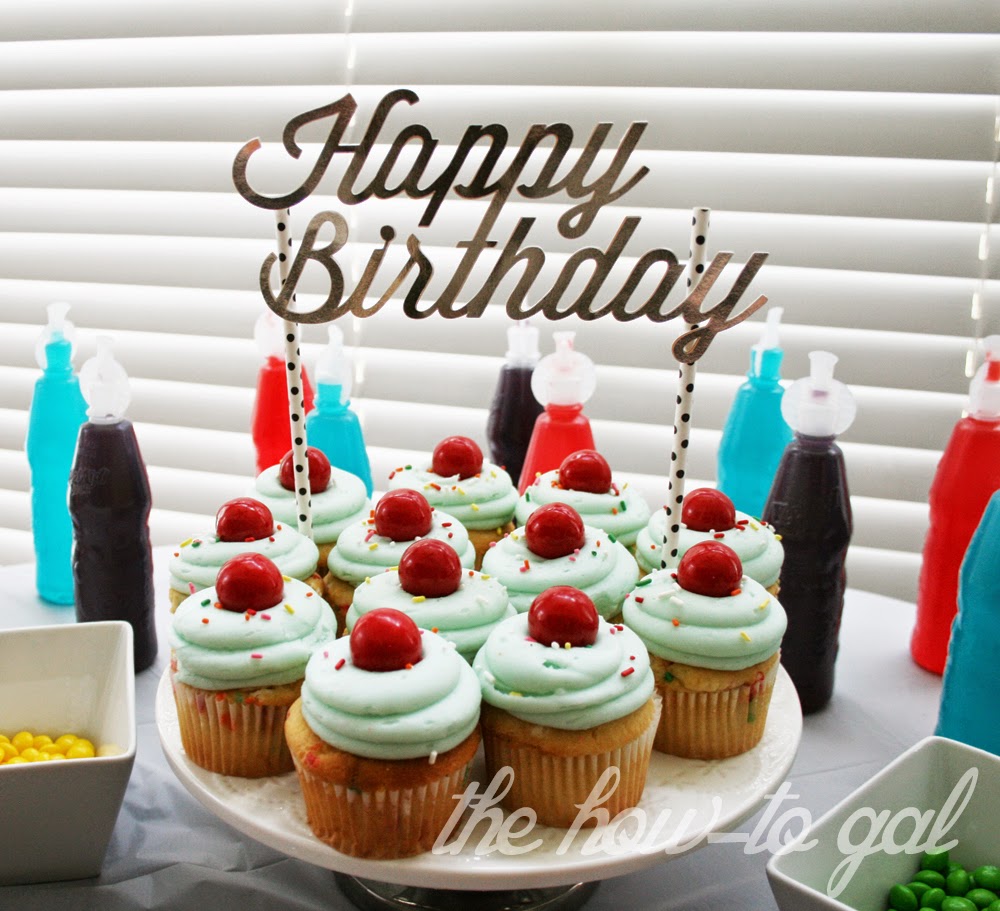
Instead of a traditional cake, E chose cupcakes. For the Happy Birthday topper, I used TomKat's design from Cricut Design Space. I cut out 10 Happy Birthday images with my Cricut and then glued them together. The top layer is a shiny piece of gold paper.
The party was more work that I bargained for, but I am happy with how things turned out. I'd even say it was a success. After all, the birthday girl did say, "This party is everything I've ever imagined."
Happy Birthday E! Love, Mom

More posts from Anna Rose Johnson