
Simple DIY Wall Desk, Shelf & brackets (for under $23!)
Moving right along on my boy’s budget room makeover, this past week I tackled perhaps the biggest project—building a desk and shelving.


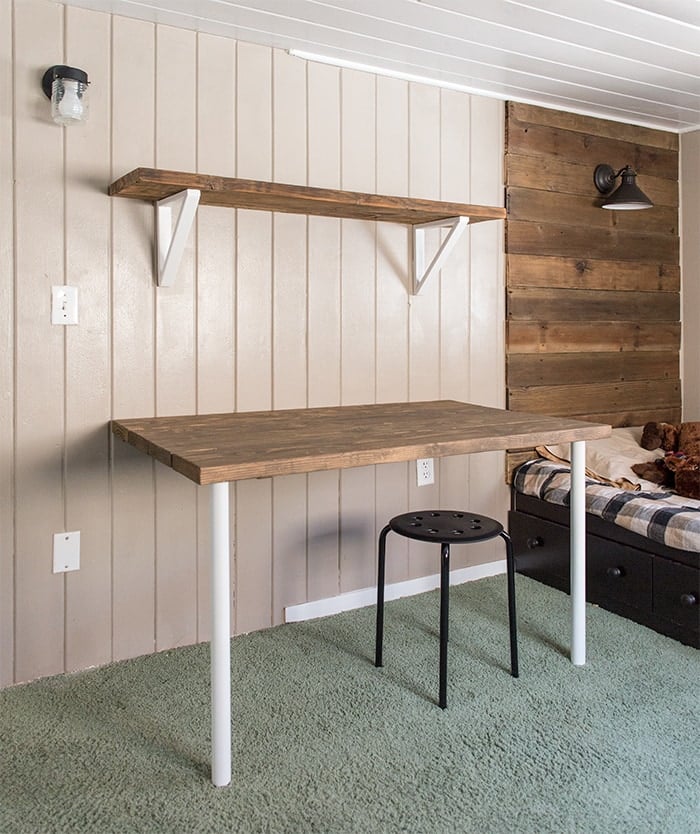
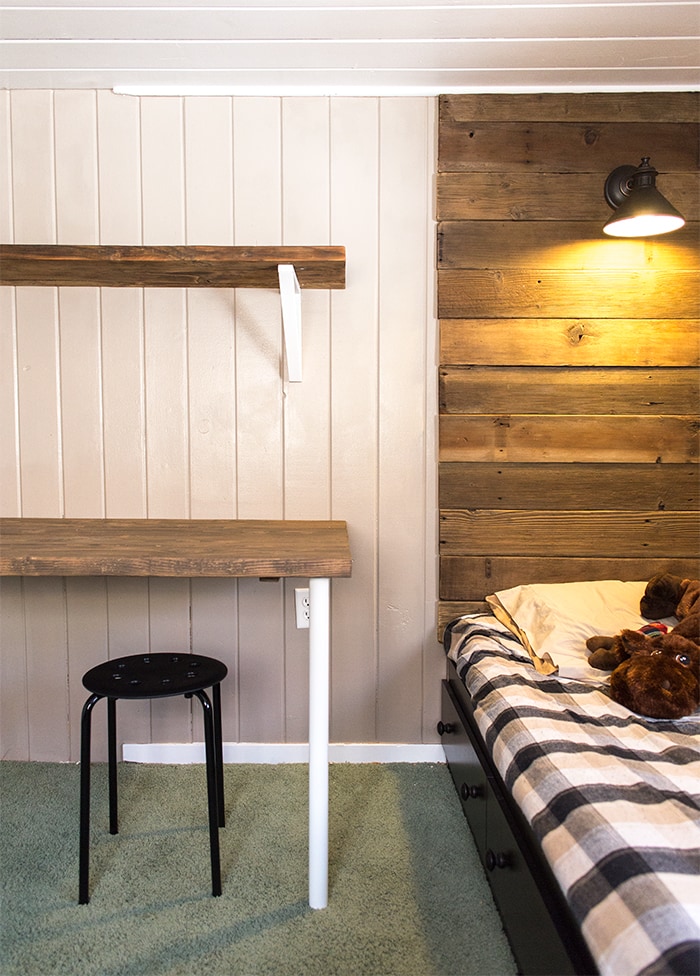
The only furniture it had was a bed (with storage drawers), as there’s not room for much else. But I wanted to take advantage of the empty wall between the door and bed and create a practical space for both storage and for Cruz to play, draw and do homework.

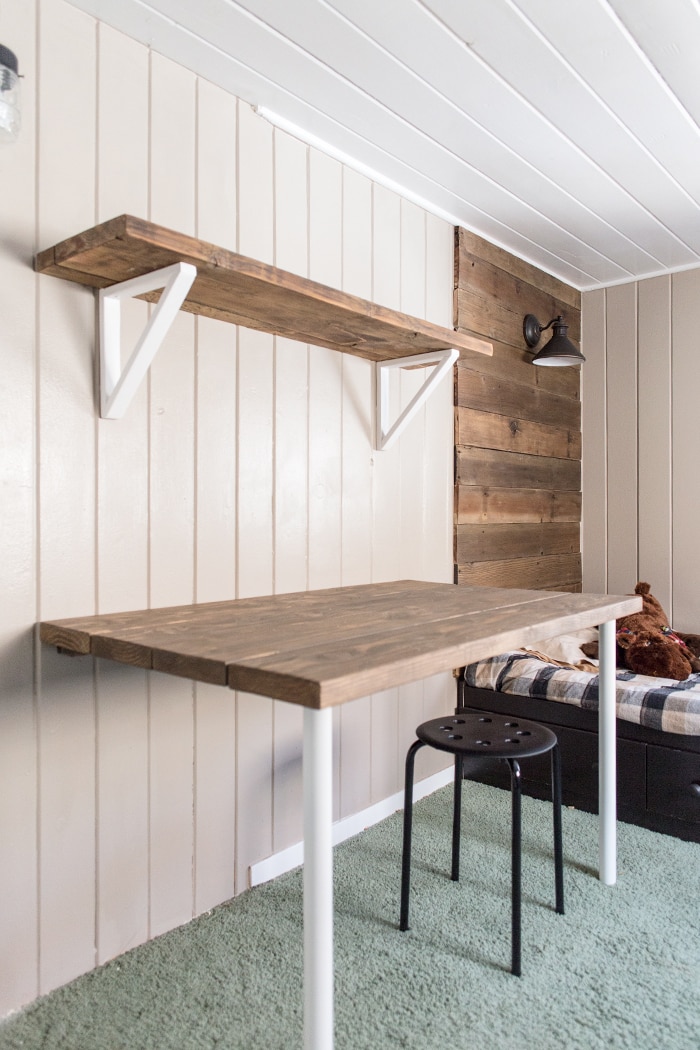
I had about 4 feet of wall space to work with which I thought would be perfect for a small desk and a couple shelves.
Since budget is the biggest consideration, I couldn’t simply go out and buy a desk, shelves and brackets, so I had to get creative. My original plan was to buy an old wood door and cut it down to use as my desk, however the Re-store only had hollow cores and I couldn’t find any on Craigslist. Bummer! Plan B was the next most cost effective option—build one from a 2×6″.
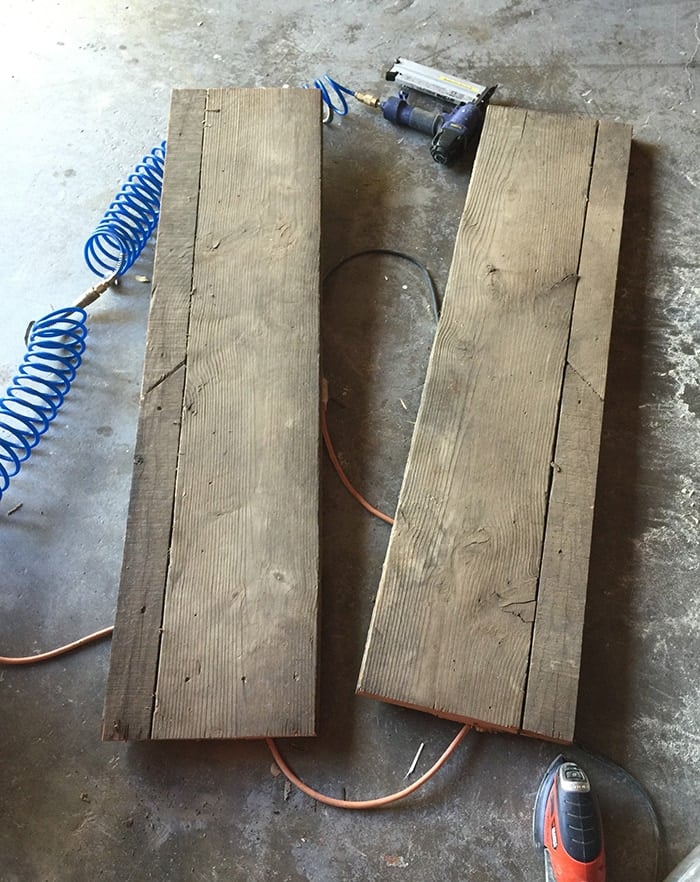
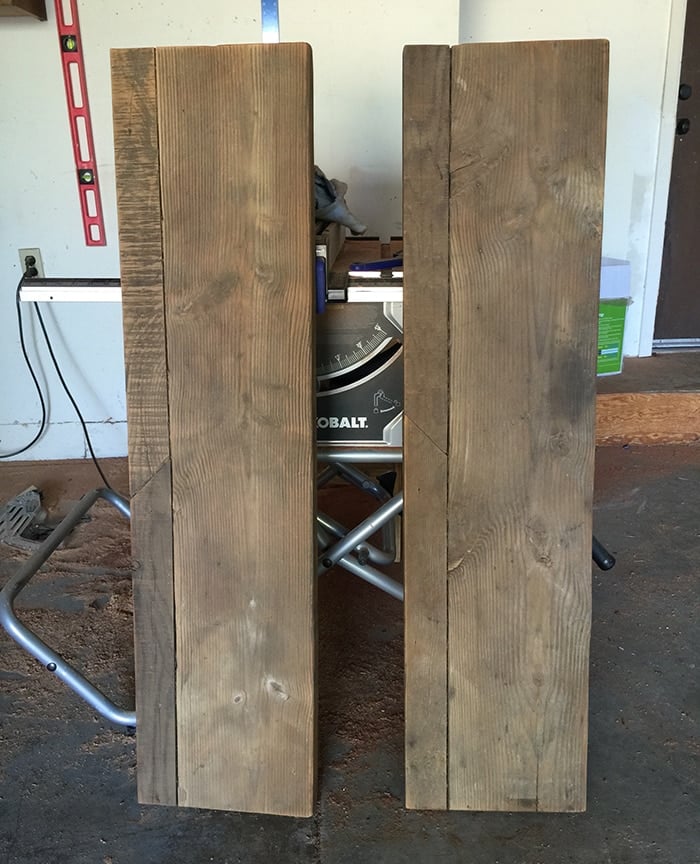
Fortunately, my dad had an old 2×12″ board lying around in his yard that I was able to cut in half and use as my shelves:


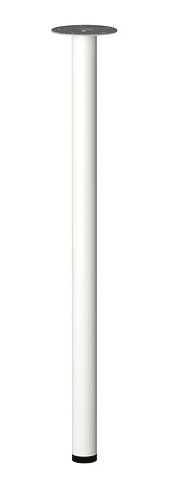
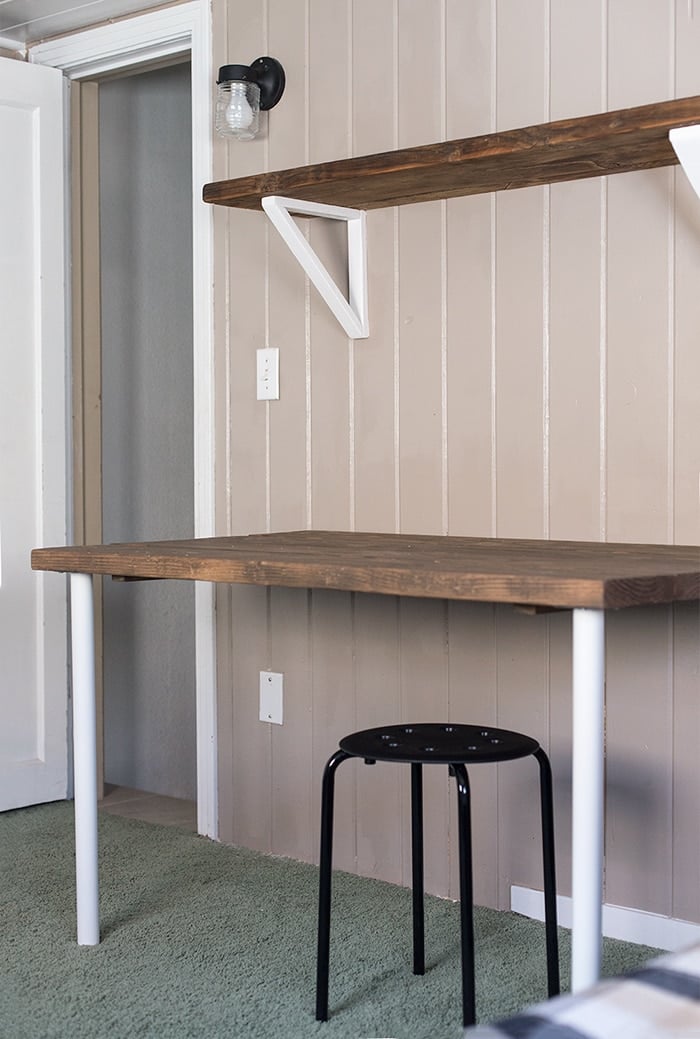
The idea was to use just two desk legs (to save money and for a cleaner look) and build a cleat to mount the back of the desk directly onto the wall. I knew the cheapest place to buy legs was Ikea, at just $3.50/ea (they’ve since gone up to $4)…

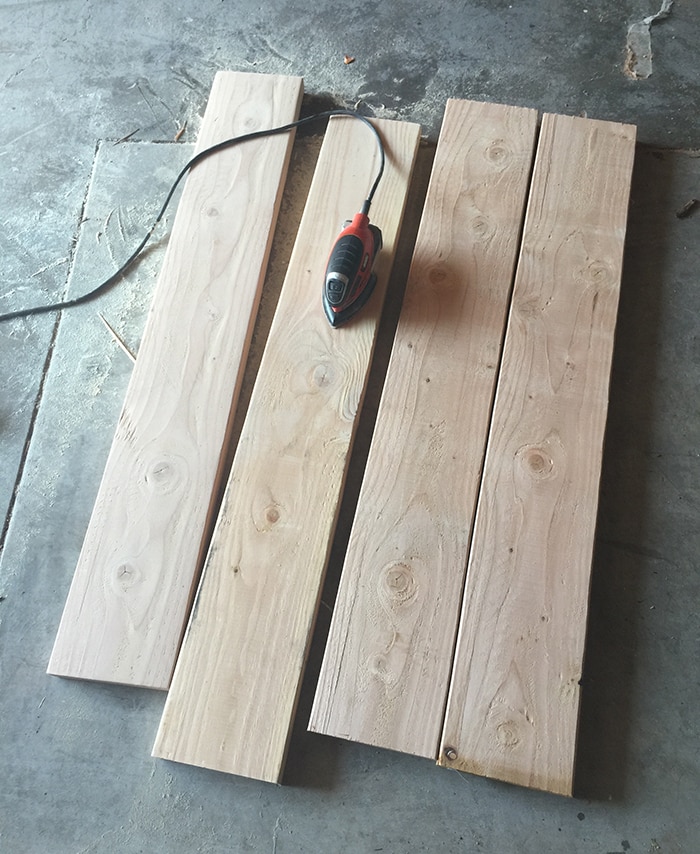
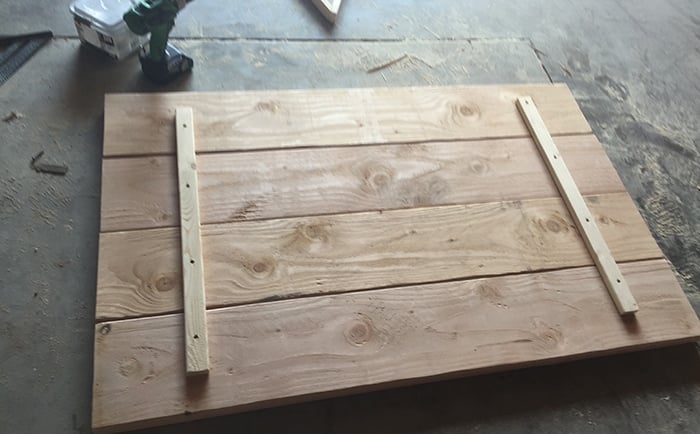
For the desk wood, the most cost effective plan was to buy a 2×6″x16′ and cut it into four pieces, giving me an overall surface area of 48″w x 22″d. I’d then use simple 1×2″ furring strips to attach the pieces from underneath since this part would be hidden. These would also be used to make the cleat and shelf brackets.
Here’s my supply list recap:
- (2) Ikea Adlis desk legs: $7.60
- (2) 1x2x8′ furring strips: $3
- (1) 2x6x16′: $12.32
- (1) 2×12″ board for shelves: free
Total: $22.92
I feared this would be the most expensive part but have to give myself props for resourcefulness… we’re now on track to be well under budget for the room!
Alright… time to put this thing together.
First, the desk top. I had Lowe’s cut the 2×6 into 48″ lengths to make my life easier (and fit into my car).


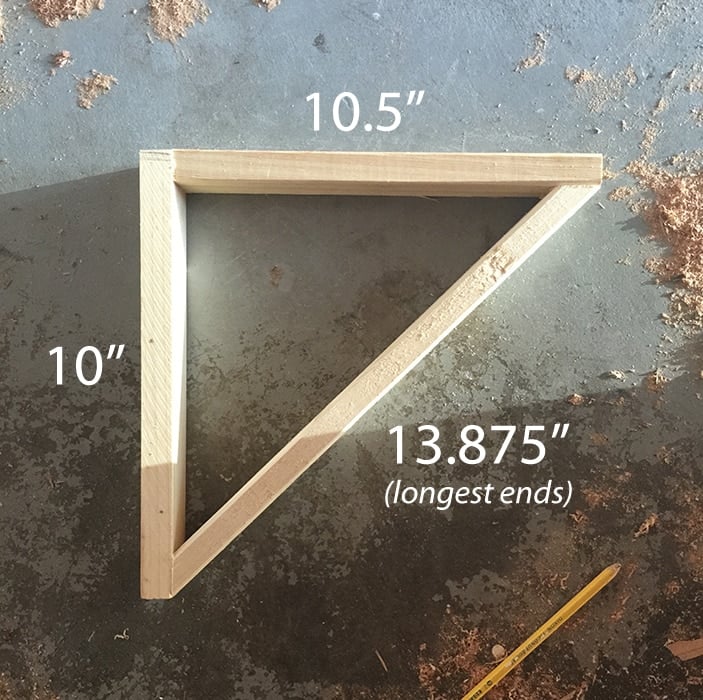
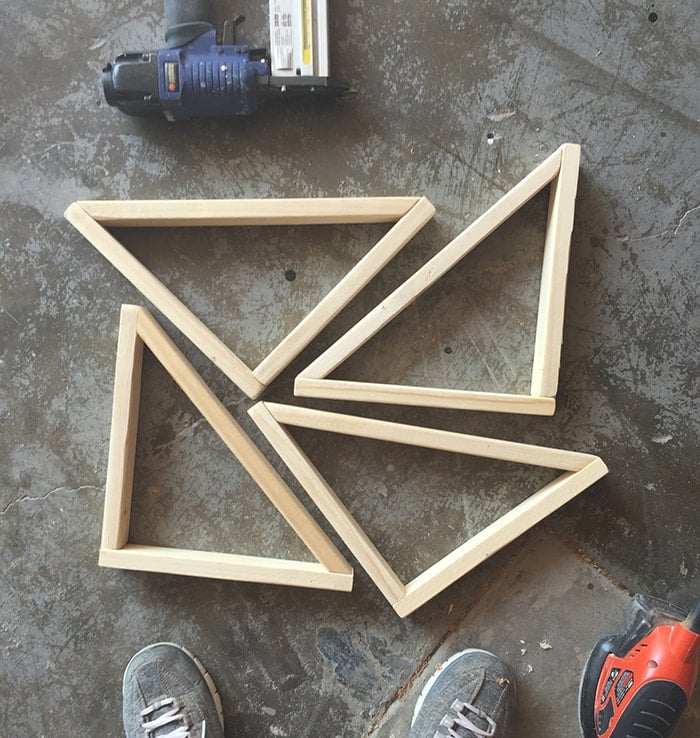
Next came the most complicated part of this whole process… which turned out to be not very complicated at all—making brackets.
This was a last minute plan as I was going to buy metal ones, but after realizing the cost ($10) and knowing that I needed four, decided it wasn’t in the budget. So I set out to make my own out of wood.
I came up with an approximate size and cut all my pieces. The size you choose doesn’t really matter, however I wouldn’t go much deeper than this for stability. This is how my numbers worked out:


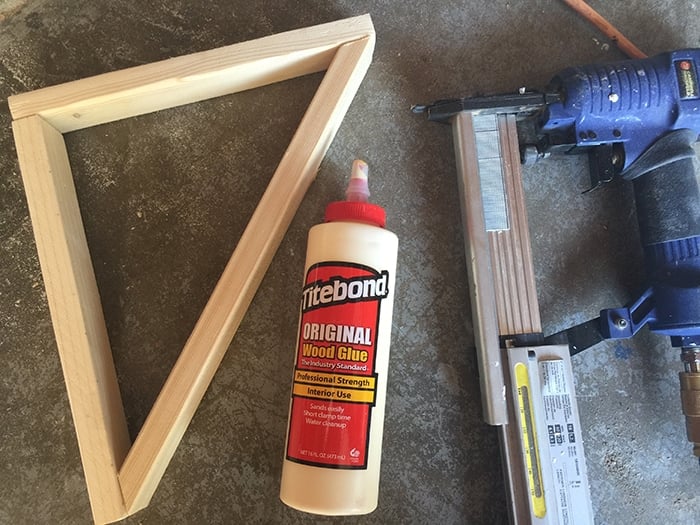
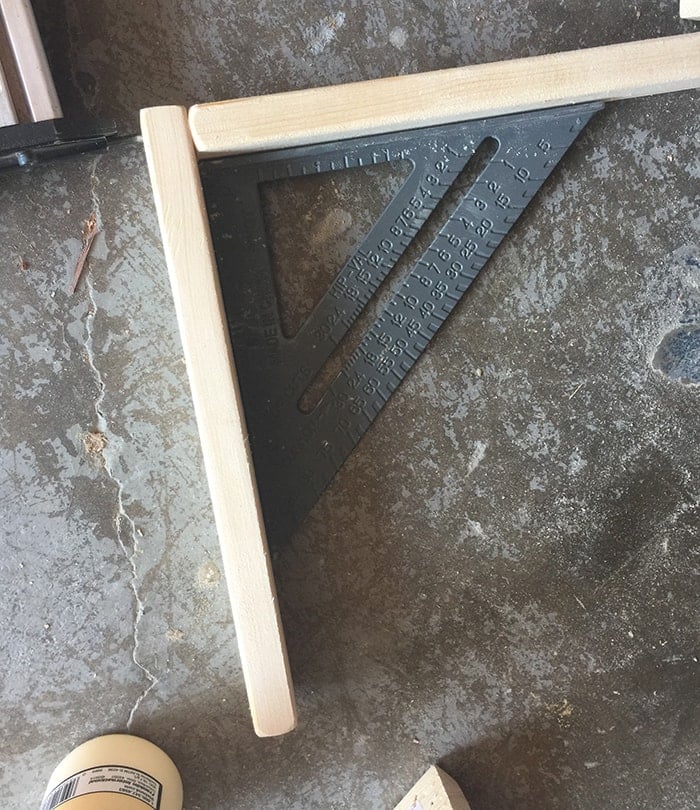
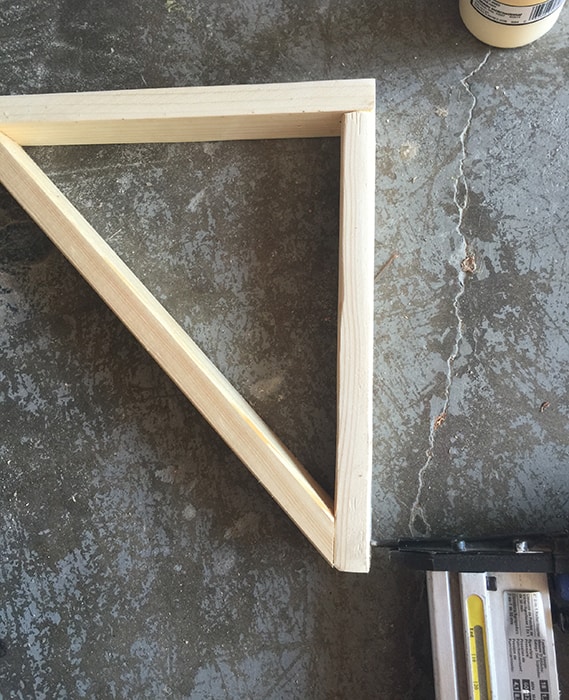
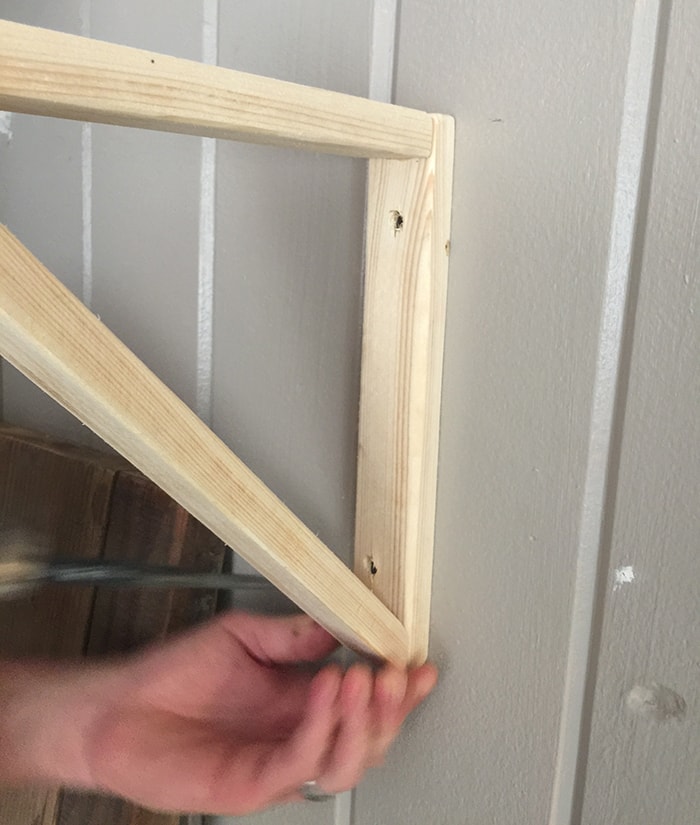
Then it was time to assemble. Tools needed: a straight edge, wood glue and a nail gun (I used an 18ga brad nailer and 1.5″ nails).

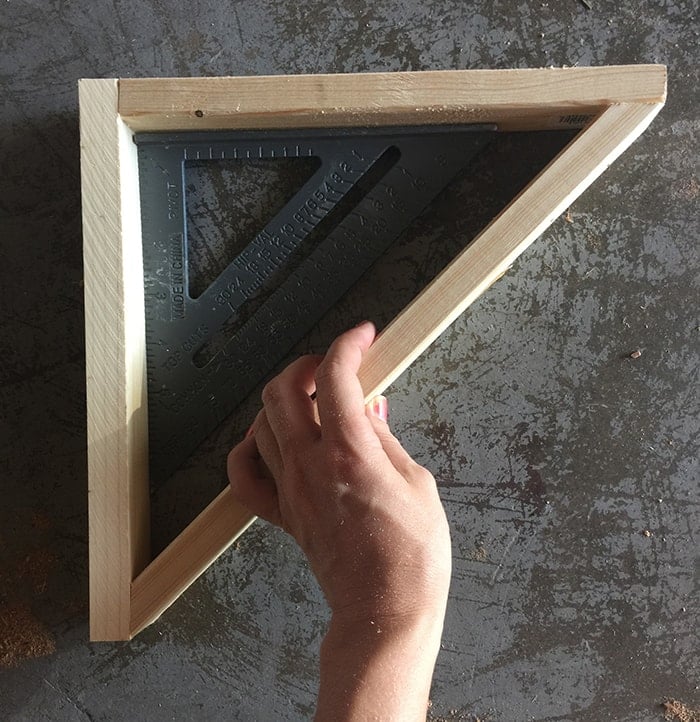
While aligning my first two pieces with a straight edge, I applied wood glue to the end and secured them with two nails:


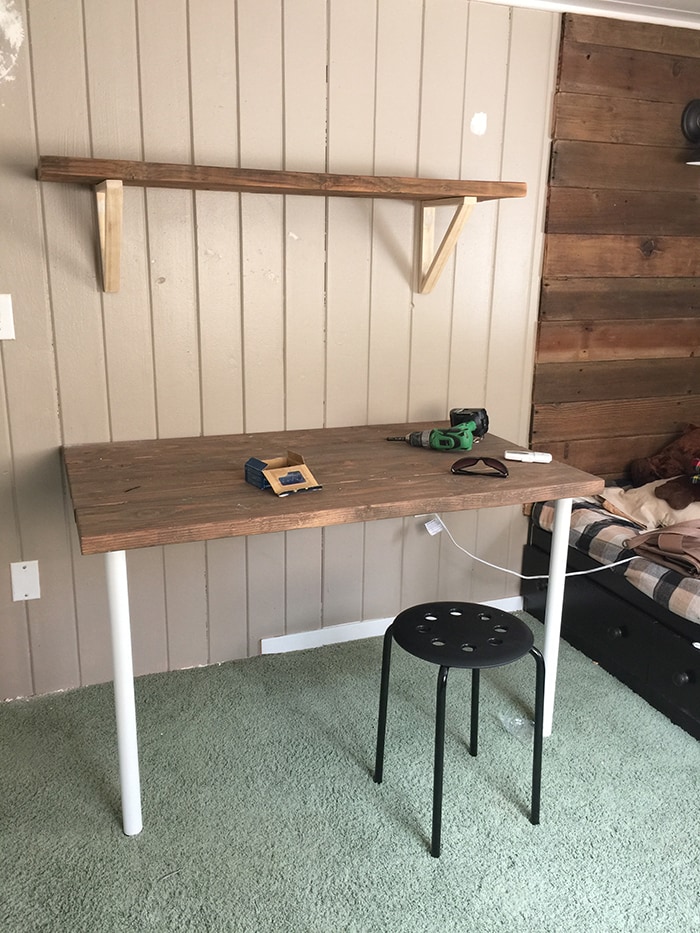
I couldn’t decide what color I wanted them to be yet, so I left them unfinished, assuming I’d end up painting them the wall color to blend in.
Finally it was time to begin installation. First we attached the desk legs, then measured and marked where the desk top would sit on the wall…

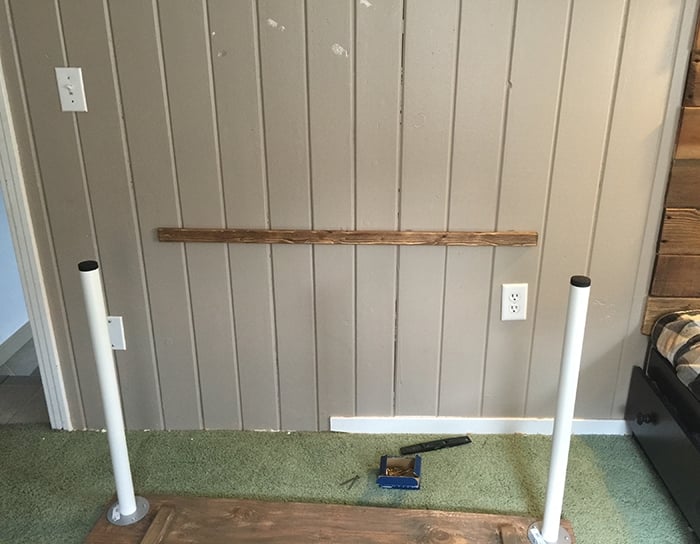

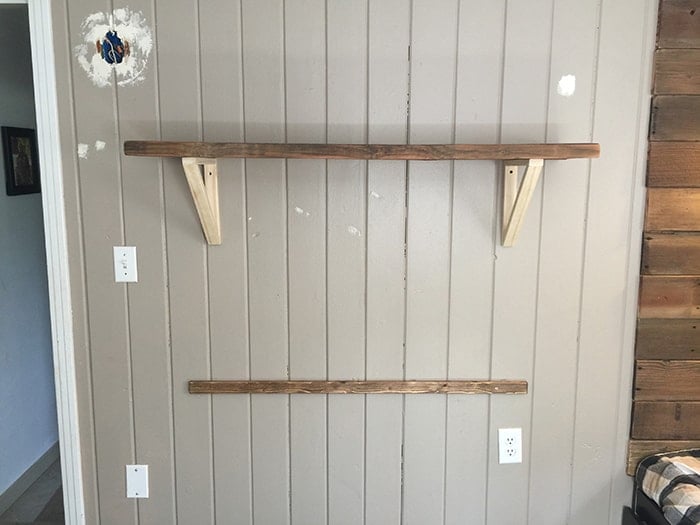
Using 2.5″ wood screws, the brackets were leveled and secured to the wall (the screws had to go in at a bit of an angle as the drill couldn’t line up straight).


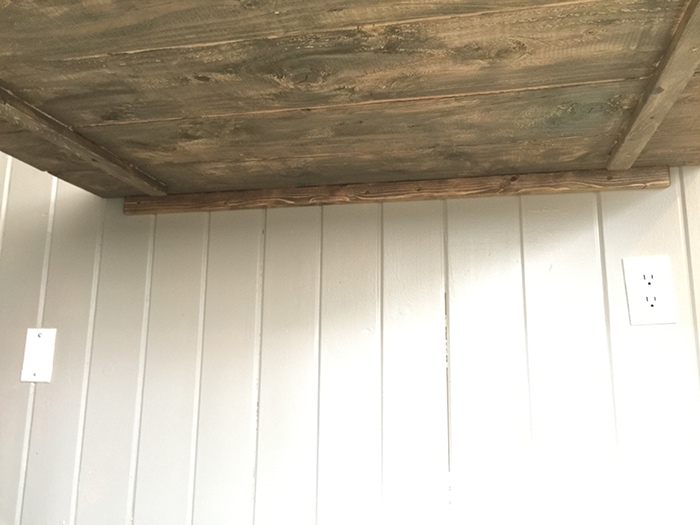
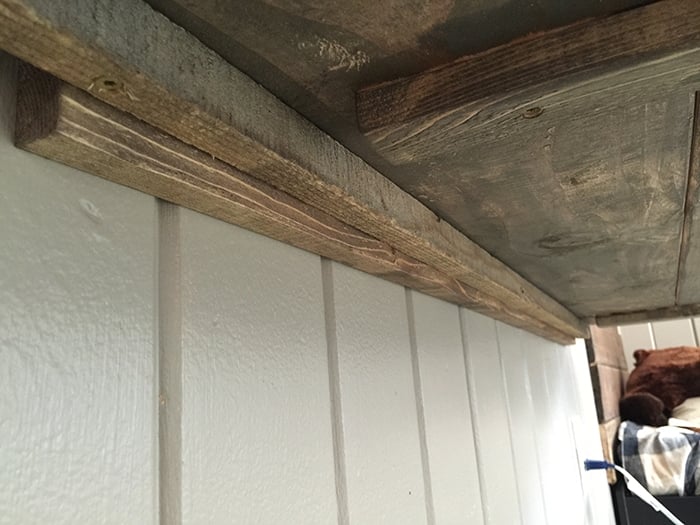
However, I couldn’t drill vertically through the cleat from the bottom, so in order to avoid visible screws from the top, I had to rip down a second piece of wood to 1″. This was mounted it in front of the cleat and screwed into both the cleat and the desk:


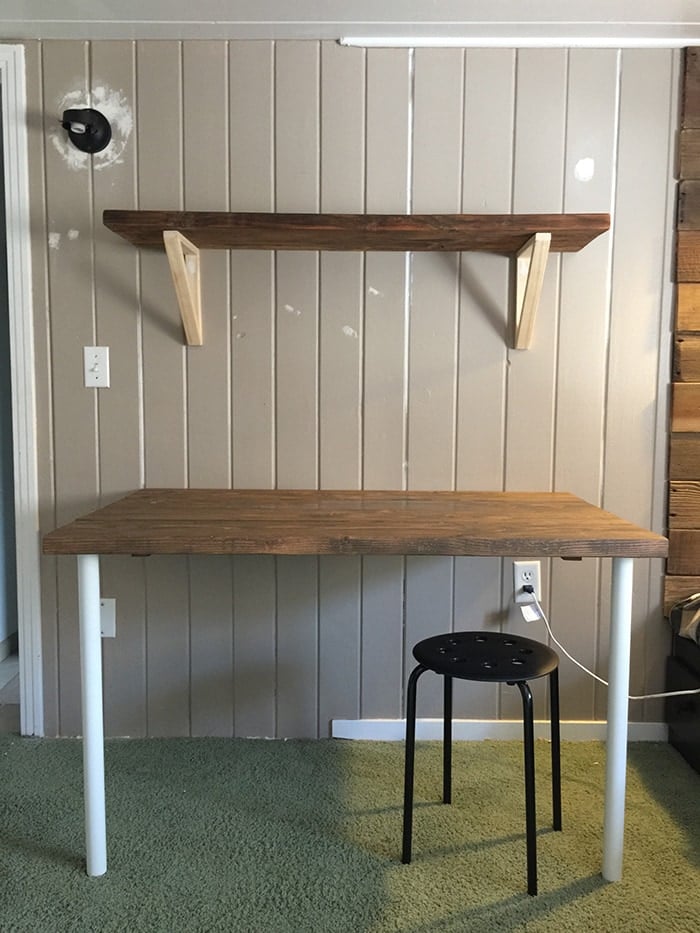
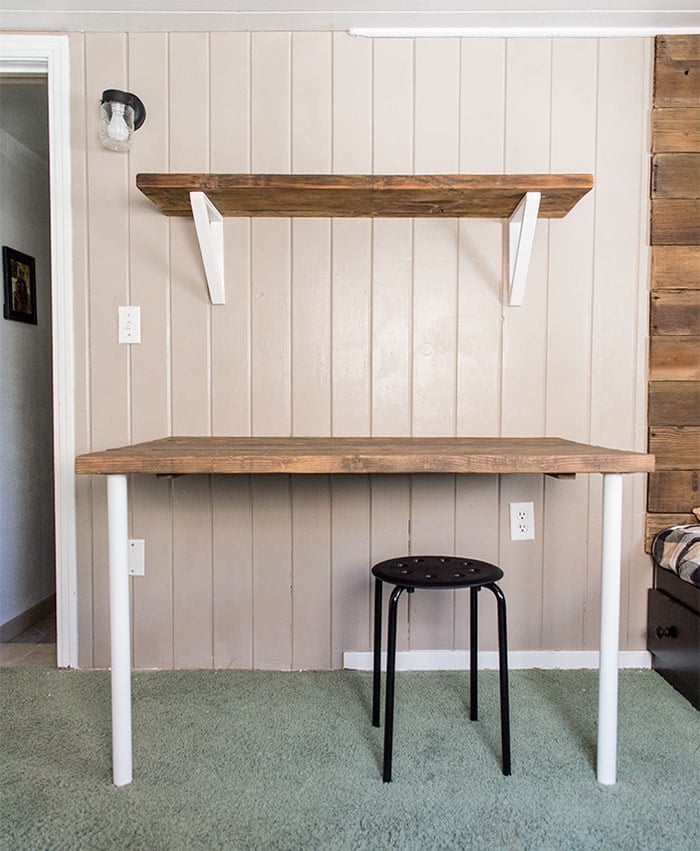
I also took time to touch up some issues in the wall and replace the boob light with this $5 outdoor light from Lowe’s. And at this point it was clear that the brackets should be white to match the desk legs. It would have made a lot more sense to do this beforehand, but hindsight’s 20/20…

I also gave the wood a couple coats of Maison Blanche Paint’s matte furniture varnish for protection.


