
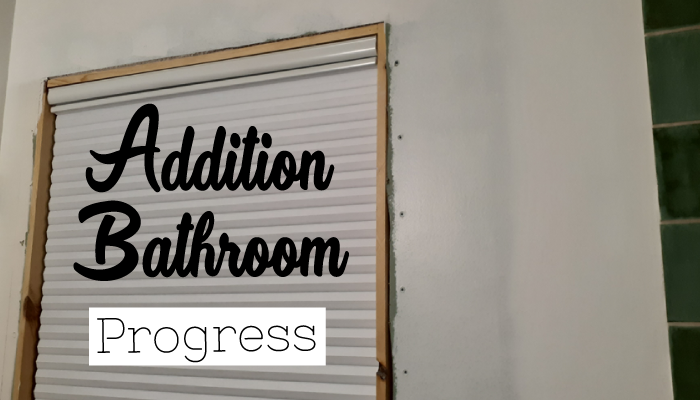
Addition Bathroom | Progress

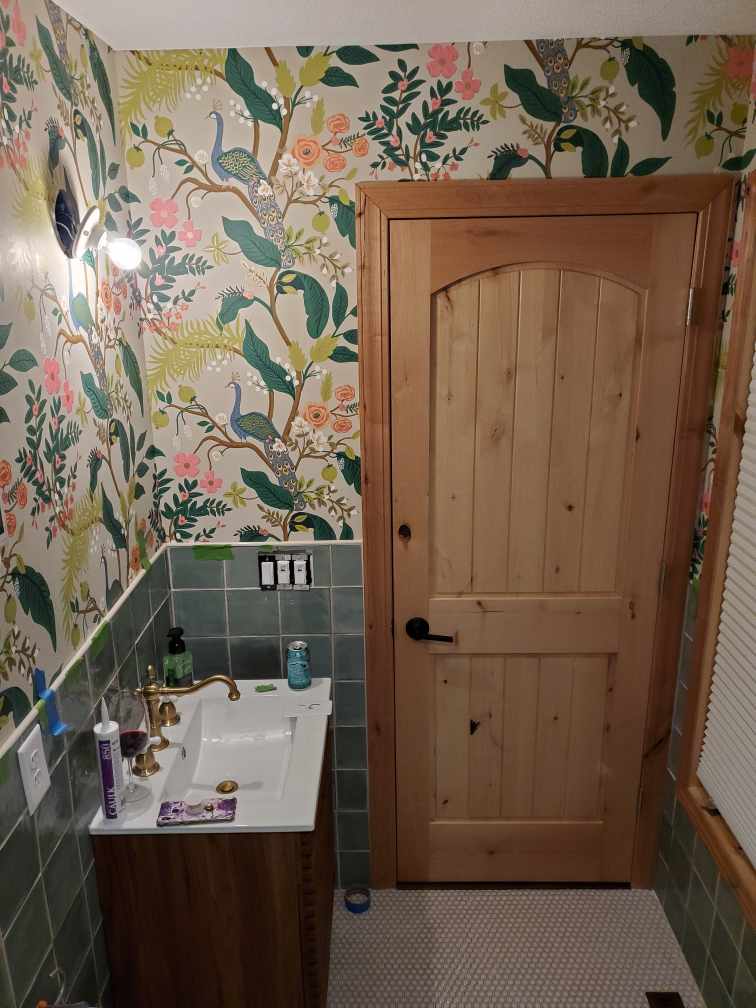
This beauty of a bathroom is getting its final touches now. After tiling, we installed the bath tub, vanity, sink, toilet and got the wallpaper and trim up. If you like seeing the progress right before the “after”, this post is for you.
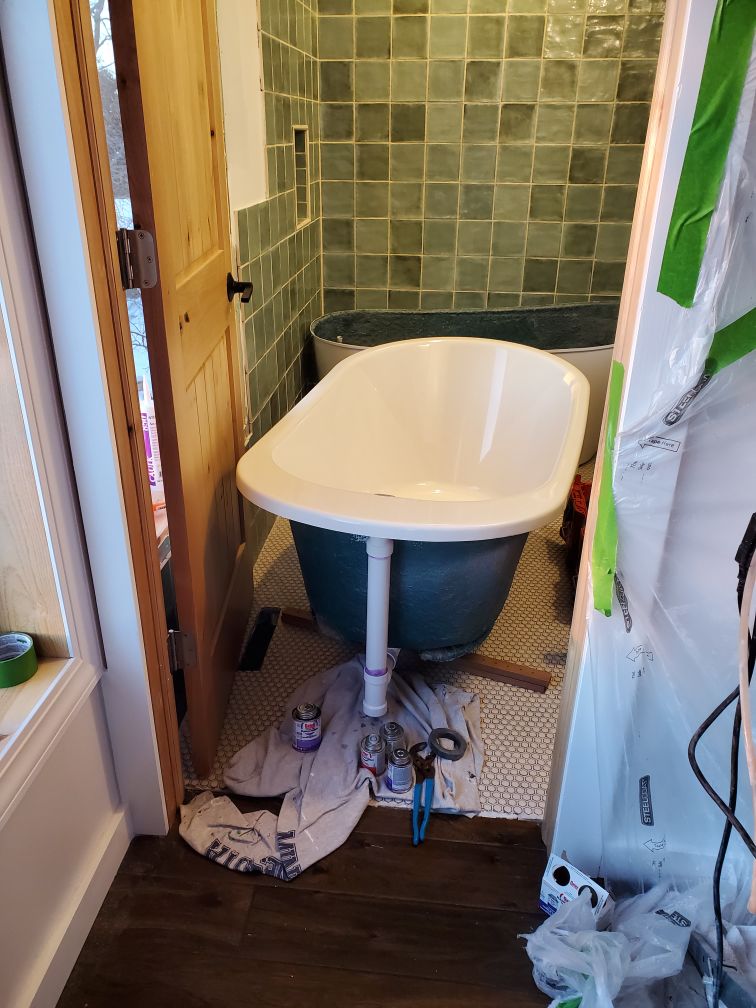
Bath Tub
Tiling the bathroom walls went pretty smoothly! As soon as that was all sealed, we were free to install the fixtures.


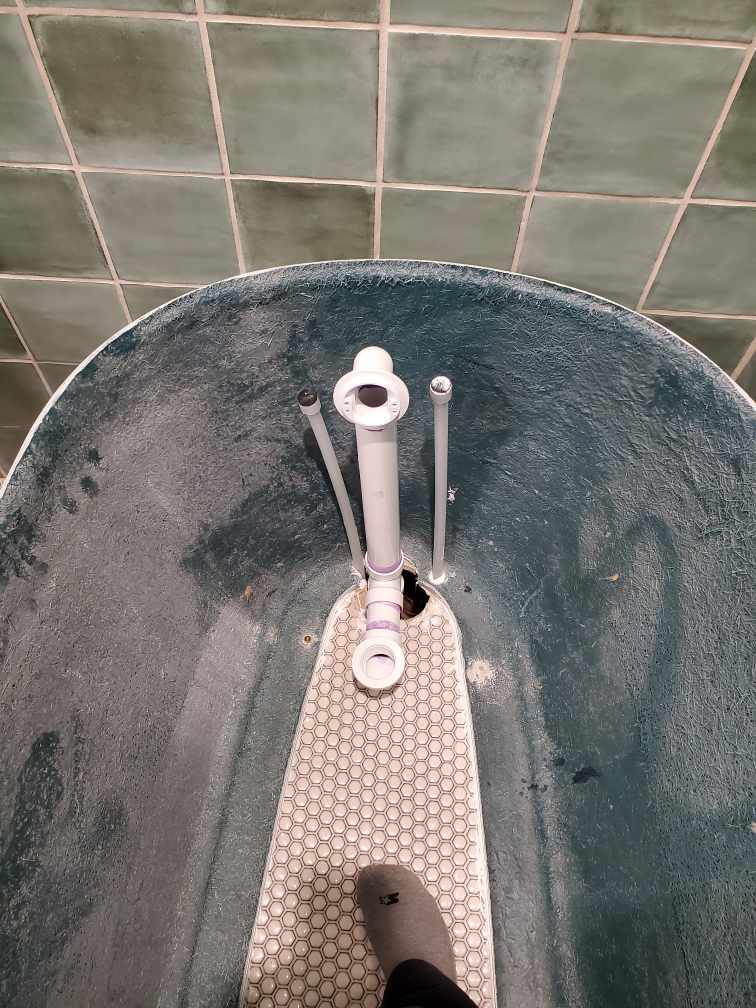
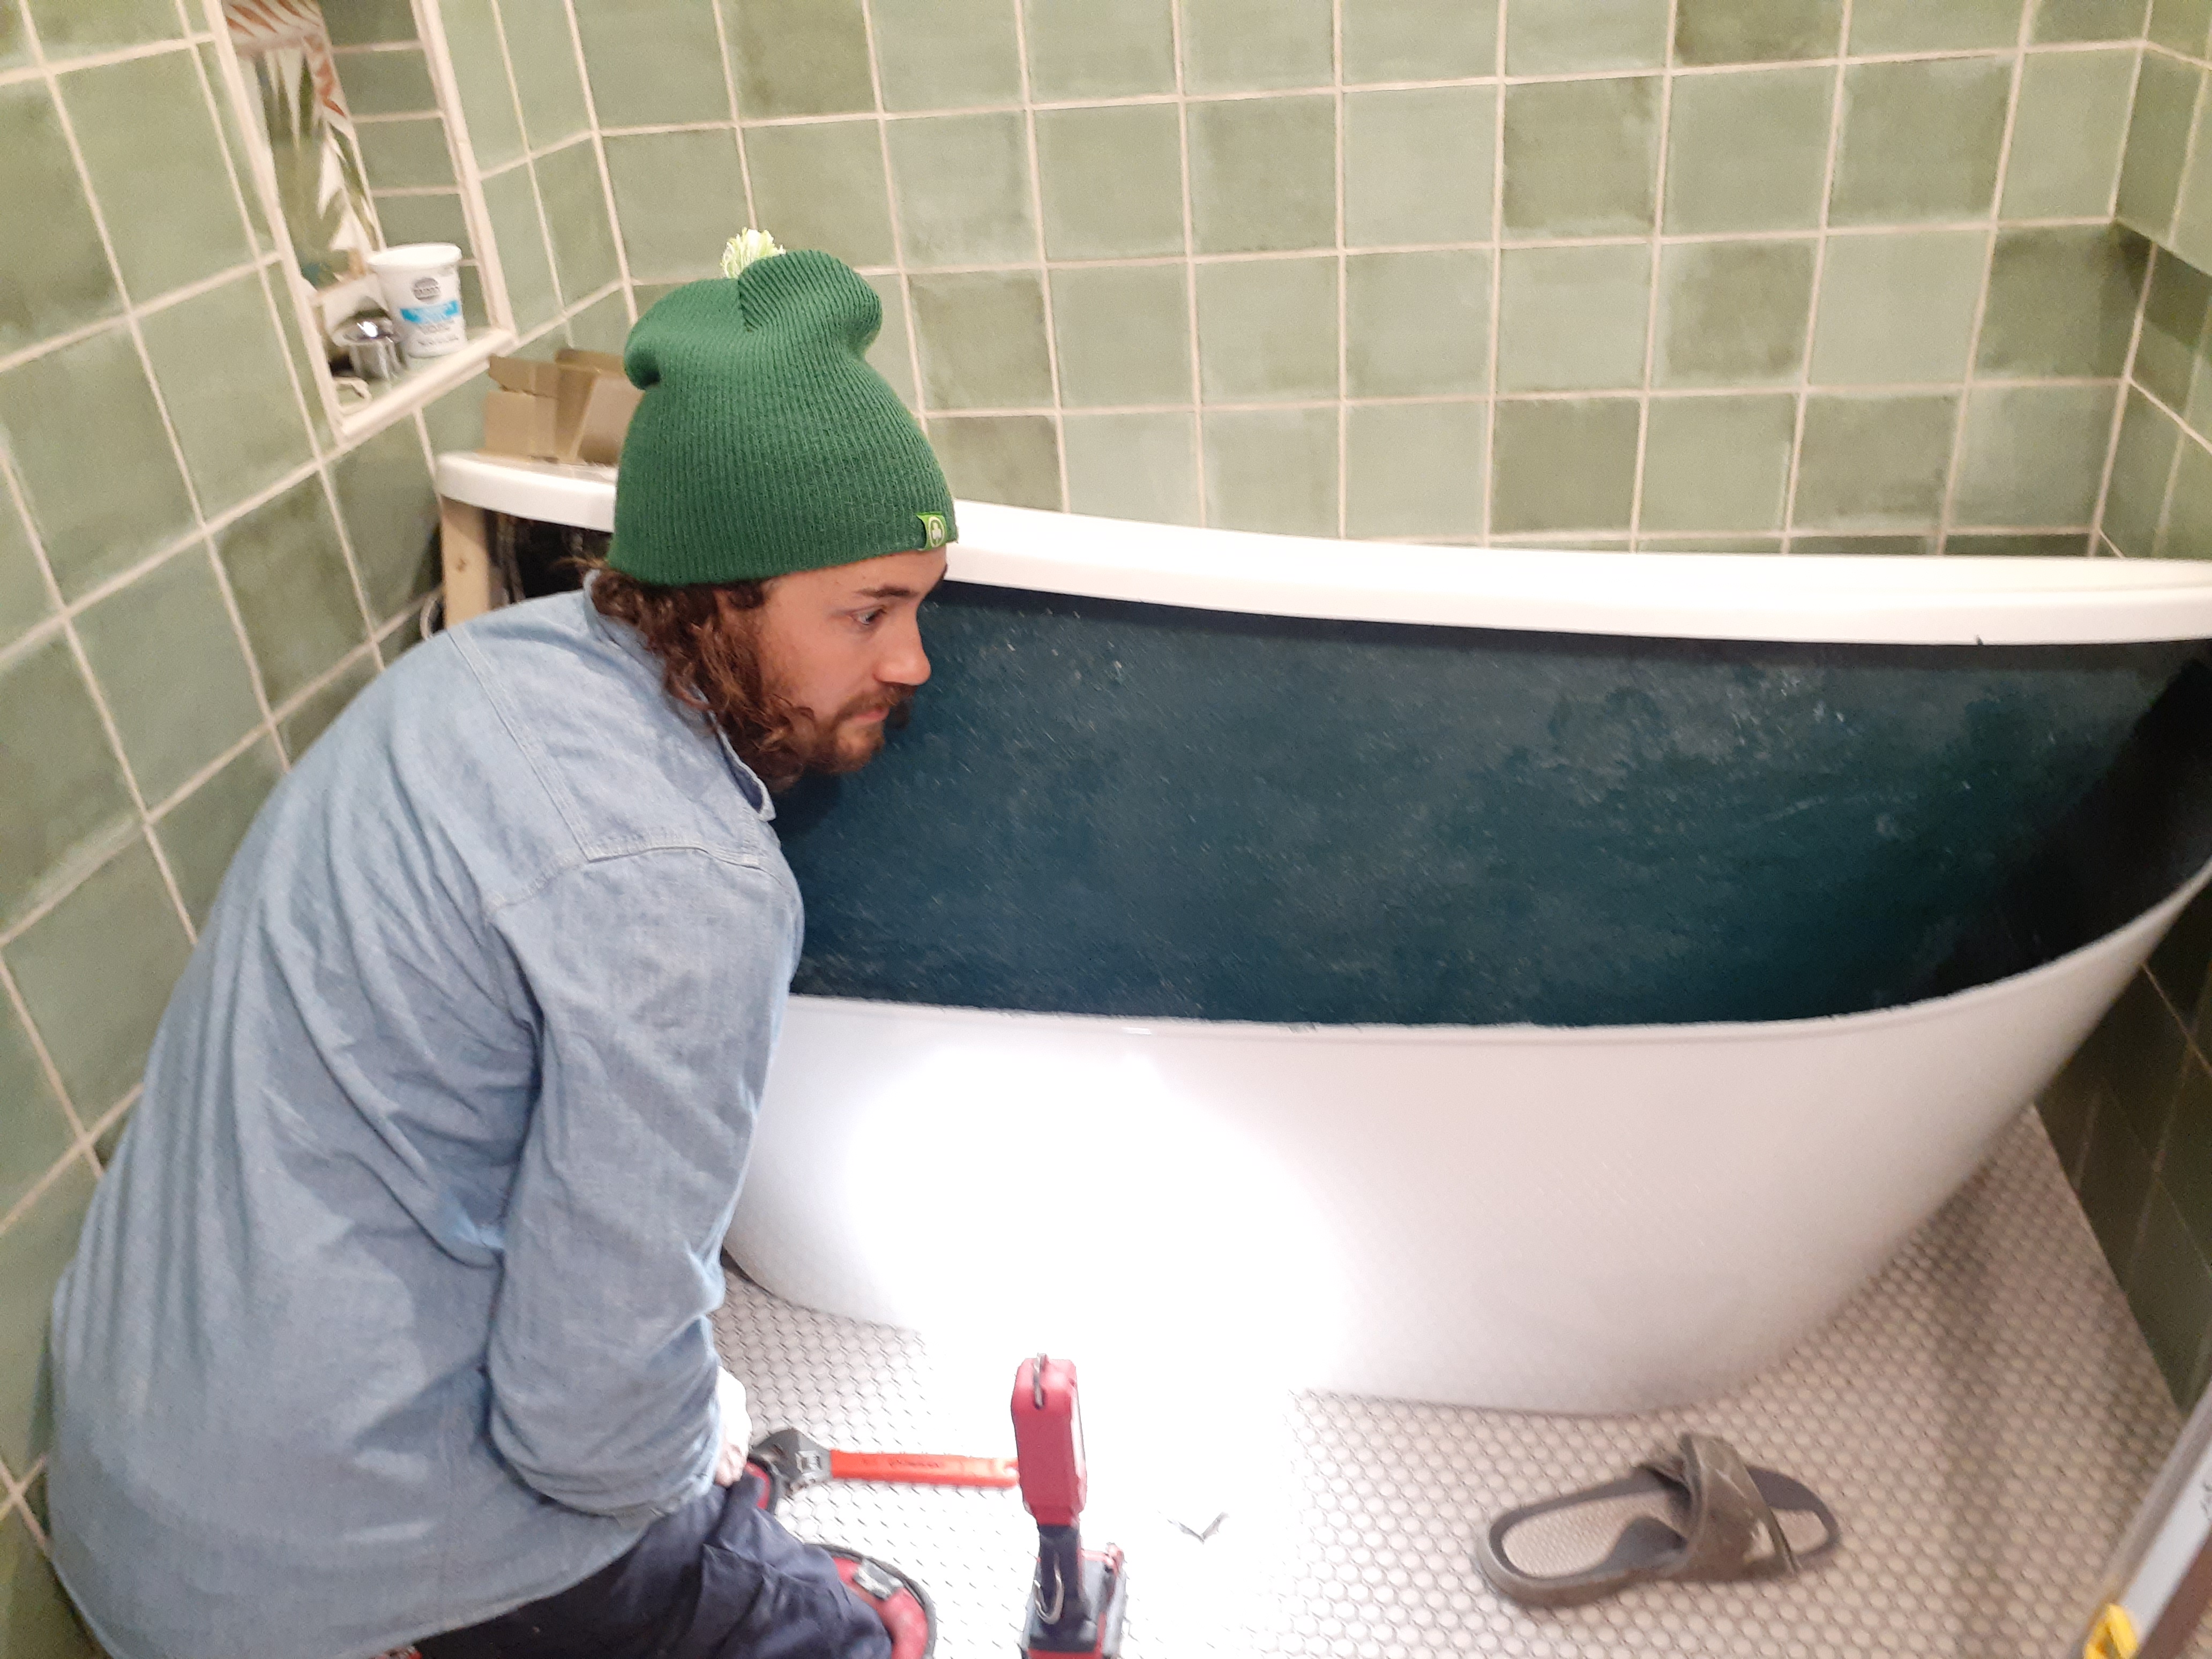
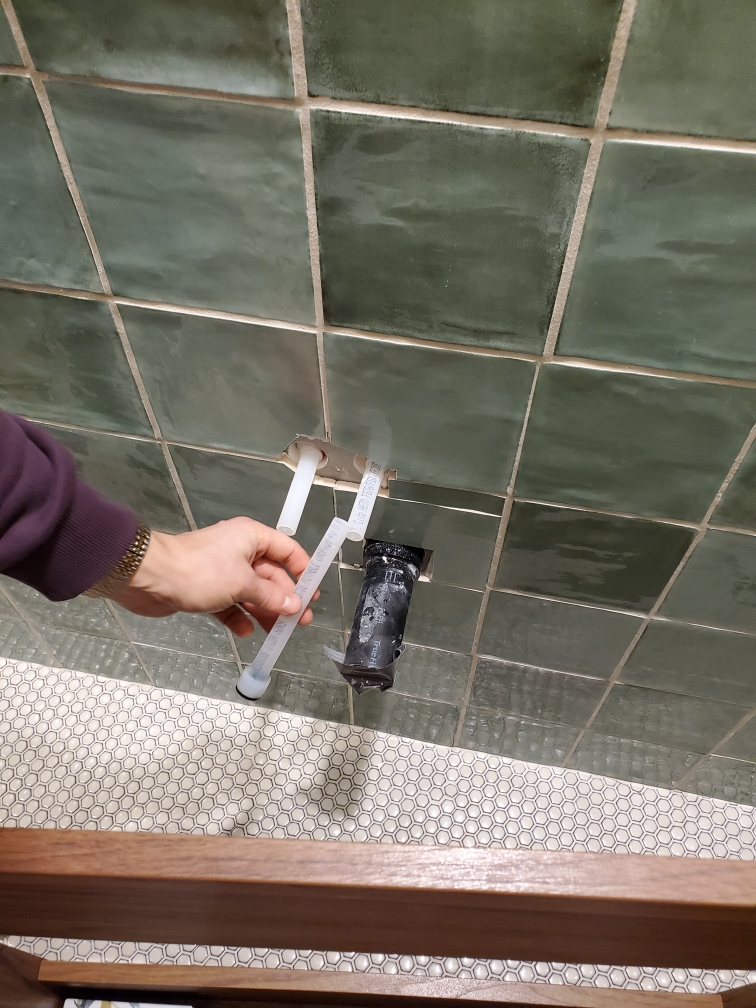
There’s an outside shell and an insert that sits inside. The plumbing all hides in between the two layers.

We had to put a bead of silicone around the bottom of the outer shell, and then the inner layer had nothing but a couple bolts to sit on the tile.

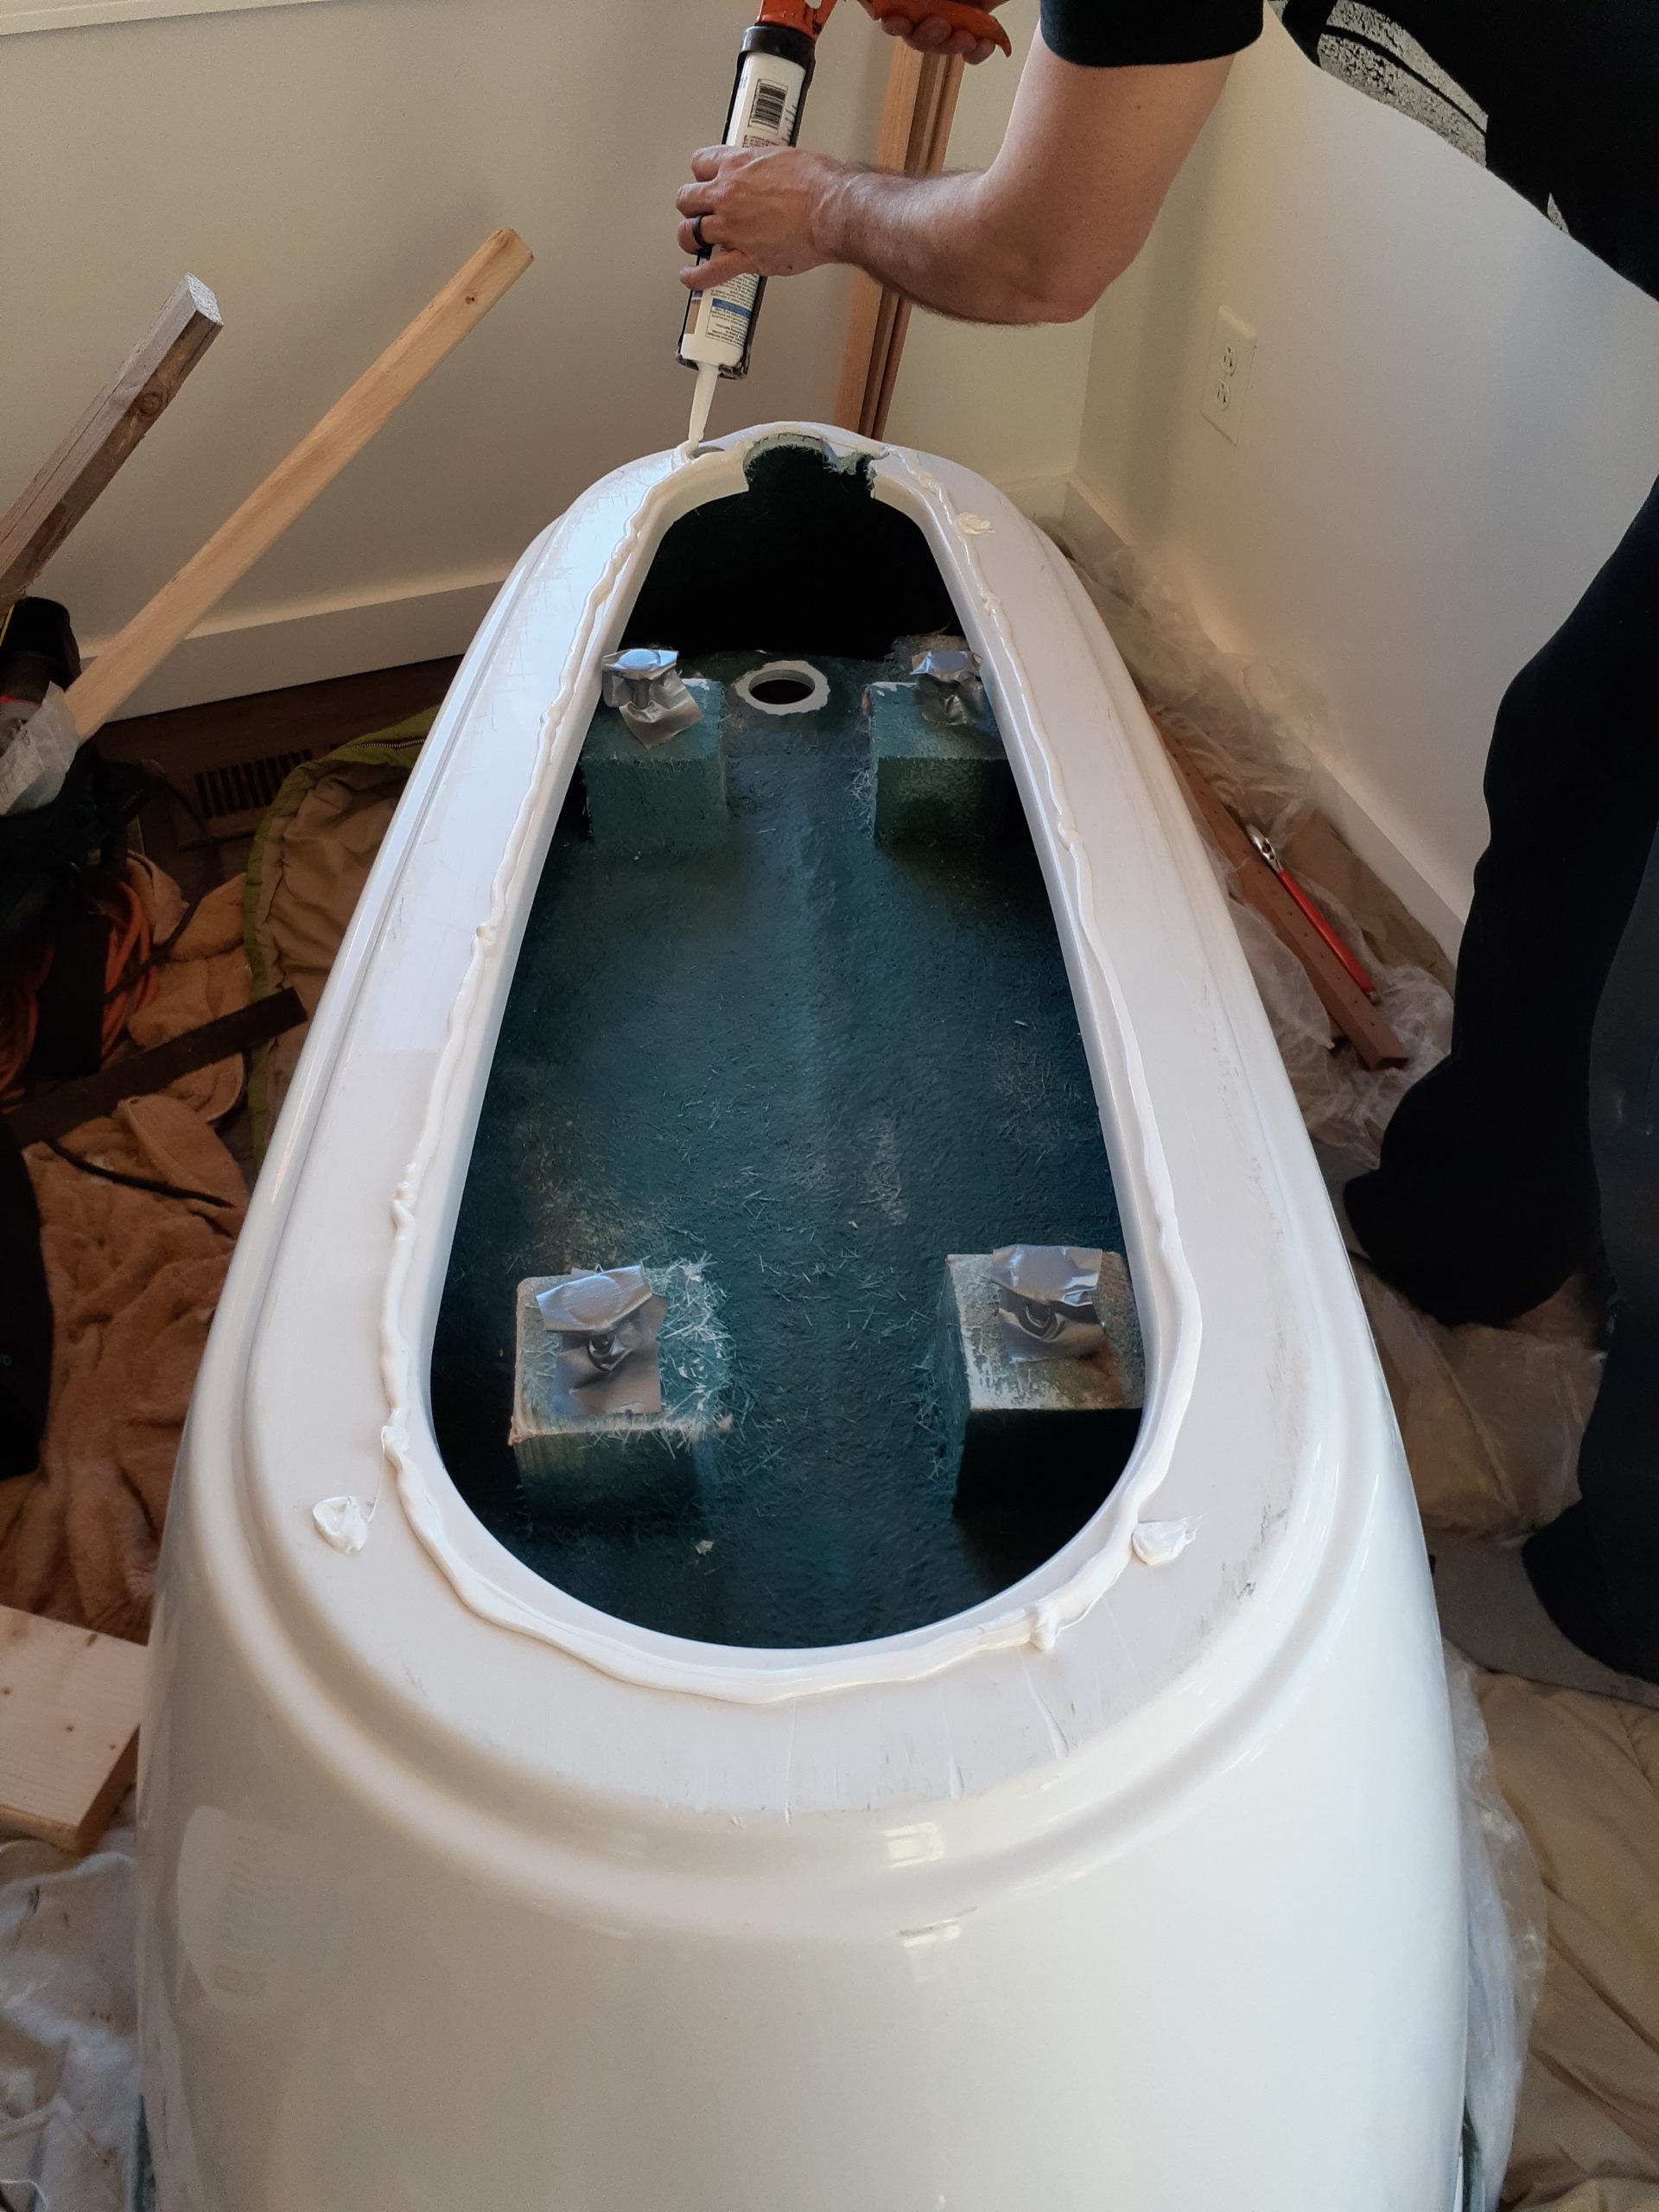
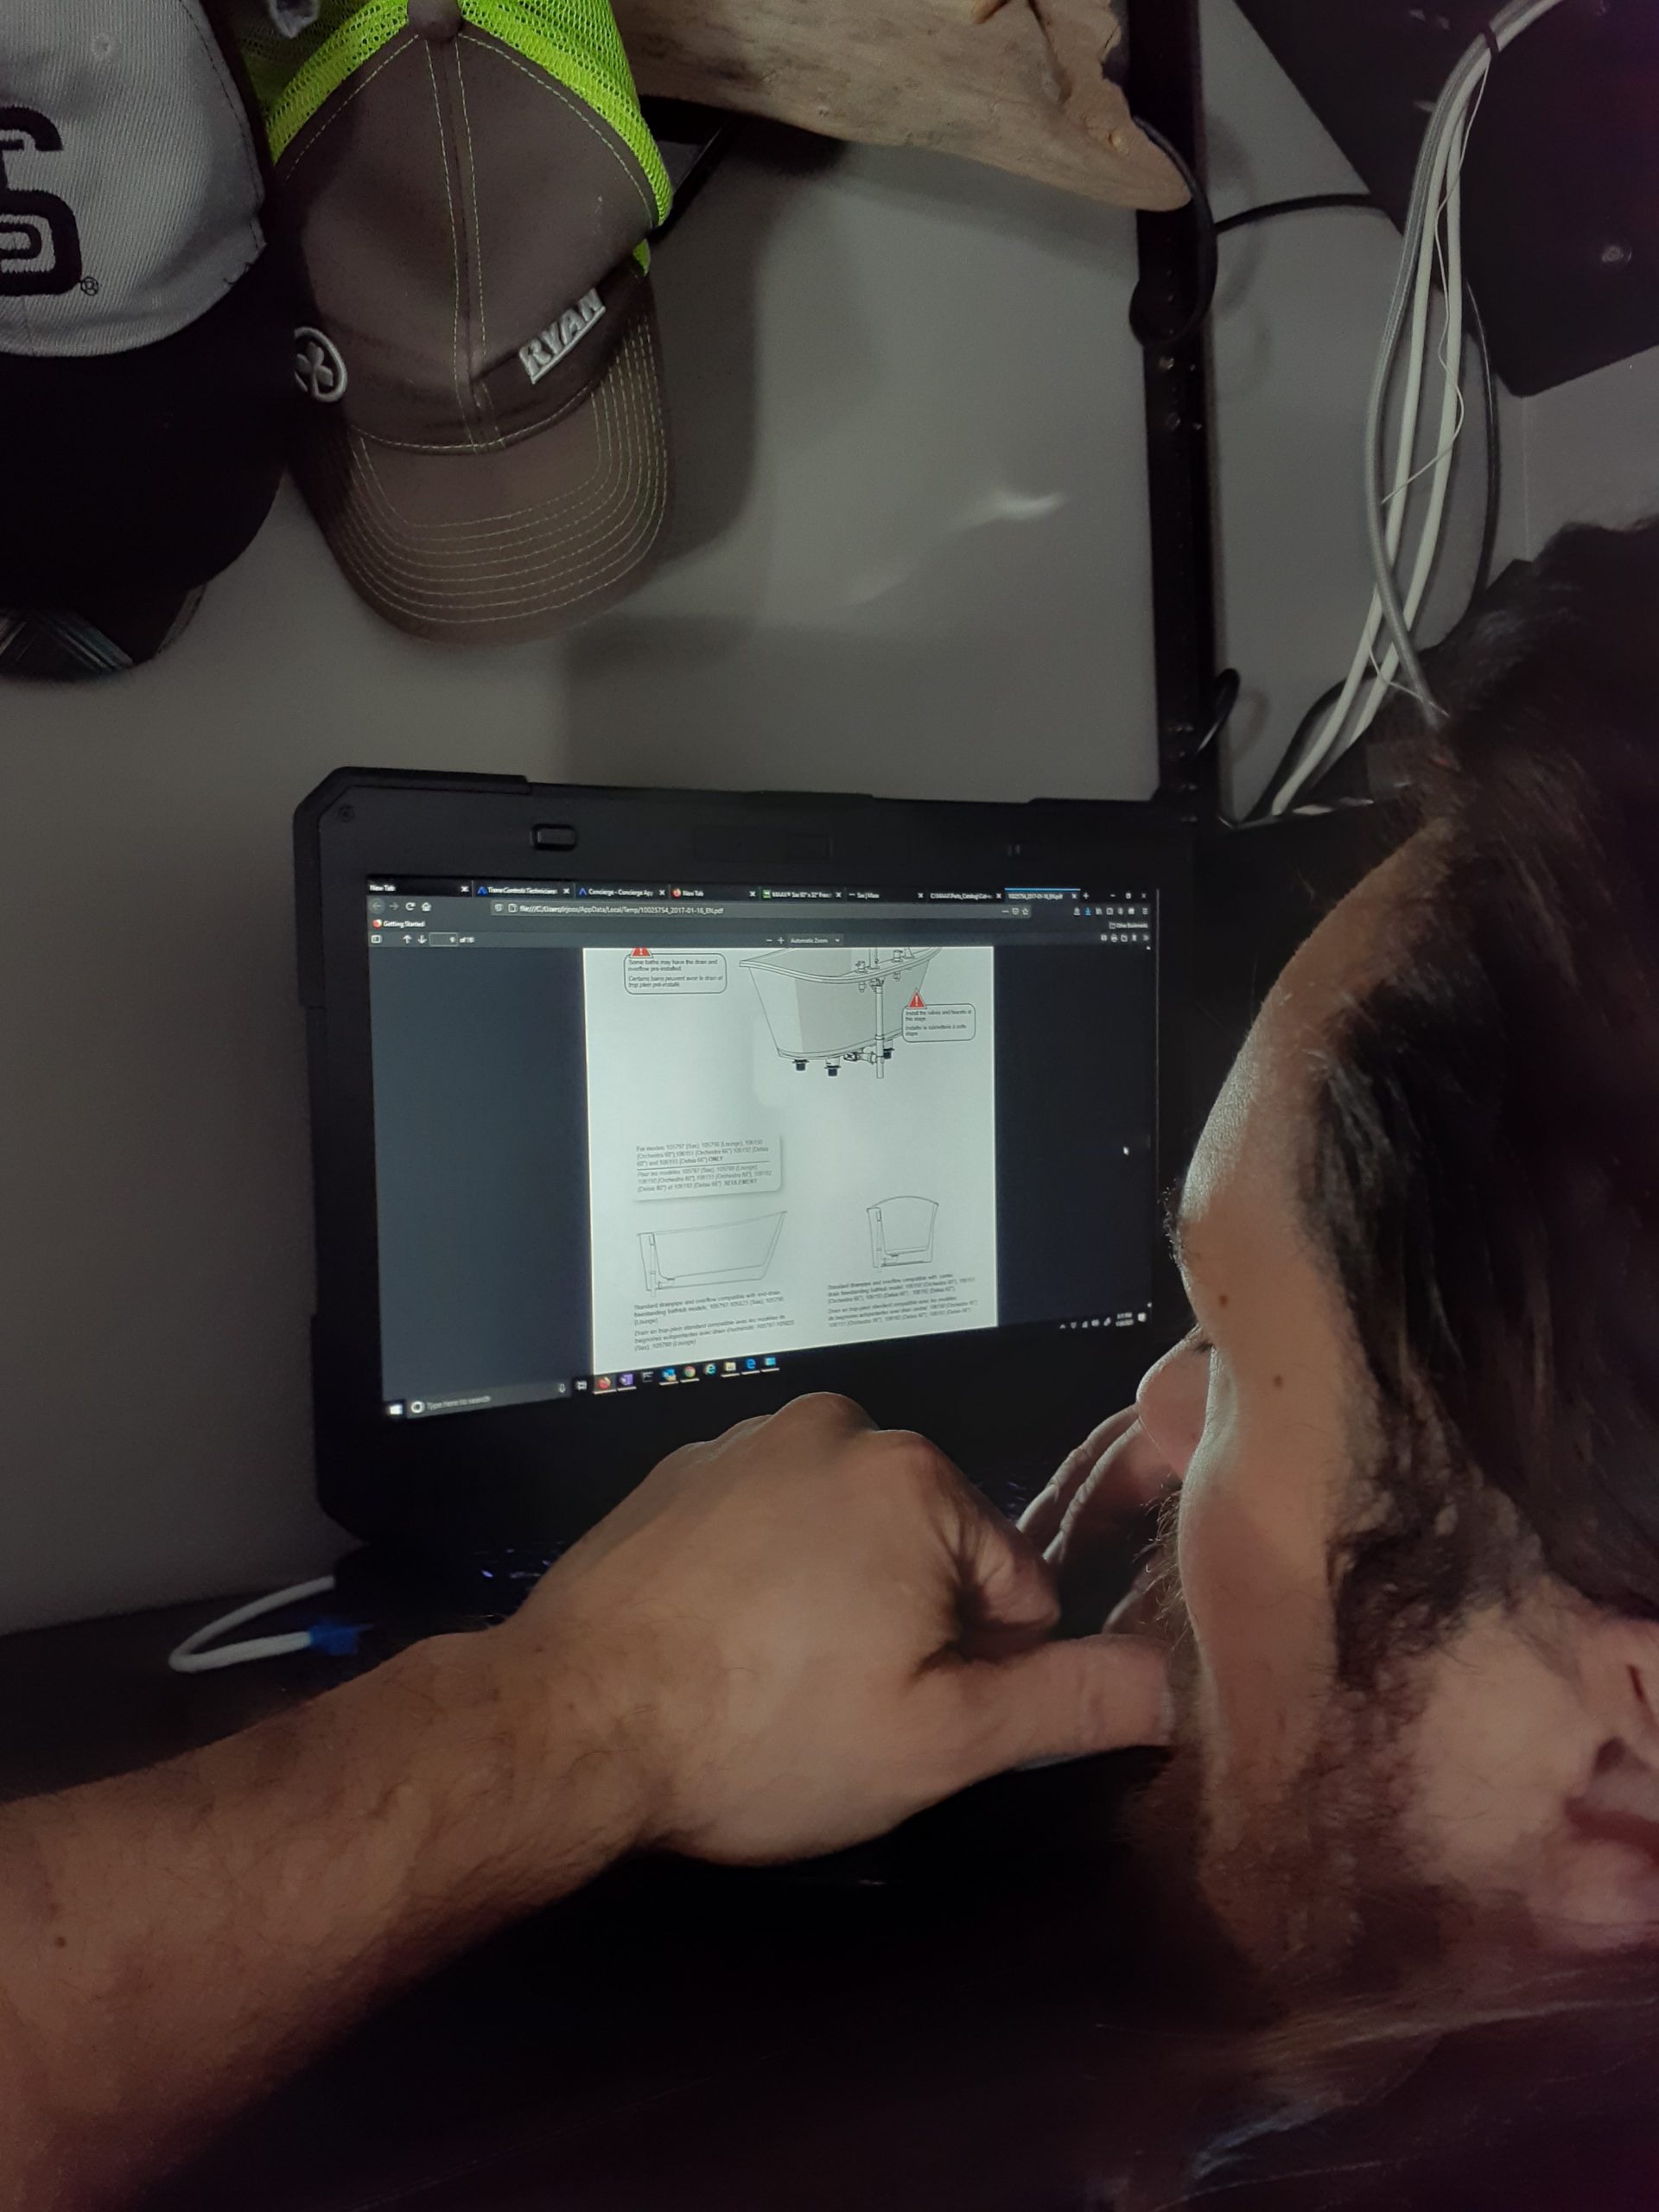
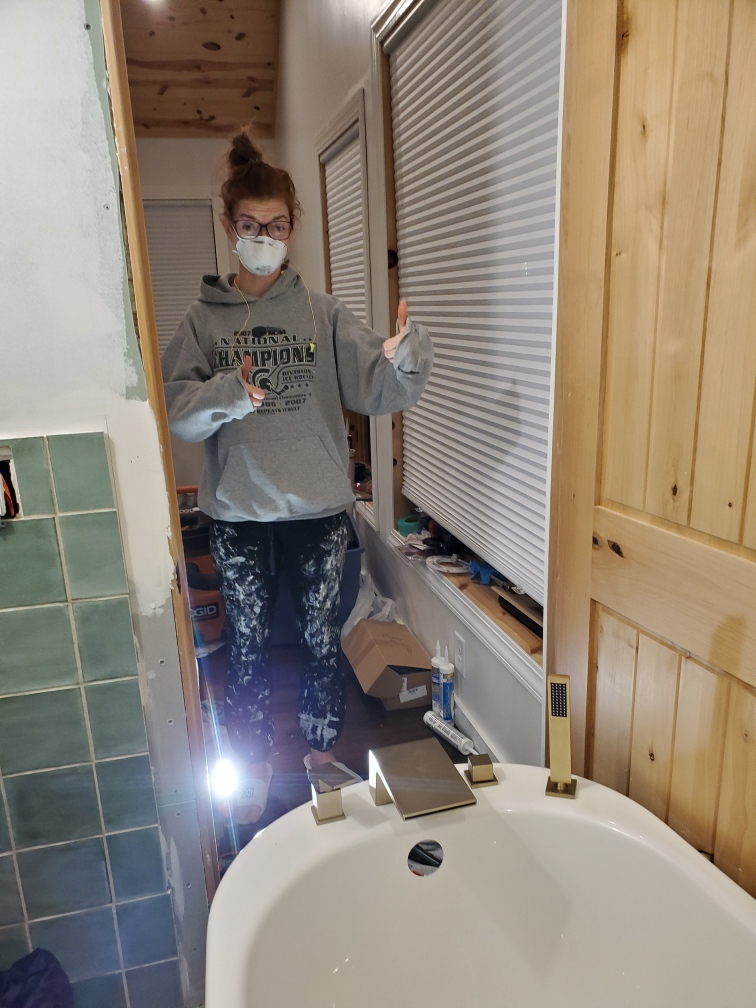
While the outer shell was fine, the inner piece would NOT sit level. We had already put the faucet on, so it was a nightmare having to pull them apart to adjust and readjust the feet.


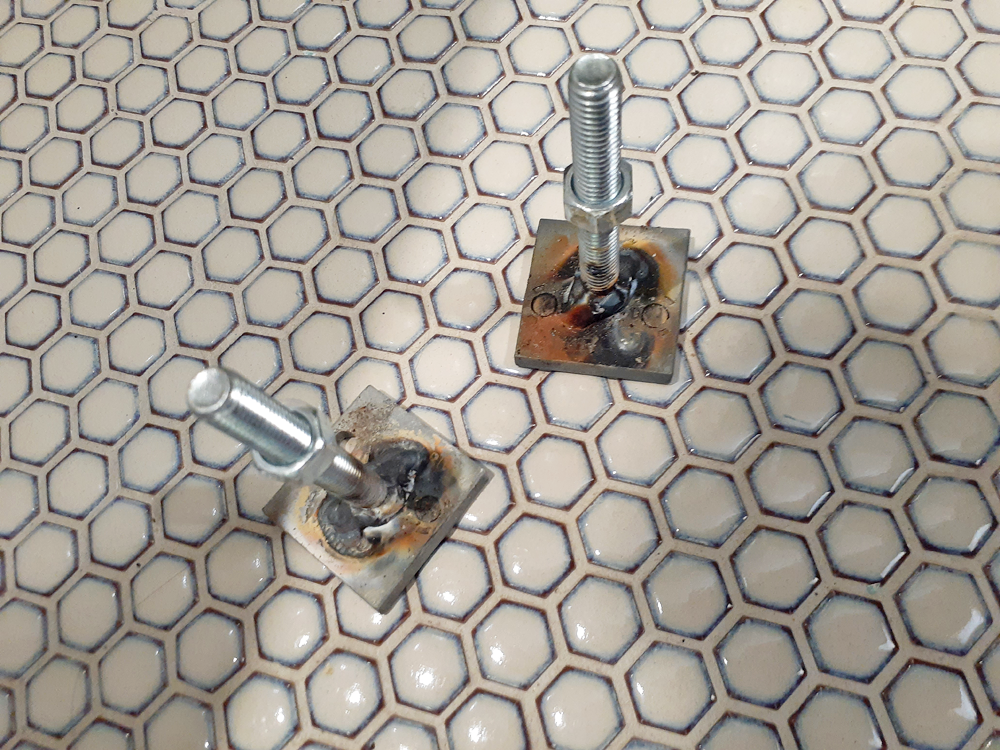
Eventually we got frustrated enough with shimming and jostling that we welded some better feet that we could more easily adjust.


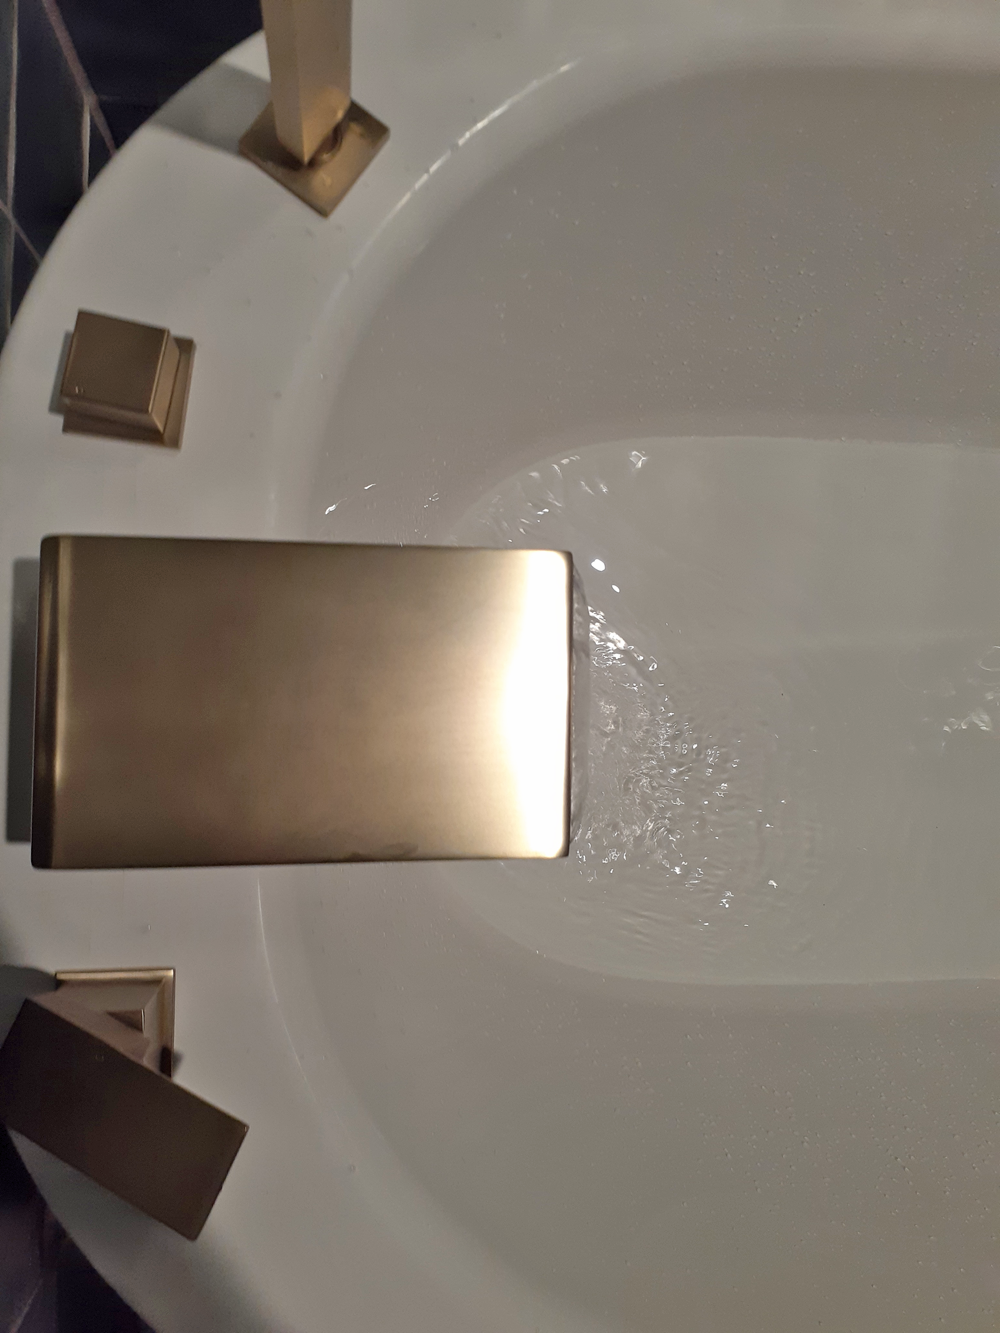
Like I said, adding the tub faucet was a piece of cake, we just drilled holes into the shell, so that’s one good thing about this fiberglass style.

We ordered this waterfall faucet with a sprayer hose. There needed to be four holes, so it was great to be able to mount them wherever we wanted.


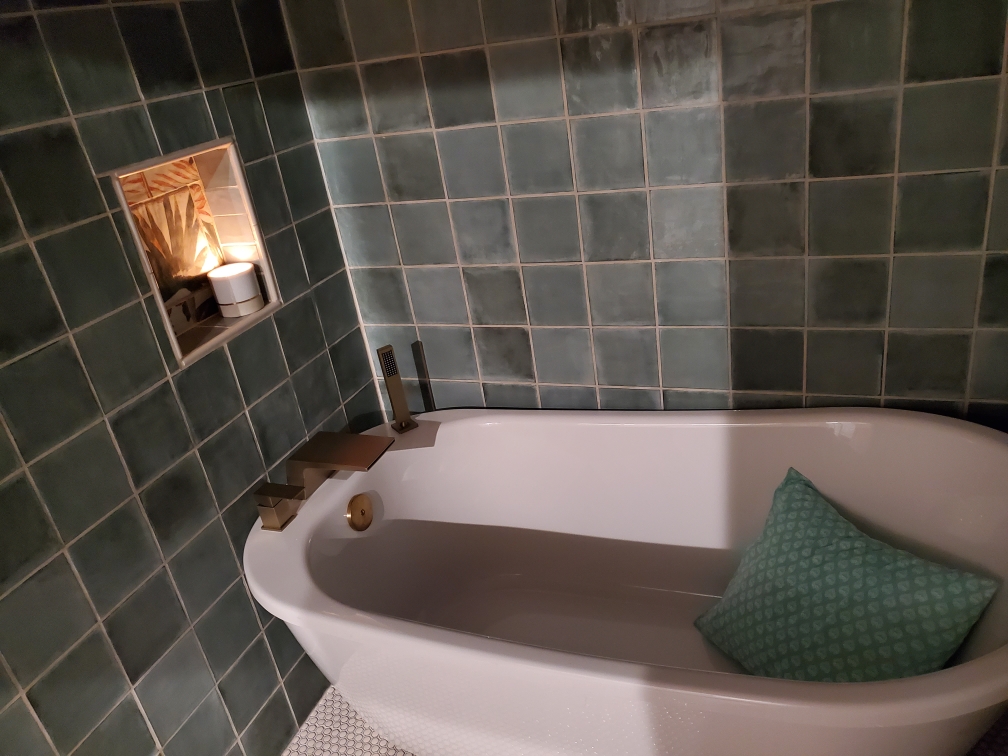
The verdict? Definitely would have preferred a porcelain claw foot tub or Japanese soaking tub, and this instal was such a chore. BUT, we’re happy with the end result, both for looks and comfort. I came home from work the next day to find a lit candle and functional bath tub waiting for me, so that made all the struggle feel worth it.
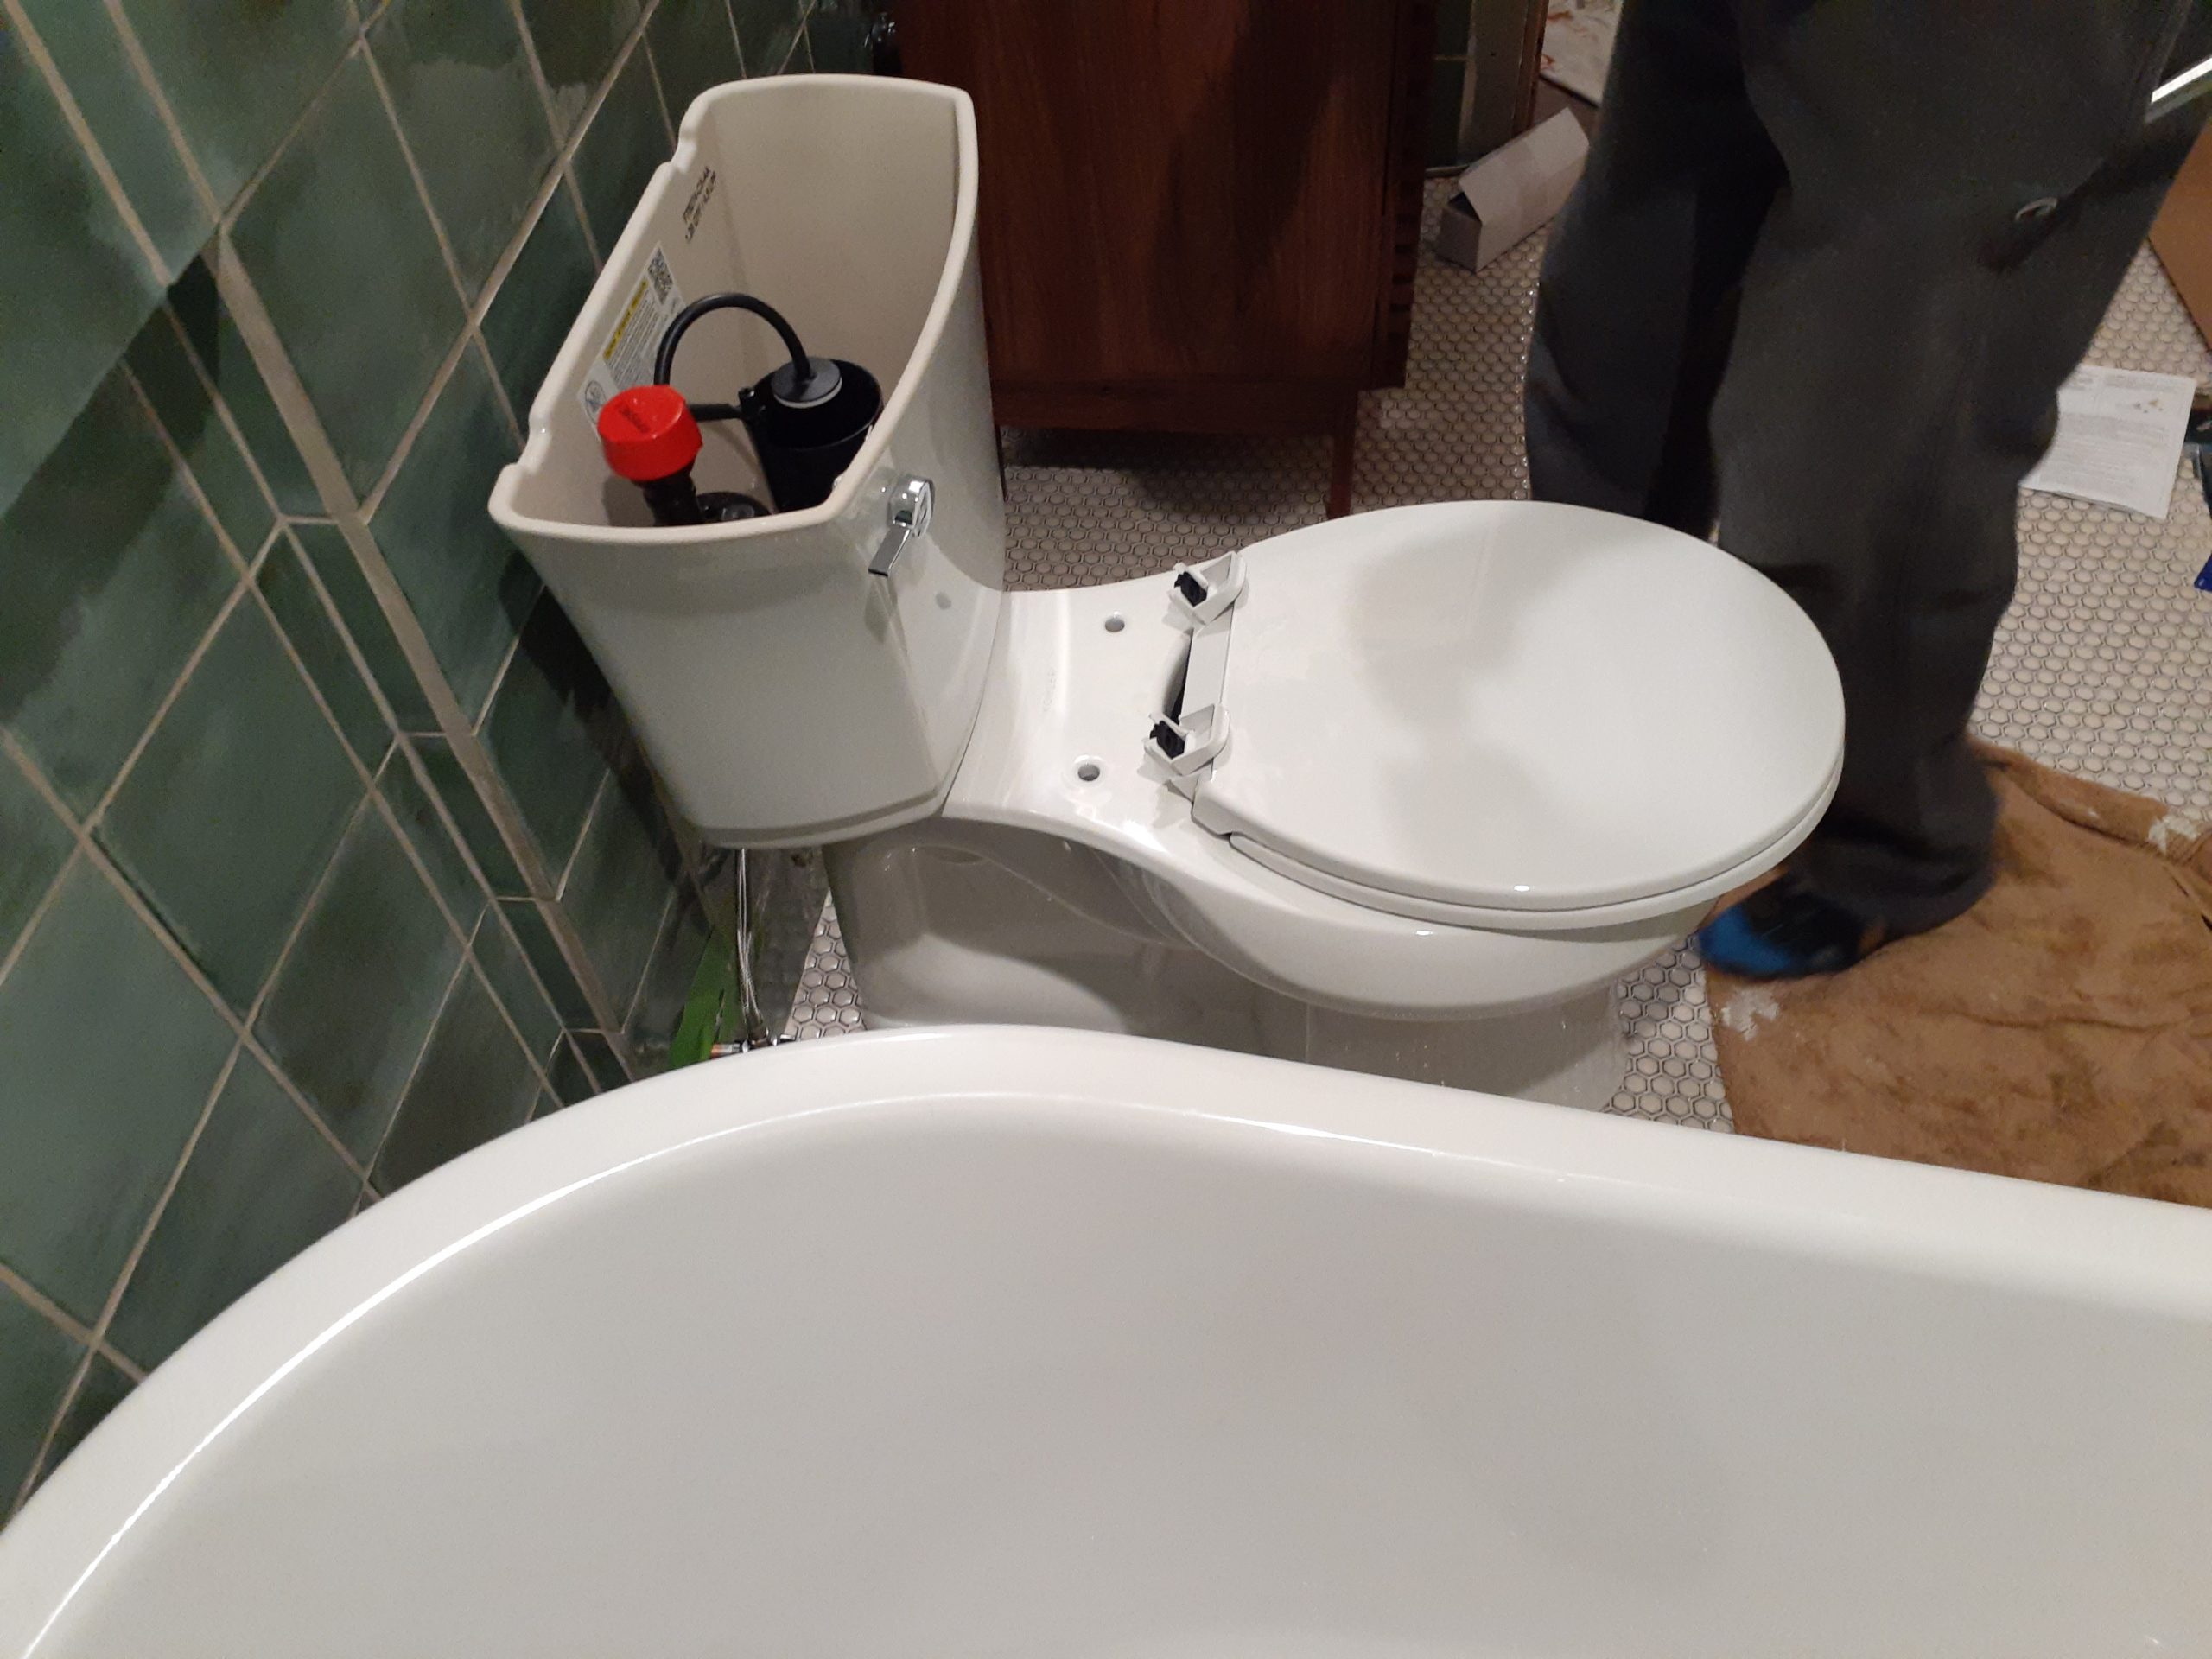
Toilet


We’ve had to run downstairs to use the bathroom for the last year, and it’s a lot of stairs. So excited to break the seal on this plumbing ?


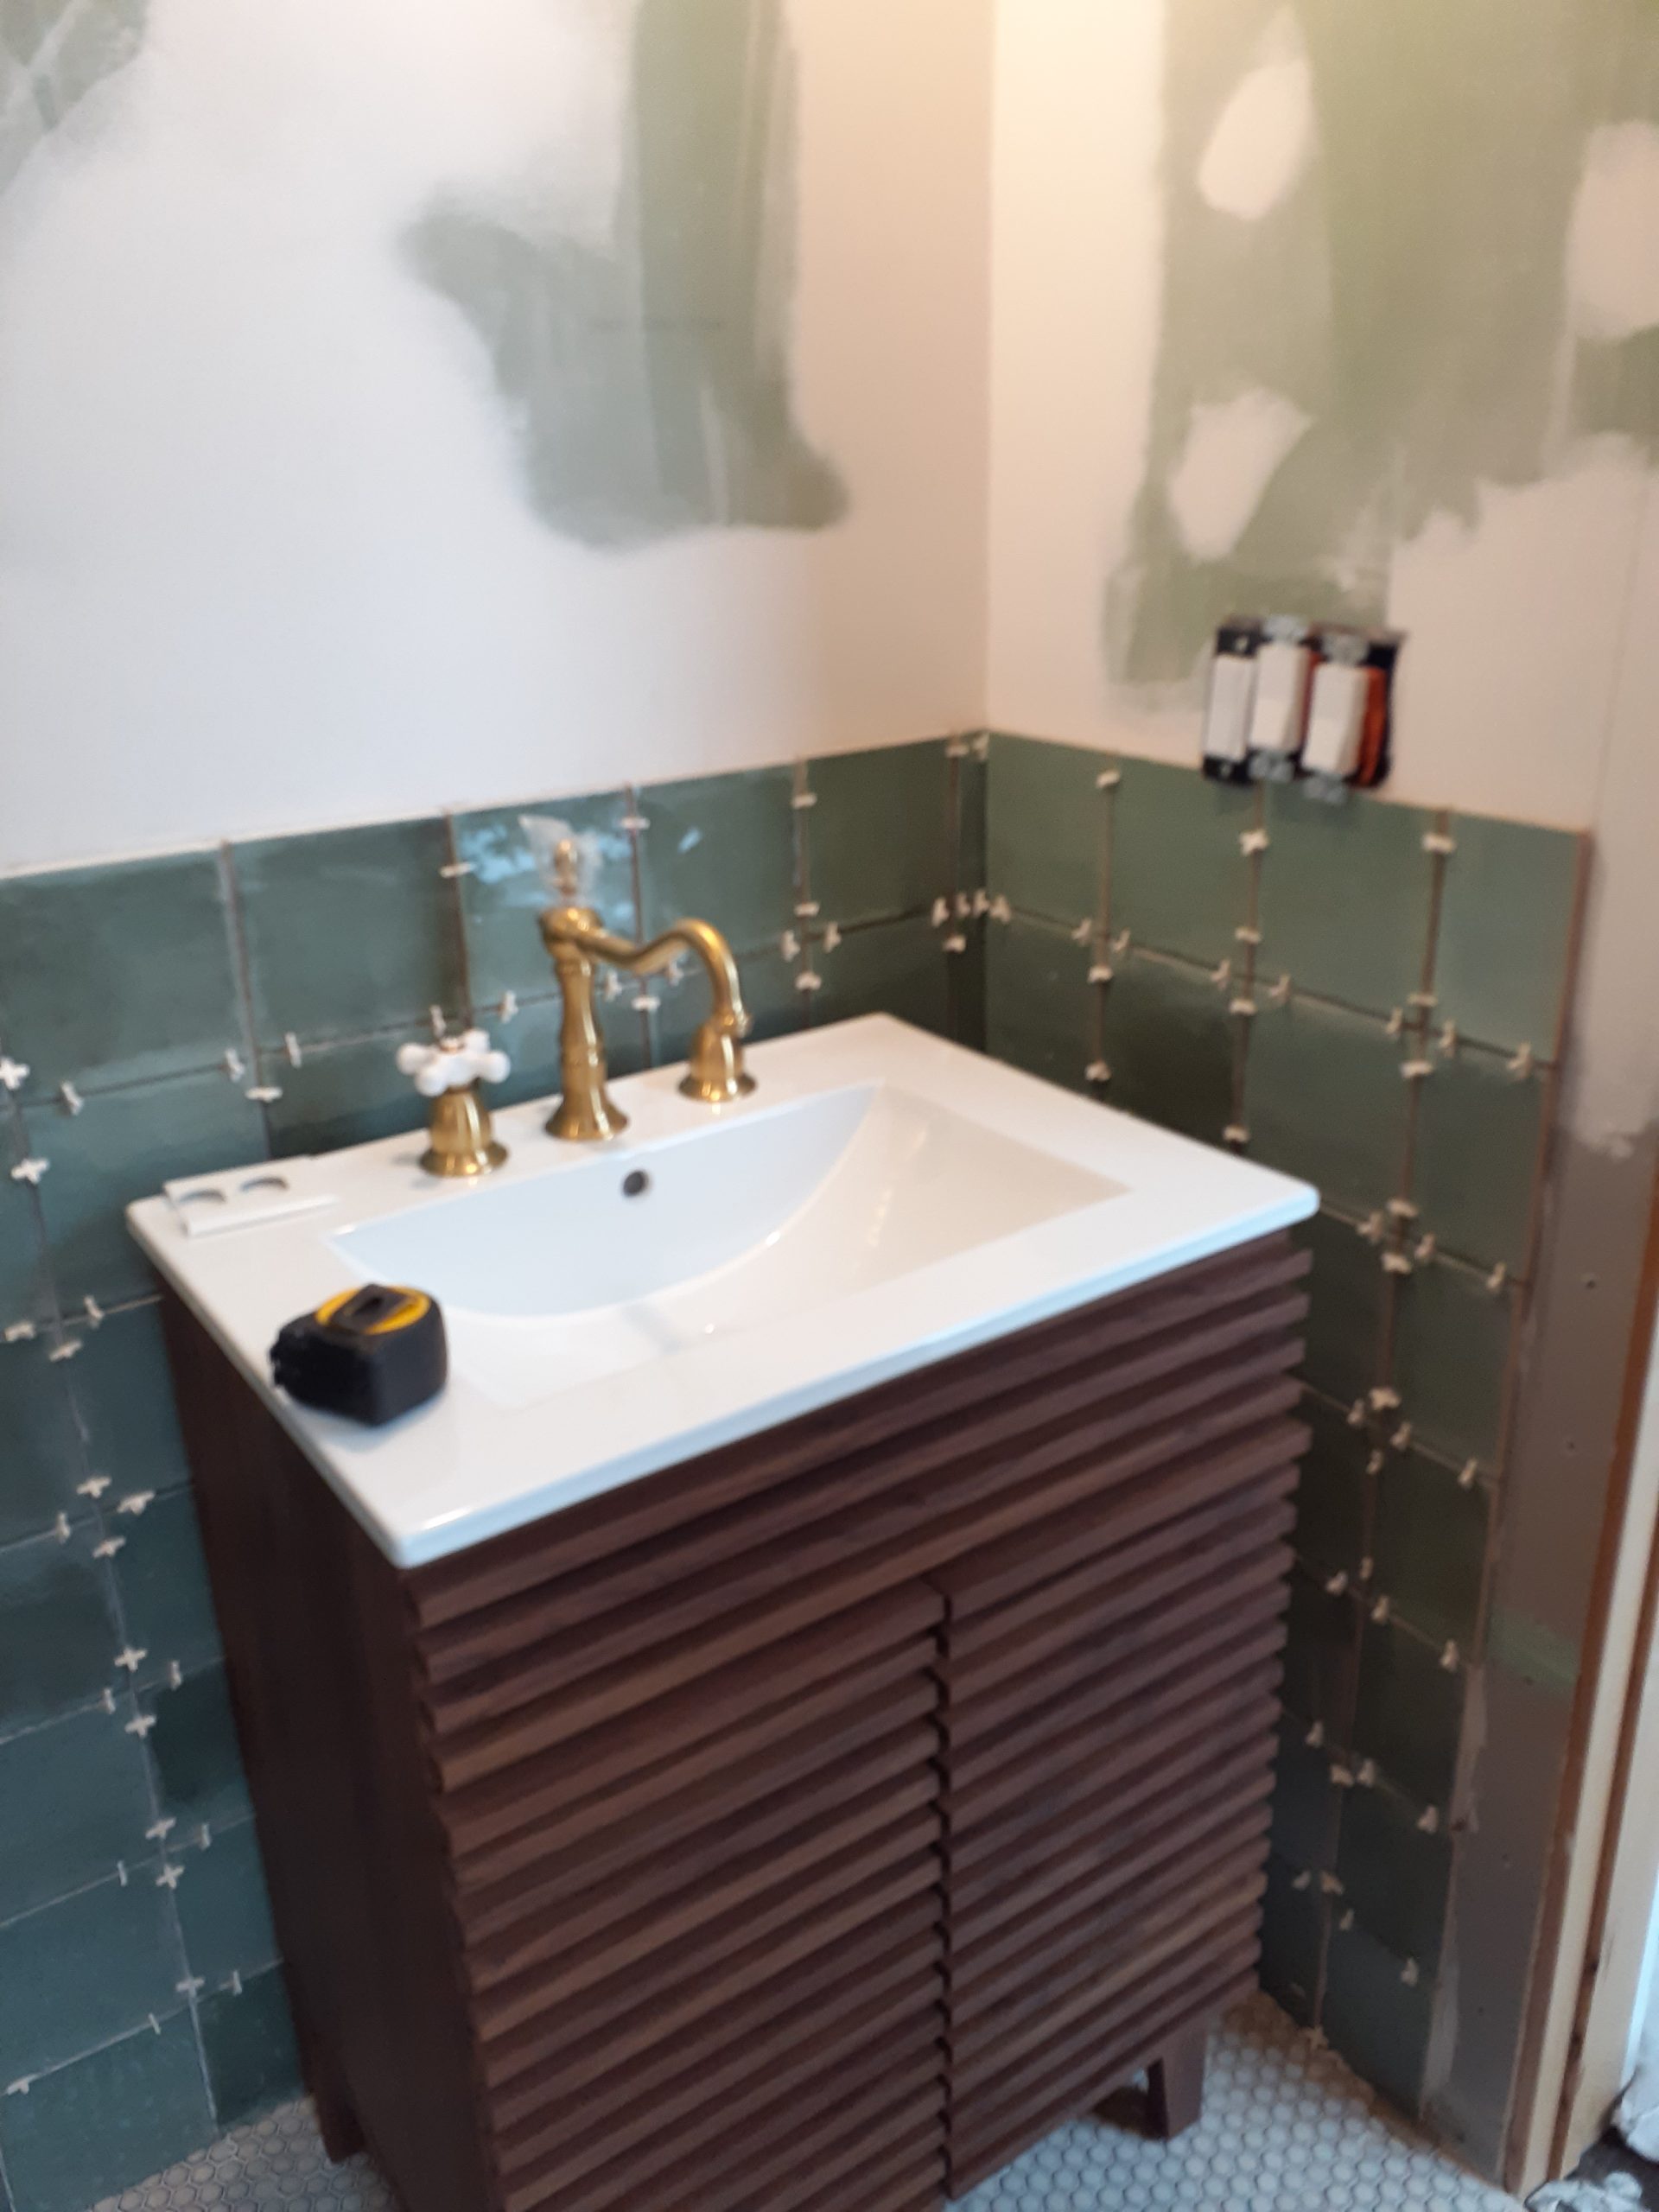
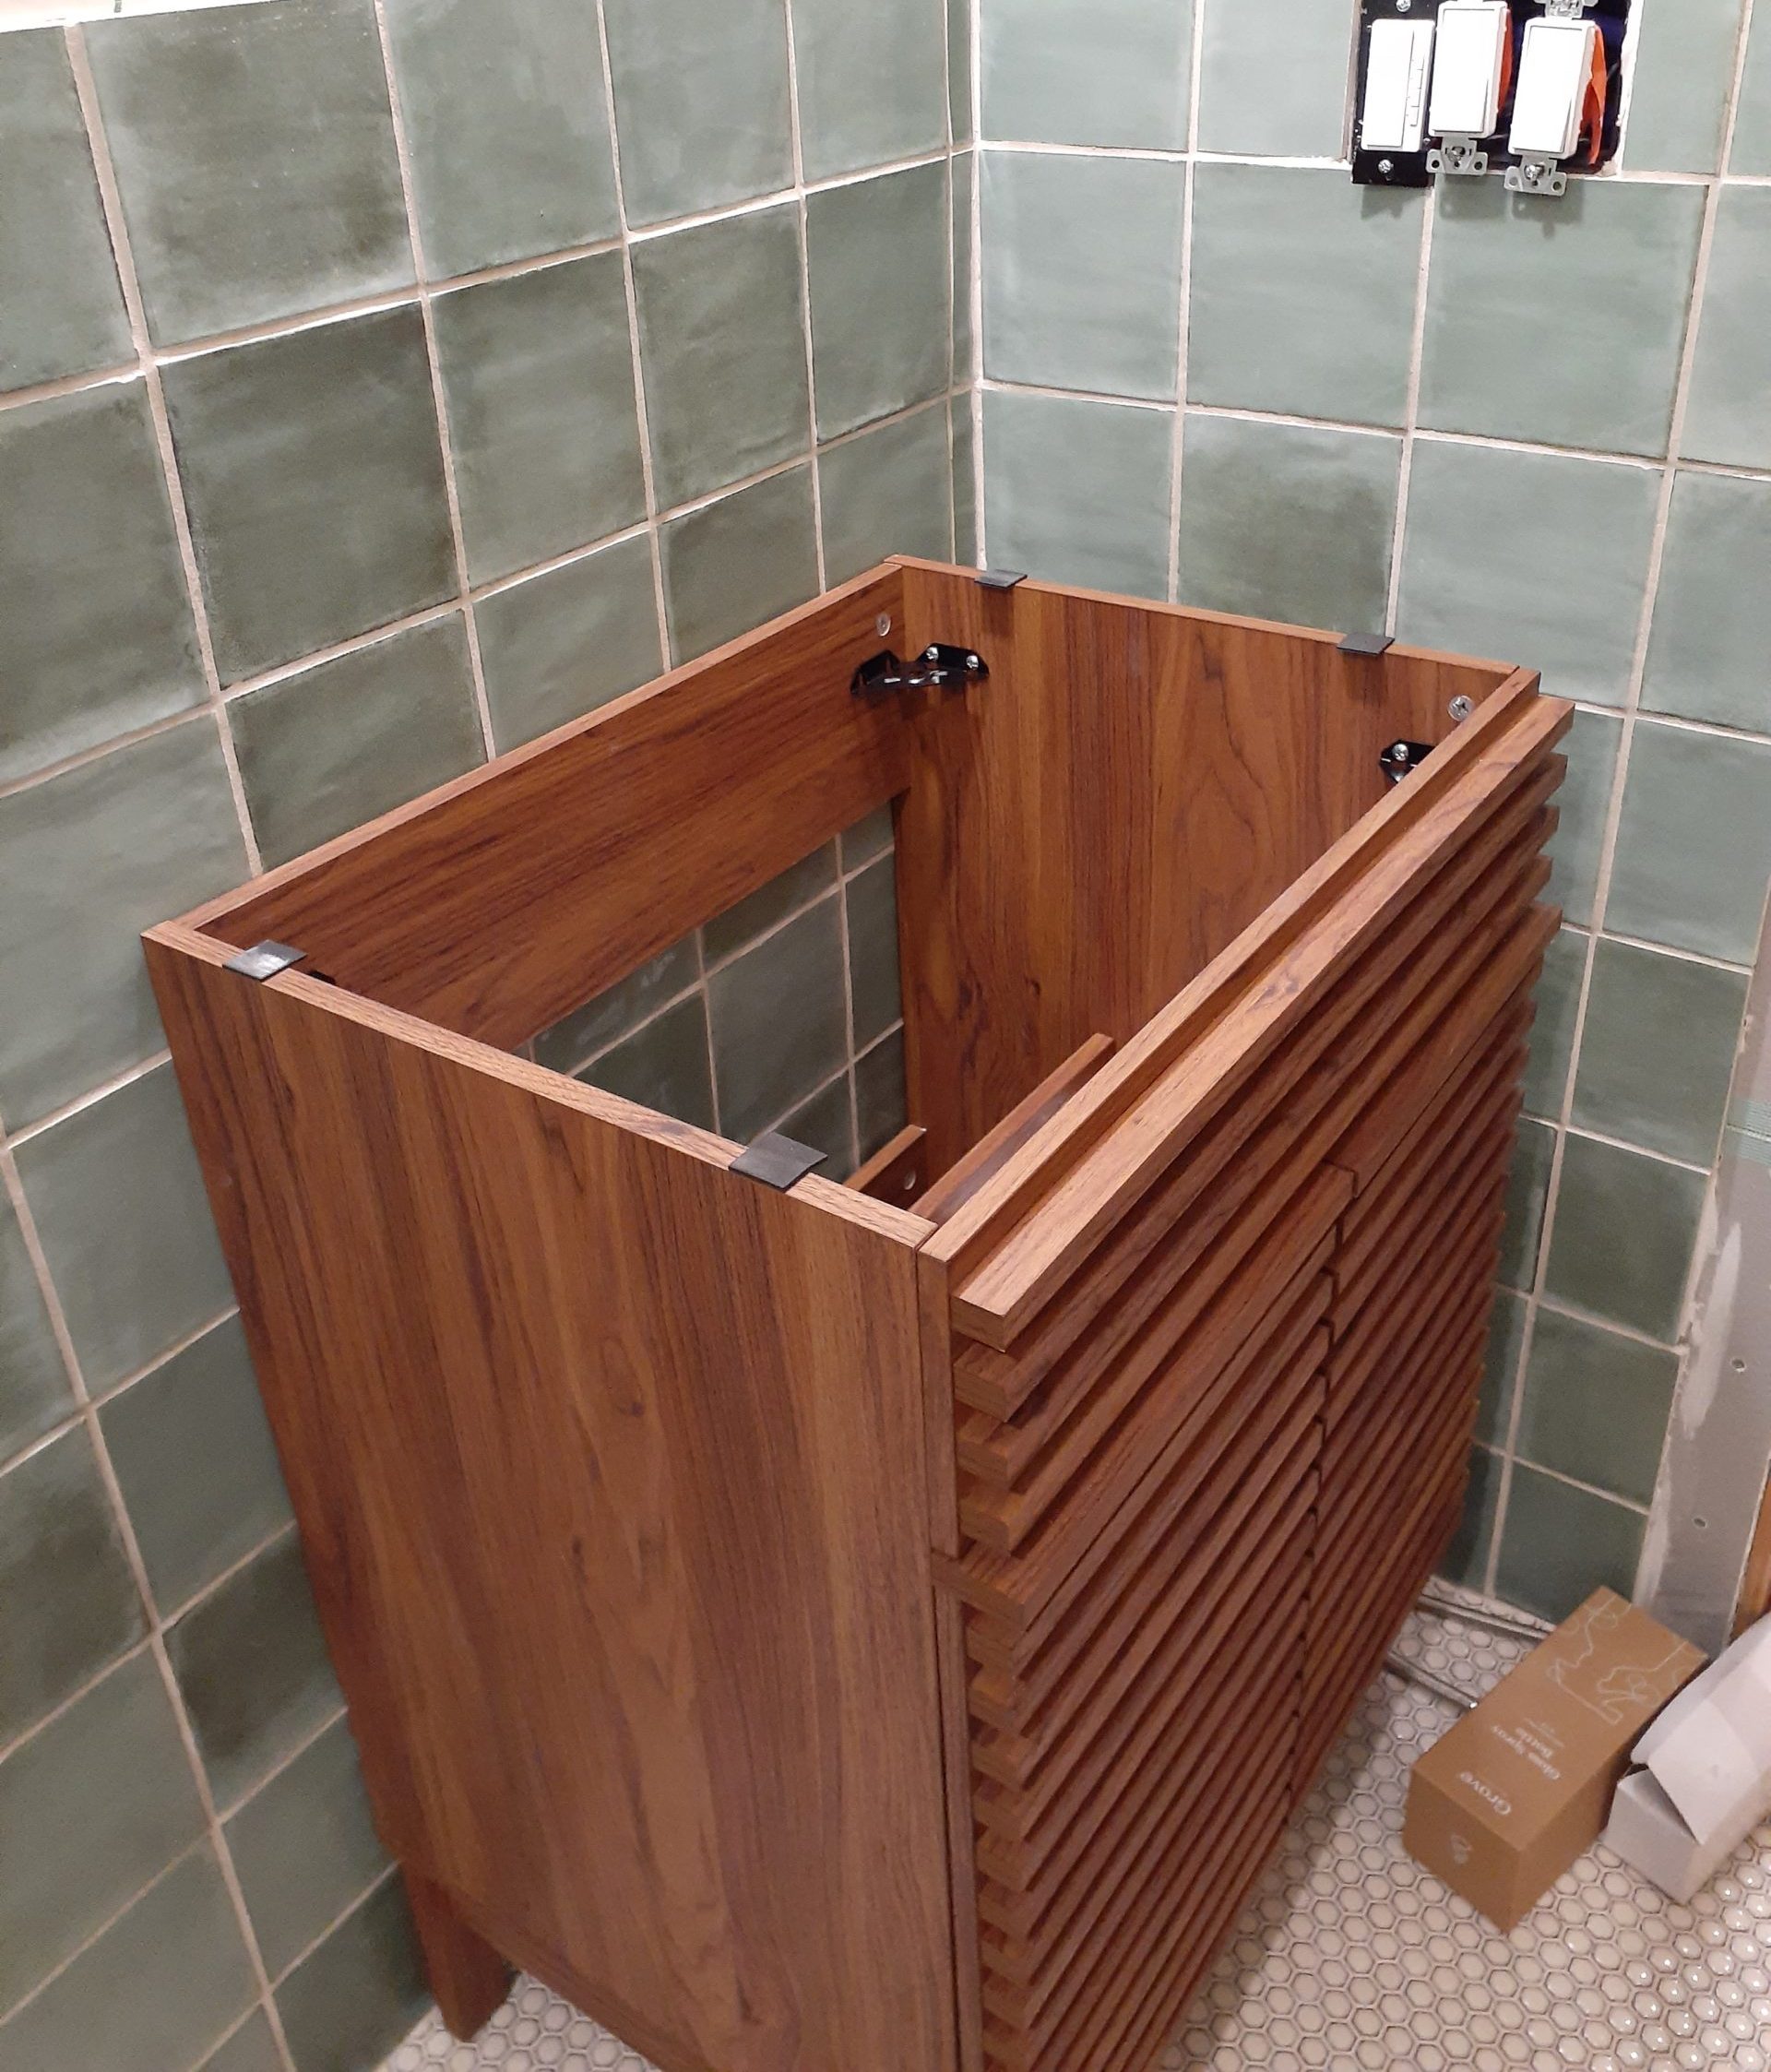
This was our dry run – we decided on this smaller vanity than initially planned. 23″

Time to get it in! We are really happy wth how easy this was to put together makes up for the tub!), the size, price point and look – not quite midcentury, but has a swanky/funky vibe.

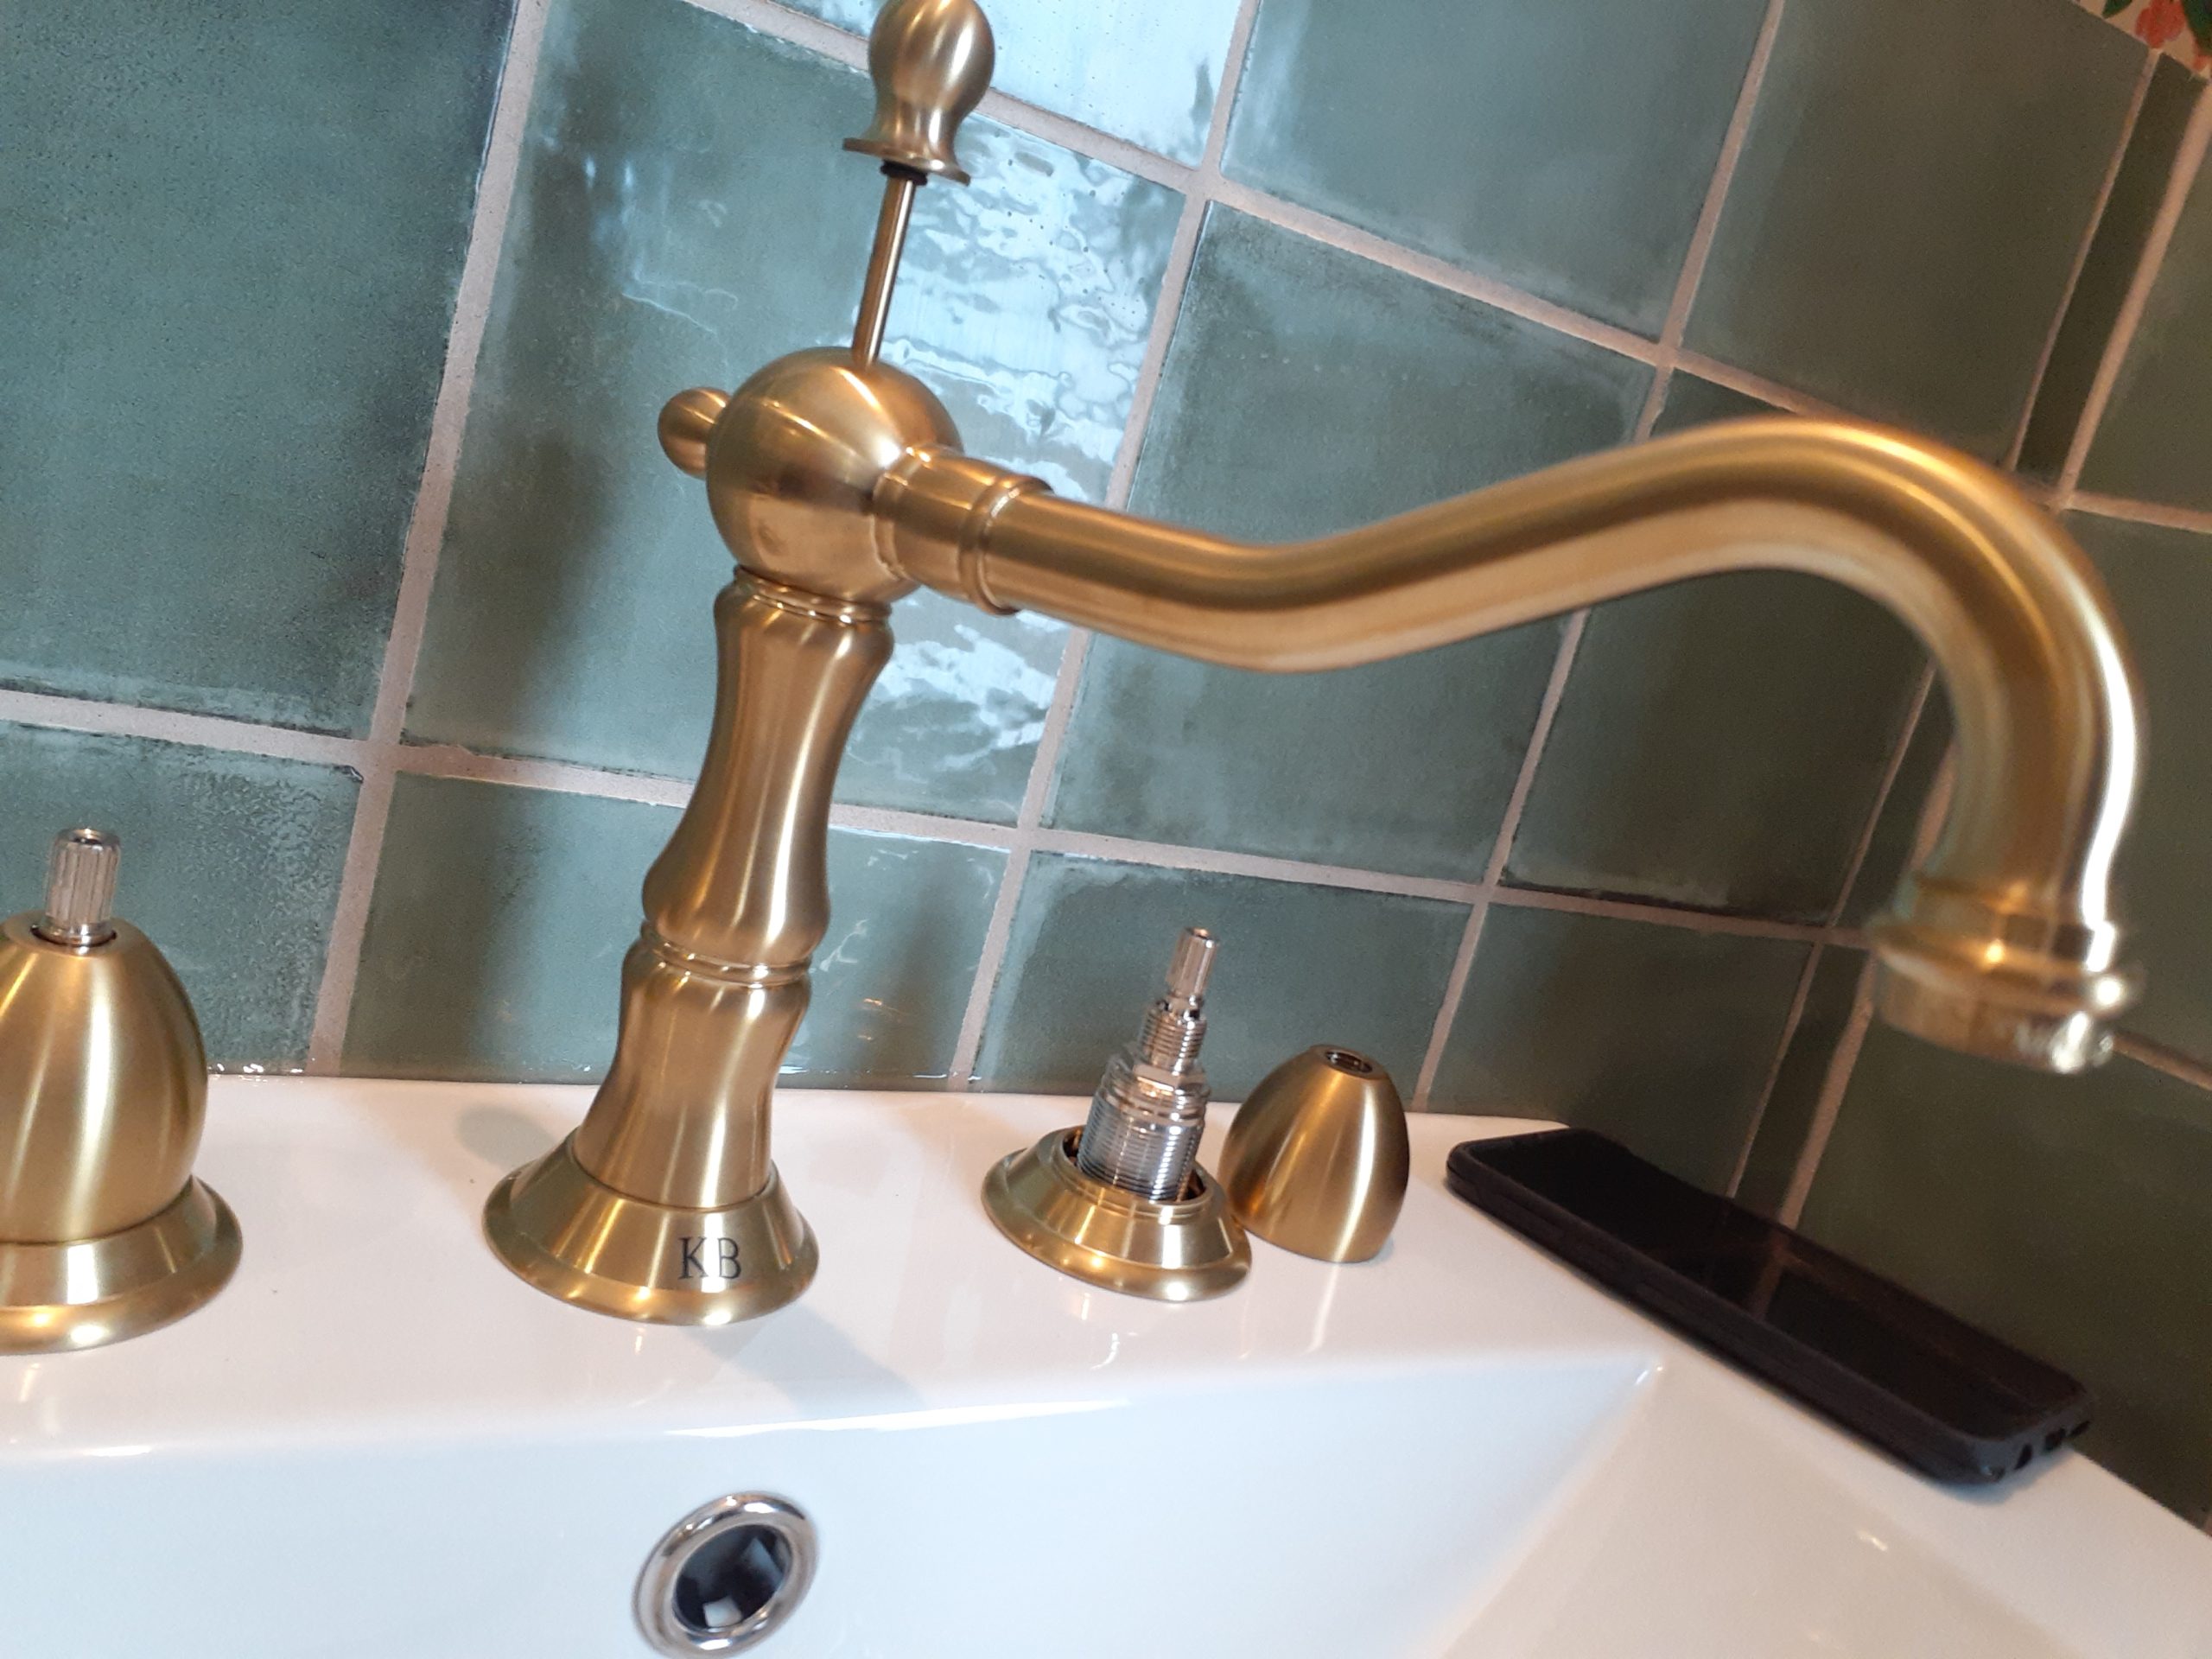
This is embarrassing, but I have had this sink faucet for ages, thinking it would work for the bath tub. It is for a sink… Used it!
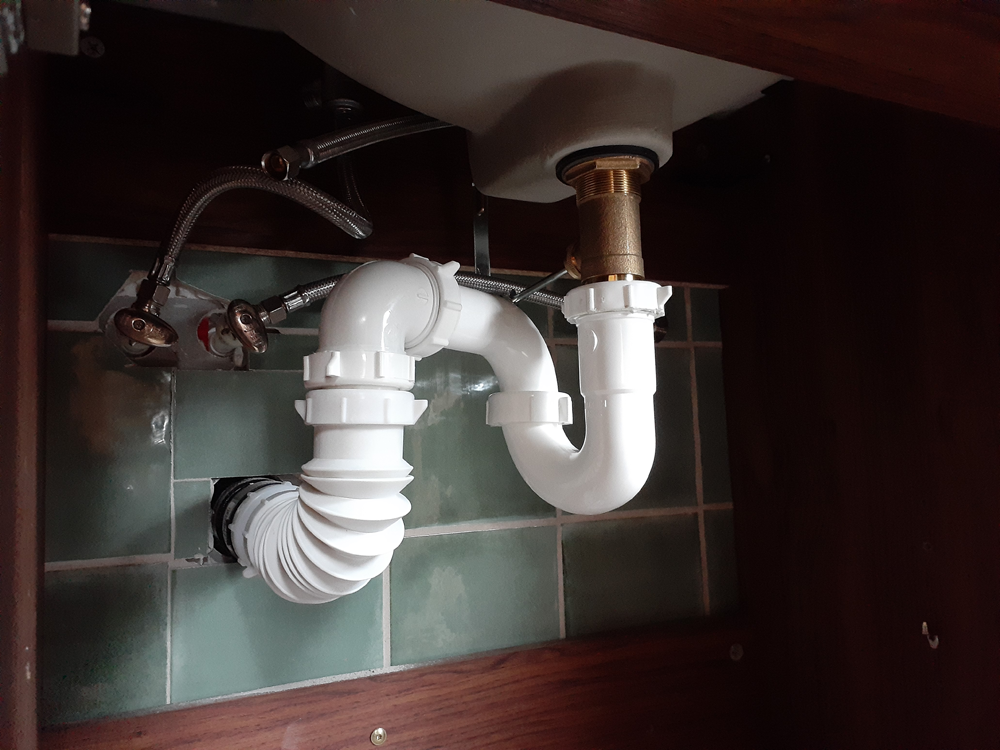

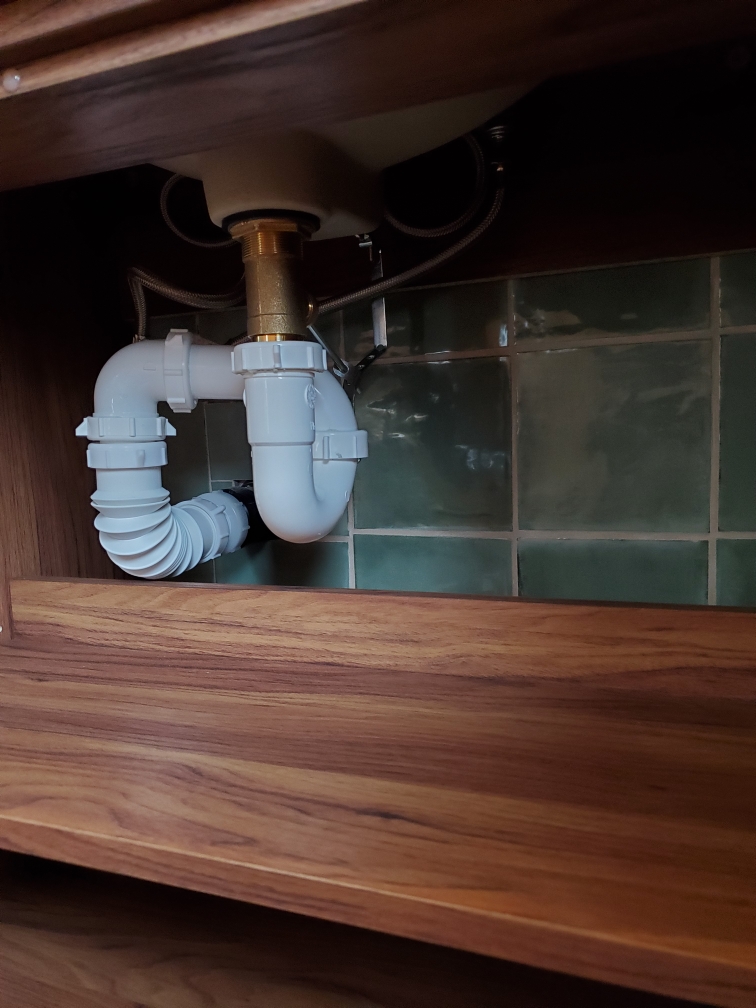


This all happened within a weekend and we pulled some
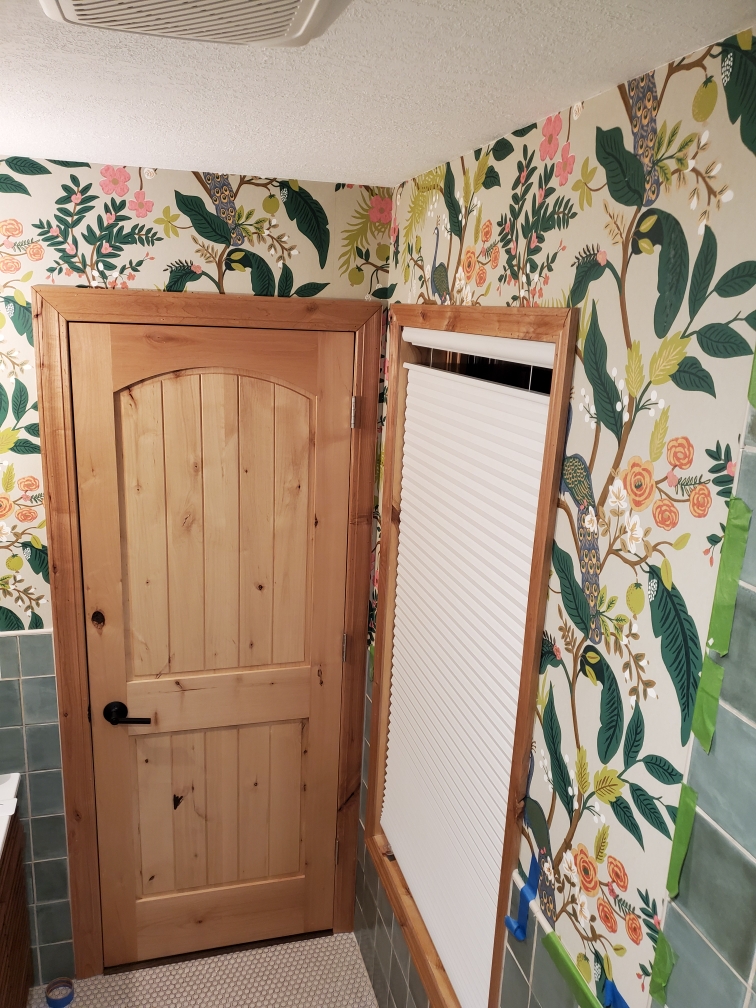
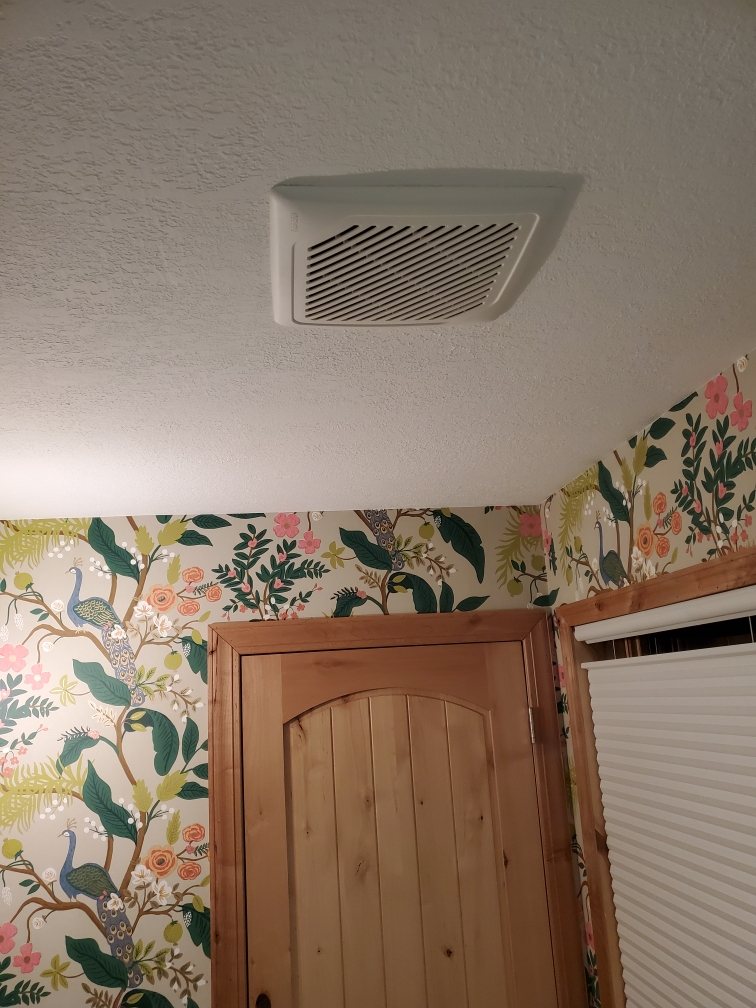
Wallpaper
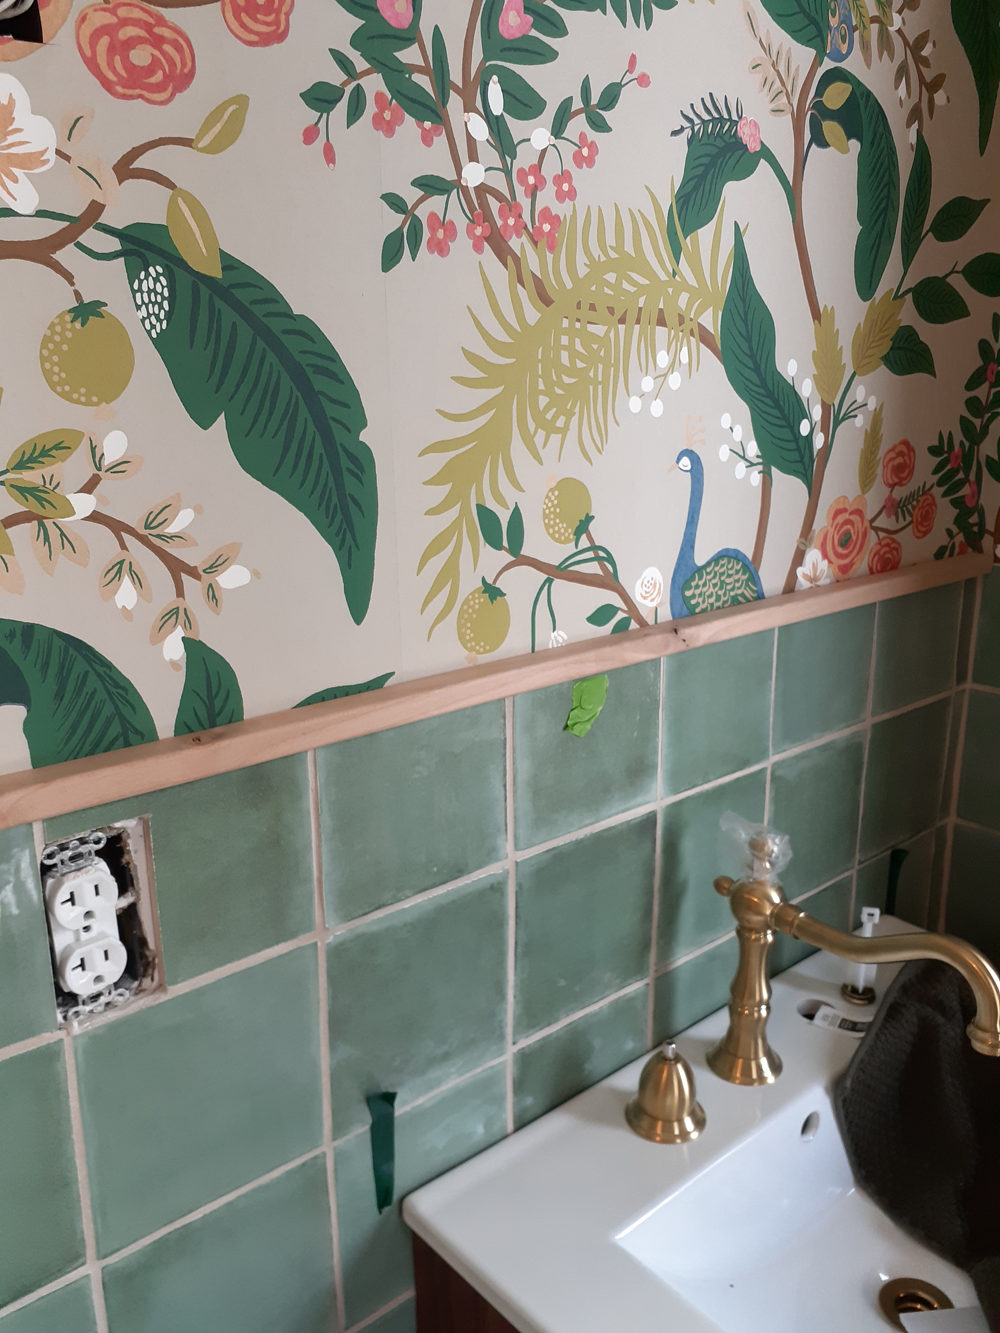
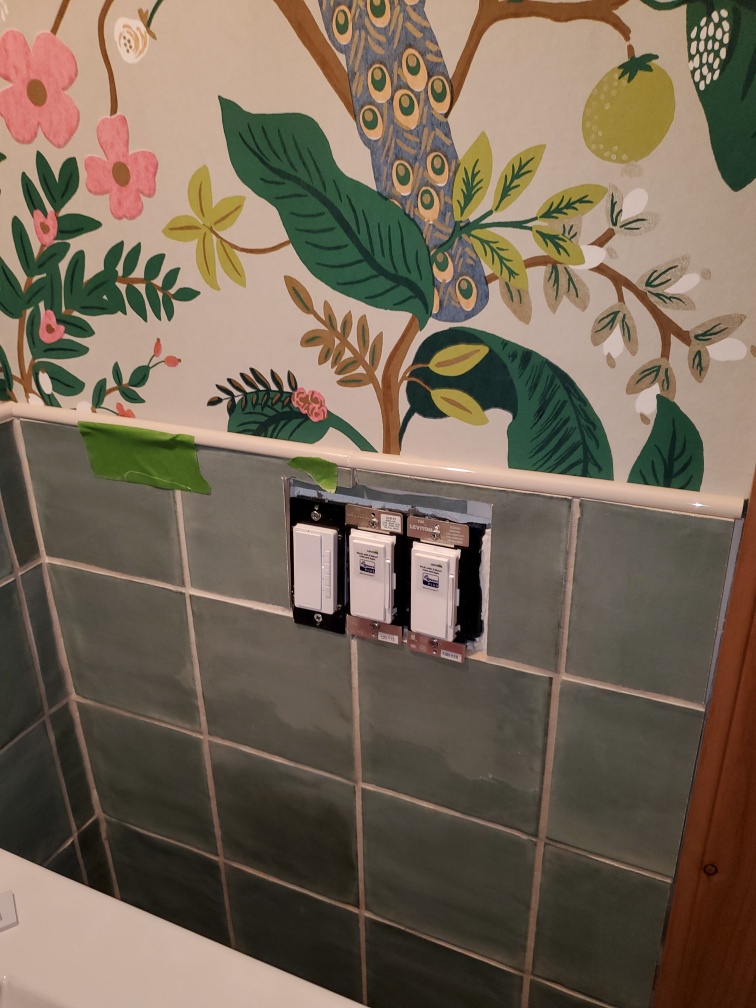
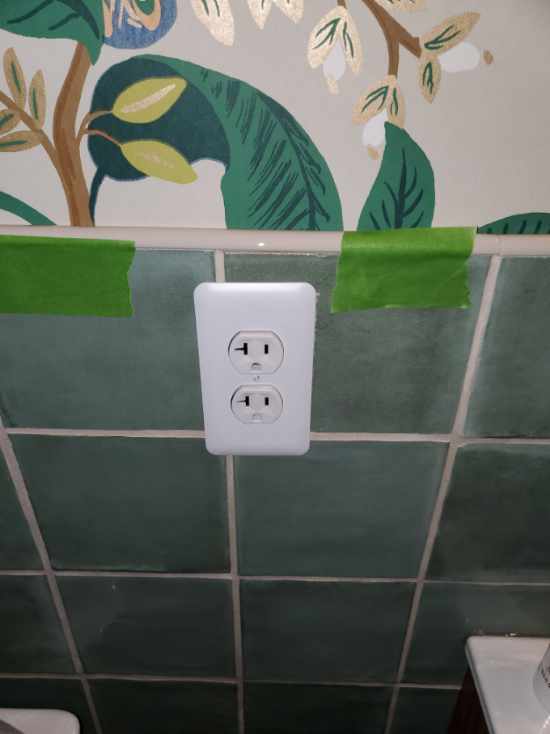
Before we could put in the sink and toilet, we had to have the wallpaper up. What I am about to show you is my absolute favorite part of the bathroom!


I actually hired someone to hang the wallpaper for us – it was someone local and she is very experienced and reasonably priced. I really did not want my first attempt to destroy good wallpaper. It is definitely an art form!


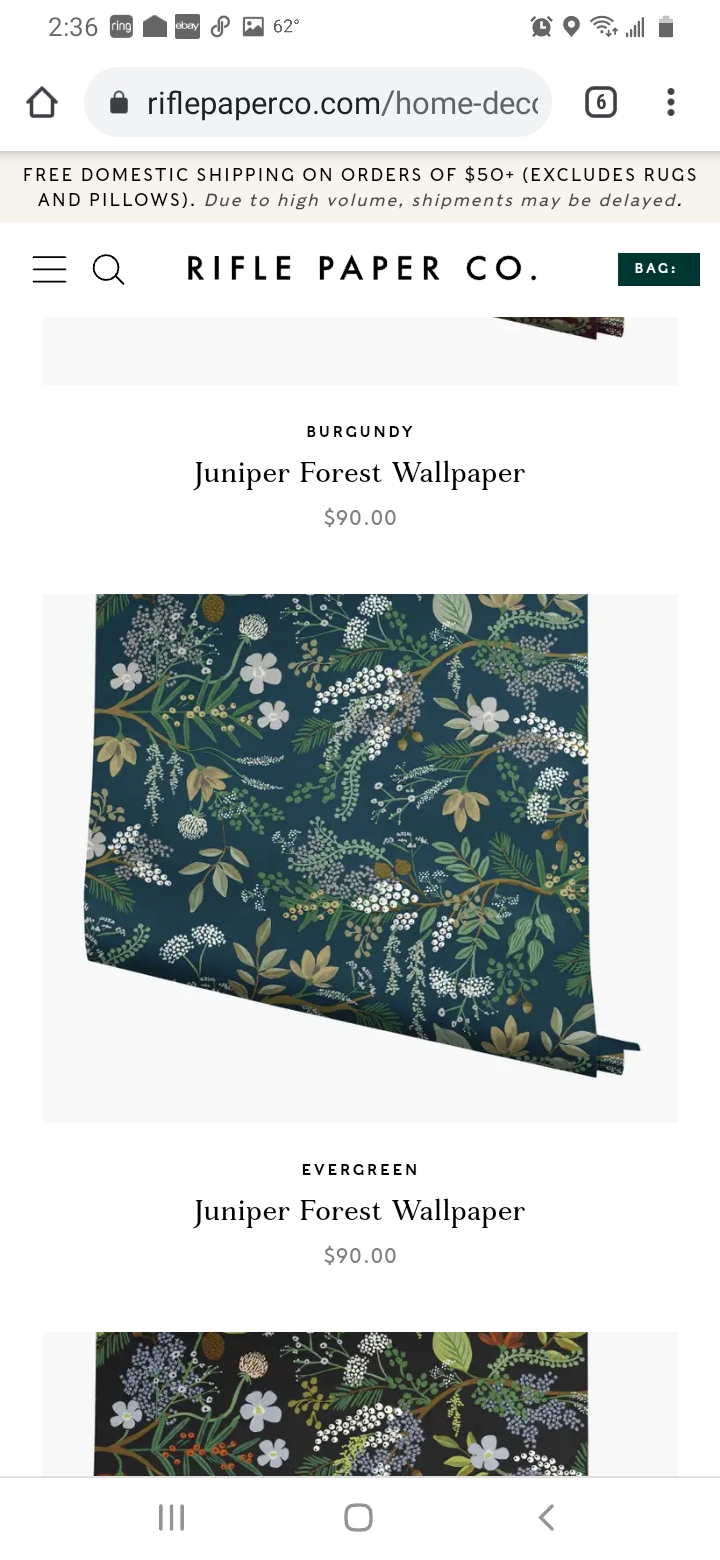
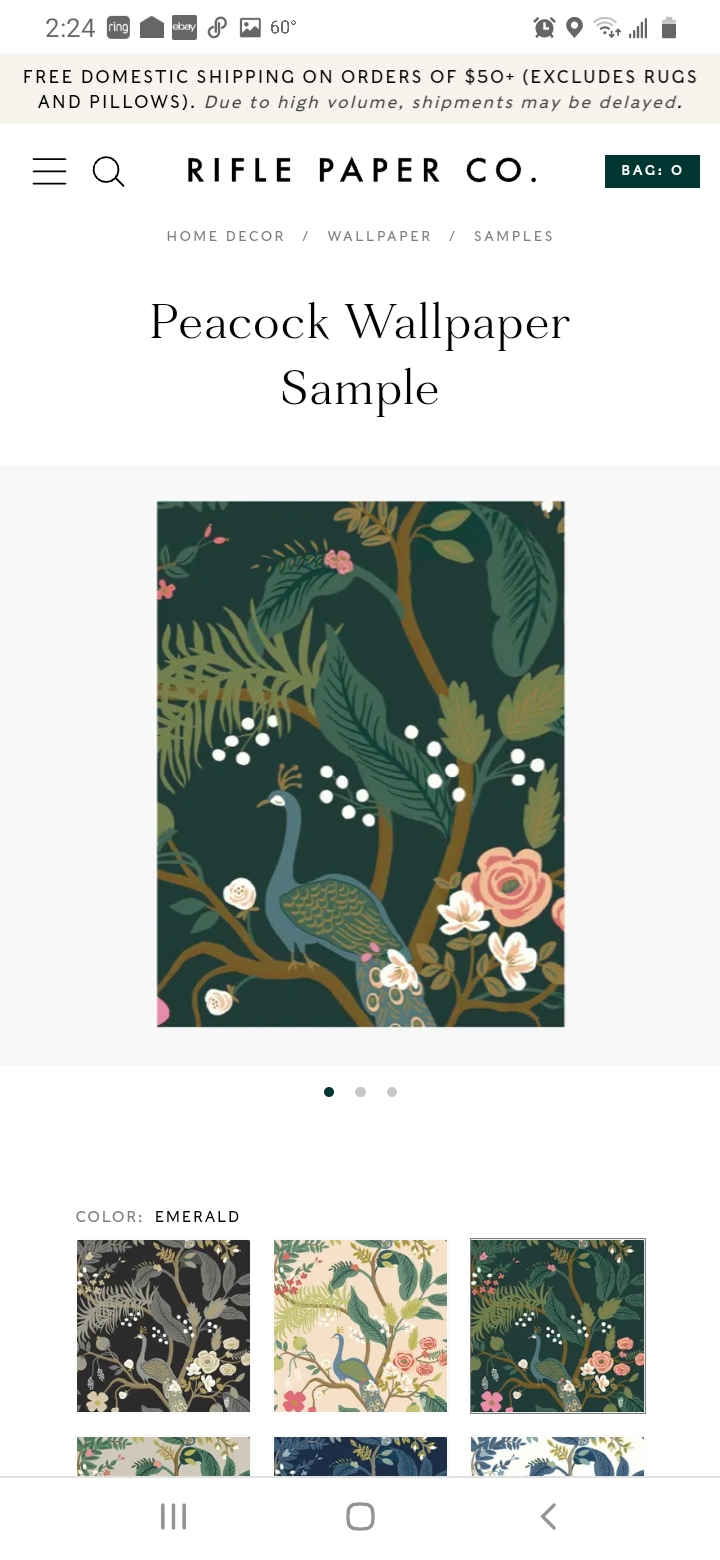
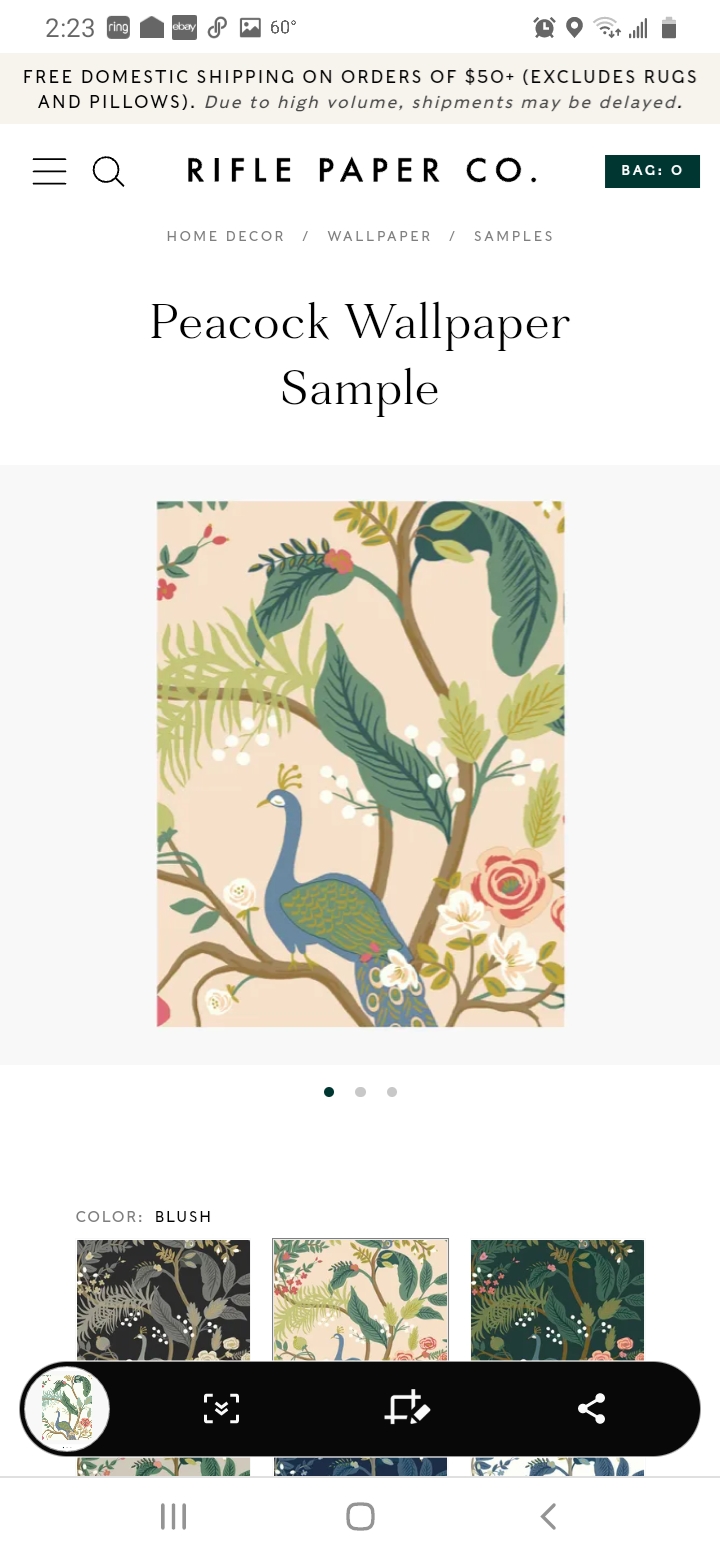
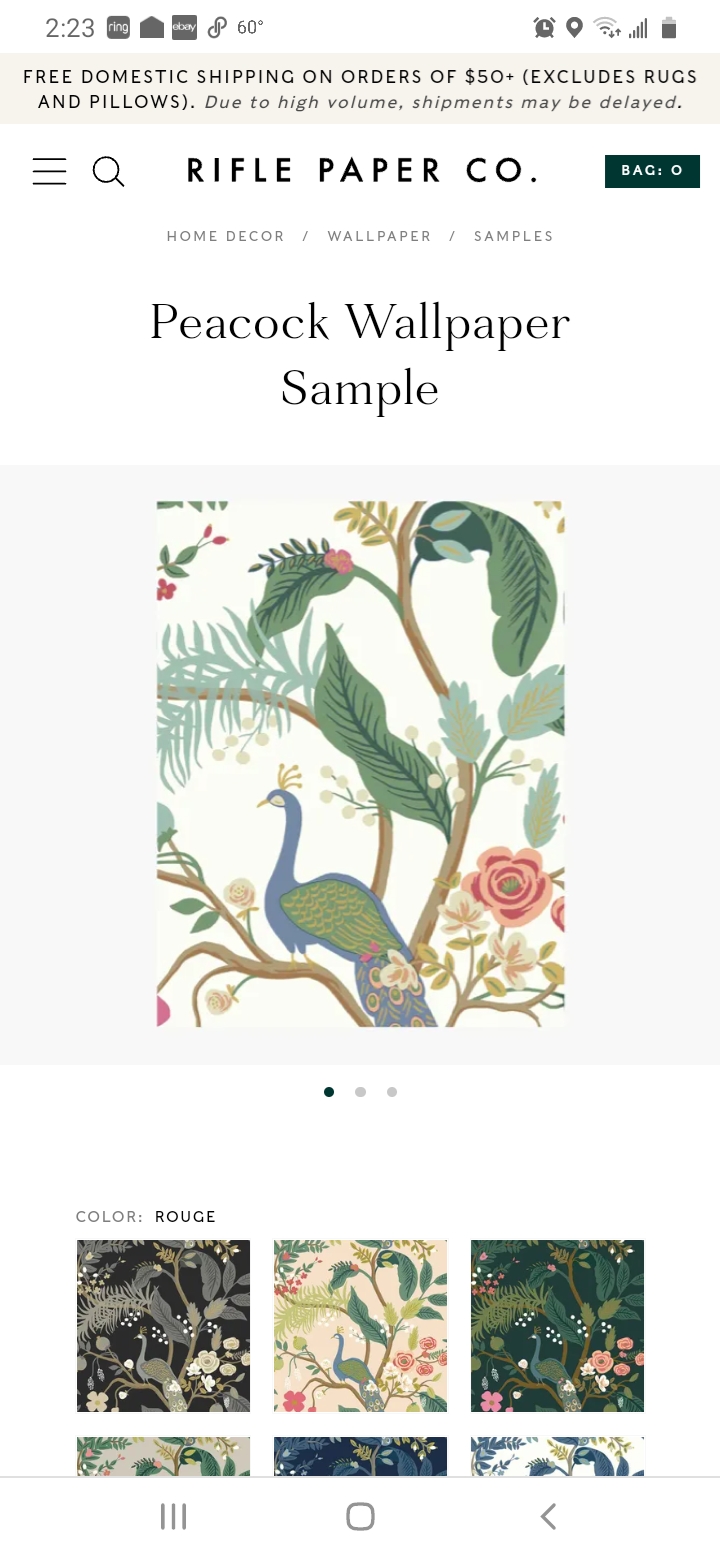
I had a few different favorites, but after ordering samples the color I liked best was called “Linen” – by Rifle Paper. I also liked the Emerald and Black.


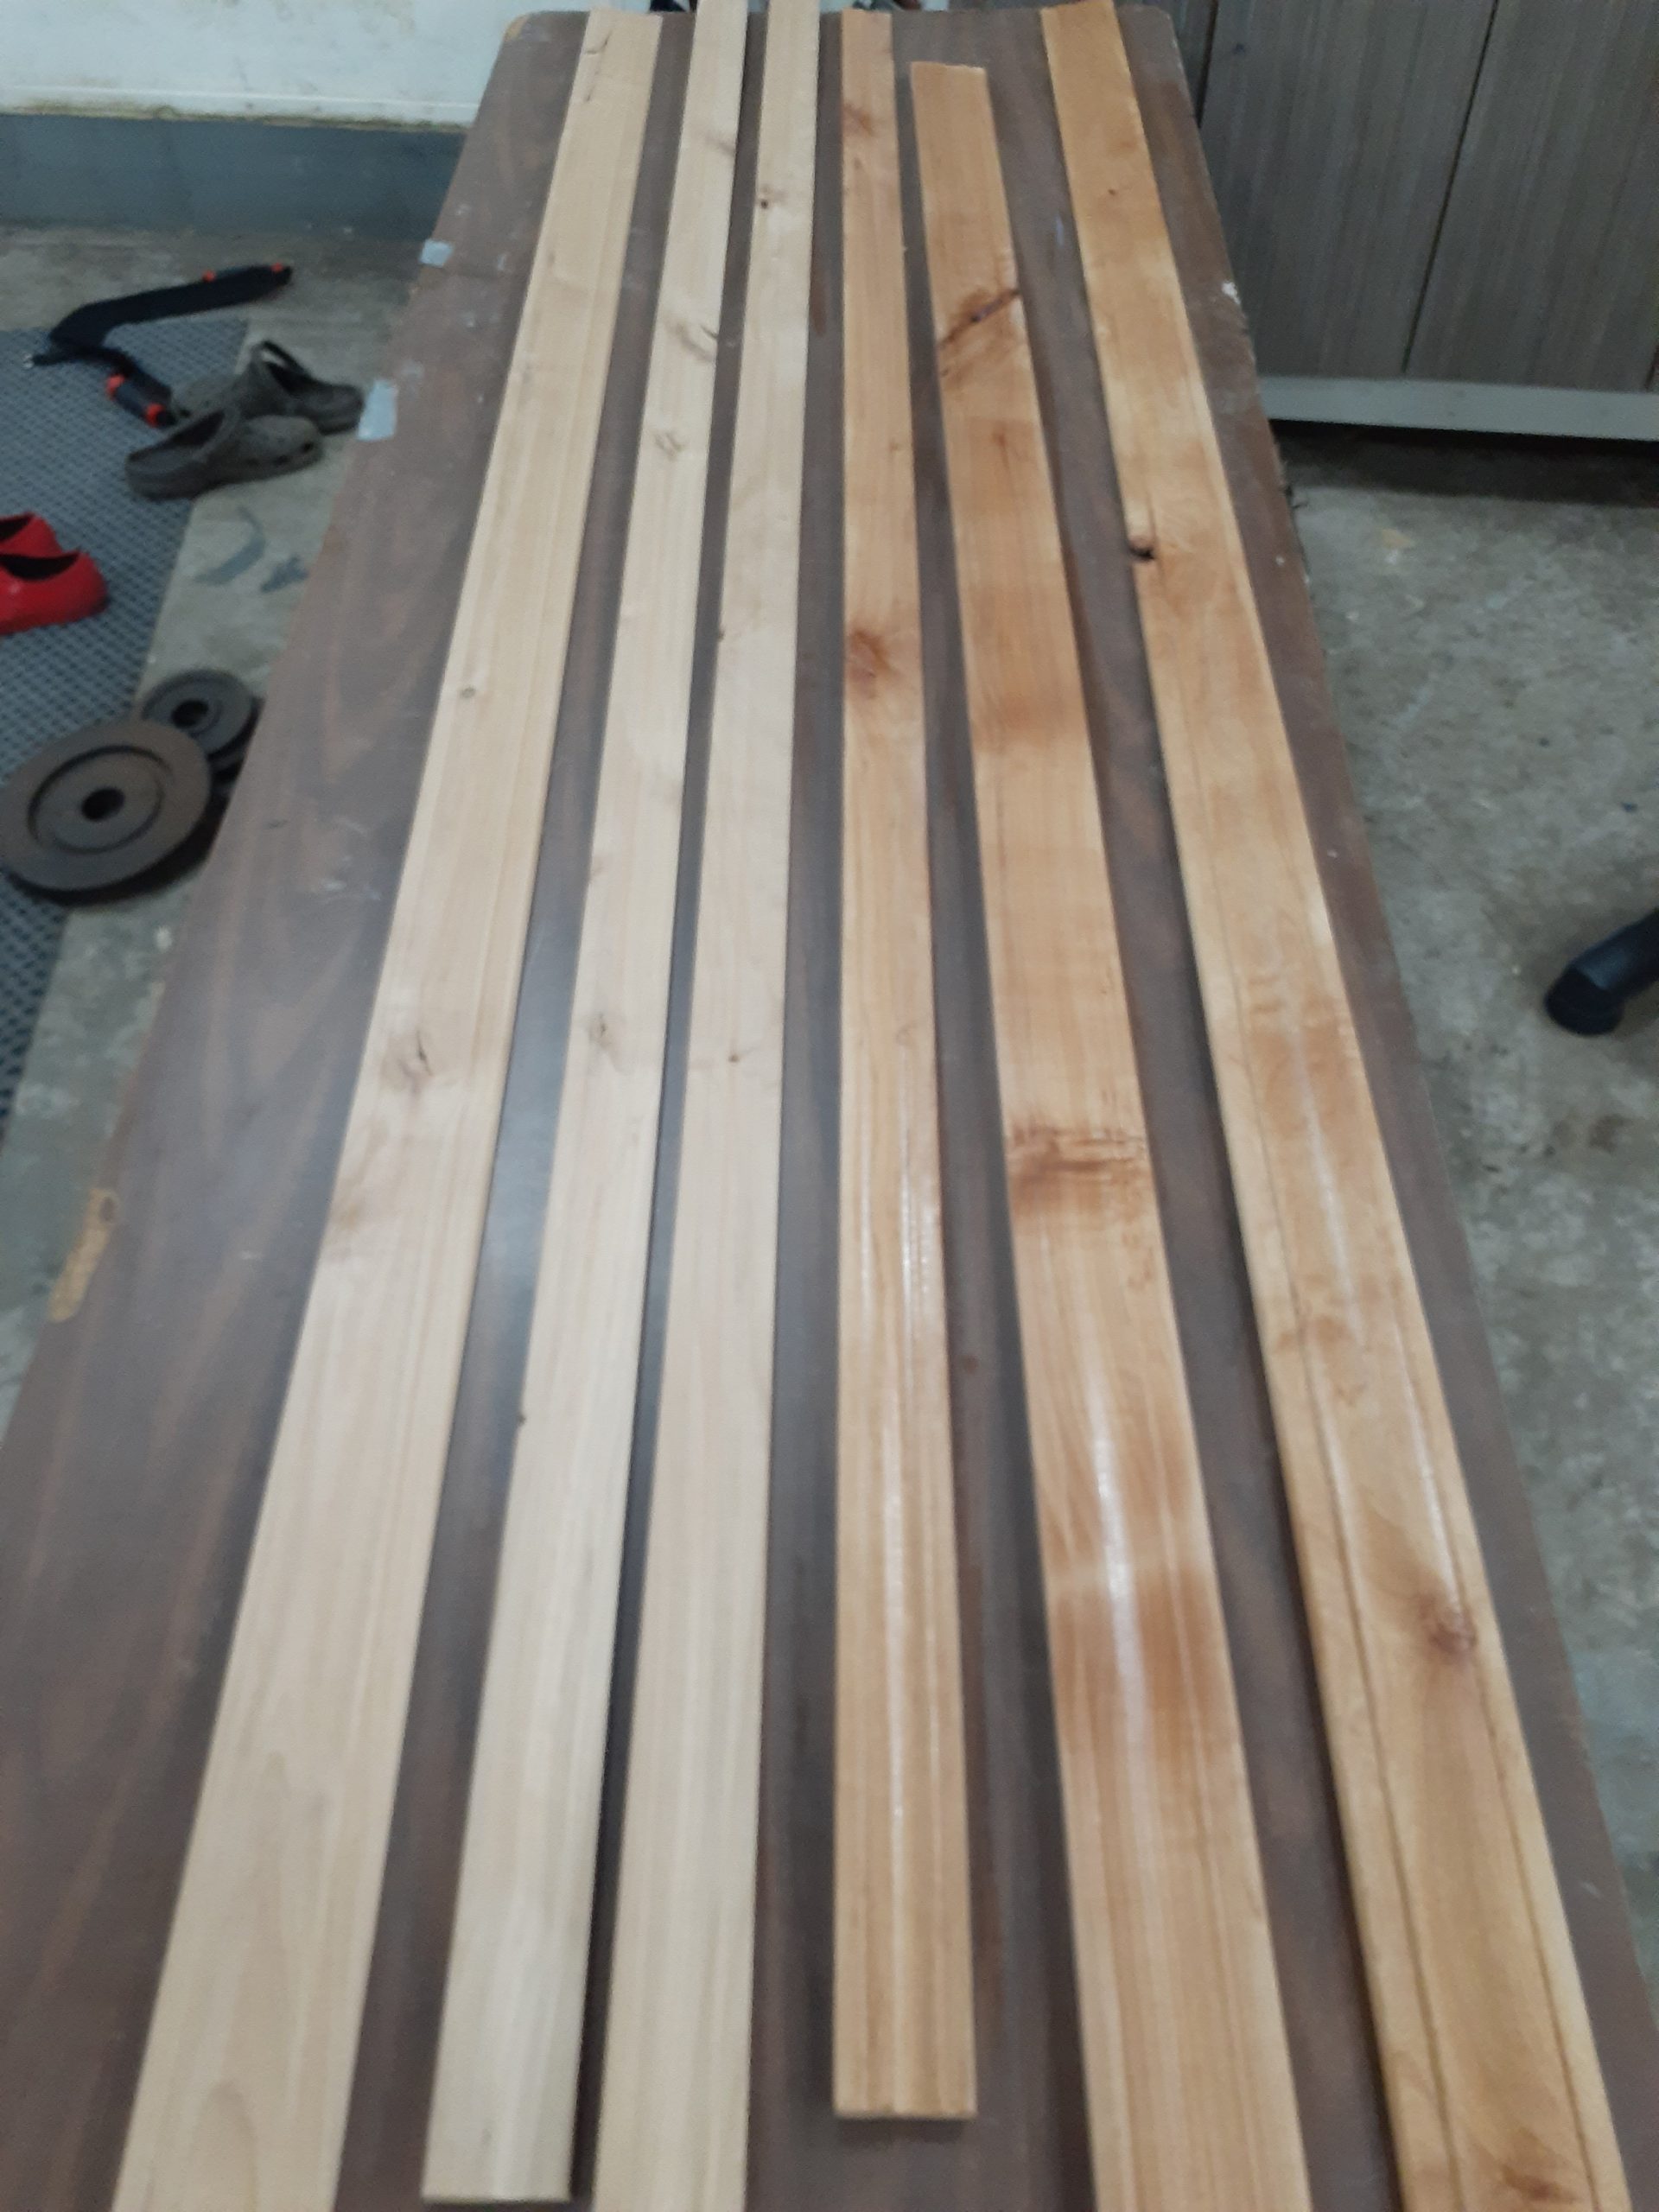
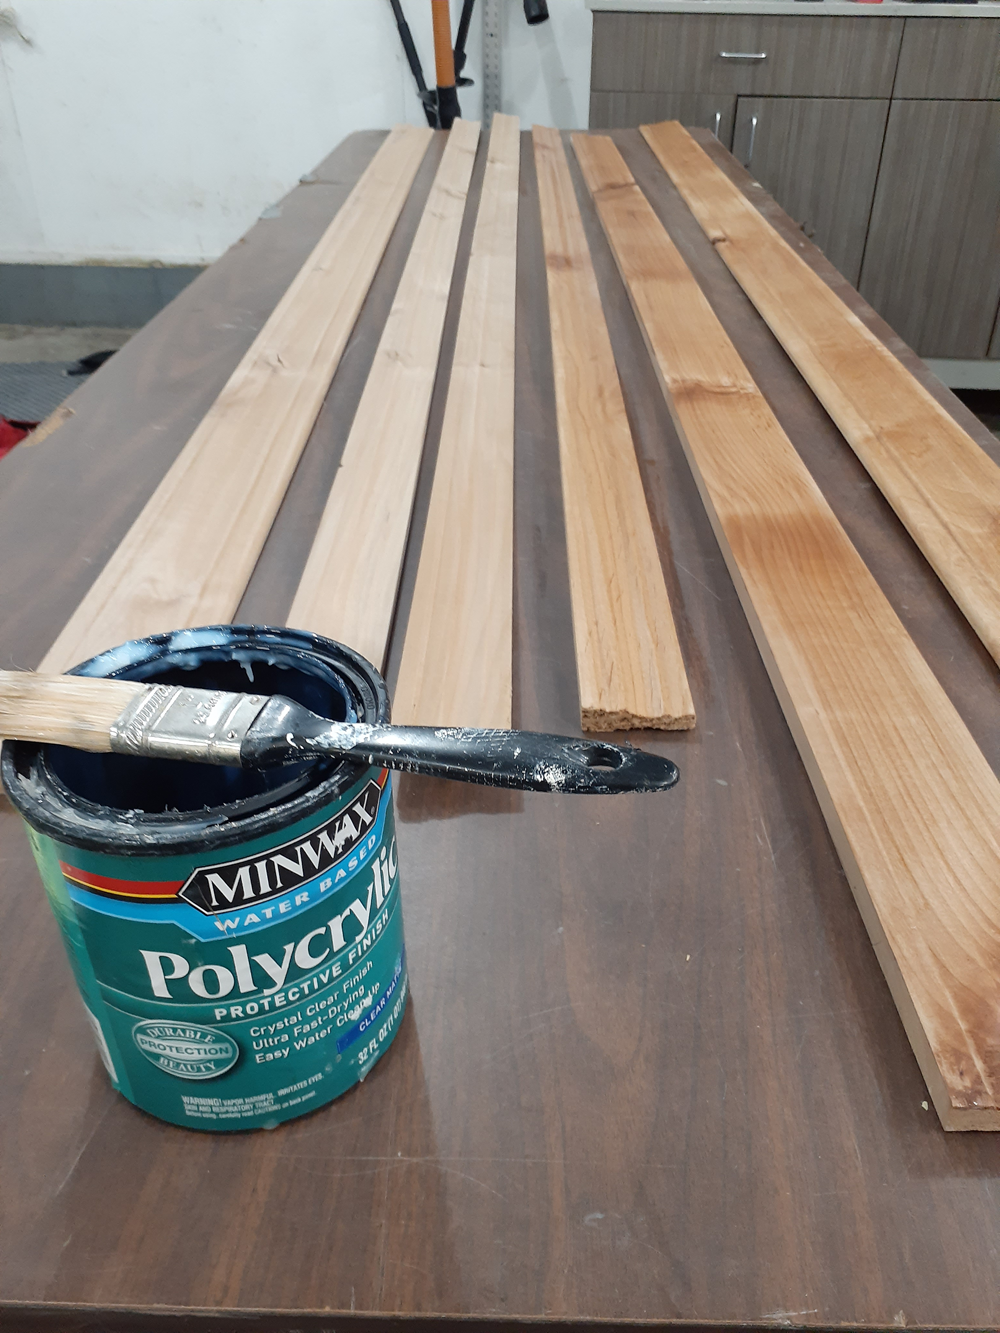
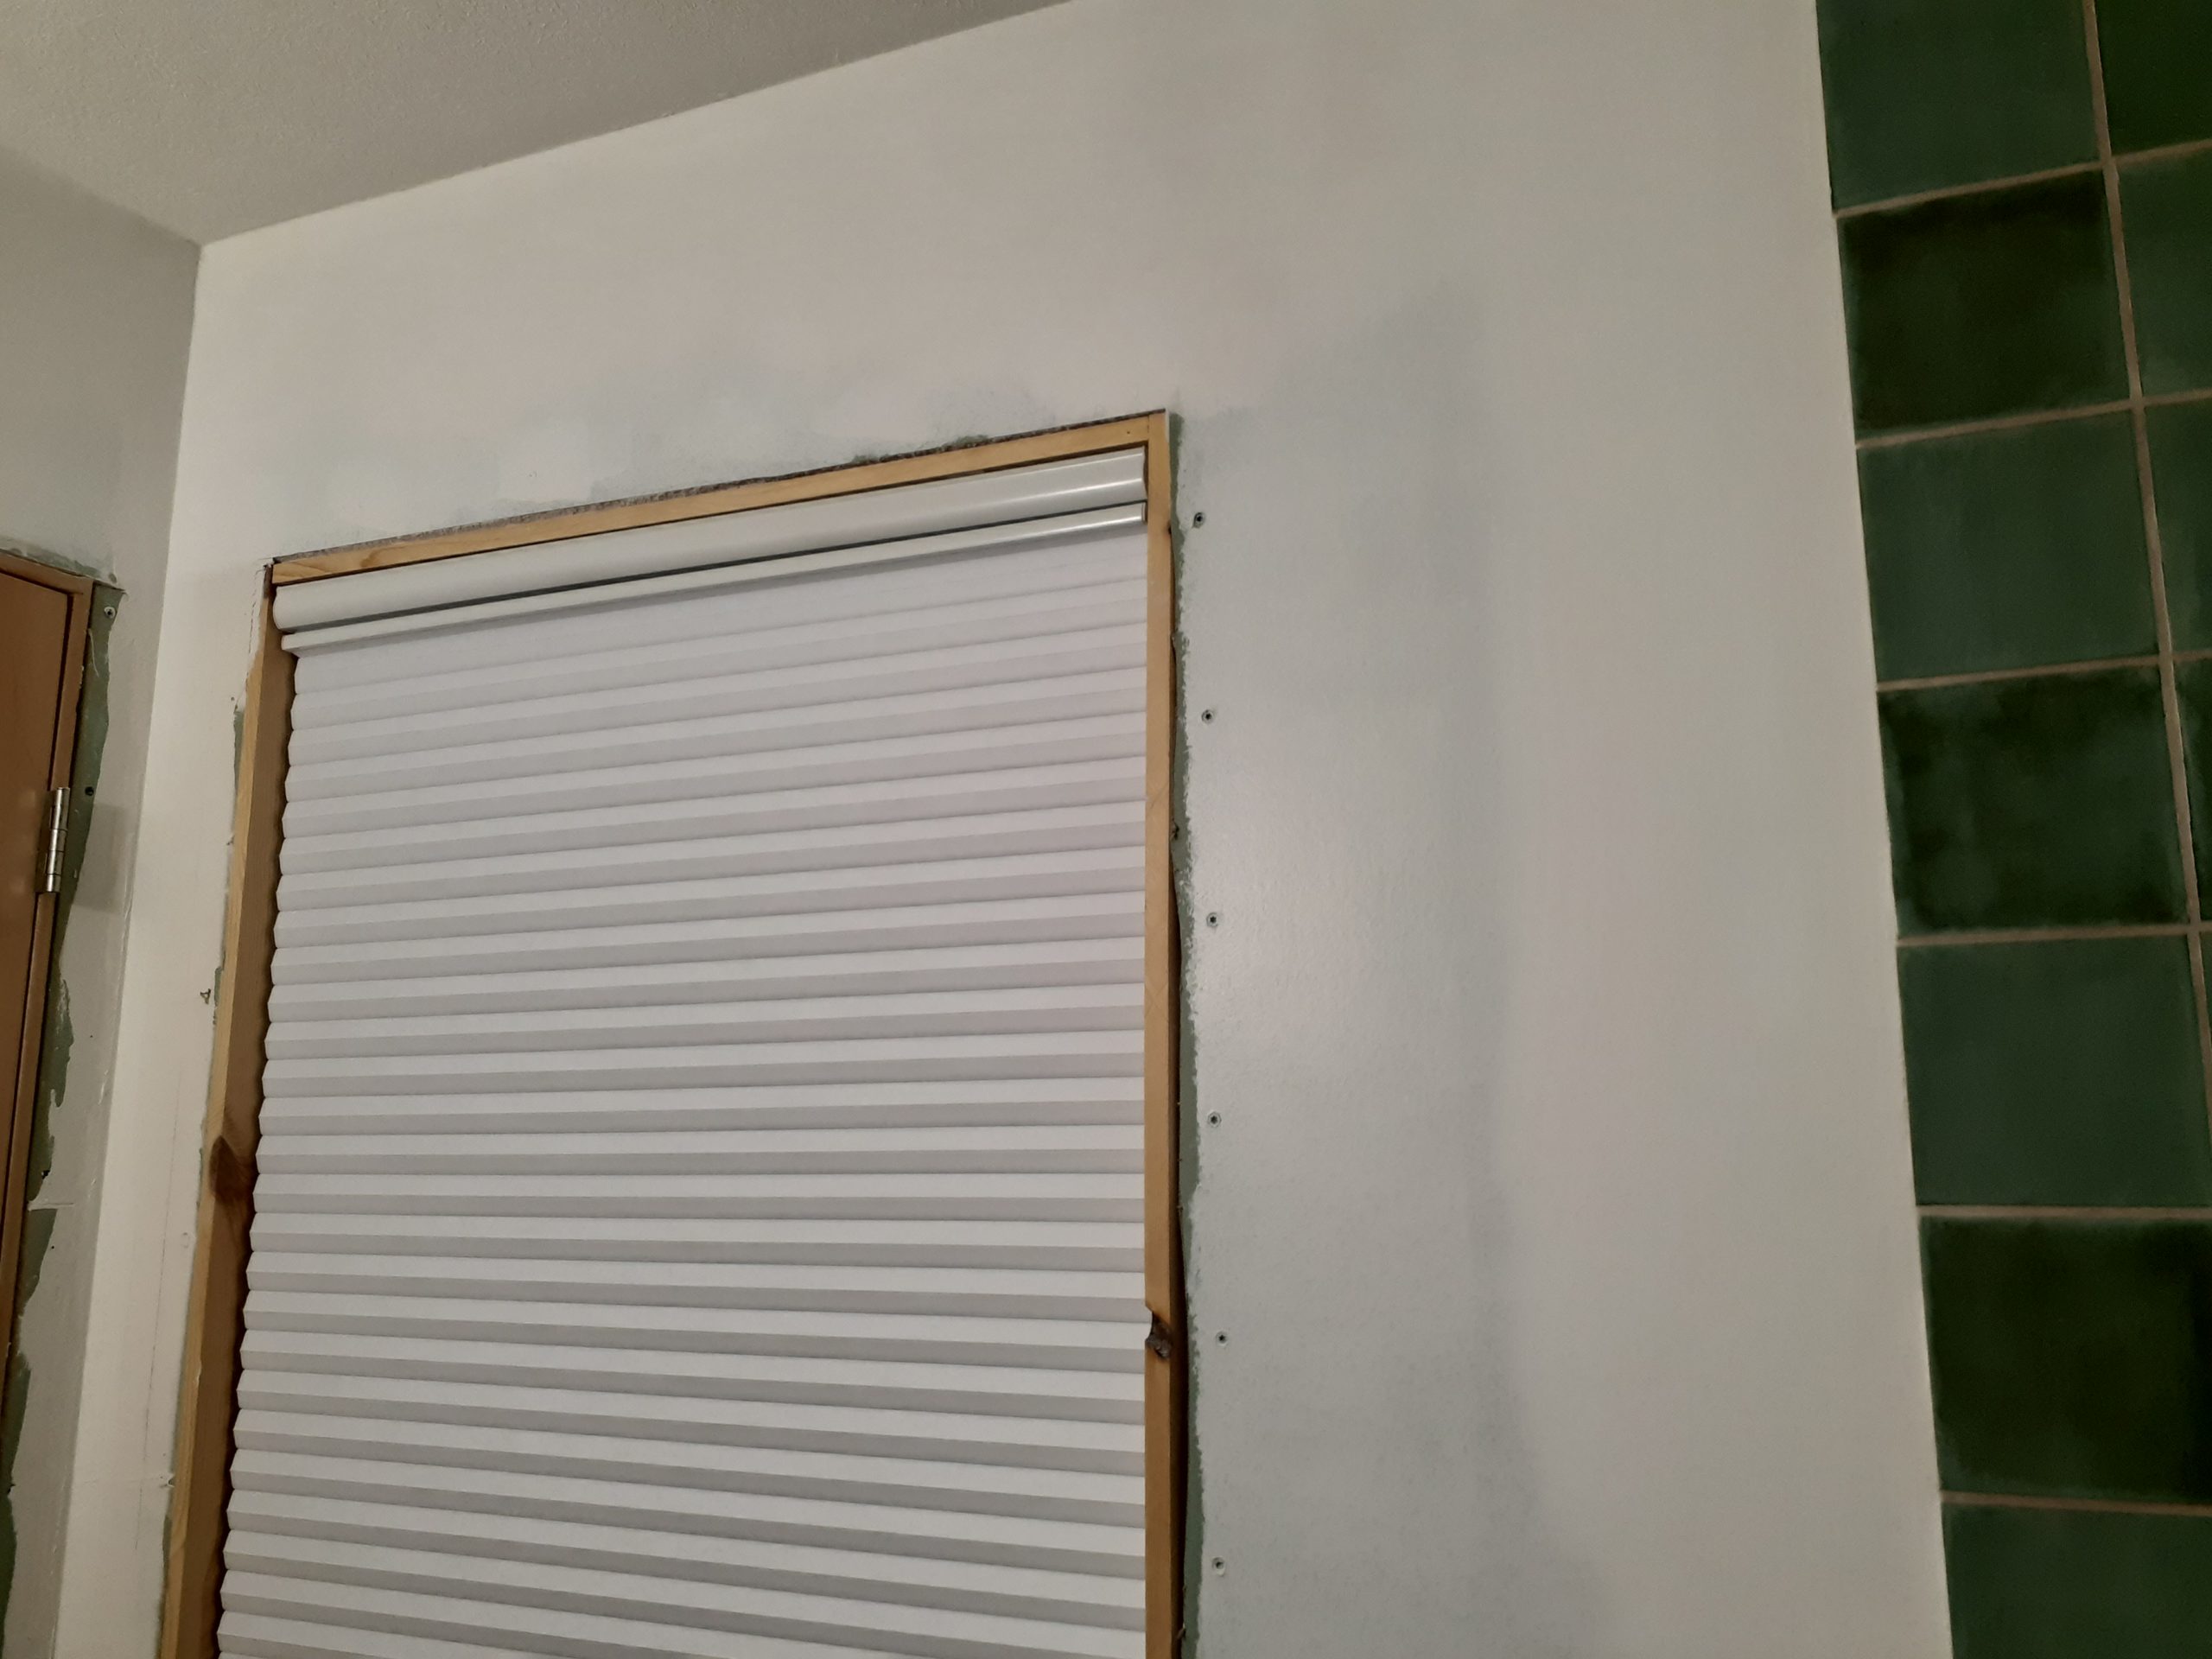
Next on the agenda was deciding between wood and ceramic trim along the top of the tile wainscoting.


After
Next is final reveal!
The post Addition Bathroom | Progress appeared first on Leah and Joe: Home DIY Projects & Crafts.