
How To Make A Christmas Ornament Wreath

Hey ya'll! So, each year around November, the emails start pouring in with all of the ornament wreaths you guys have made.
And seeing all of your creations always inspires me to make another one.
So, welcome to my third annual Christmas ornament wreath tutorial.
It's basically a tradition now.
Can't stop. Won't stop.
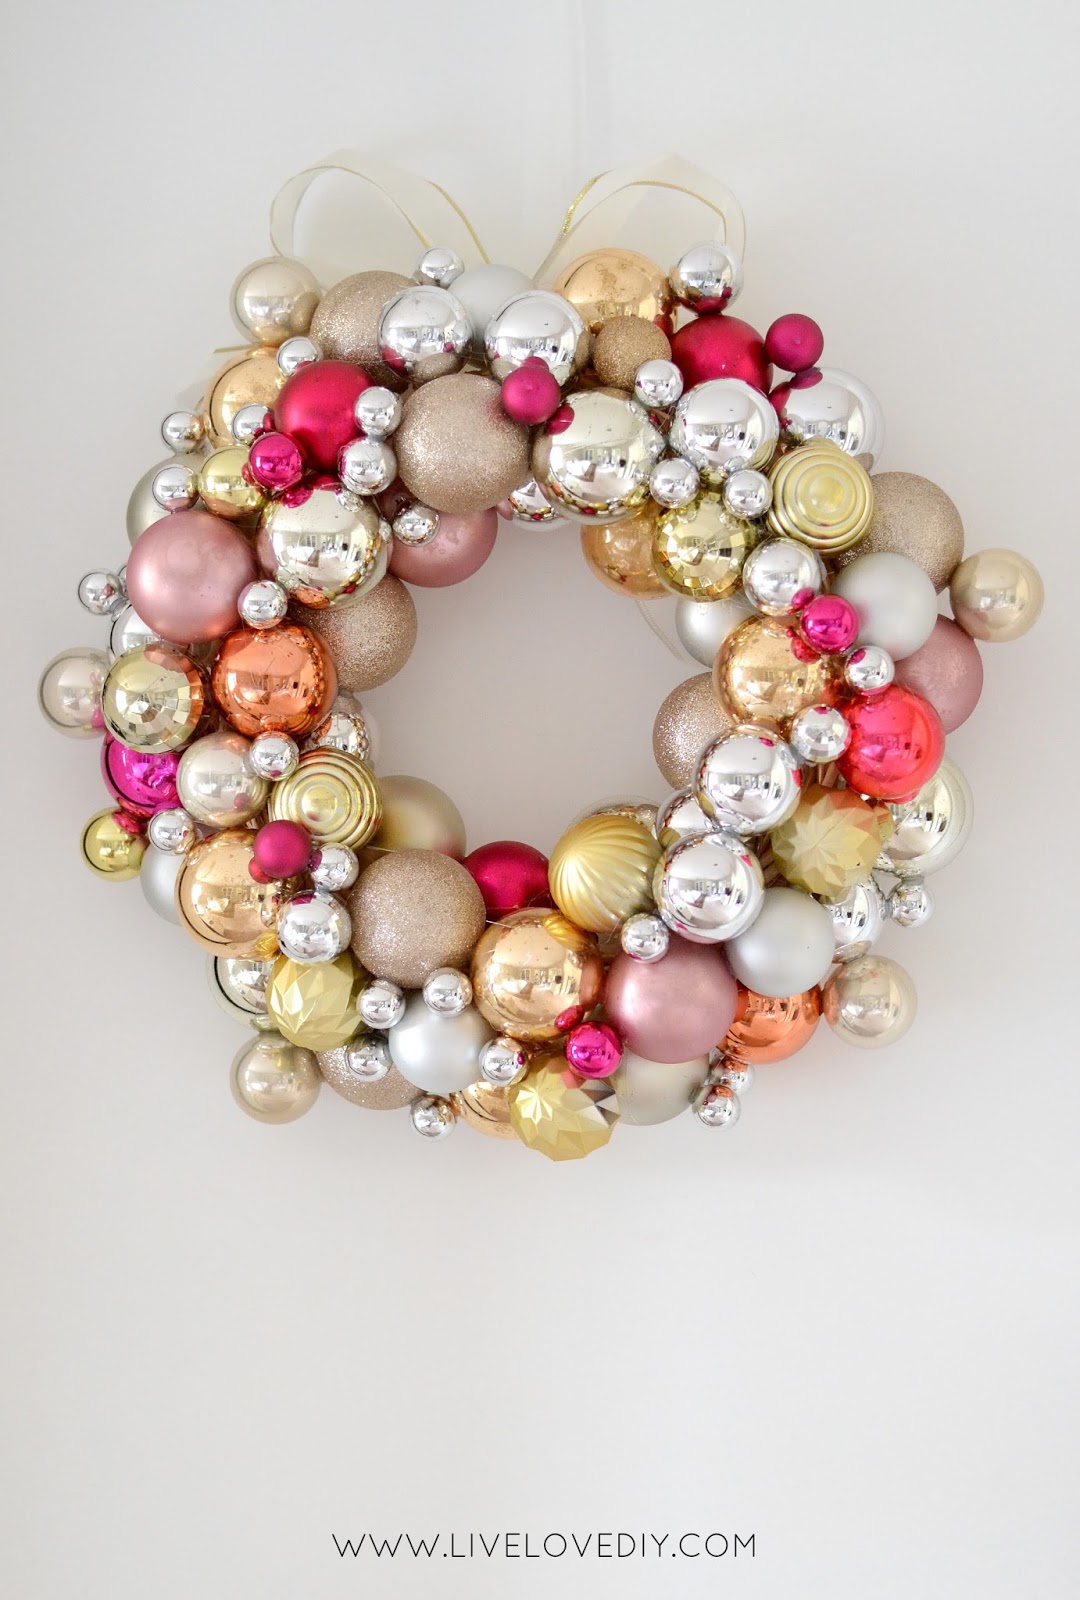
This year's pink wreath has been in the making for awhile now. Last Christmas, I found some hot pink Shiny Brites and some giant mauve (are we still saying mauve?) ornaments, and since I had already made my green ornament wreath, I decided to hoard them for this year.
I knew the minute I saw them that I had been ignoring my life's calling to have a pink Christmas.
And seeing all of your creations always inspires me to make another one.
So, welcome to my third annual Christmas ornament wreath tutorial.
It's basically a tradition now.
Can't stop. Won't stop.
This year's pink wreath has been in the making for awhile now. Last Christmas, I found some hot pink Shiny Brites and some giant mauve (are we still saying mauve?) ornaments, and since I had already made my green ornament wreath, I decided to hoard them for this year.
I knew the minute I saw them that I had been ignoring my life's calling to have a pink Christmas.

Yesterday I finally sat on the floor, got all of my ornaments together, and attempted to glue everything together. Spoiler alert: Tootie made this project 10x harder than it should have been.

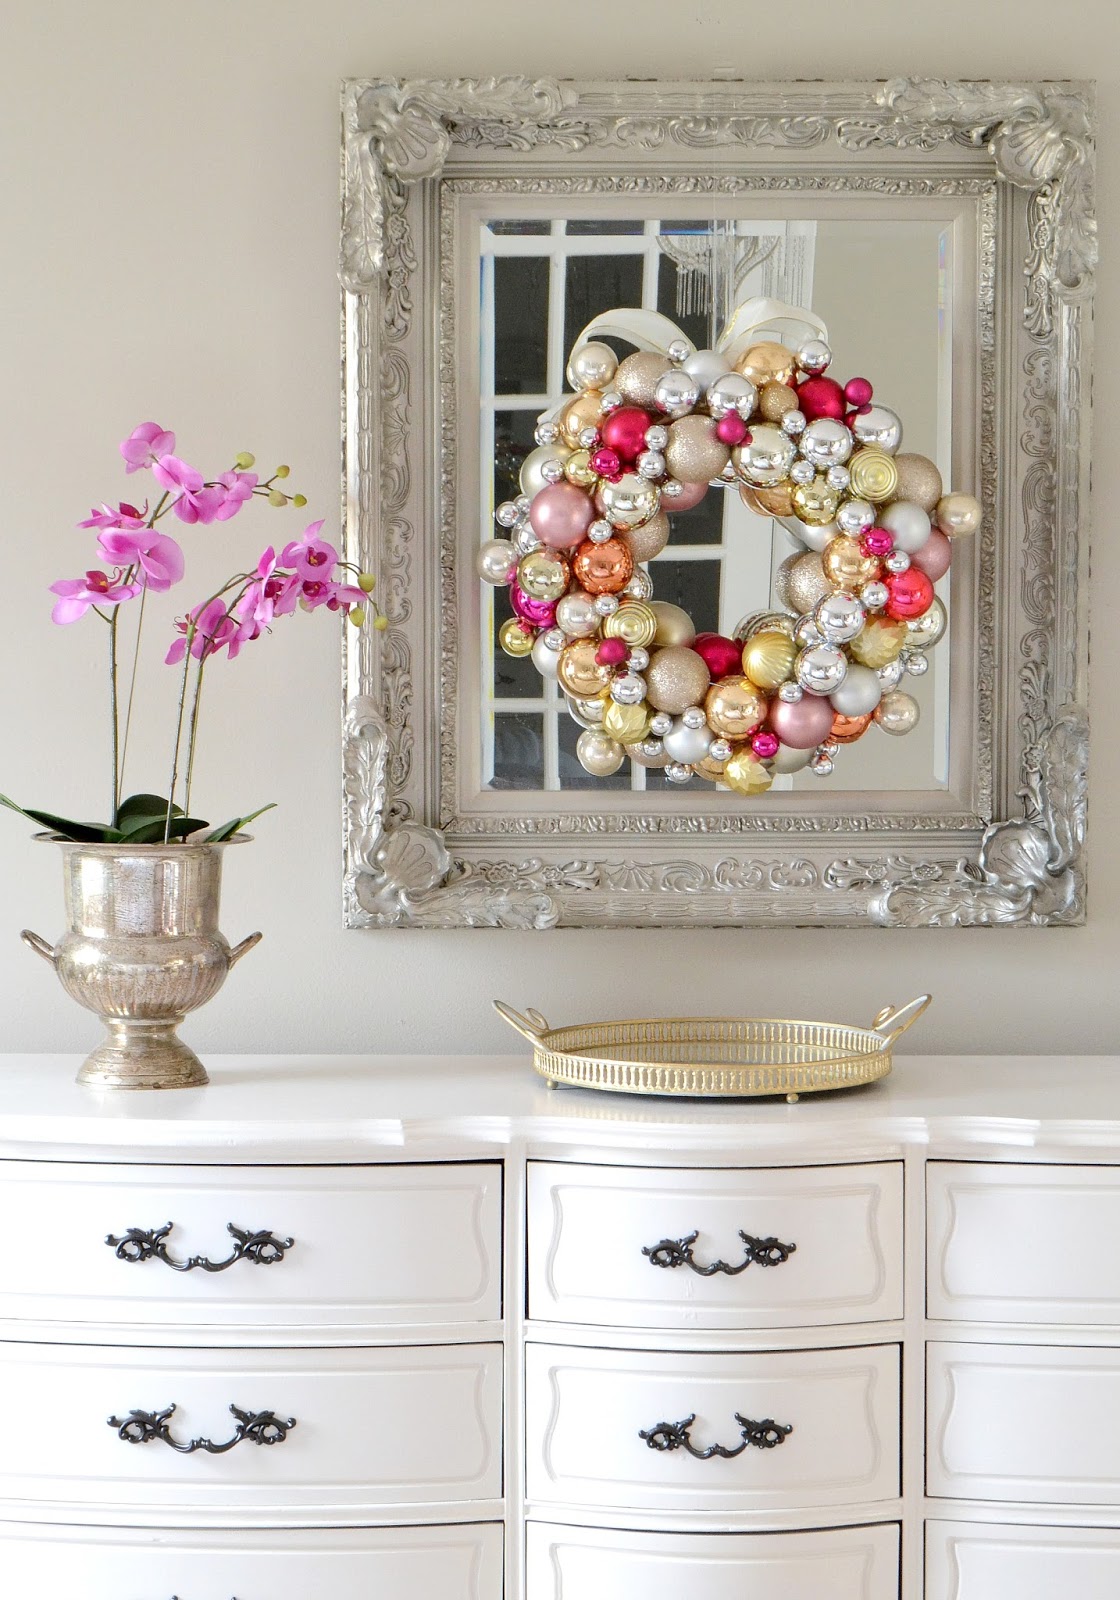
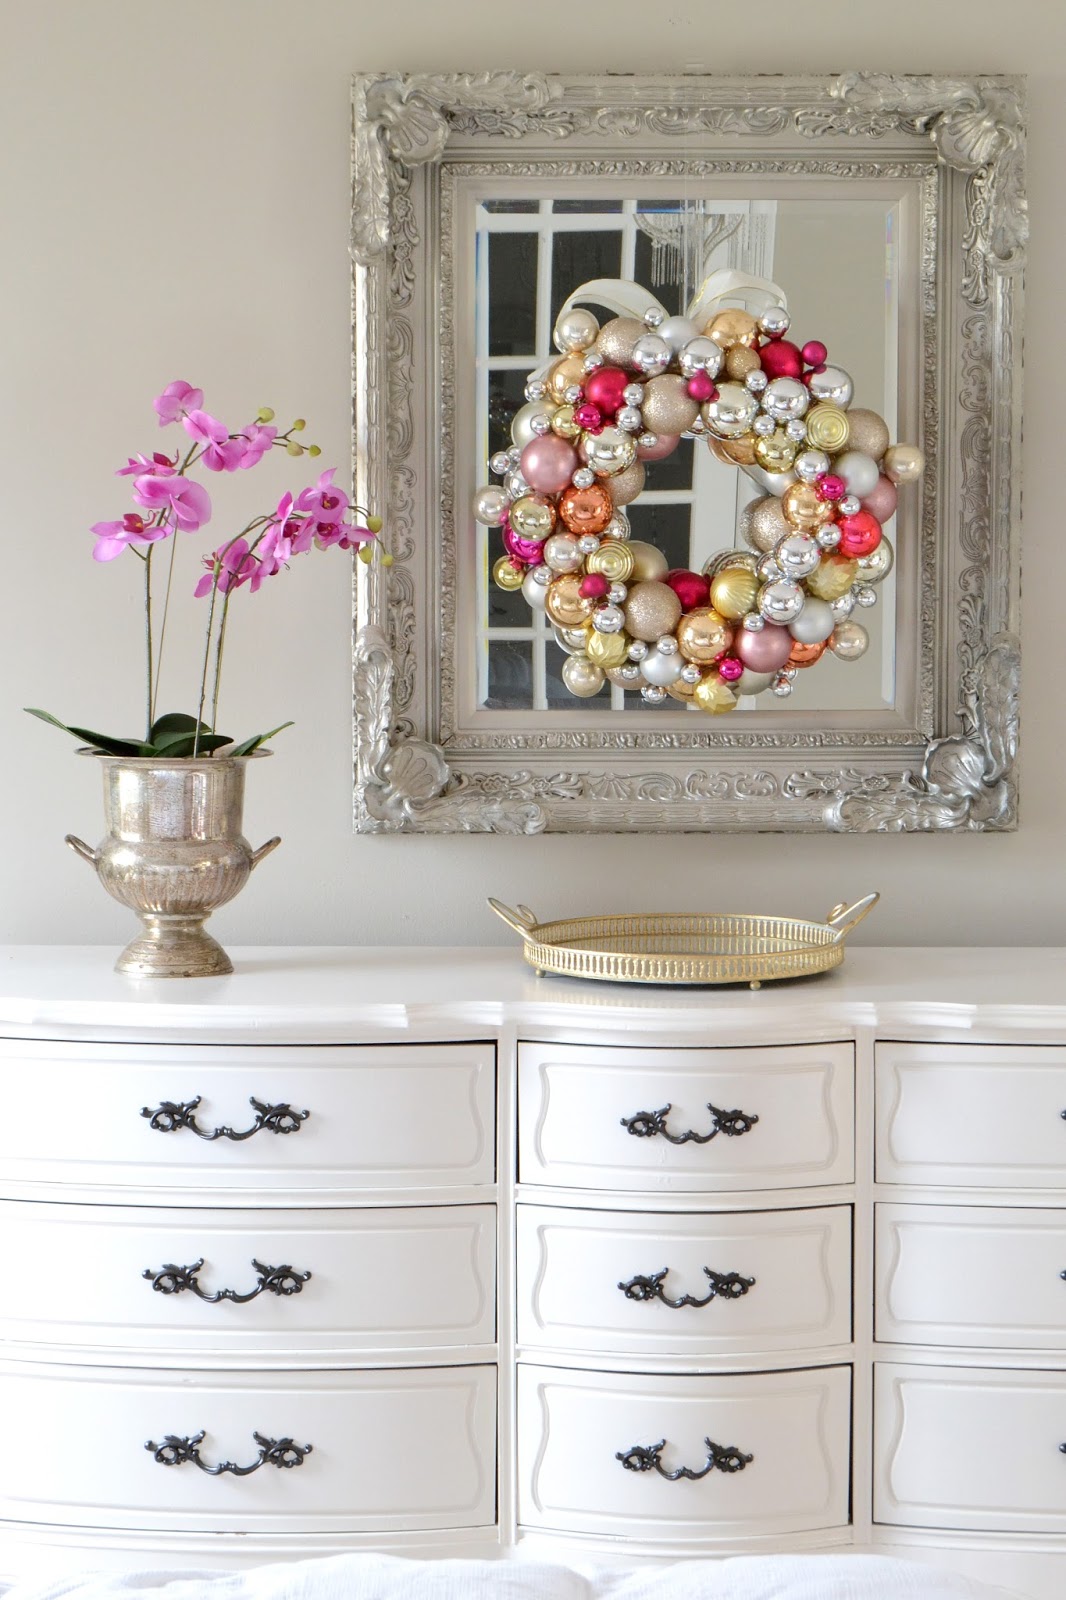
After about an hour of saying 'No, Tootie.' and 'Stop, Tootie.', my pink and metallic ornament wreath was done. I think it's my favorite yet.


.jpg)

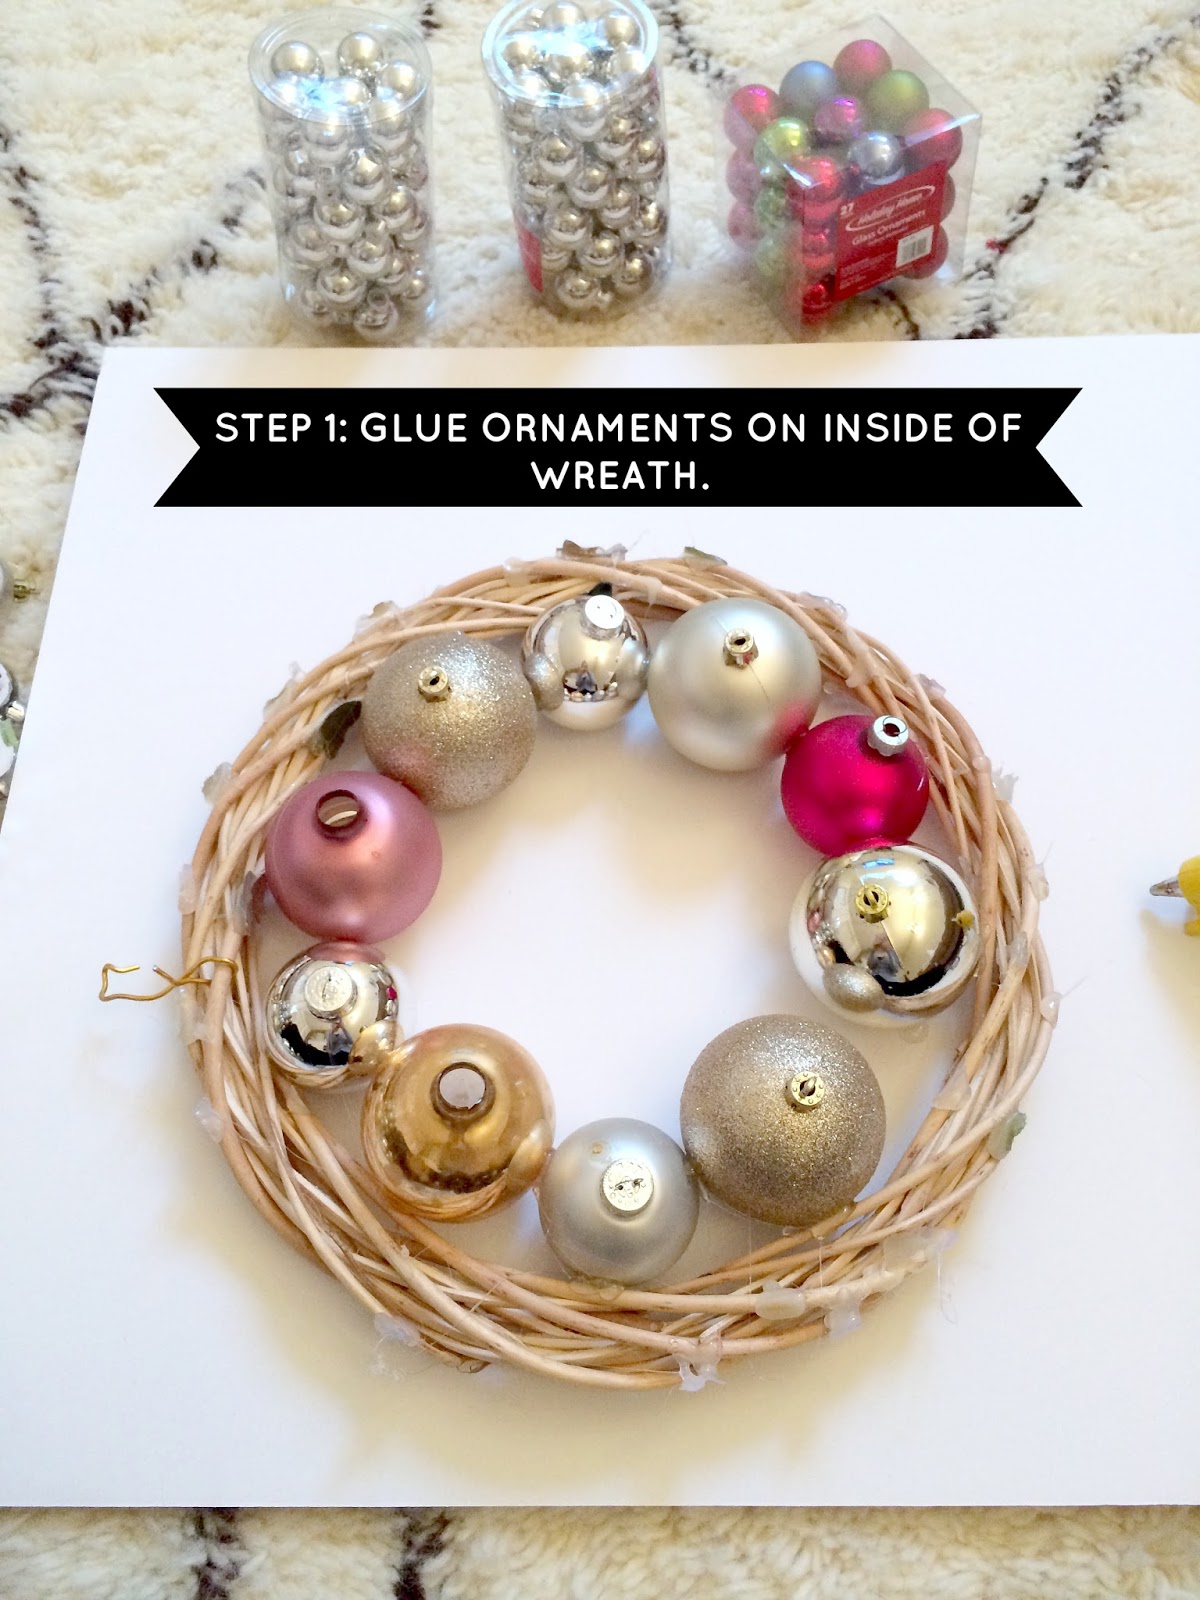
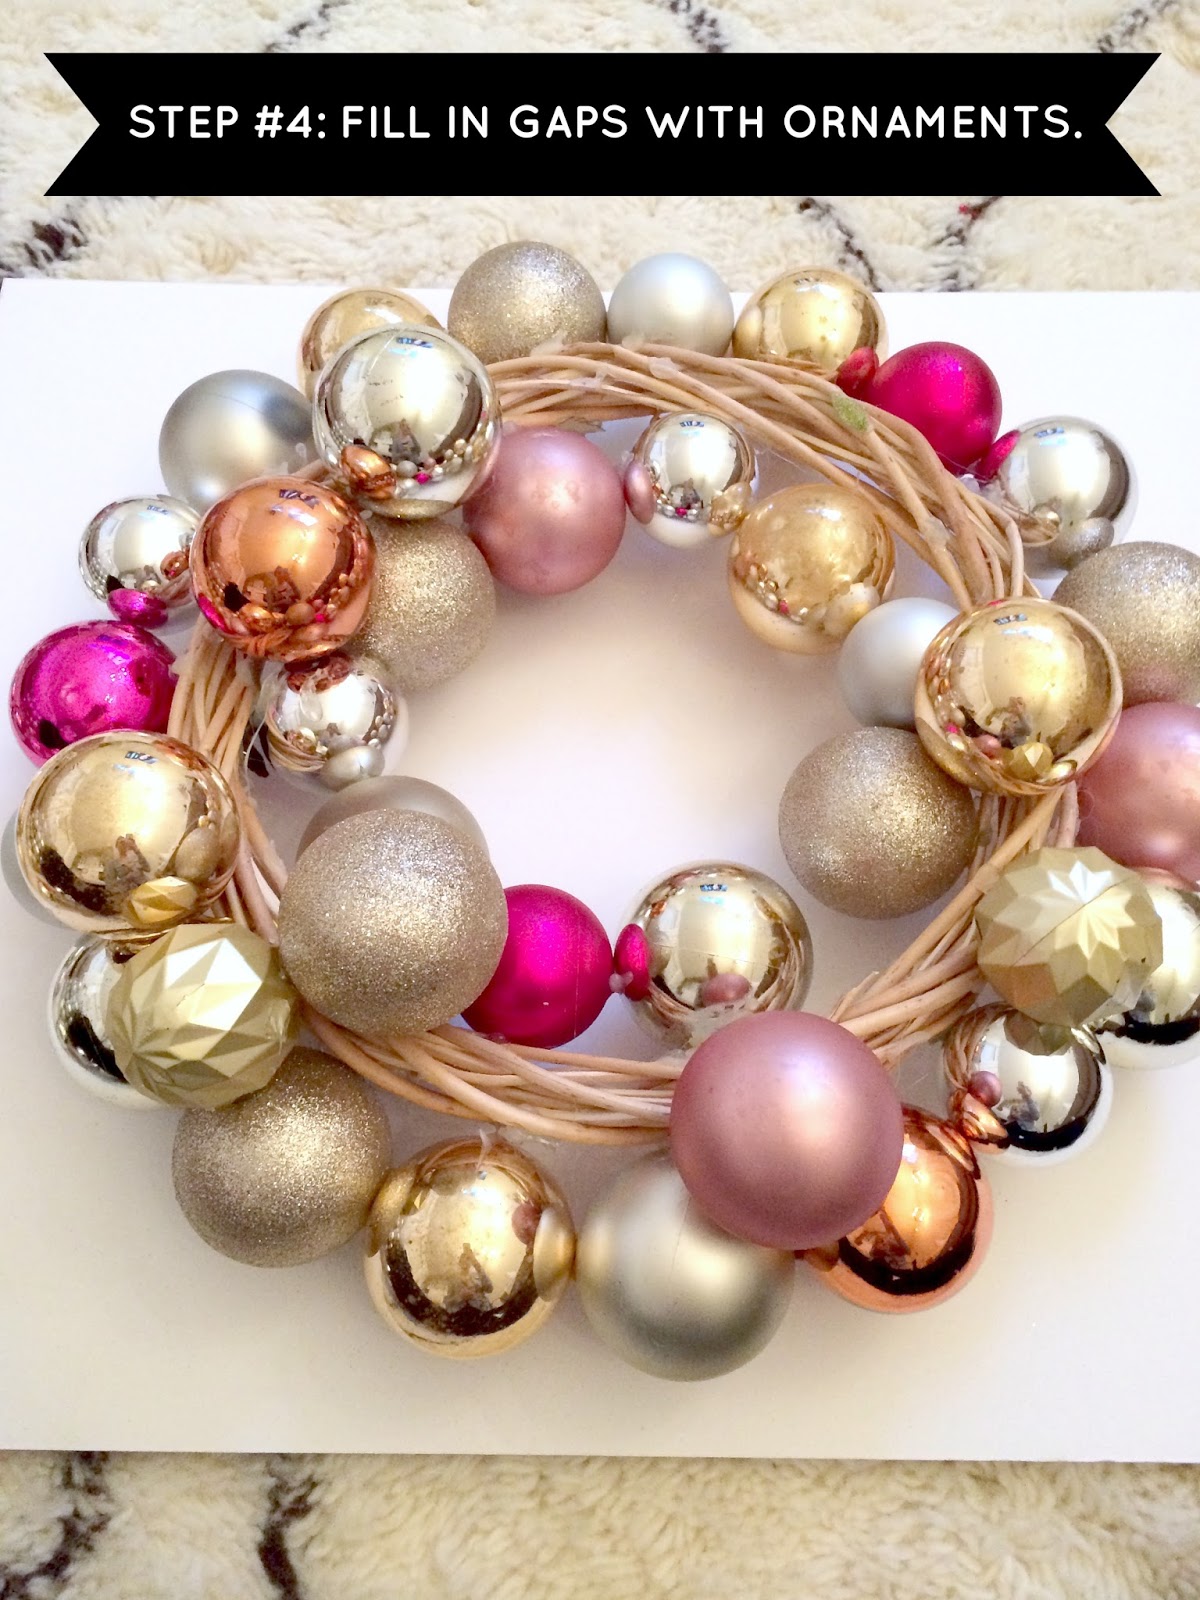
And to answer your biggest FAQ: I found this wreath form at the Dollar Tree, but many of you have informed me that they no longer sell them. But, luckily I've been able to witness you guys use all sorts of other wreath forms with great results (many of you have suggested styrofoam or grapevine wreaths). So, go forth and pick the wreath form of your choice.
I'm just really partial to this wreath form simply because it has a big center opening and I like the way my wreaths turn out when I use it. My ornament wreaths never really survive the year (thanks to the renovations and the constant reshuffling of closets), so I always just disassemble my wreath from the previous year and reuse this wreath form (and usually some of the ornaments).
But, again, most wreath forms work, and usually the bigger the form, the prettier the wreath.
So, once you have your wreath form... Step 1: Hot glue the ornaments around the inside of the wreath, with the tops of the ornaments facing up.


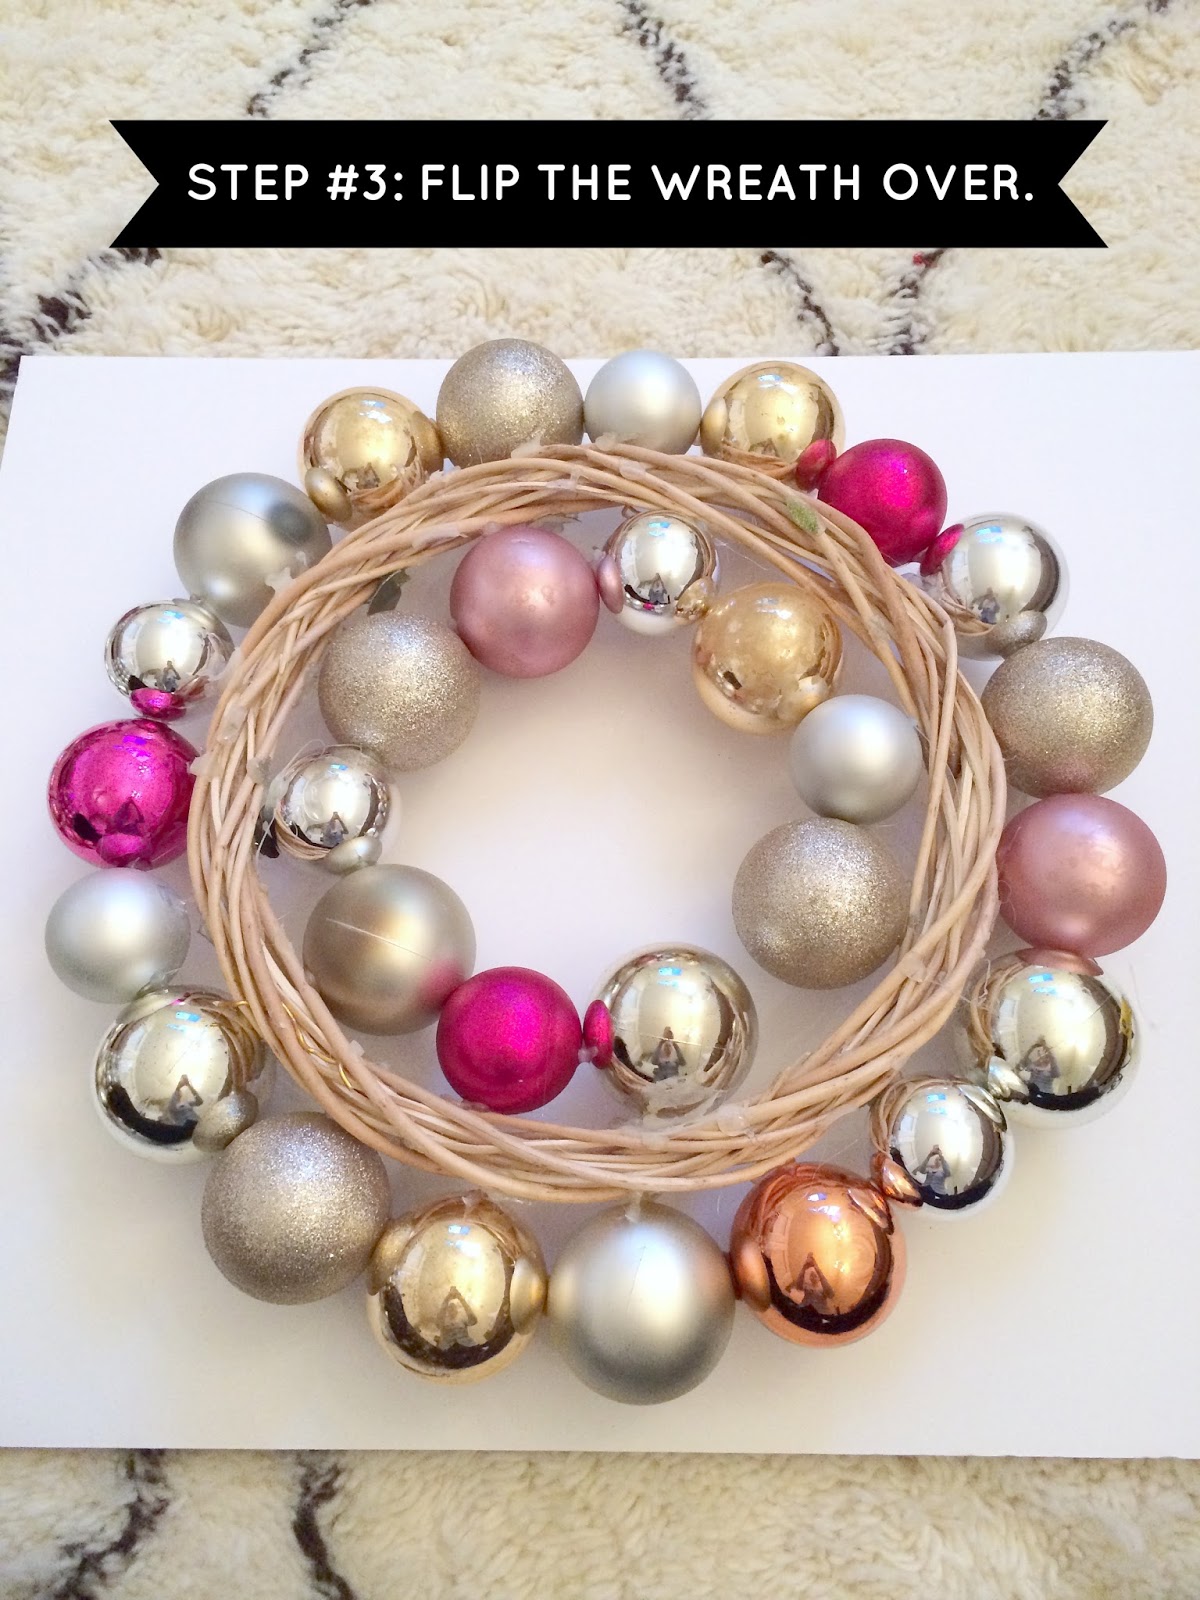
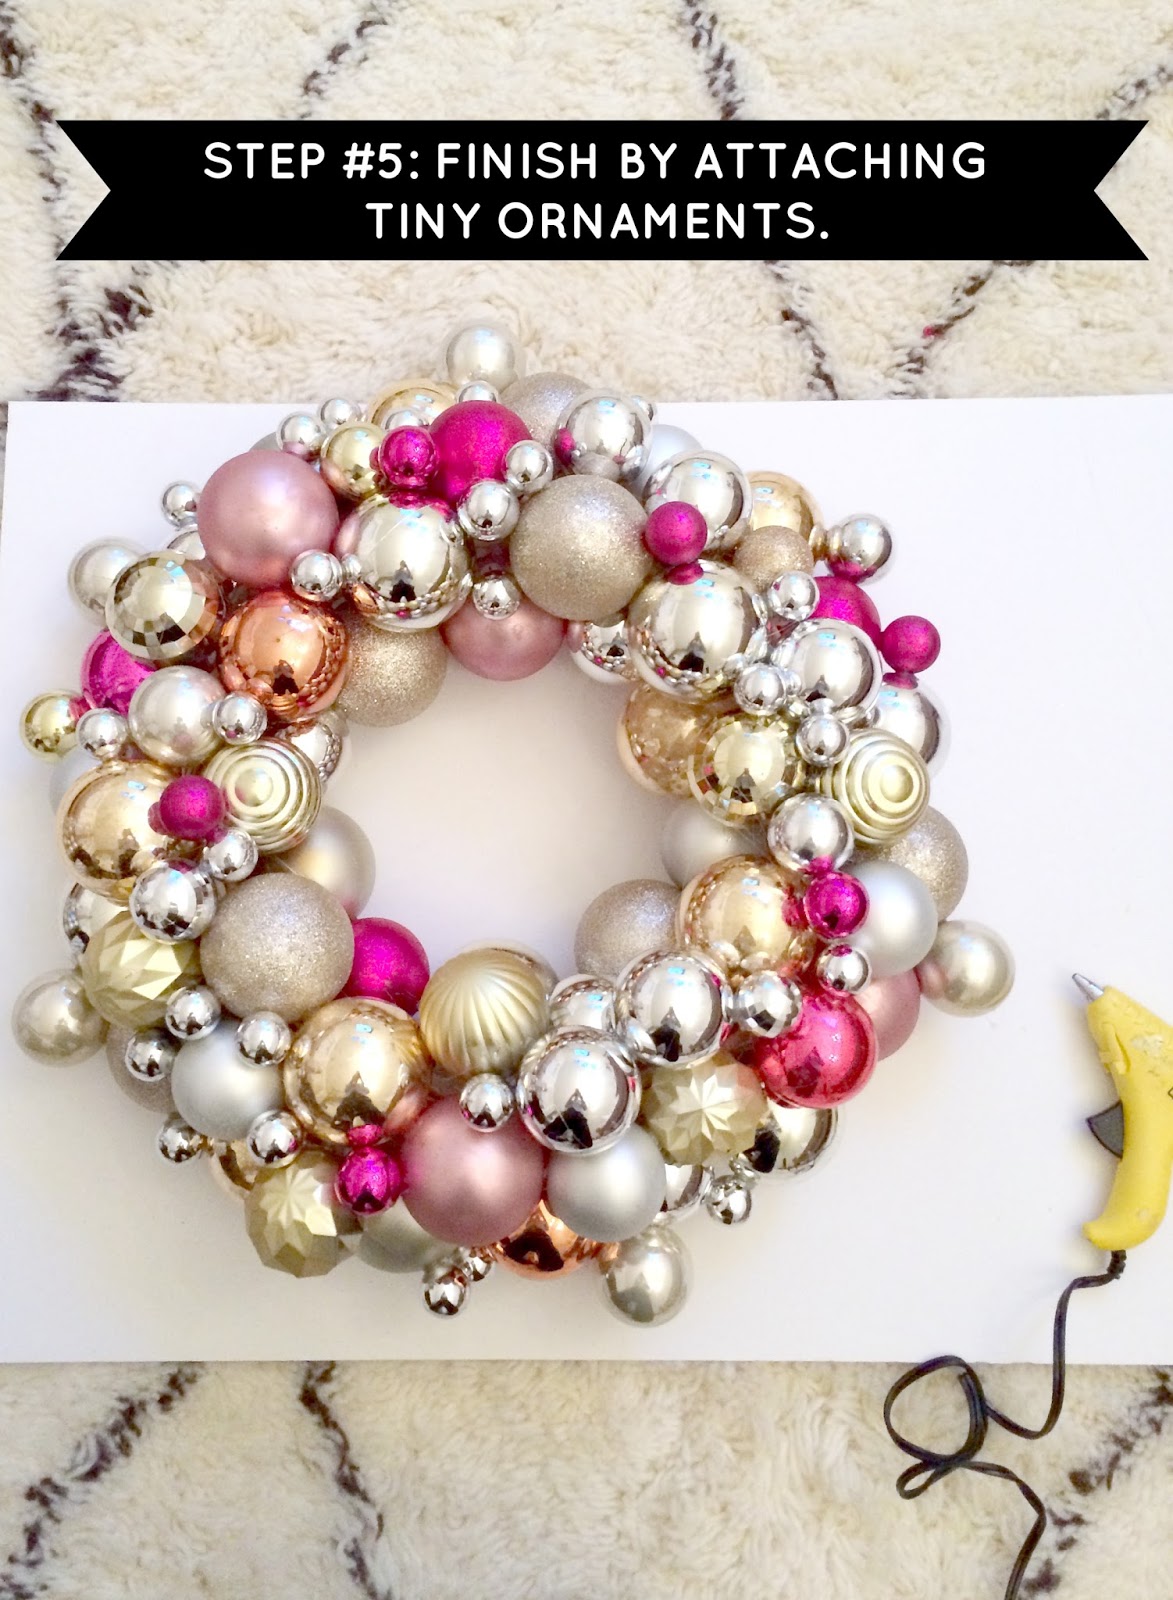
And finally, step 5: Finish filling in any gaps with your smallest ornaments. At the end, I also glue a few small ornaments around the outer edge, which I think makes it look more unique and less like an bulbous donut.

And that's really all there is to it. It's truly so easy and it turns out SO pretty (even if you normally suck at craft projects).

And I know this for a fact because in the past 3 years, you guys have sent me hundreds of ornament wreaths that you've created based off of these tutorials, and I have yet to see one that I don't love. Thank you for continuing to share them with me. It truly blows my mind.
'Til next time. P.S. You can see my previous ornament wreaths here and here, and tons of the reader's wreaths here and here.

Christmas Countdown
Are You Ready for Christmas? Here are a few of my LiveLoveDIY Christmas posts:
DIY Ornament WreathDIY Snowflake Books Magnolia Leaf Wreath DIY Christmas Ornaments


or
Subscribe to LiveLoveDIY with email!
Enter your email address:

//