A HANDMADE MOTHER'S DAY

Mother's Day. What a beautiful way to lift up those female sources of love in our lives.
I was thinking hard on Mother's Day and thought it would be the perfect time to try out an idea I had toyed with for a while.
To make a completely stylish and functional clutch out of place mats from Pier 1. Have you seen the place mats at Pier 1 lately? Those little buggers are right on trend as prints and patterns go. You know, if you're into that sort of thing.
Turns out it isn't so uniquely original, the whole "making a clutch from a place mat idea". Like so many things nowadays it's, well, been done before. But this clutch is all sorts of easy and stylish and inexpensive and most importantly, handmade with lots and lots of love. And I'm thinking it might just make the perfect gift for Mother's Day, or any day really; an easy way to update an outfit as trends change and such, you know, without breaking the bank?

A Stylish DIY Clutch //Made from placemats//
Supplies
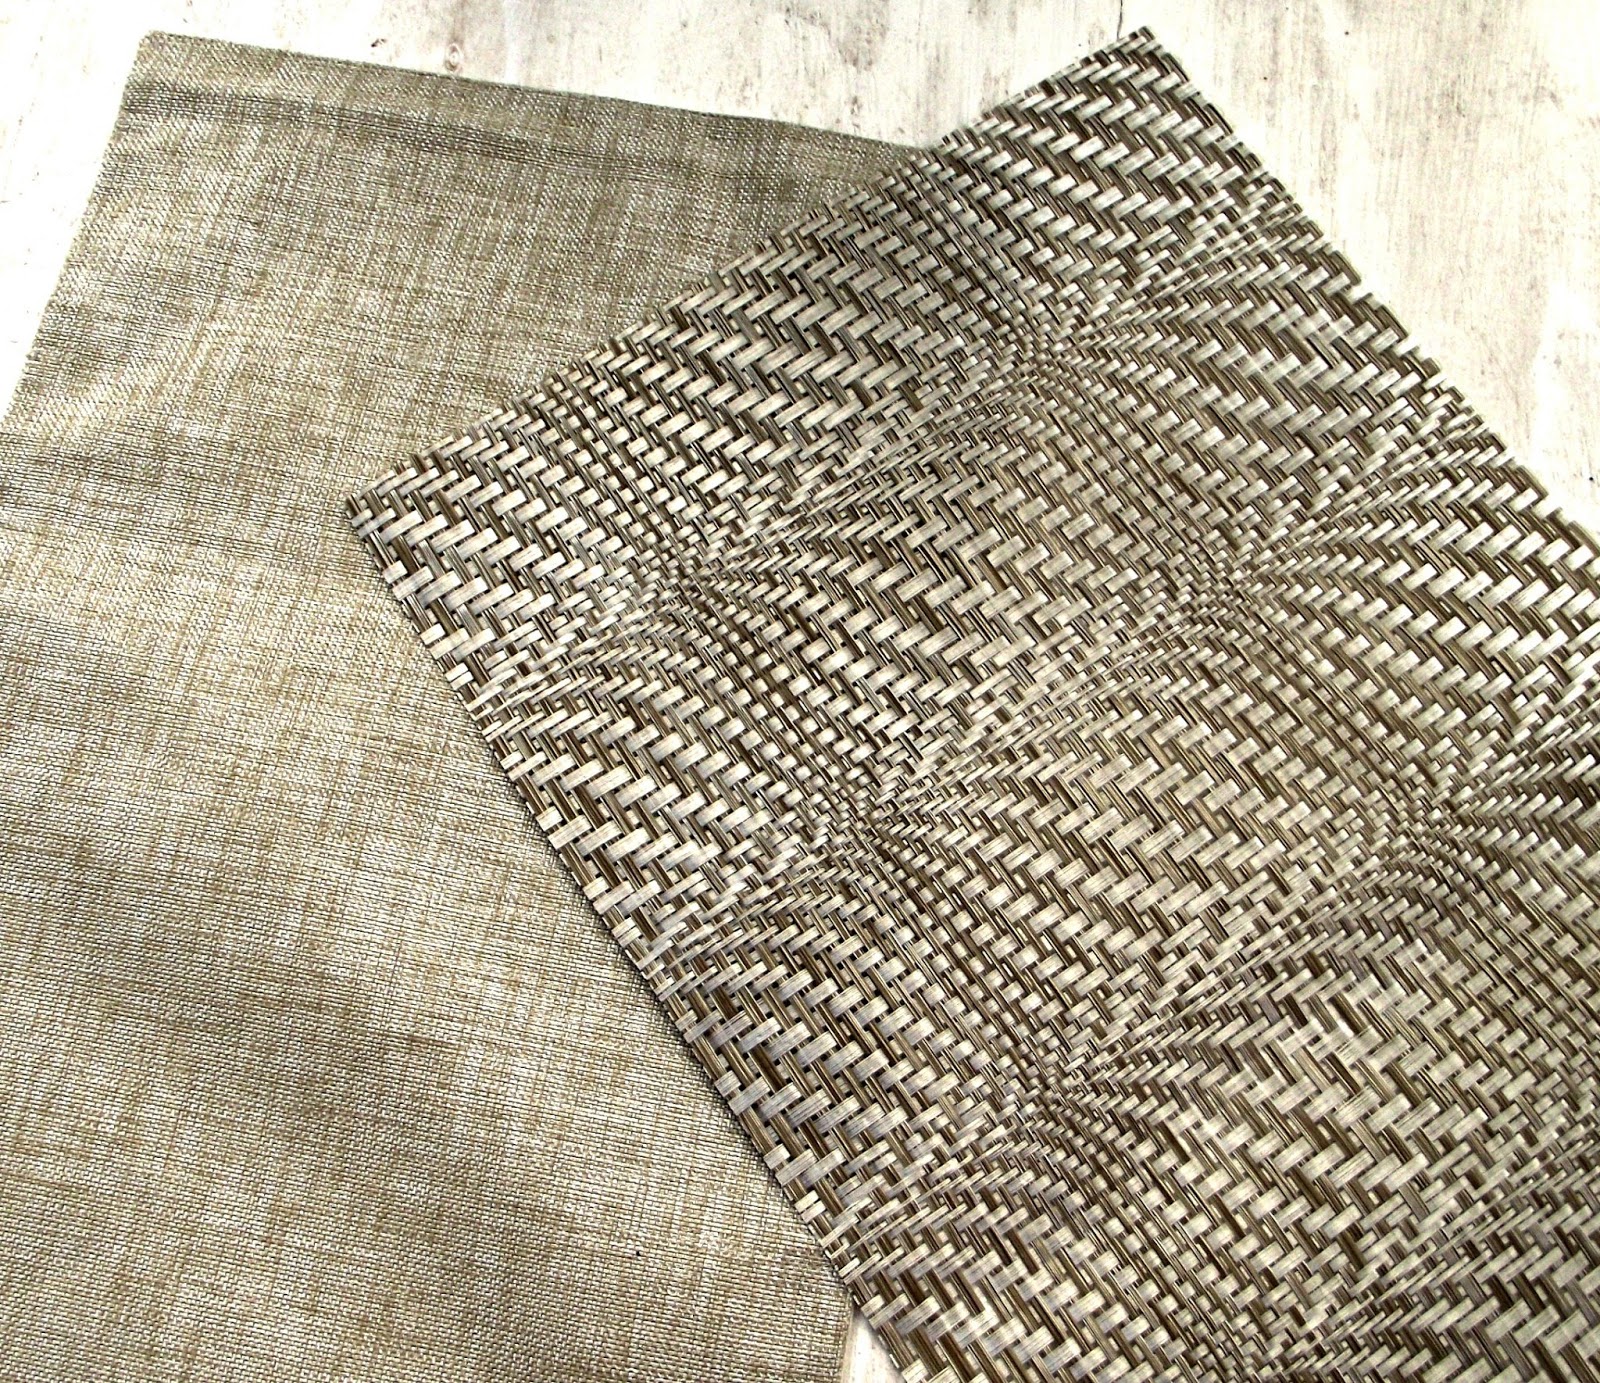
2 rectangular placemats (1 for the exterior and 1 for a liner)
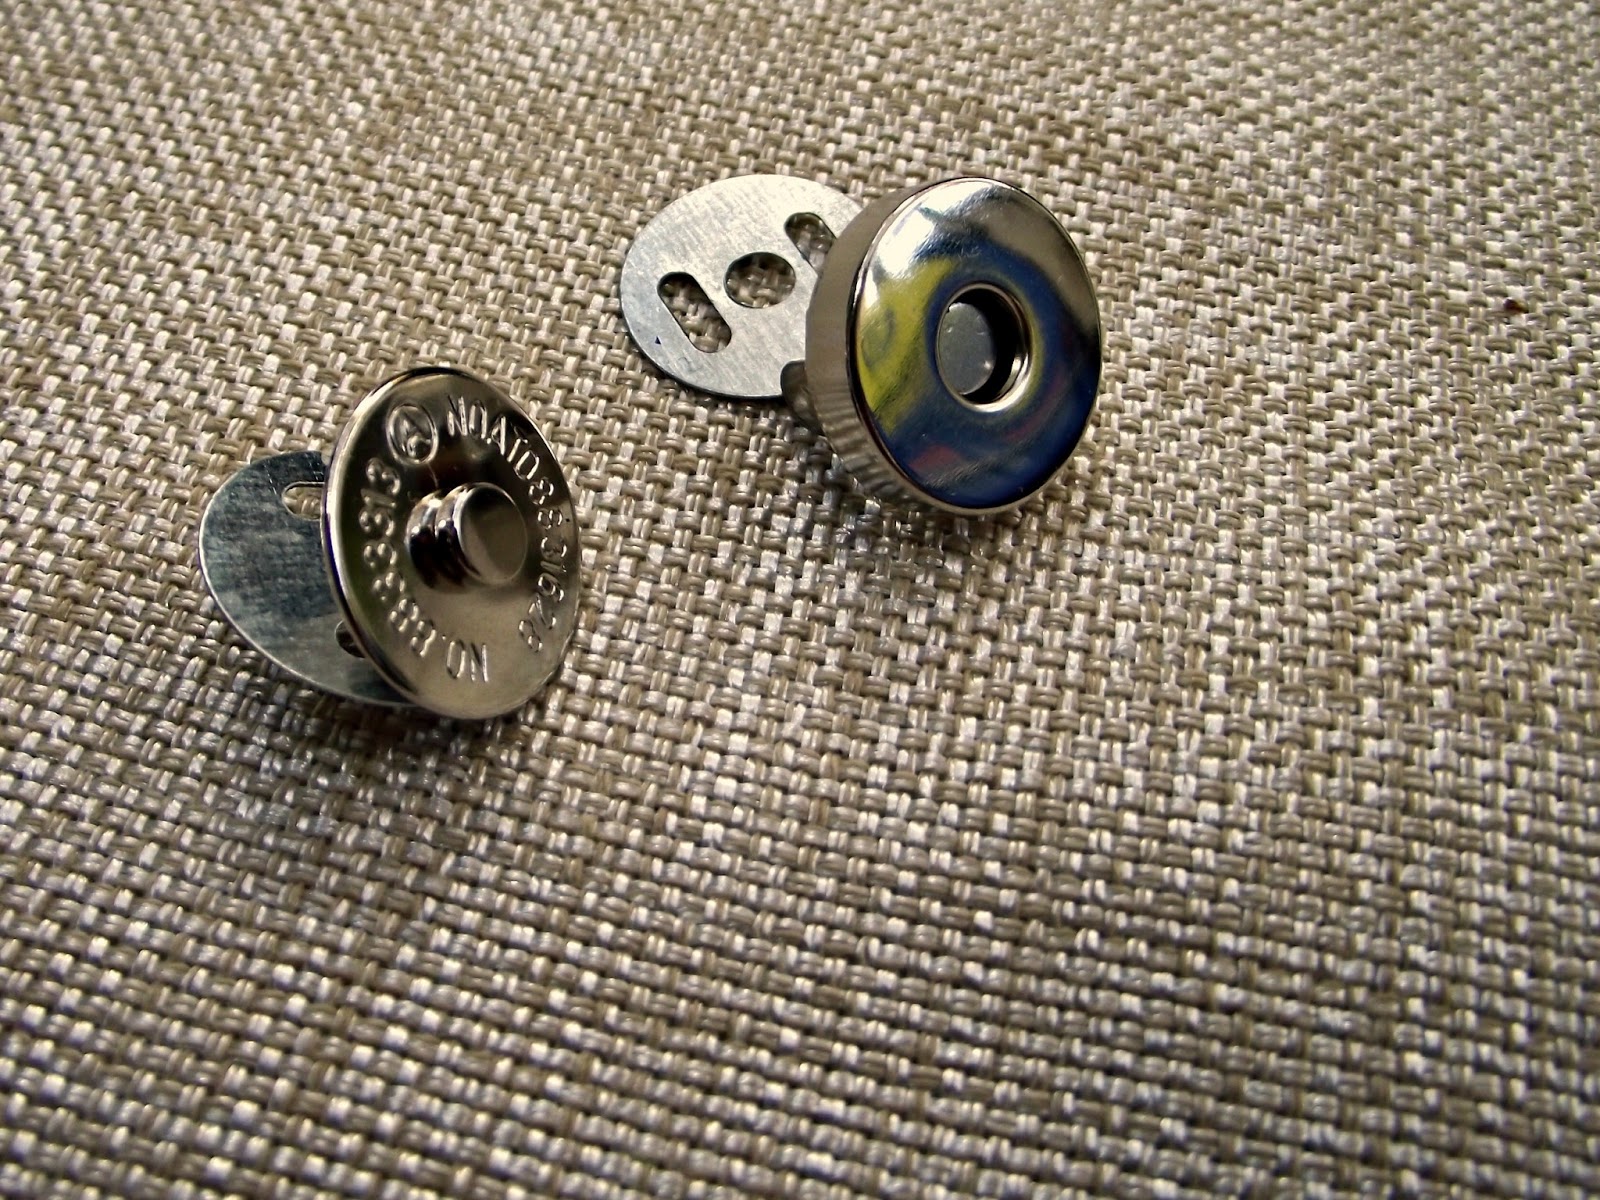
1 magnetic closure set
scissors
sewing machine (or needle and thread or craft glue)

First fold the place mat that will be the exterior of the clutch into thirds, (note: I made my top flap a little shorter than the other two "thirds"). Fold the bottom third up onto the center third, once sewn these two will make the pocket for your clutch. Fold down the top flap. You should already be able to see how your finished clutch will open and close once sewn.

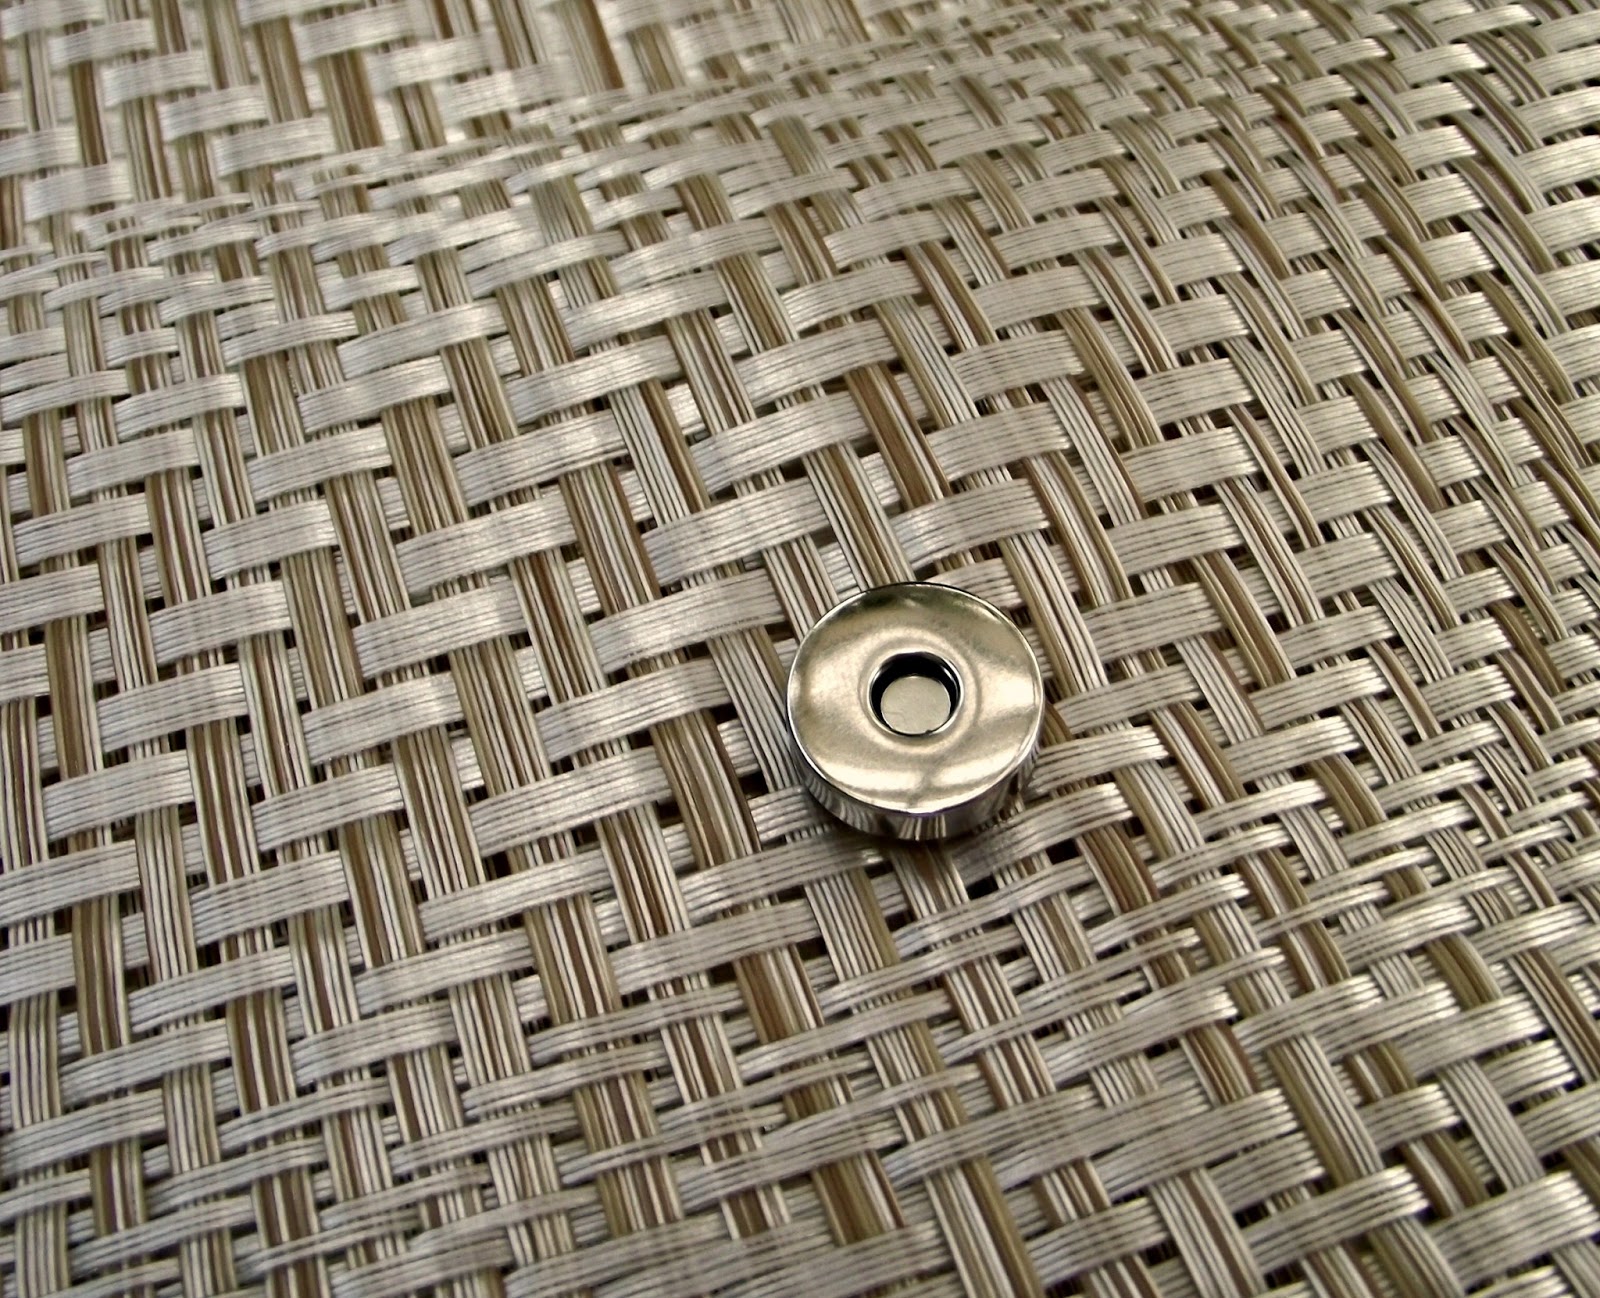
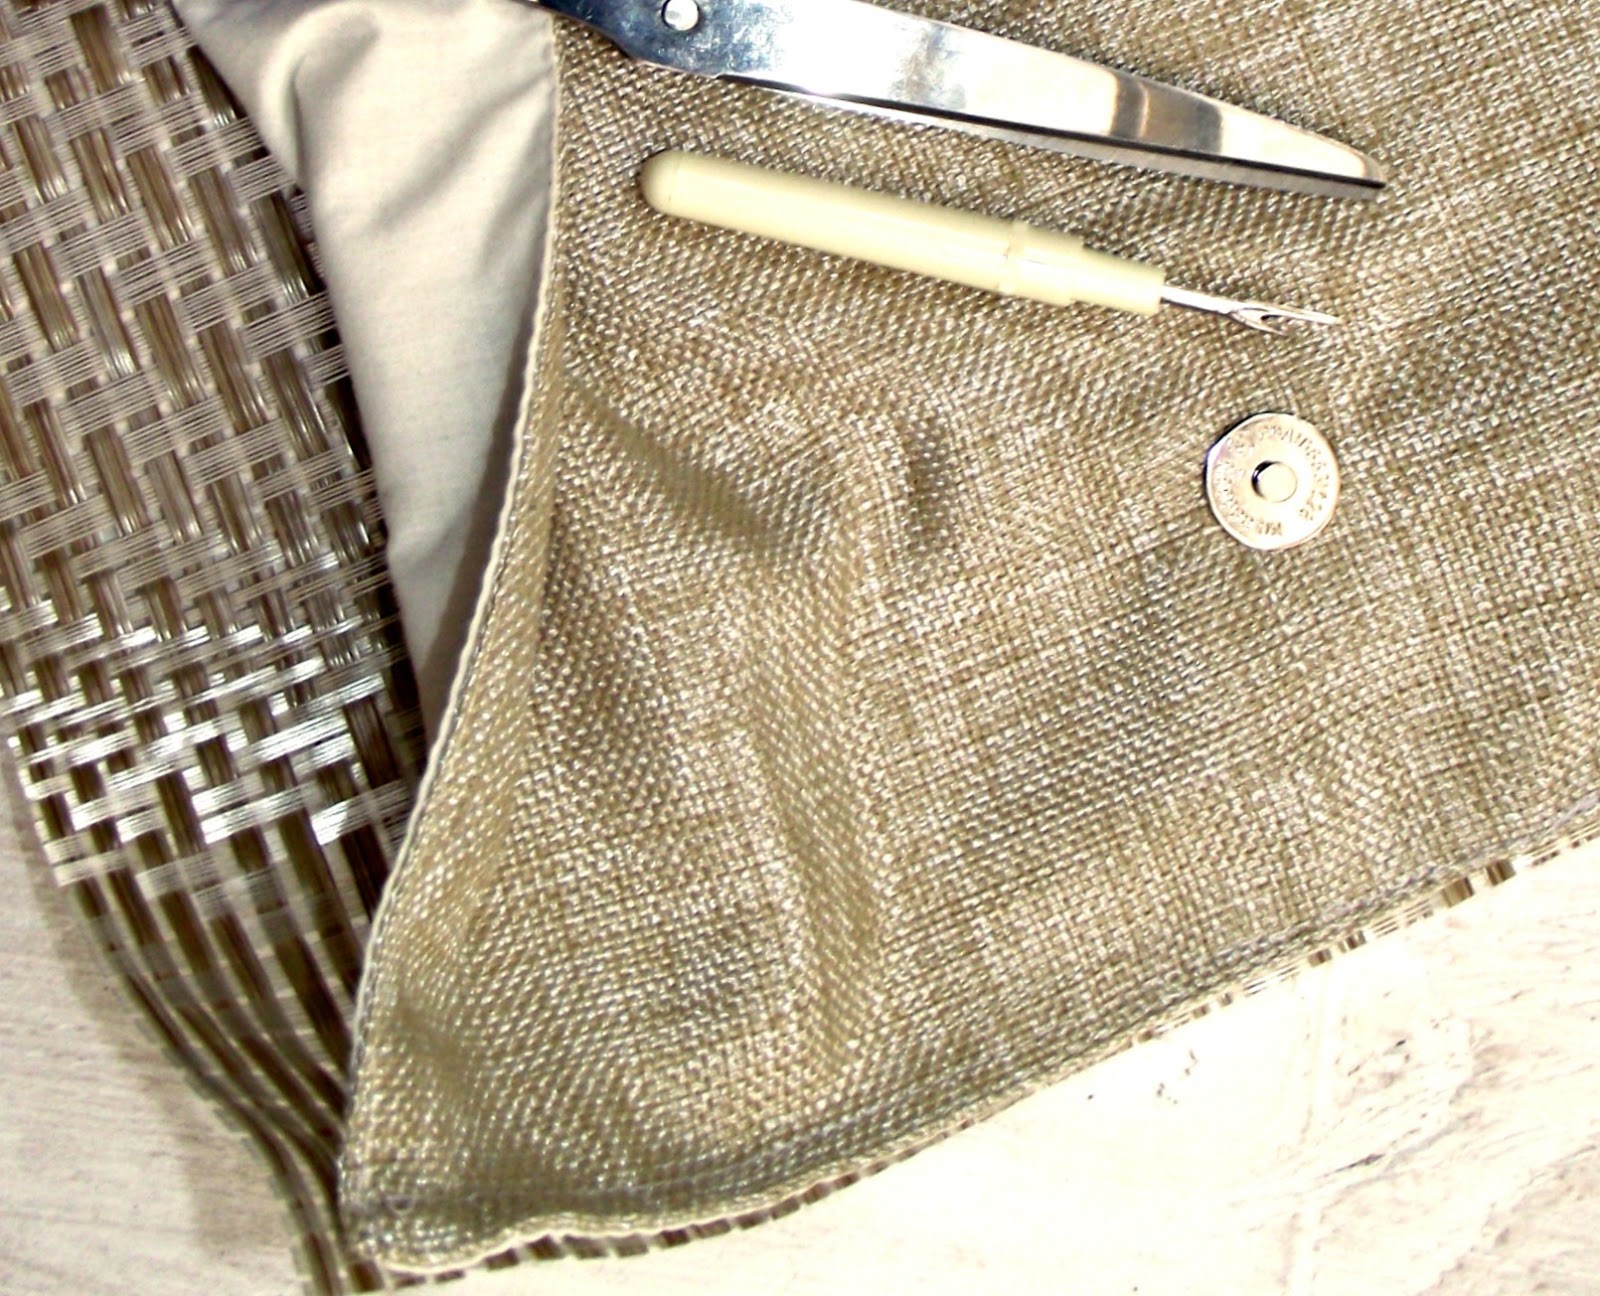
Working from the two sides find the center of the "pocket" and affix the female end of the magnetic closure by pressing the pokey parts through the fabric, (you can use scissors to cut small slits on heavier fabric or to protect more delicate fabric). Slip the washer on from the back side and press the "pokey parts" flat to secure.

Lay the liner fabric against the exterior fabric and sew the liner place in place on three of the four sides, leaving one side open.
I like using two finished place mats as they are already sewn on the edges and have a more tailored look and added weight to the clutch once done, you could of course use any fabric to line your clutch.

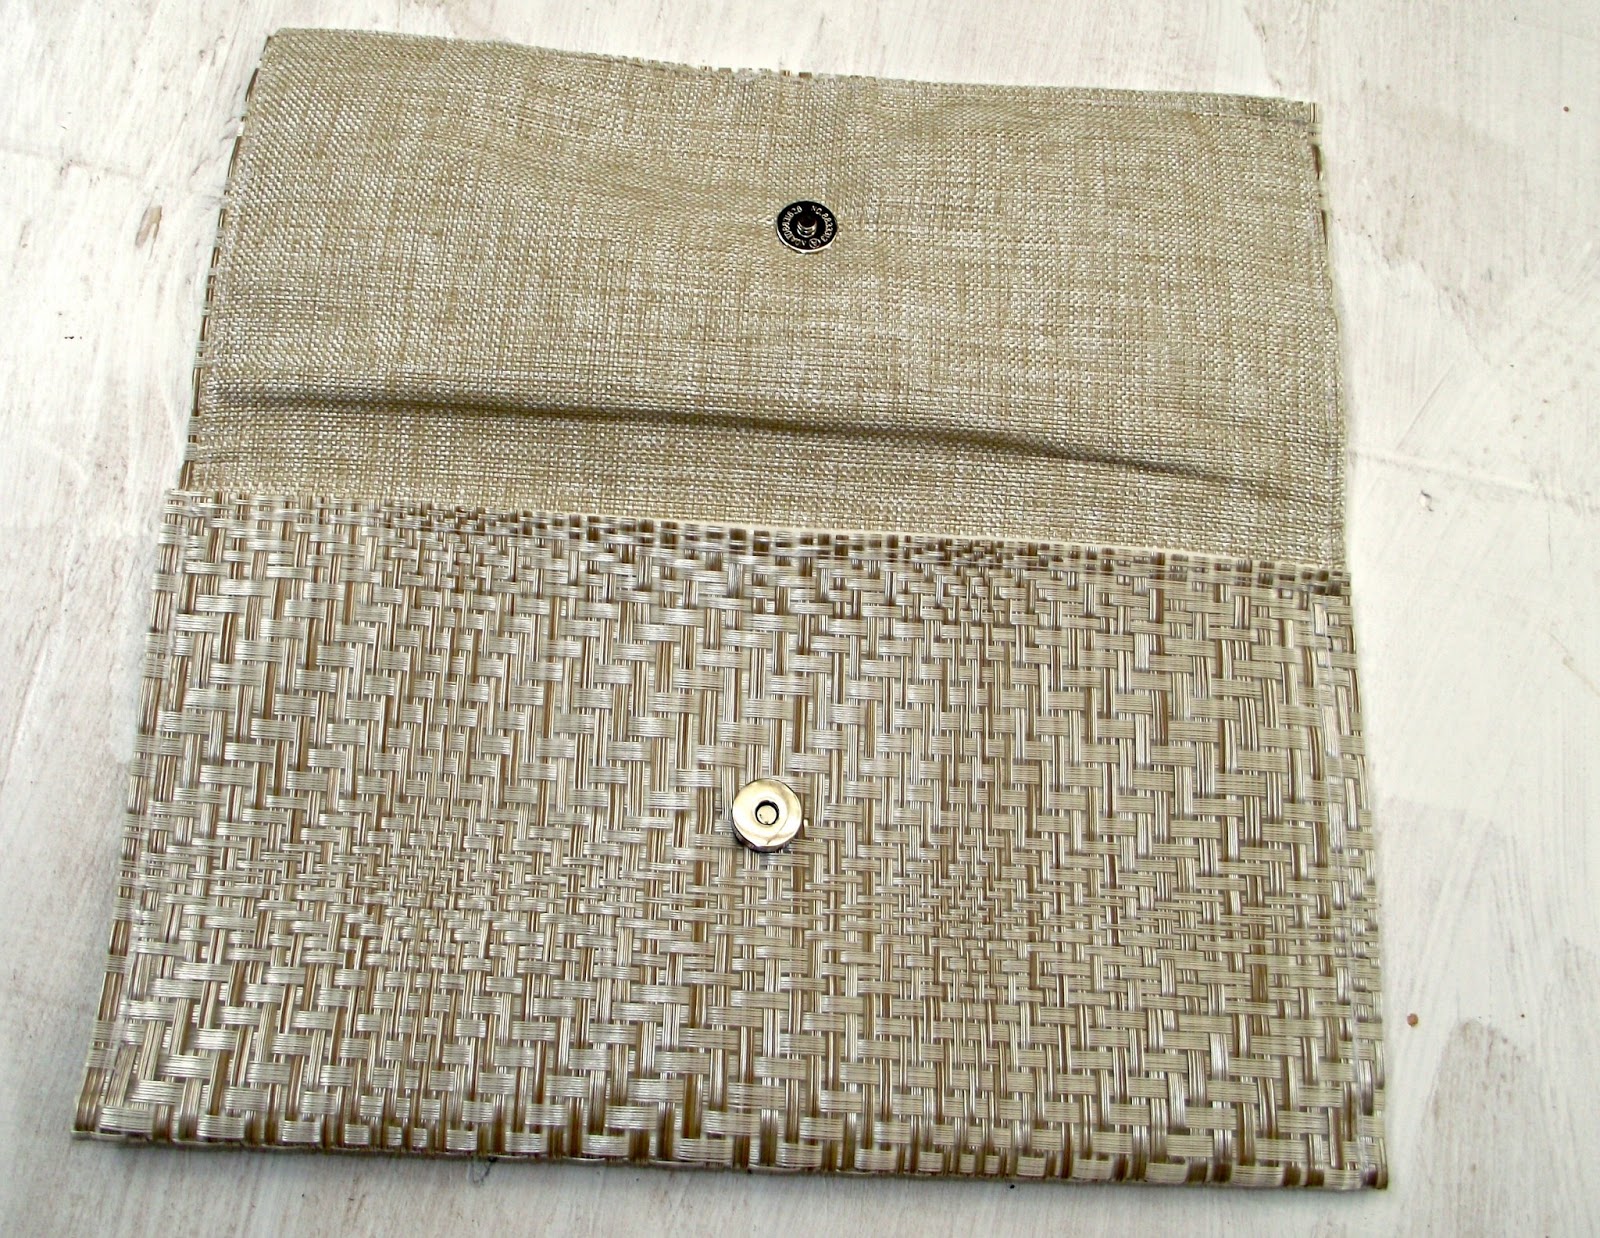
Fold the top flap of your clutch over to get a sense of where you'll need to place the male part of the magnetic closure. This part is pretty critical as you'll want the two parts to meet in the center of each flap. (You may want to fold the clutch closed and press firmly with your hand or a warm iron to mark the spot.)
Affix the male part of the closure following as the female part and then stitch the last side of the two place mats together.

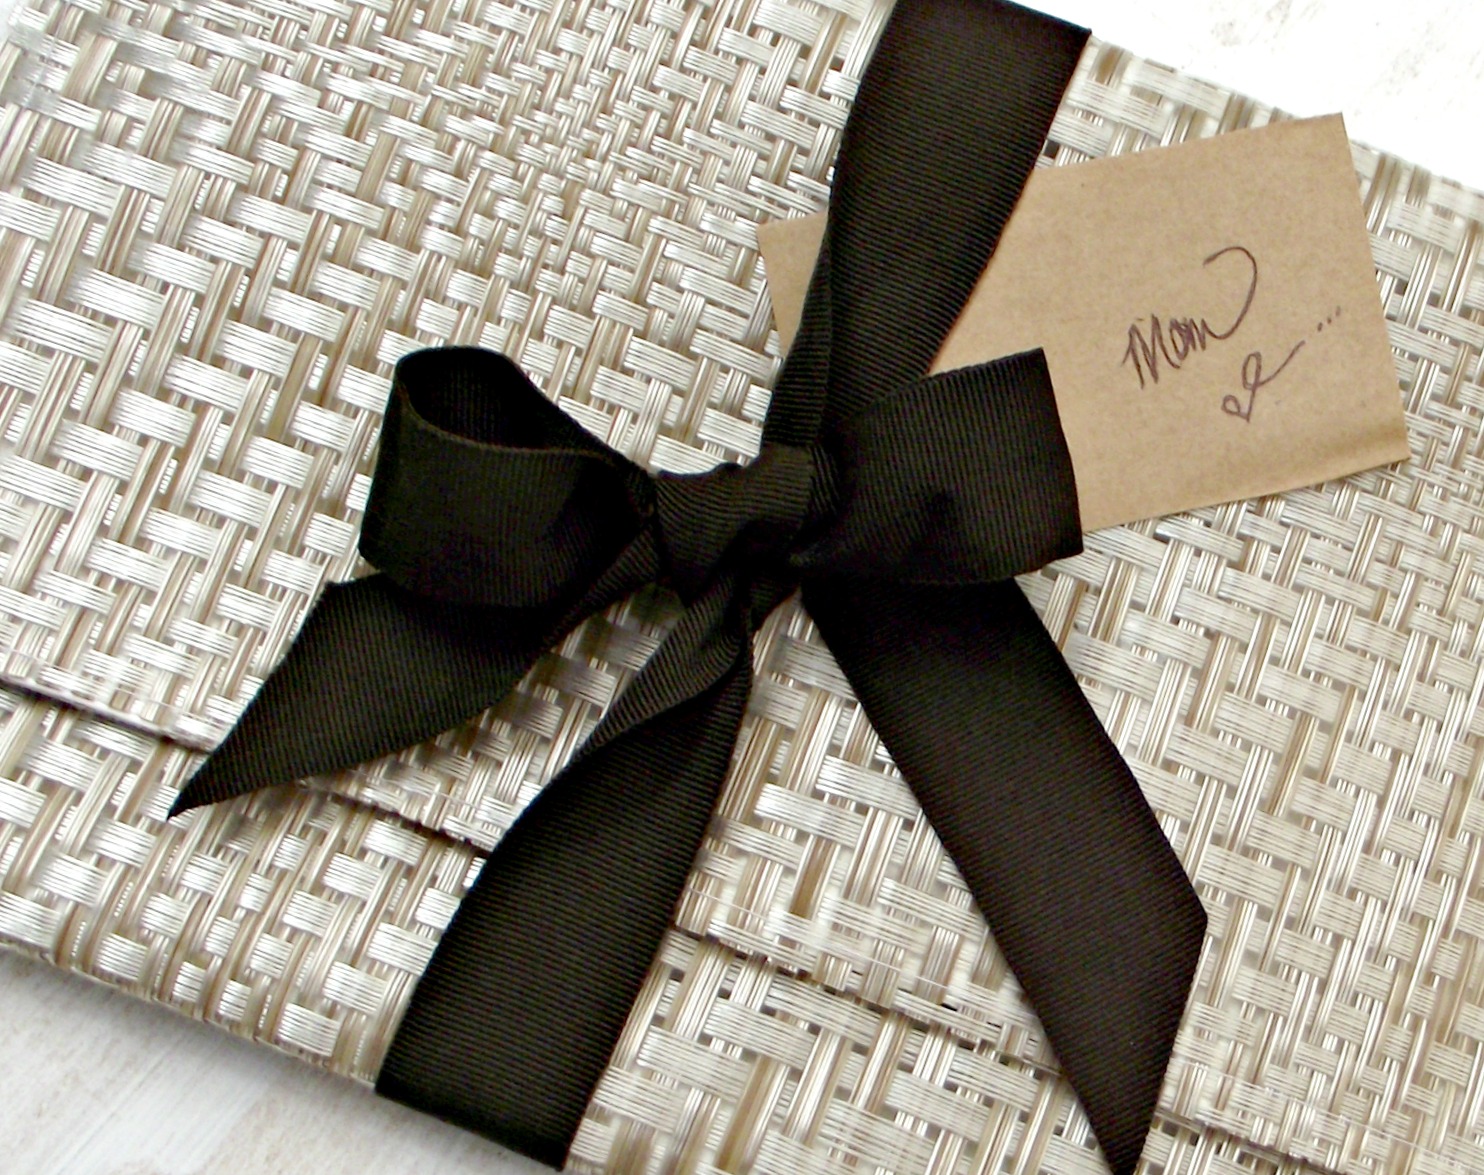
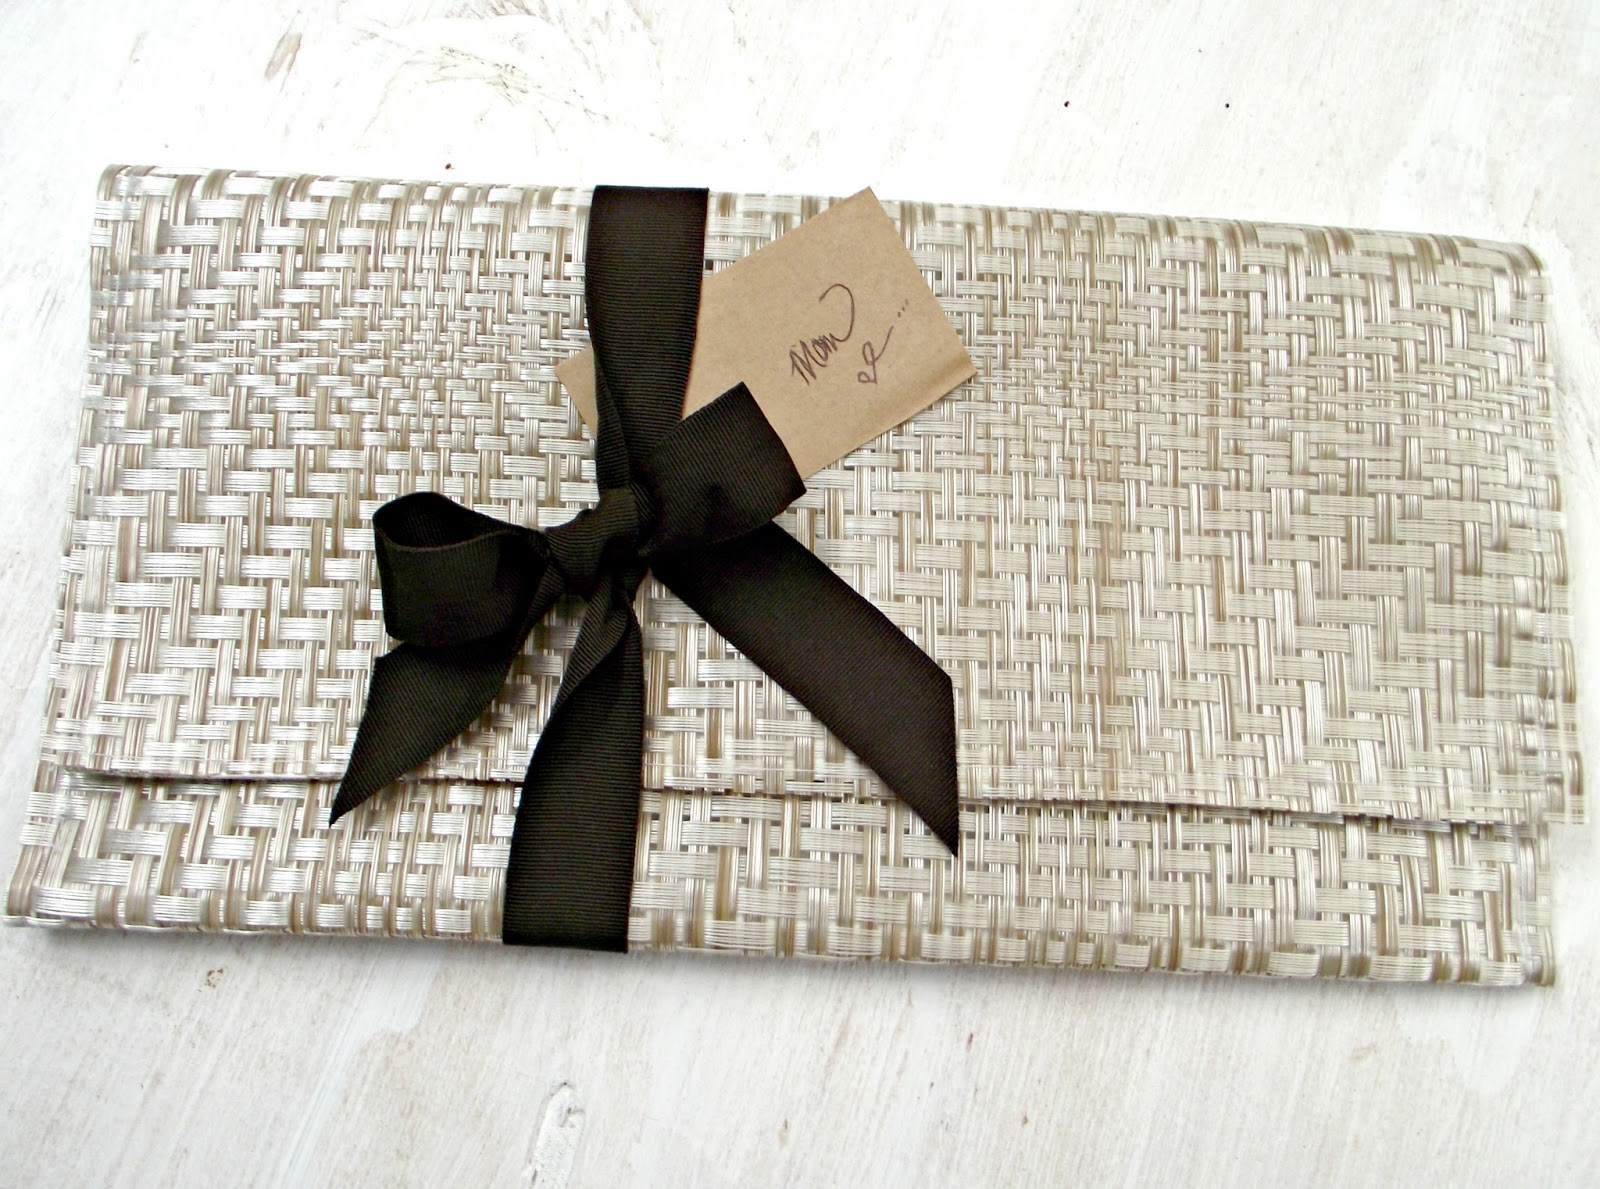
Finally fold the bottom part up against the middle to form a pocket and stitch along each side to secure. And... ta da.

Like a well spun tale, this clutch is ripe for all sorts of embellishment. I'm thinking I may find just the right shell to affix to it, or maybe just a little fringe in the form of a tassel, before sending it off in the mail, stuffed with all our aloha.
What are your plans for Mother's Day this year?
I'm hoping these boys of mine will pick a few of those big gardenias blooming right outside our front door, stick them in a mason jar, do a big little whoop dee do about the whole thing and then join me for a good long drive along the Maui coast this Sunday morning. I'm thinking there just might not be any sweeter way to spend the day, you know?
Be Well. Live Sweet, n
A helpful bit on attaching those magnetic closures, here.
More posts from