DIY Custom Chair Seat Covers with A Vintage TableclothTablecloth


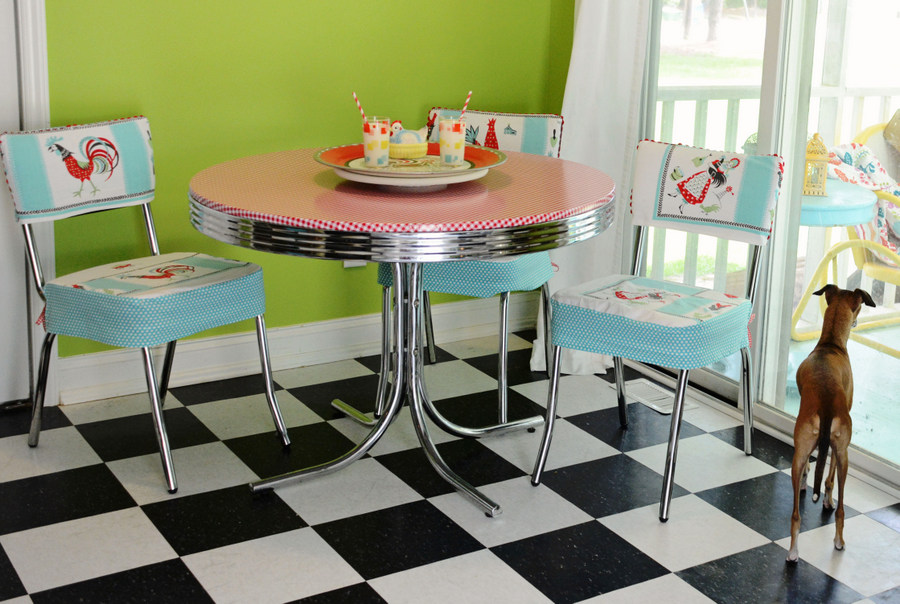
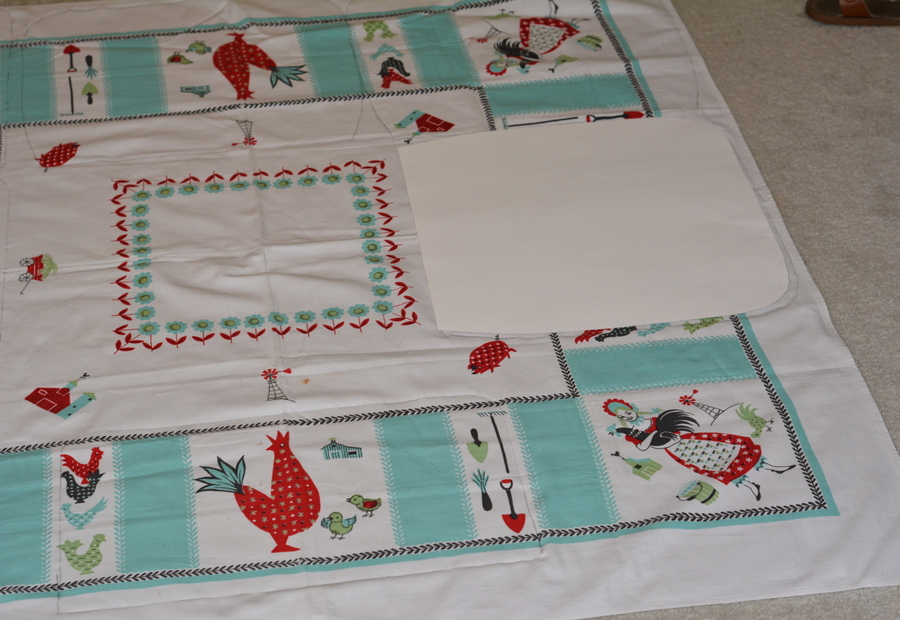
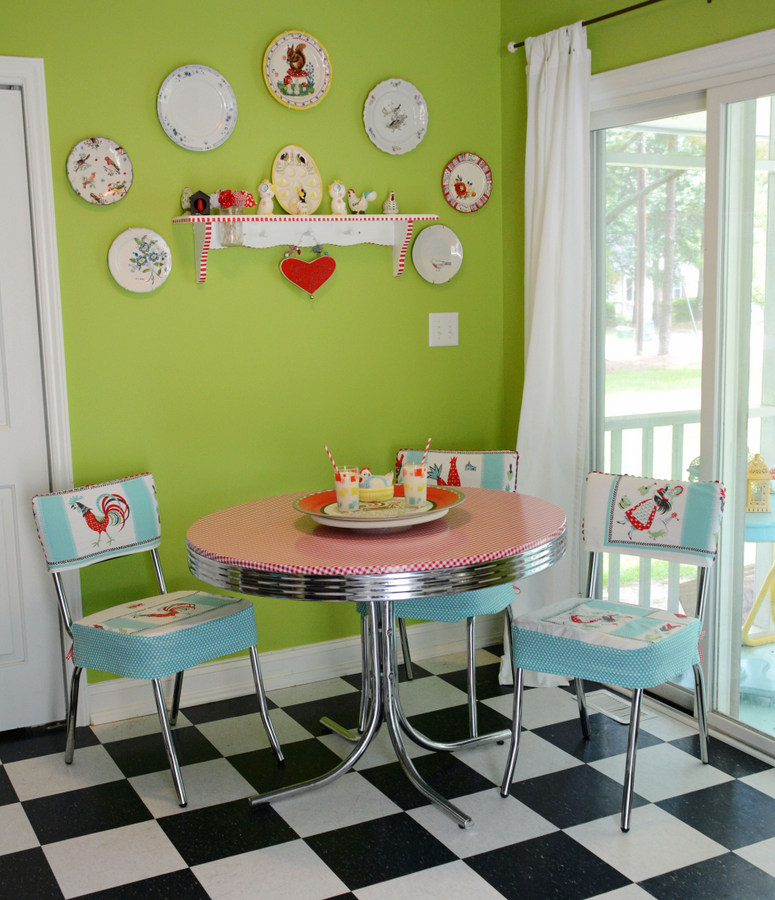
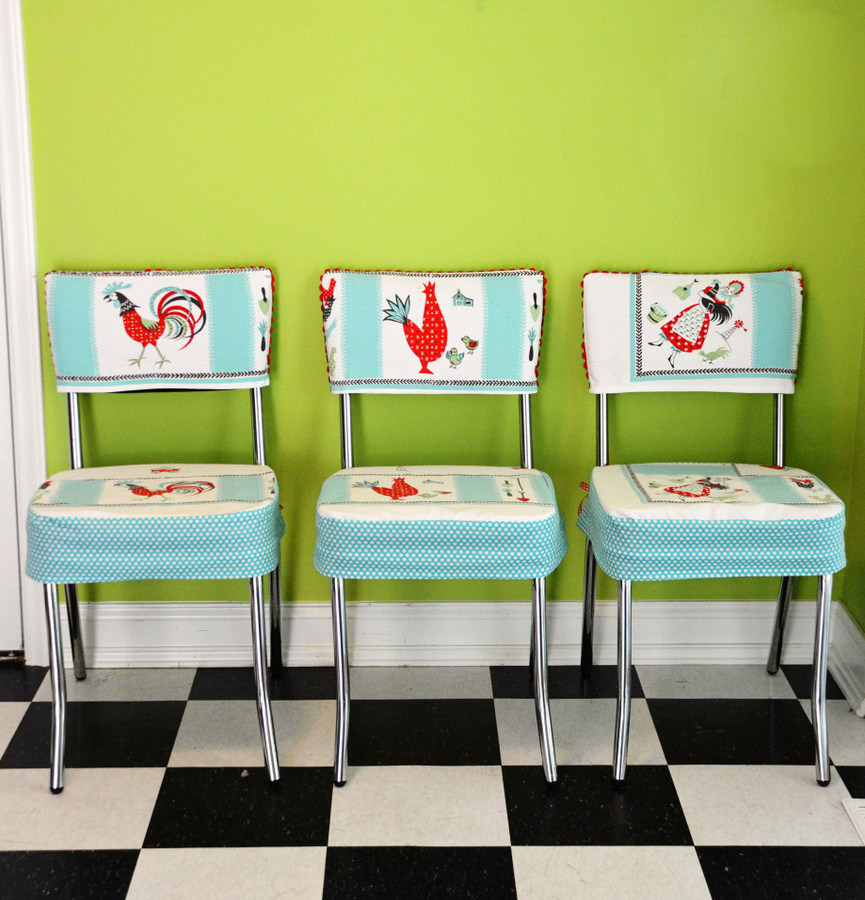
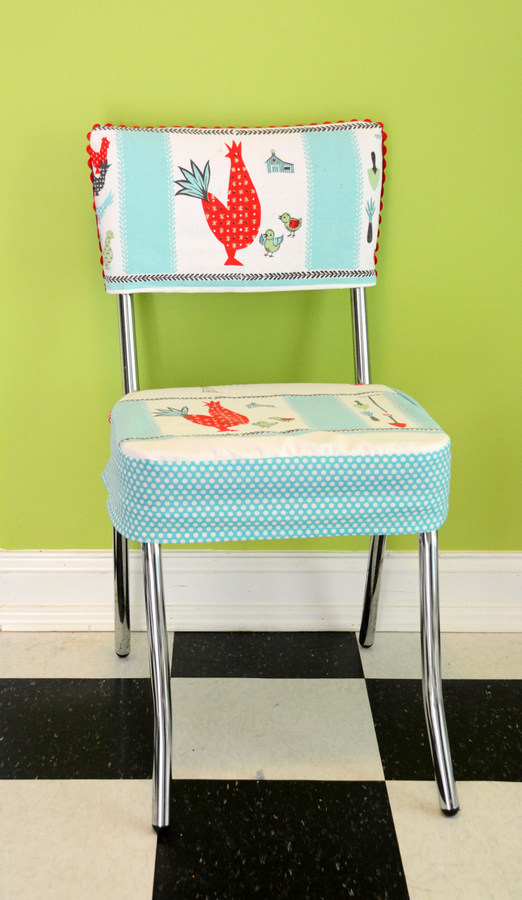
Last week I shared how I updated my diner style kitchen table by covering it with oilcloth fabric. We have had the table and chair set for years and it is one of my favorite pieces of furniture as it was the first real piece of furniture we bought as a couple. Just as the dining table was looking a bit worse for wear, the chairs that went with it were not in great condition anymore either. There are lots of little scratches and puncture holes from the kitties. Instead of upholstering them I decided to make some simple slip covers to jazz them up a little.
Here’s What You Need:
*Vintage Tablecloth or Upholstery Weight Fabric
*Accent Fabric (canvas, linen, denim, twill, etc)
*Ribbon
*Sewing Machine and Thread
*Poster Board
*Marking Pen
*Scissors
Instructions:


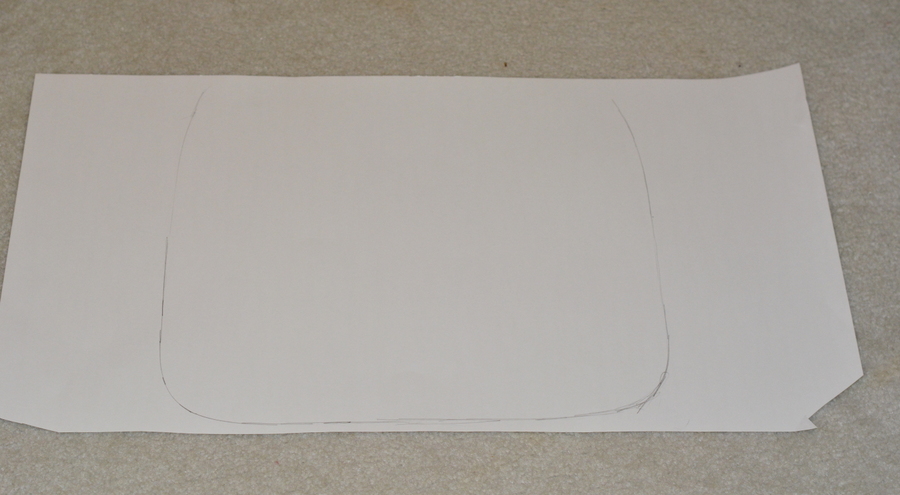
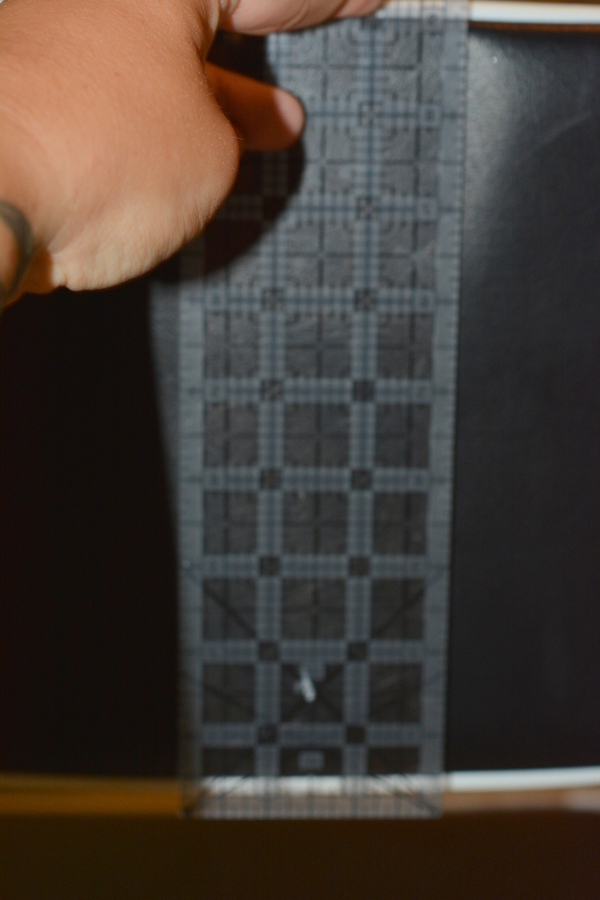
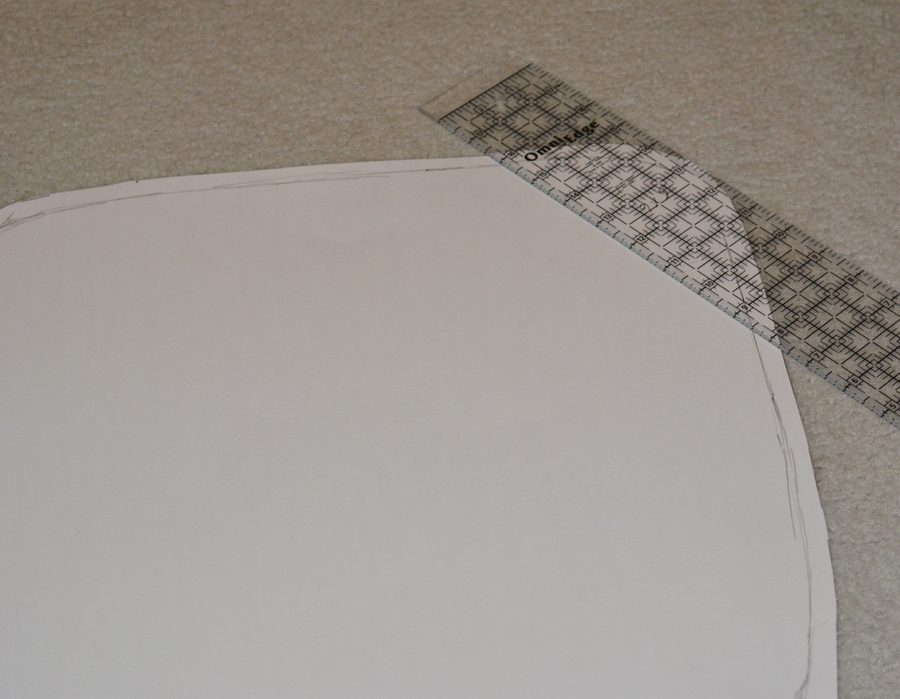
First you want to draft your pattern. Place a piece of poster board on your chair cushion or top. Get a friend to hold it in place while you trace the seat from underneath with a pencil.


For the top of my seat I made a rectangle the width plus about an inch extra for ease by the length. Then I held up the rectangle piece to my chair back and traced the curve at the top.

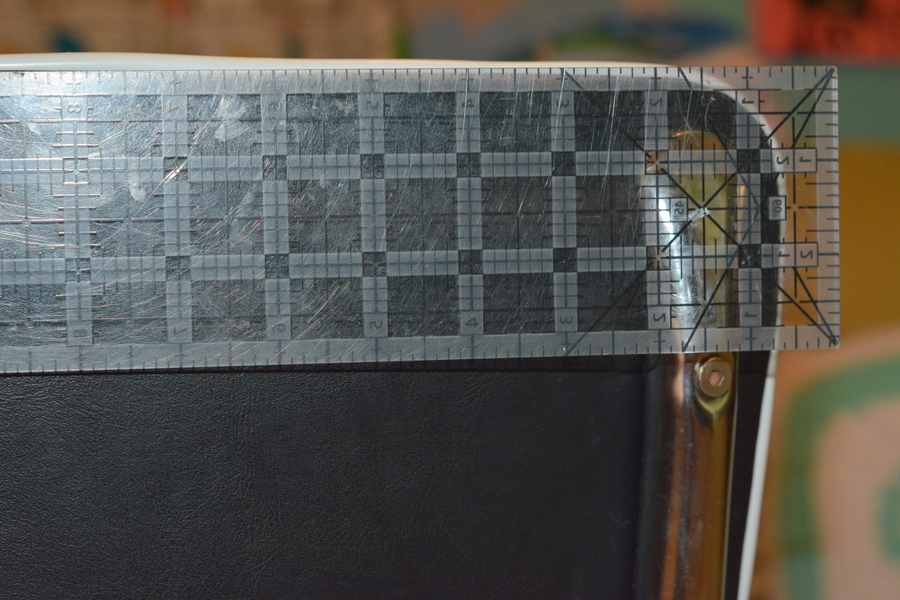
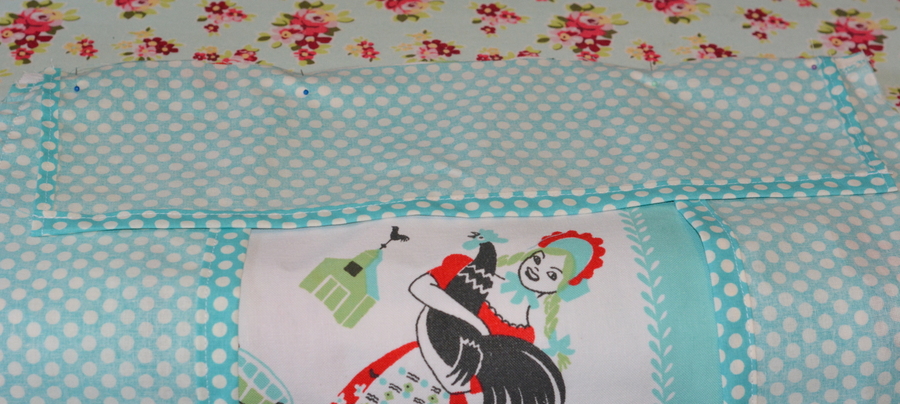
Once you trace and draft your patterns make sure to add seam allowance. Add 1/2″ seam allowance all the way around the seat pattern. Add 1/2″ around the sides and top of the back pattern and then add an inch and a quarter for hemming the bottom. You will also want to cut a skirt for the seat skirt. Measure from the top of the cushion down and decide how long you want your skirt. I made mine 5″ tall. You will need two parts to your skirt. One piece will go around the front and sides of the seat, the other will be a flap for the back of the seat. So, measure your perimeter of your cushion pattern piece from one side to the other starting at the back right corner and going around to the back left corner. So if my parameter minus the back was 68″, I would make my front skirt pattern to be 5″ tall plus an inch for hemming, so 6″ tall by 68″ wide plus an inch for hemming the sides(69×6.) Then cut a back piece to be the same height by the width of the back plus an inch for hemming (18×6.)

Cut out your pattern pieces. You will need one seat cover piece for each chair. You will need two back of chair pattern pieces for each chair, and you will need one skirt piece and one back skirt piece for each chair.

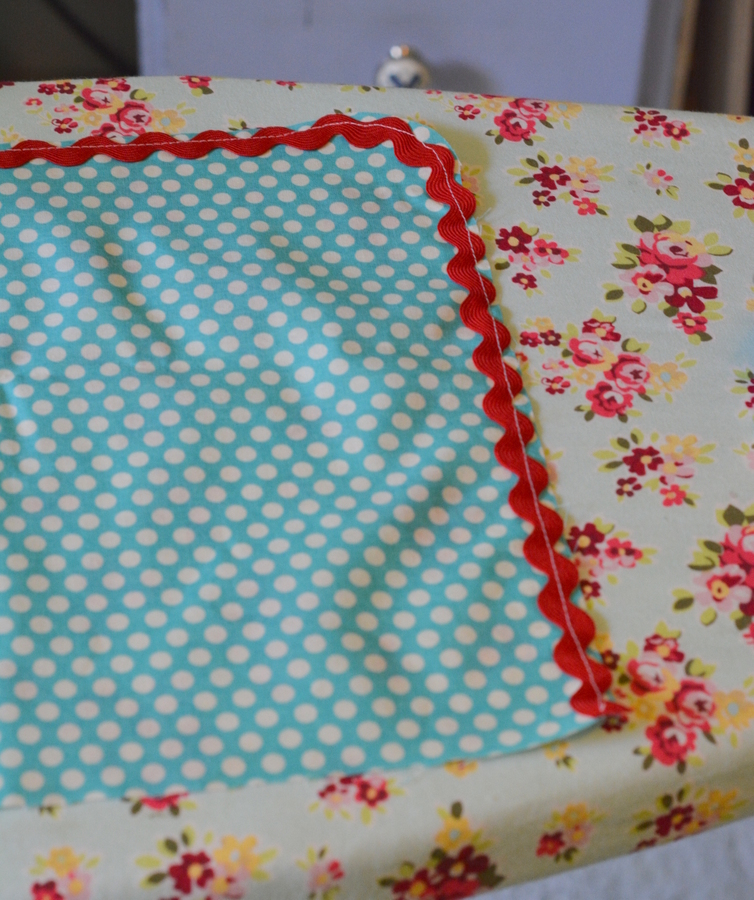
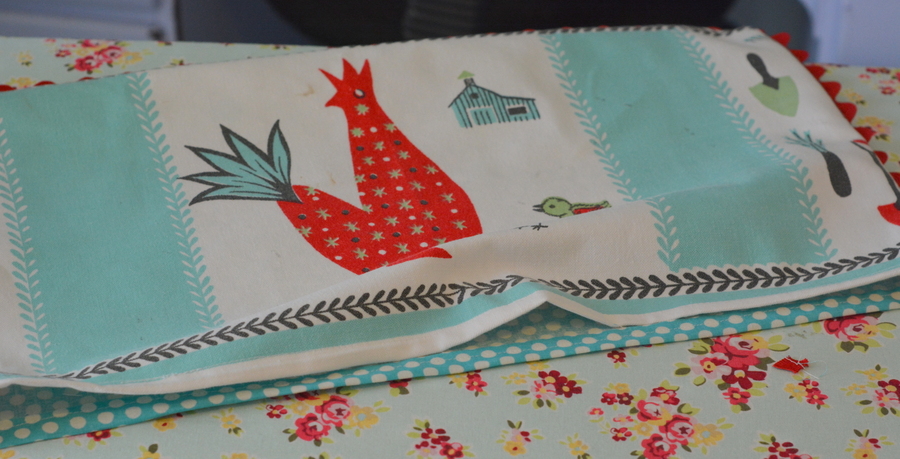
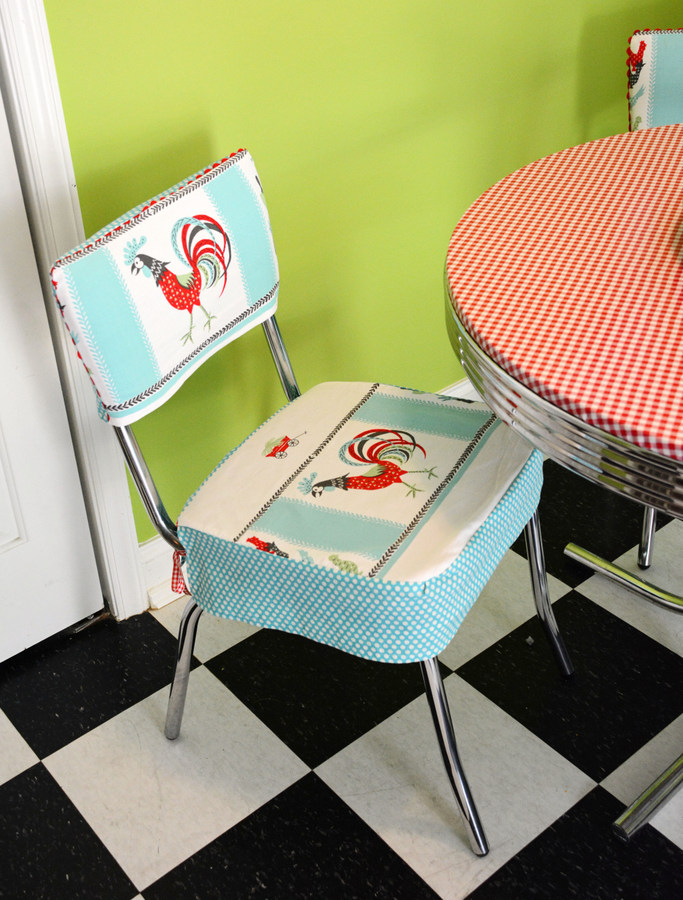
If you want to add trim to your chair back cover, now is the time. Baste your trim to the front side of one piece all around the edge with a quarter inch seam allowance. Make sure if you are using a directional trim, like ball frings, you point the bottom of the trim towards the inside.


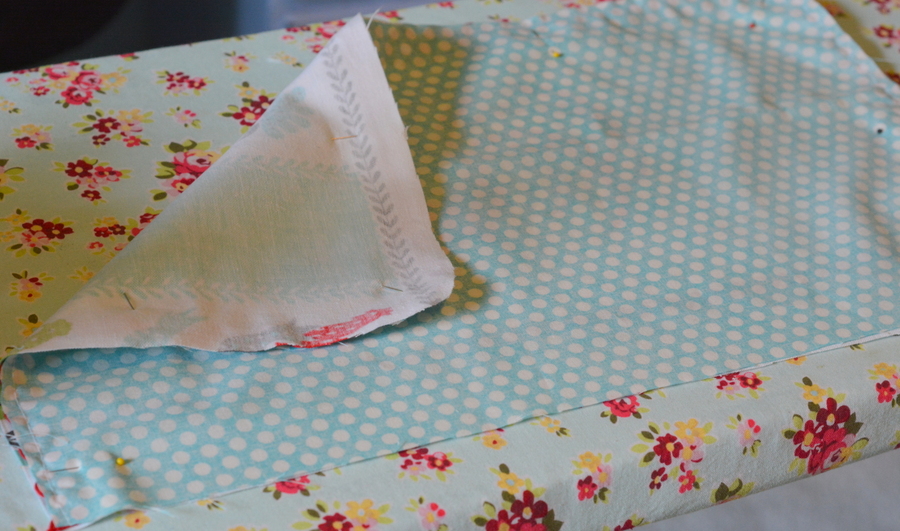
Pin the back and front of the chair back cover pieces together right sides together. Stitch around the sides and top with a half inch seam allowance. Leave the bottom open. Turn under the raw edge by about a quarter inch and press. Then turn under again by about a little over a half inch. Stitch close to the edge to hem. Now your chair back is done. You can add trim to the bottom now too if you like.


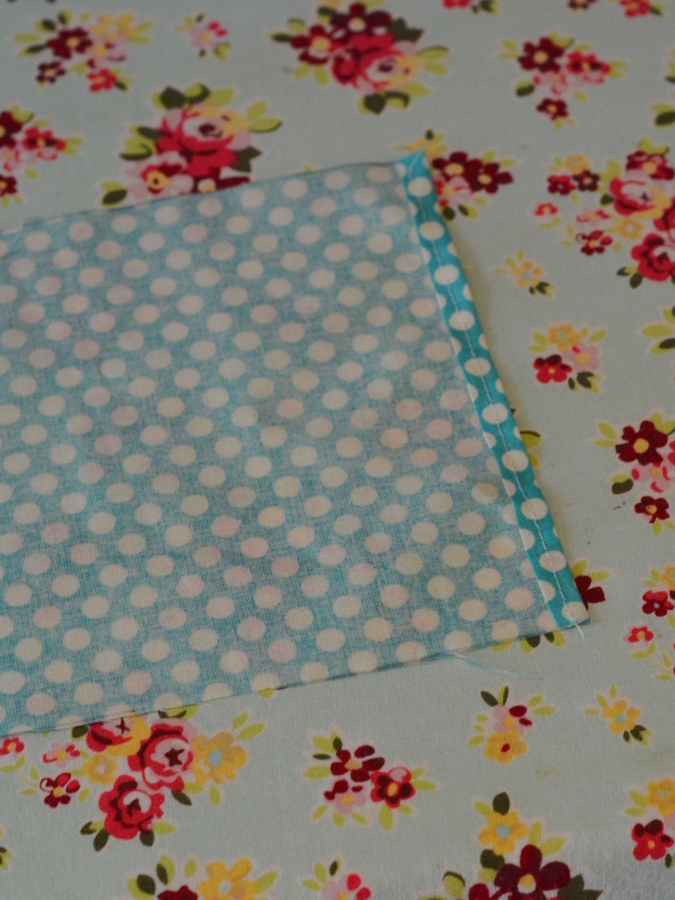
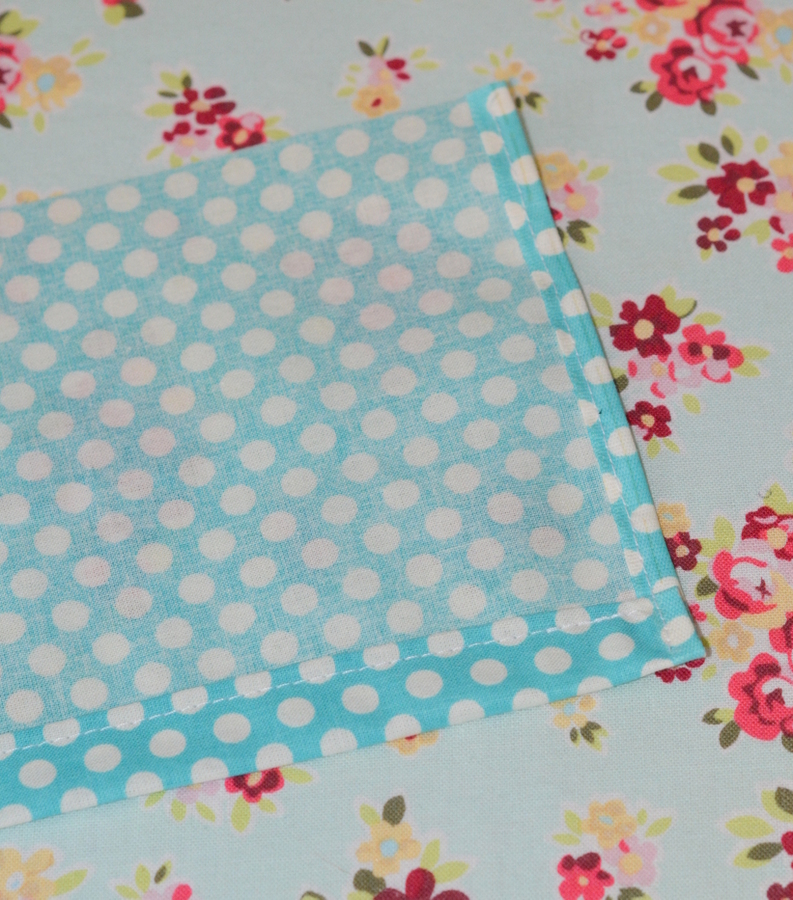
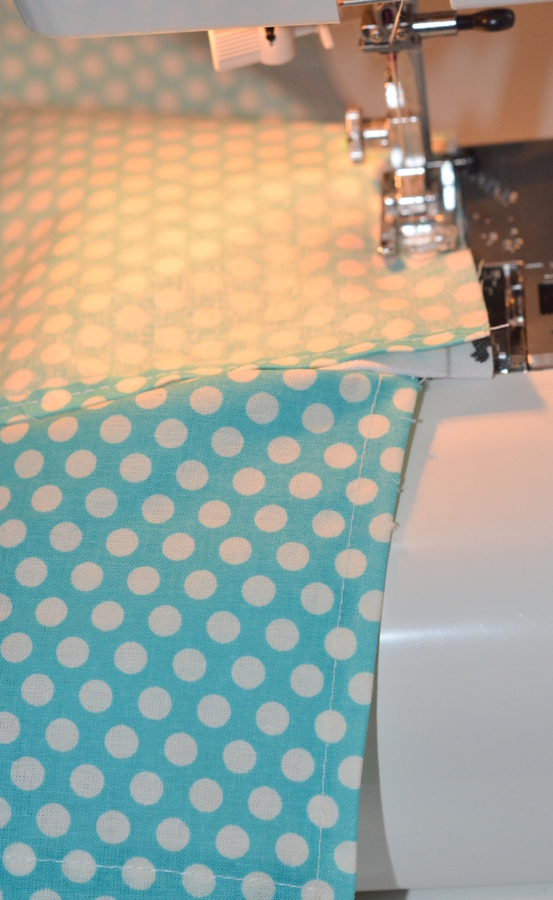
Turn under and hem the sides of both the skirt pieces. You will want the sides to be hemmed in by about a half an inch. Then turn under and hem the bottoms of both the main skirt and back flap skirt. All of your edges except the top should be finished off and hemmed now.

Pin the seat cover to the main skirt right sides together starting about a half an inch from both side corners of the back end.Stitch together with a half inch seam allowance.


Stitch the back to the back of the seat cover. To finish mine off I stitched ribbon on each side of the back skirt in the middle so I could tie my seat covers to the chairs around the chrome legs. You can add ribbon if you like like I did or you can leave it open. You can also add trim to the bottom of the skirt. I will probably add some ball trim to mine sometime soon.


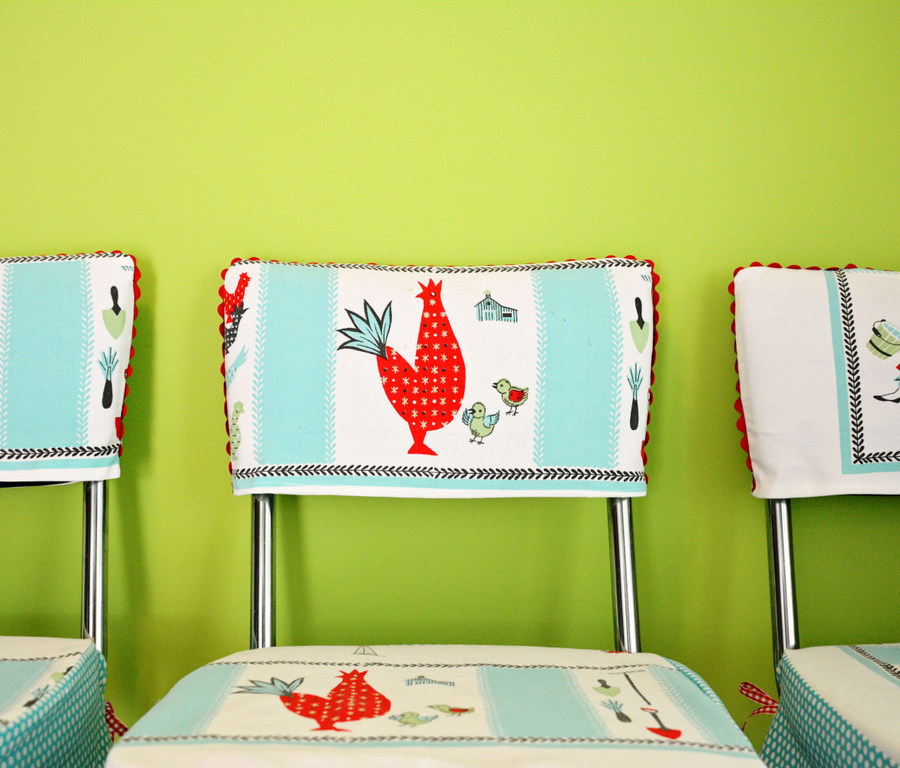
I just adore my whole dining table set now that I gave it a little DIY love! I used a vintage tablecloth for my main fabric pieces that had some wonderful farm life designs on it in red and aqua. You can use any kind of upholstery weight fabric like twill or canvas or even linen or denim. The great thing about these covers is that once you make your pattern, you can easily whip a set of these covers up in an afternoon. You can make a set for every season or occasion you like. I am sure I’ll be making a Christmas set soon. So if you have some shabby dining chairs, give them a face lift with some cute chair covers! It can change the look of your whole space! I hope you will give it a try, it’s super simple and fun! I’ll be back soon with more DIY fun. Until then…
Happy Crafting!