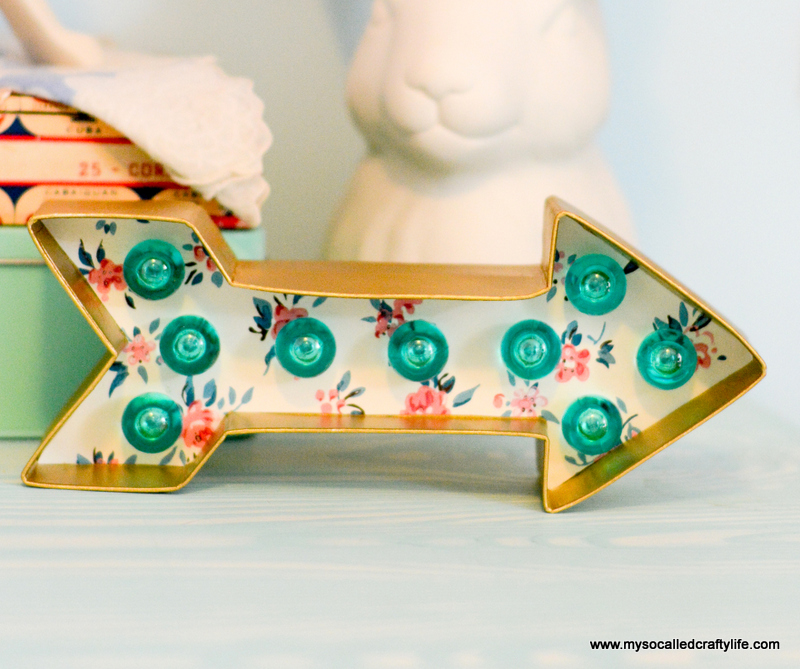
Vintage Wallpaper Covered Easy Marquee Arrow


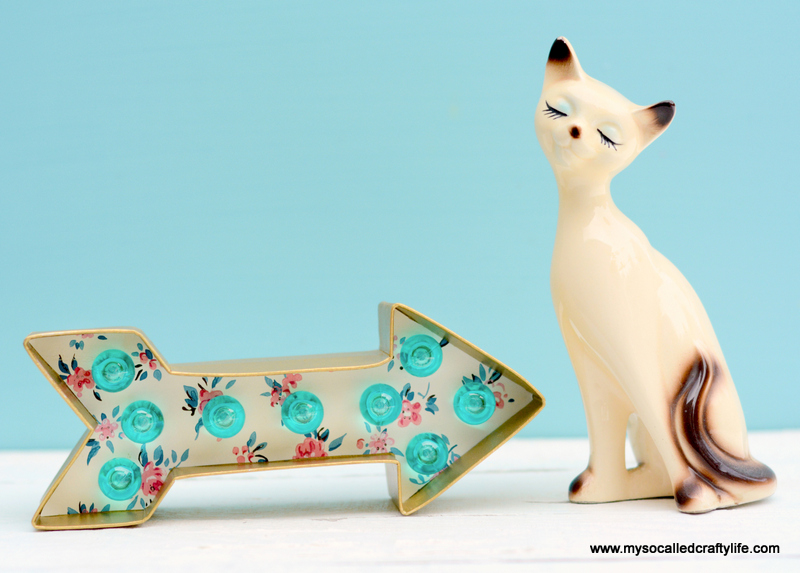
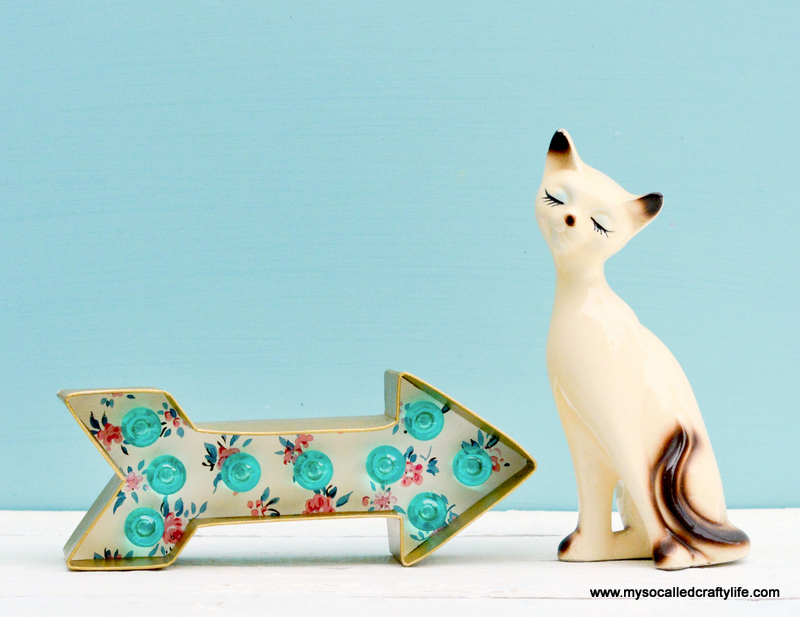
A few weeks ago I was at Michel’s and I saw these fantastic marquee letters from Heidi Swapp. I thought they were so cute, and when I saw the one shaped like an arrow I just had to get it. These come as a kit with the chipboard letter, a template, a strand of battery-powered lights, and some clear bulb covers. They come in white so you get to decorate them however you like. There are all kinds of embellishments and tapes, papers, etc. in the line. I just bought the kit and some aqua bulb covers. This is what I used for mine:
Supplies:
*1 Heidi Swapp Arrow Marquee
*1 Package of Aqua Bulb Covers
*Vintage Wallpaper Scrap
*Martha Stewart Metallic Craft Paint- Gold
*Xacto Knife and Self Healing Mat
*Mod Podge or Glue of your choice
*2 Triple A Batteries
Here’s how I made mine:
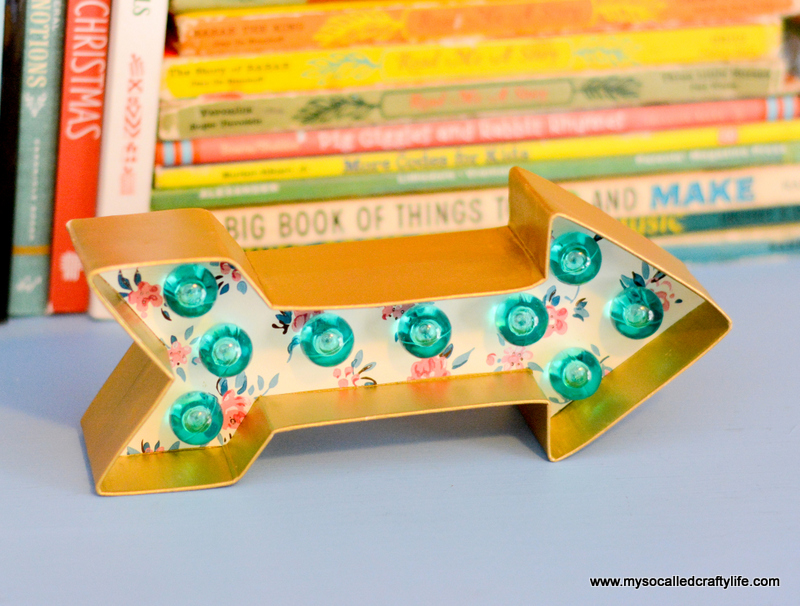
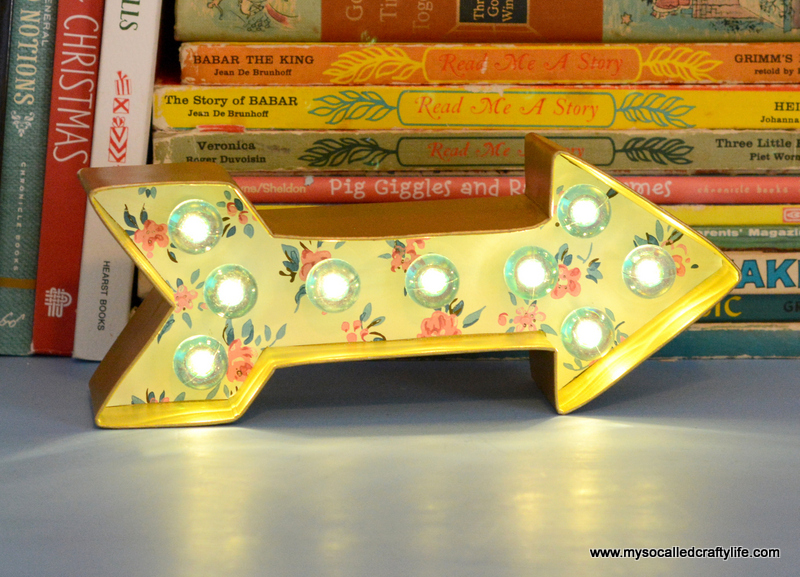
First, I painted my arrow with my gold paint and let it dry thoroughly. I used the template that came with the kit and traced it on the wrong side of my wall paper. I then cut out my arrow with my knife. For the holes, I cut each hole as an “x” so the bulb cover could push through. I am not very neat with a knife so I did not even attempt to cut the circles out normally. Cutting them in an x worked fine for me. Then I glued my wallpaper to the inside of my arrow by painting a layer of mod podge on the back side of the wallpaper and smoothing the wallpaper onto the board. I made sure it was nice and smooth and let it dry. Then I pushed the aqua bulb covers into the holes in the arrow. I then pushed the lights up into the bulb covers and added the batteries.


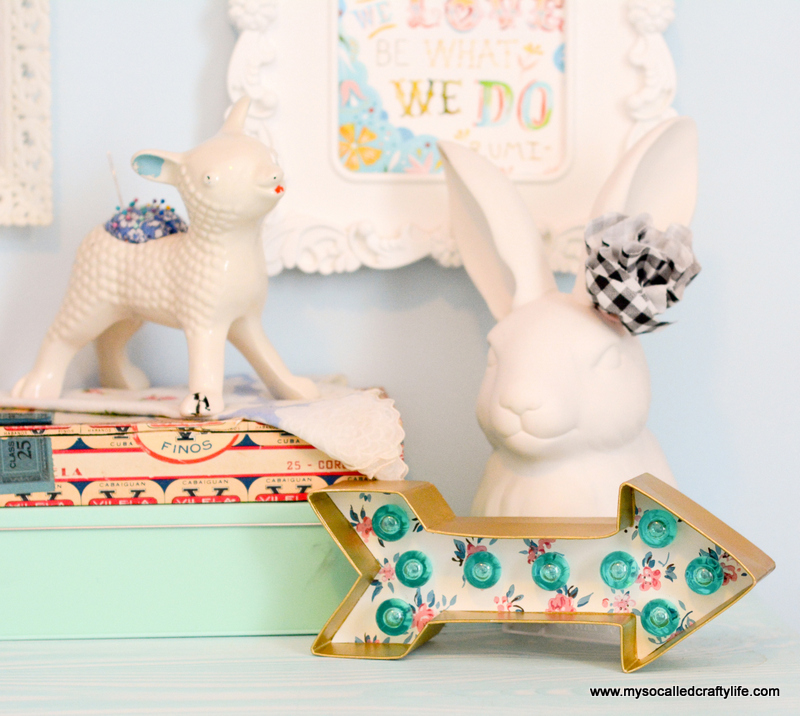
I really love my little arrow! It is a great addition to my craft room, and a good reminder to keep moving forward! This was such an easy and fun weeknight craft! I would definitely recommend picking one of these fun marquees up next time you are at Michael’s and giving one a try too! Have any of you guys made one of these yourself yet? I’d love to see yours too! I’ll be back a little later this week to share another fun diy with you all. Until then…
Happy Crafting!