Halloween Decorated Sugar Cookies

I am so happy to bring you another great post from my contributor and daughter, Kristi! And now her daughter Kimmie has also joined our team so this is officially a three generation blogging family!
Take it away Girls!!
Growing up my mom (Evelyn) made every holiday special. From home hole-punched confetti with sparkling cider on New Year’s Eve to decorating our hair with clover on the way out the door on St. Patrick's Day. It left an impression and it is a tradition that I continue with my own girls. Every holiday is filled with decorations and our own traditions and now I am starting to see the same excitement about upcoming holidays in my girls that I remember feeling.
For Halloween this year, Kimmie and I decided to try some new cookie designs and let our creativity run free. We had a blast sketching the designs and buying supplies. I loved the look of joy on her face when she saw her designs turn into actual cookies. I think this post is less about the cookie recipe, and more about the quality time you spend with you family and the impact it makes on them. To that end, I have had Kimmie write a little about her experience as well. The recipe is one I have shared before and will link here again, but I want you to take from this post, is the experience. Have a great Halloween!
Kristi
My mom and I made Halloween cookies. I think the cookies were yummy! They were sugar cookies. There were spider webs, pumpkins, ghosts, and vampires too. They were fun to make! The icing was the best part of all! I love making cookies! I wrote this post for my Grammy. Happy Halloween!
Kimmie
Halloween Sugar Cookies
For the cookies you will need: 1 1/2 cups powdered sugar
1 cup butter, softened
1 tsp vanilla
1/2 tsp almond extract
1 large egg
2 1/2 cups flour
1 tsp baking soda
1 tsp cream of tartar Gel food coloring (optional, but it can be fun to work with colored dough)
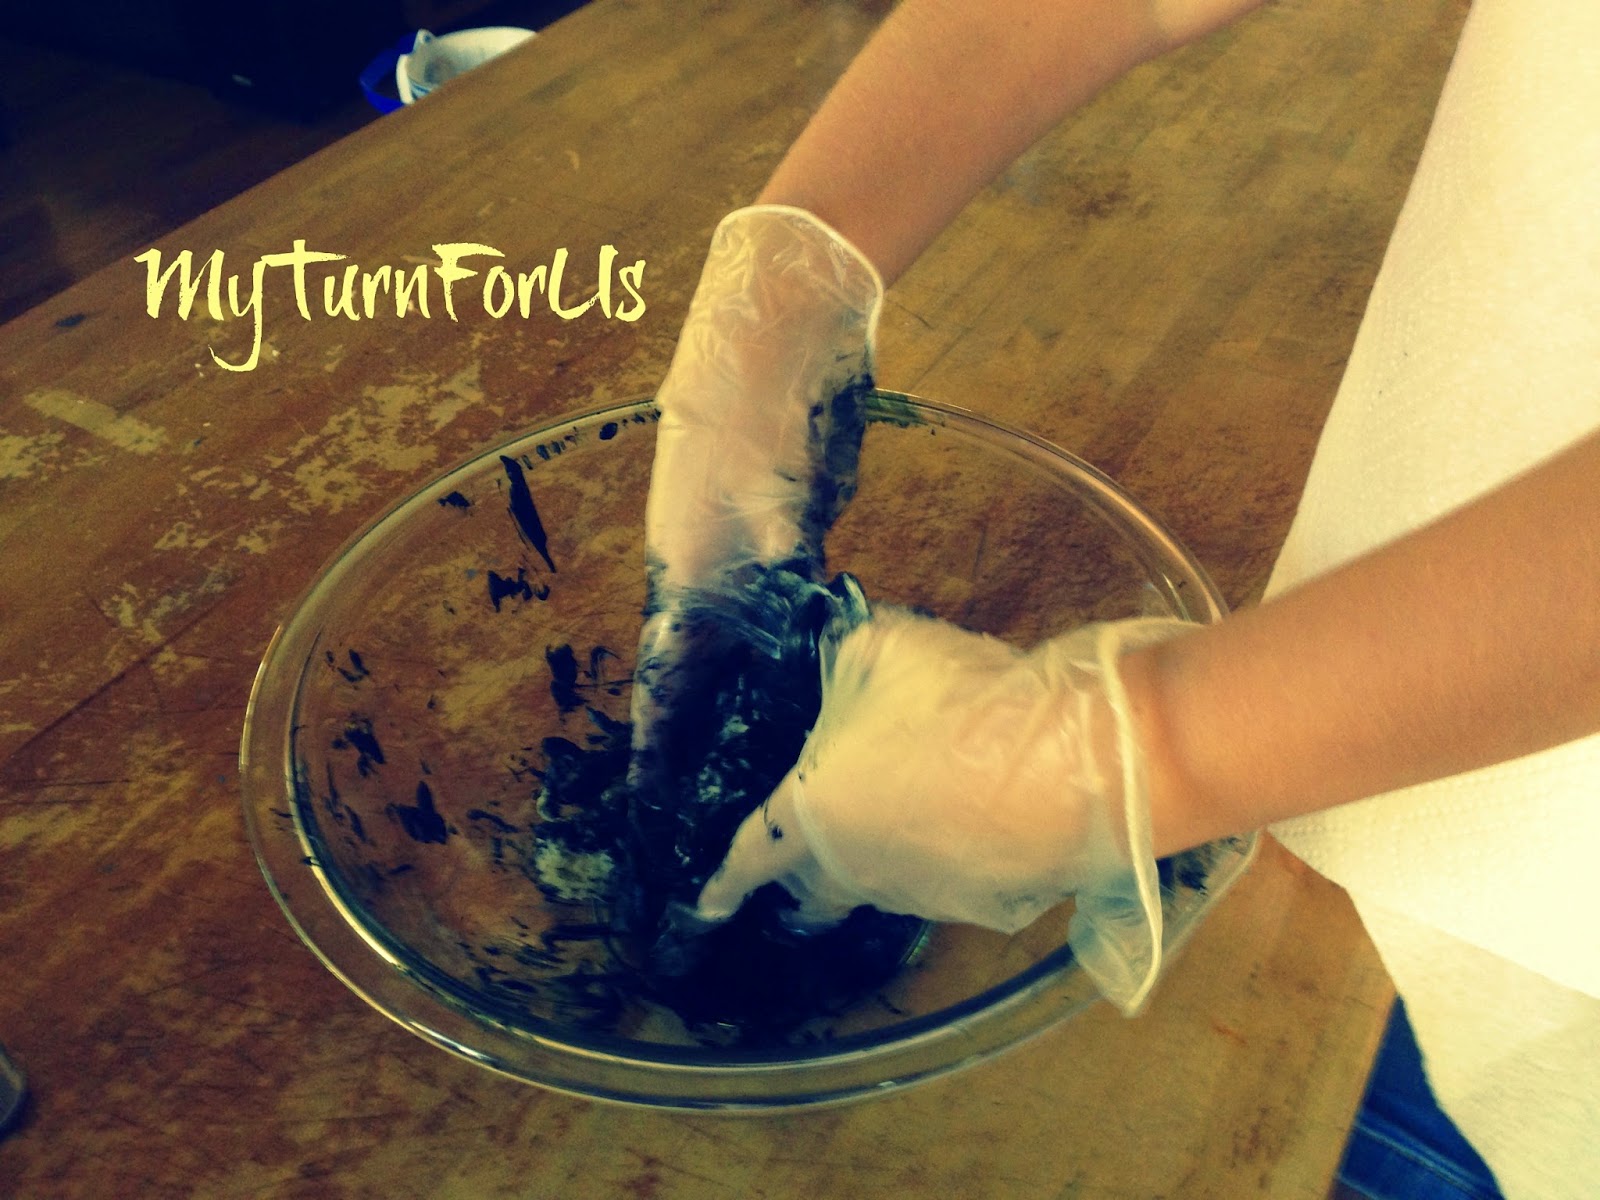
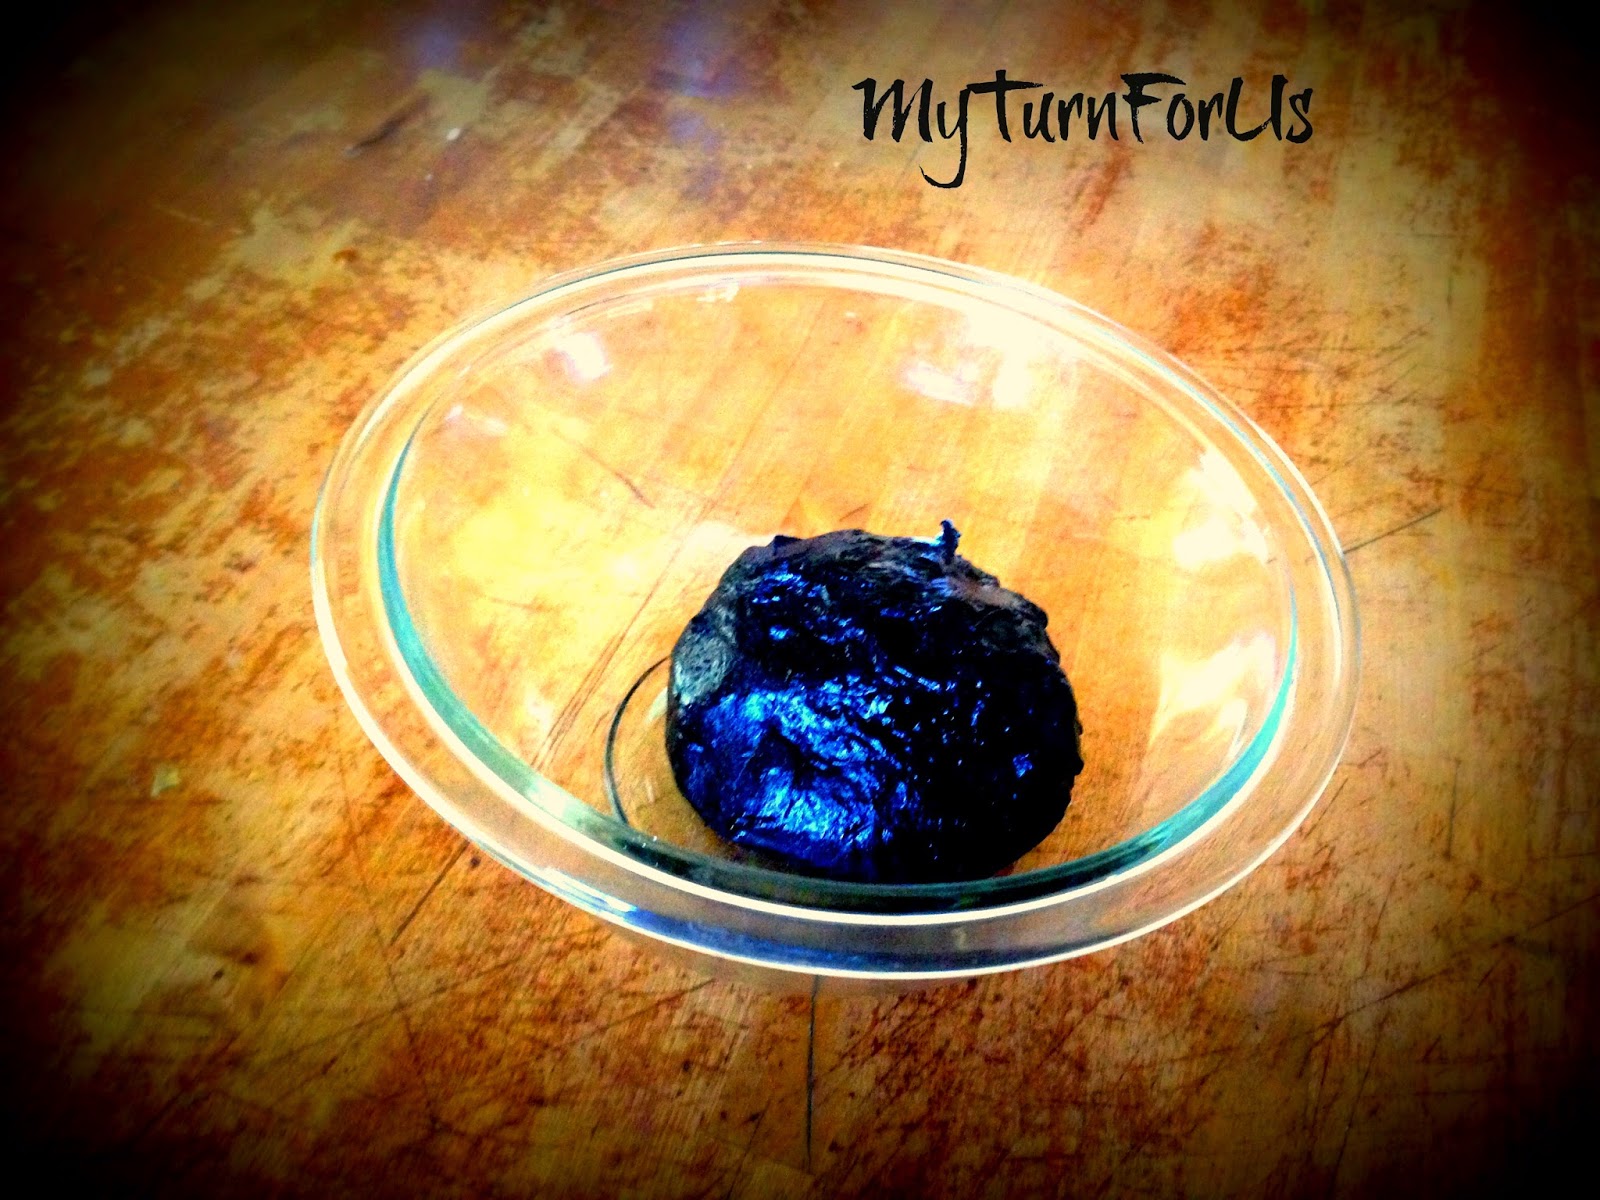
To make the cookies: Beat together the powdered sugar, butter, vanilla, almond extract, and egg, until smooth and creamy. Mix in remaining ingredients using the paddle attachment of the mixer. Cover and refrigerate for at least 2 hours. Heat oven to 375 degrees. Roll dough in portions to about 1/8- 1/4 inch thickness and cut with your choice of cookie cutters. I even grabbed my Valentine’s Day lips cookie cutter and made vampire teeth. So be creative and feel free to use your other cookie cutters in fun ways. I also decided to dye a small portion of the dough black for the bats and the vampire capes. To do this, we separated a small amount of the dough into a separate glass bowl and then, using gloves (to prevent dyeing our fingers), we kneaded the color into the dough until it was all one even color. It can then be worked with the same as the other dough.


Bake on a cool cookie sheet lined with non-stick foil or a baking mat for approximately 7 minutes. Remove from the oven and allow to cool on the cookie sheet for 2 minutes then move the cookies to a cooling rack.
For the powdered sugar icing you will need: 1 cup of powdered sugar
1 tsp almond extract
1 tbsp melted butter
milk
gel food coloring in the colors of your choice
In a bowl, combine the powdered sugar, vanilla, and melted butter. Stir well. Then add milk, 1 tsp at a time until the frosting is of desired consistency to frost cookies. Finally, color with brown gel food coloring, mixed to your desired color of turkey. I use almond extract instead of the traditional vanilla for 2 reasons. First, I have found that the flavor is much better. Second, vanilla darkens my white icing, making it look brown and dirty. Since the almond extract is clear, I don’t have that problem.
Now, for the decorations. I made and used Royal Icing to create custom icing transfers. I have seen these a lot, and I found out that they are not that difficult to make.
For the Royal Icing you will need: 5 Tablespoons of Meringue Powder 1/3 cup water 4 cups powdered sugar Juice from 1 lemon Gel food coloring (Colors of your choice for your choice of projects)
Beat Meringue powder and water on high for approximately 1-2 minutes, until the mixture is slightly thickened. Add the sugar and lemon juice and mix until smooth. You don’t want the icing to thin, so it will not run when you are creating your designs. Traditionally, Royal Icing is made with Egg Whites. However, I have small children and it is not recommended that children (or pregnant women for you that this applies to) eat uncooked or under cooked eggs. Therefore, I have provided this recipe instead. It worked beautifully and tasted great.
This makes for a good amount of icing. I divided the icing into separate bowls, one for each color I was going to be using, and mixed in the gel food coloring of the colors I wanted. I then placed each color into a plastic squeeze bottle to allow for easy tracing of the decoration designs.
For these designs, I drew jack-o-latern mouths, triangle eyes, vampire teeth and widow’s peaks to create the templates for the icing decorations. The possibilities are endless, so feel free to be creative here.
I printed these on a small square of card stock. I then taped a rectangular piece of cardboard to create a “handle” on my template (A tongue depressor or popsicle stick works also). I then taped a piece of wax paper, just big enough for my design, to the counter top where I was working. I slid the template between the wax paper and the counter and then traced my design, using the desired colors with the squeeze bottles of icing.

Once I was done, I removed the template from under the wax paper and set aside the design to dry. I repeated this as many times as the number of cookies I wanted to make. It is best to let the icing dry at least overnight, so that it is firm when you remove it from the wax paper.
Once I had iced the cookies with the powdered sugar icing, I then removed the royal icing decorations from the wax paper and arranged them on cookies. You want to be very gentle removing these from the wax paper to prevent them from breaking or cracking. Either use a toothpick to gently prod the icing decorations off the wax paper, or place the wax paper on the edge of the counter or table and roll it down over the edge. This will easily dislodge the pieces. Then simply arranged them on the cookies with the rest of the decorations and enjoy!!
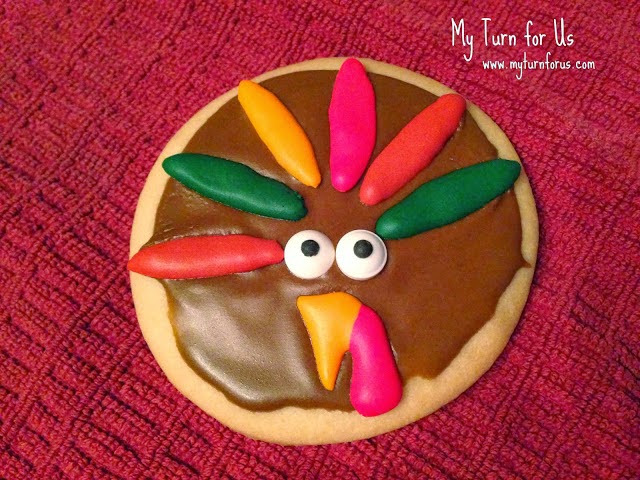
You will also love these Turkey Cookies from Kristi and crew!!

More posts from