
31 Day Challenge: Black and White

Kids, don't rush your gradients! I sped through this one today and the result is a speckly mess. It actually looks pretty awesome from far away, but I'm not fooling anyone with these photos. Idea: solid. Execution: poor!
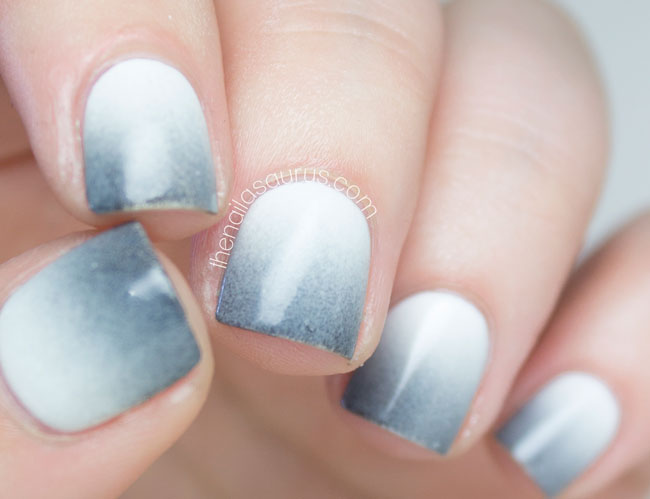
Once you have the technique down, having the patience to wait between layers is the most challenging part of any gradient mani. Sometimes you'll get away with it but most of the time it'll end up taking a turn for the worse and looking something like this. The colours aren't blended very well, there are sponge marks and the polish has even started coming off the tips from my overzealous dabbing! I really like the look of the grey to white gradient but next time I'll make sure I use a thinner white polish and wait for each layer to dry thoroughly before moving on to the next.
Instead of redoing the whole lot for today's post, I thought it might be good to post it as I never really show you my nail art fails. There have been plenty of them, but I normally remove them before anyone sees and try to forget they ever happened!
Items Used
Barry M White
Sally Hansen Dorian Grey
Make Up Sponges


If you’re reading this anywhere else besides thenailasaurus.com or your own subscription to The Nailasaurus, then this article has been shamefully stolen.
More posts from Sammy