
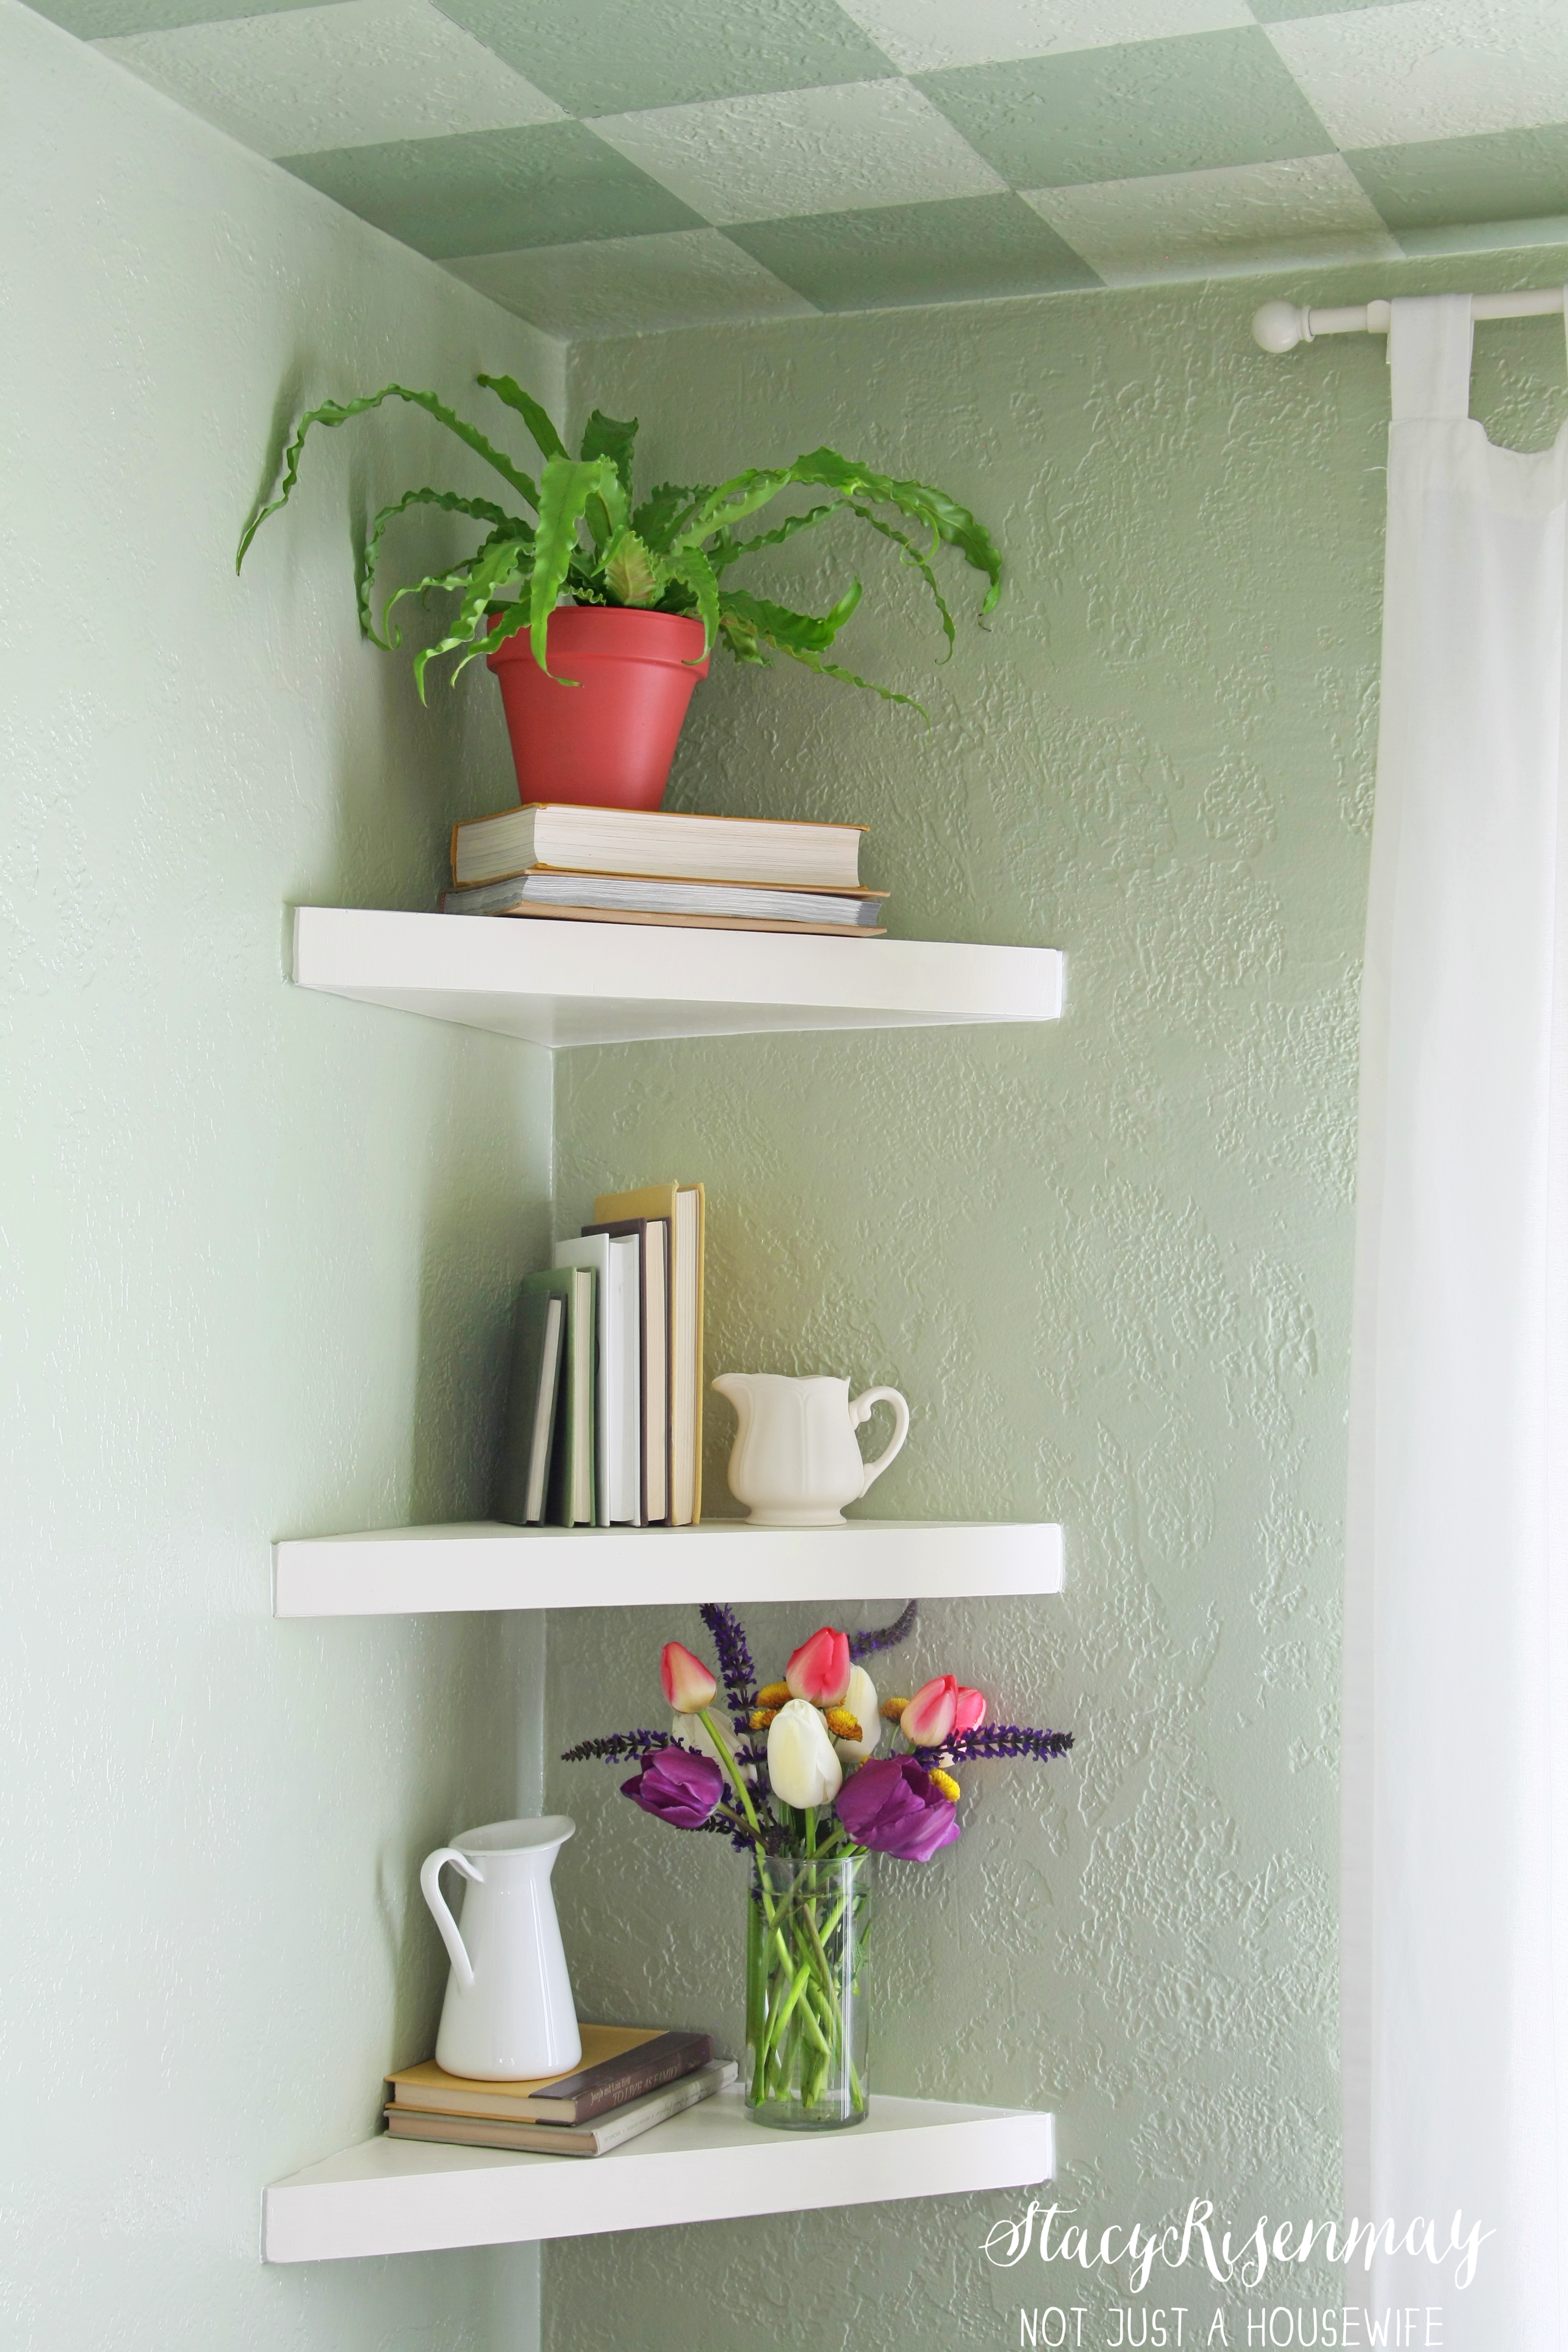
Floating Corner Shelves
I have been making some changes in our dining space. It is such a small space and we have to fit 6 people in there, that we can’t really have furniture in there other than the table and chairs. But I decided to take advantage of the corner and build some floating shelves.

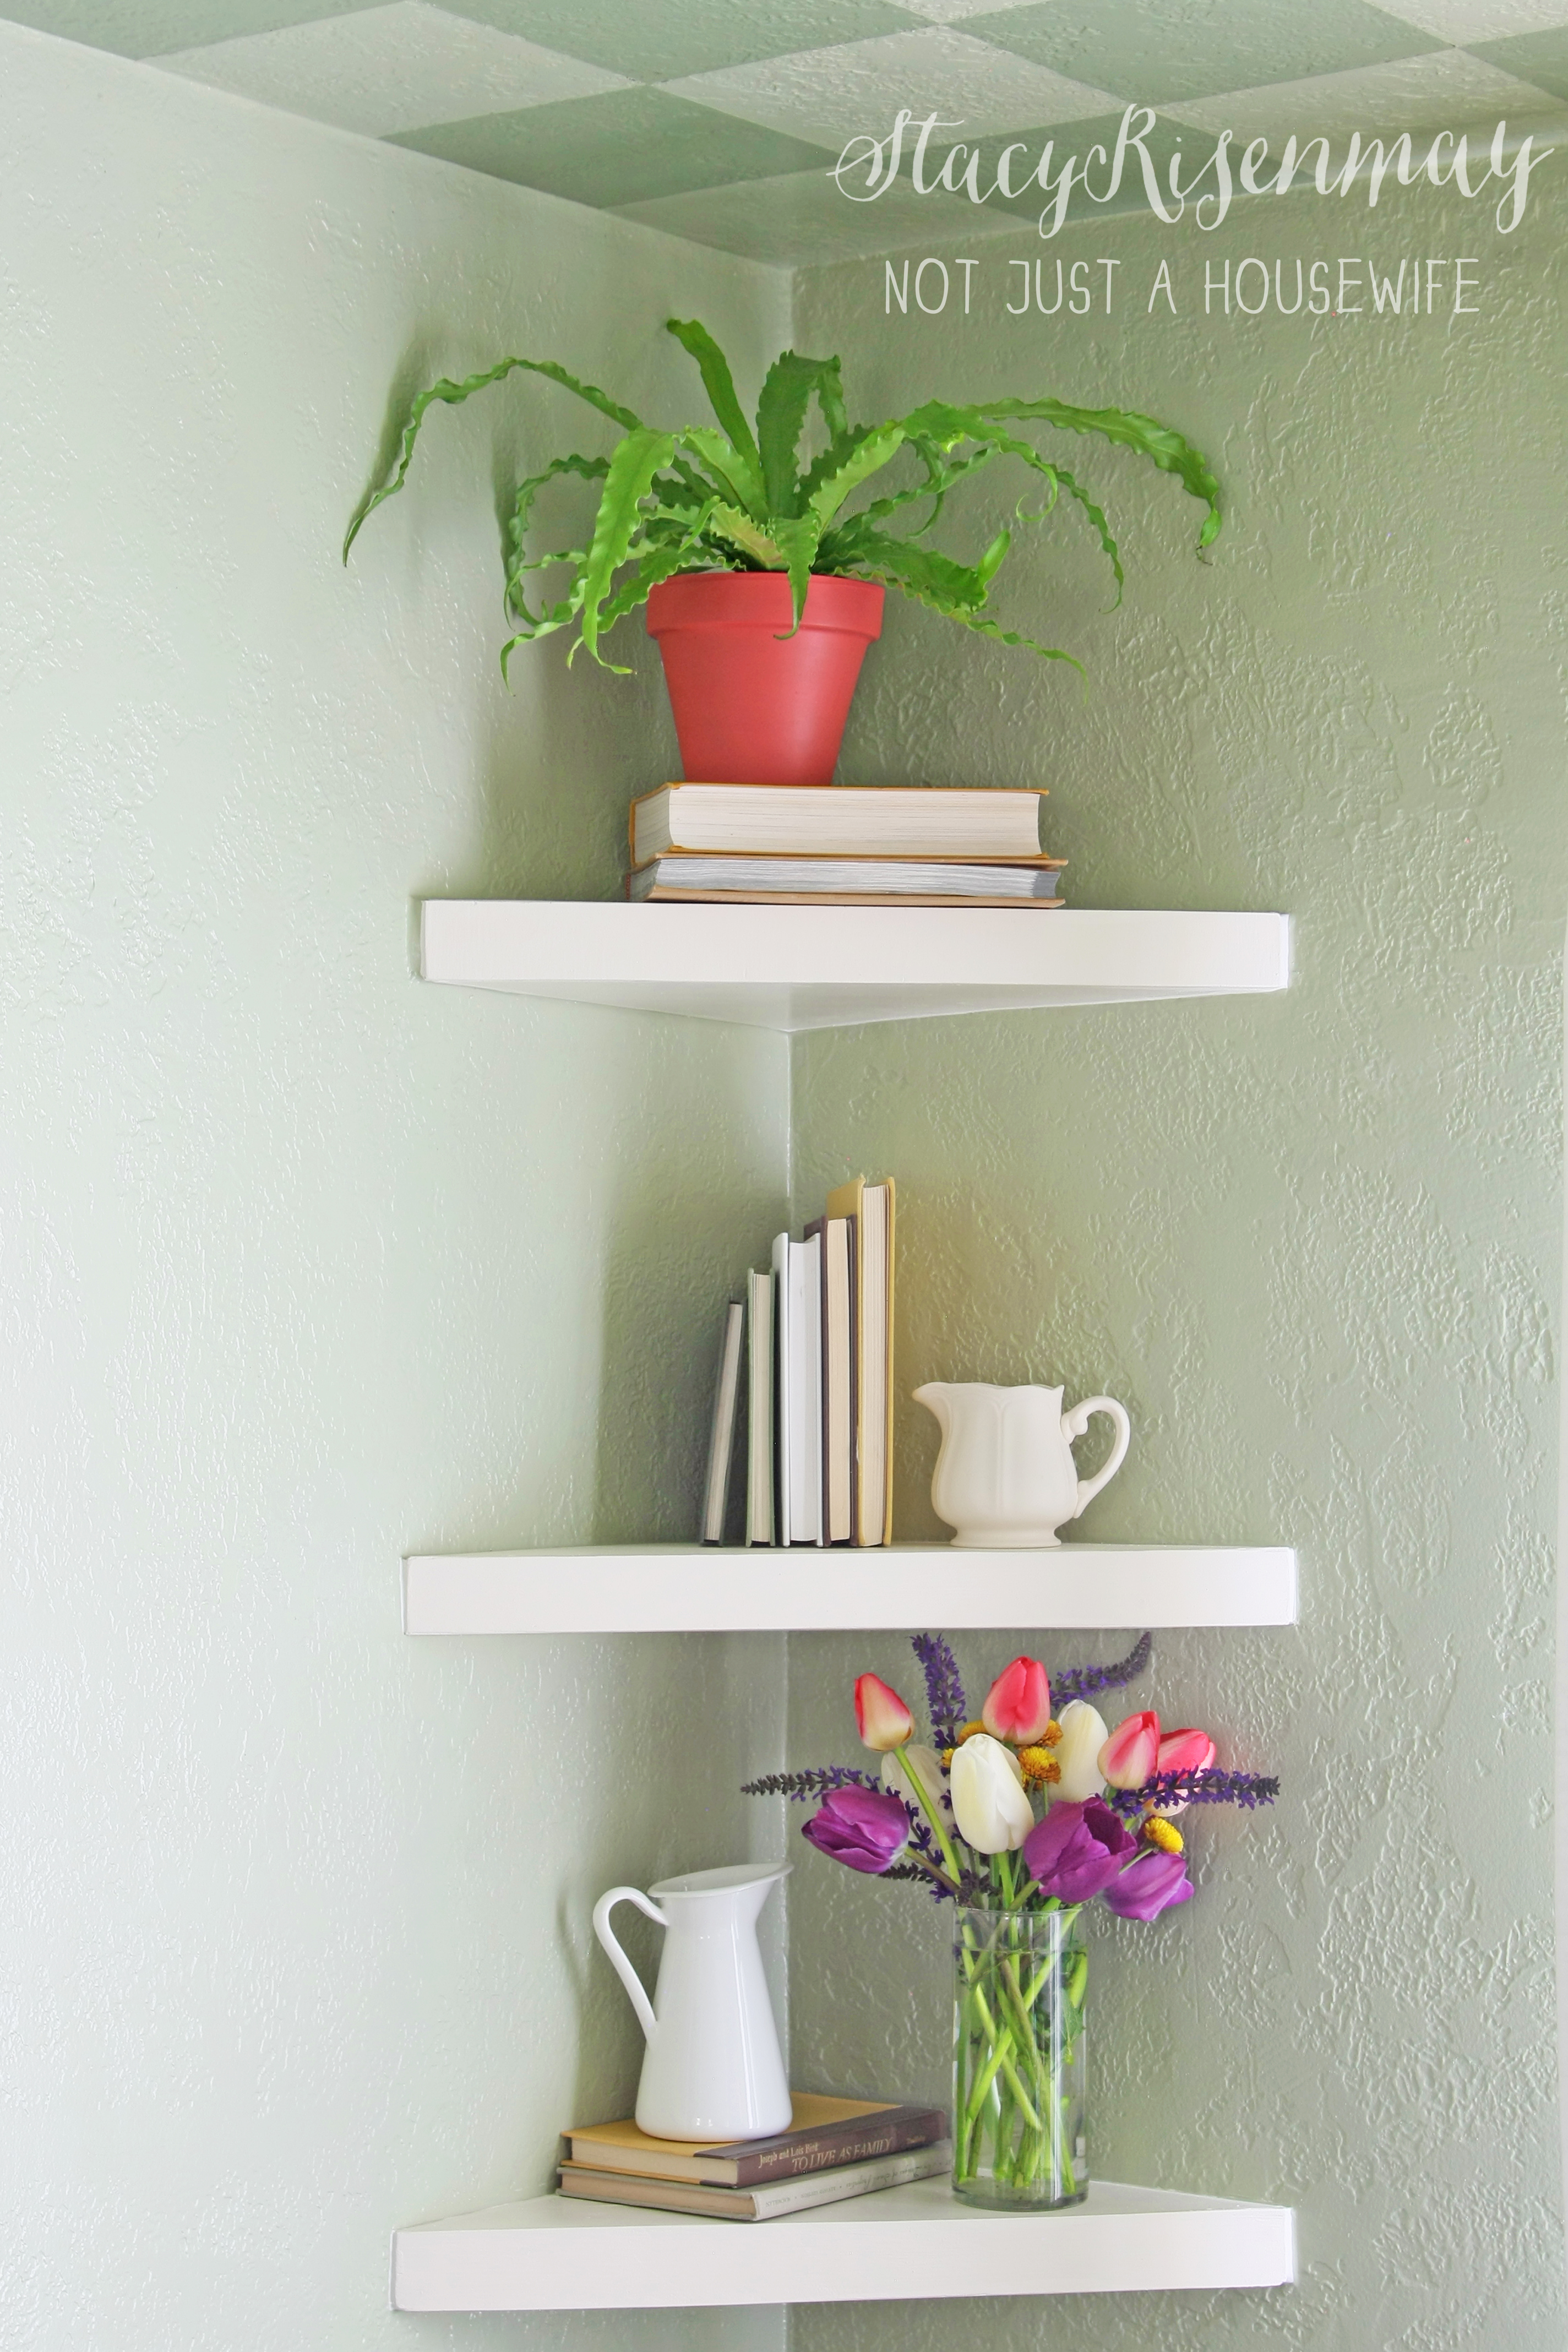
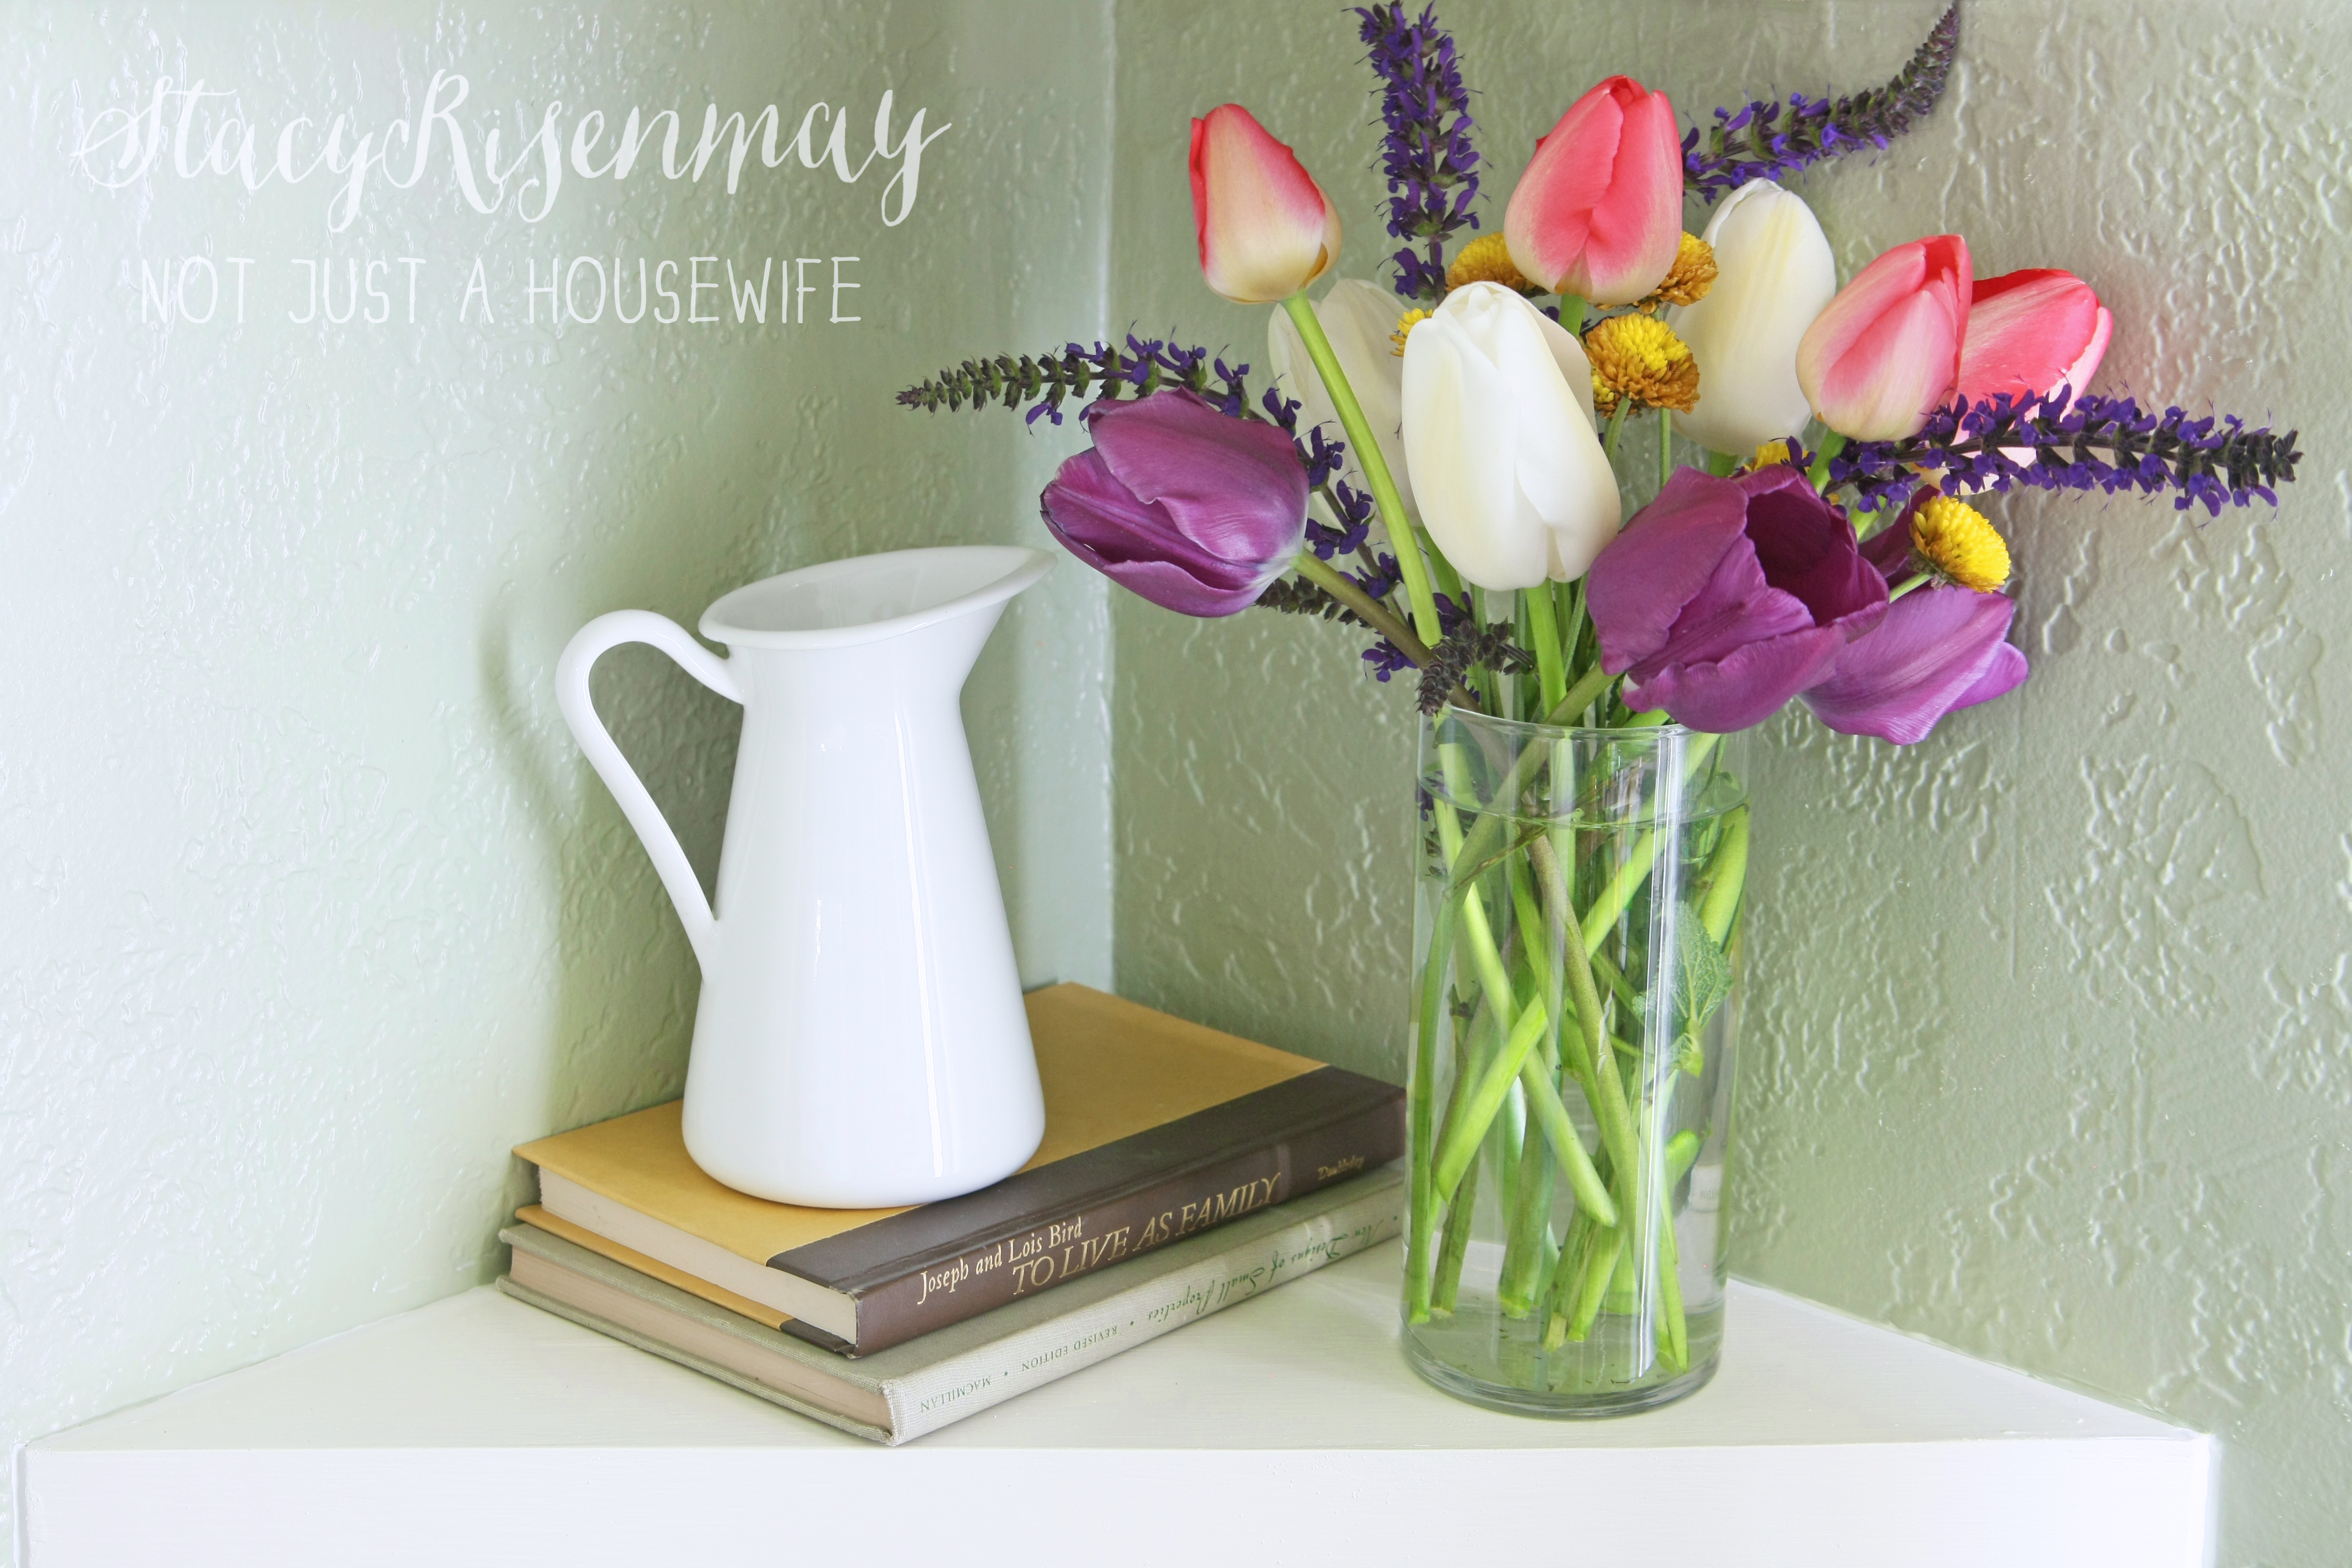
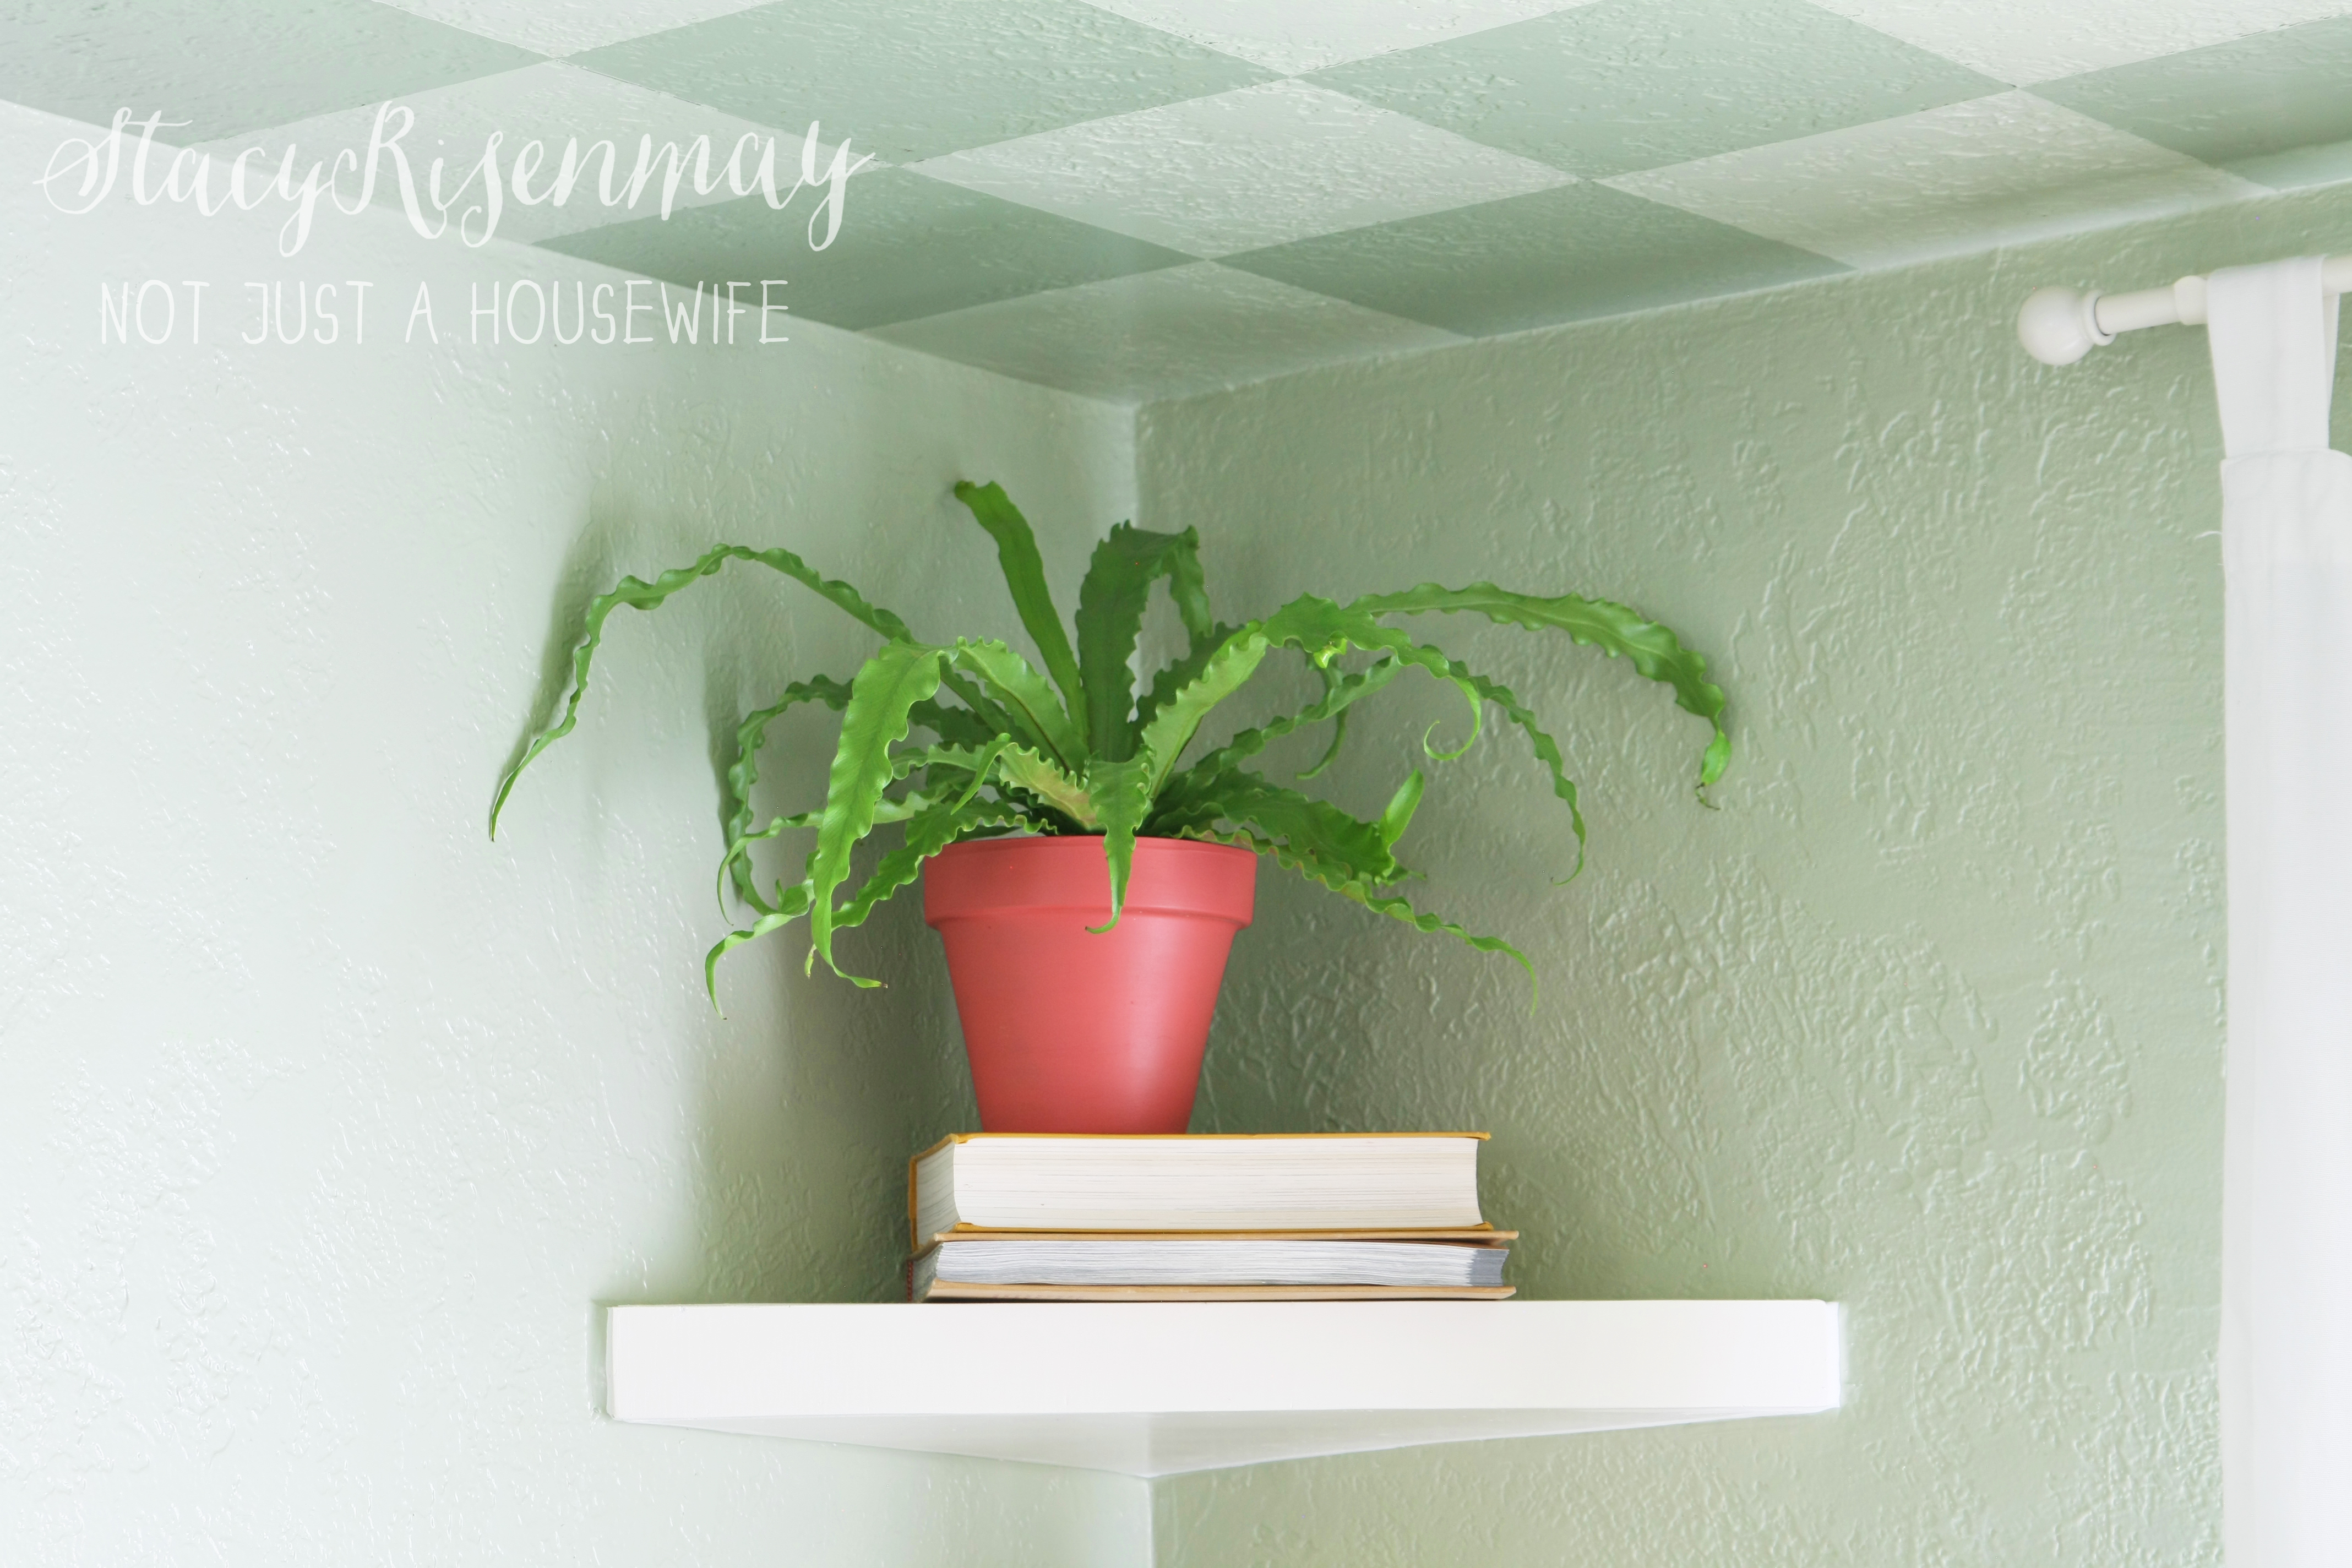
I decided last minute to style them for this tutorial but I am sure they will be more “dining roomy” when I style them for the full room reveal :)
How To Build Corner Floating Shelves
I actually already had one corner floating shelf from way back when I first decorated our dining room. You can see the lone shelf in the original dining room post. So I used that shelf as a template for the other 2. You can determine for yourself how deep you want them.
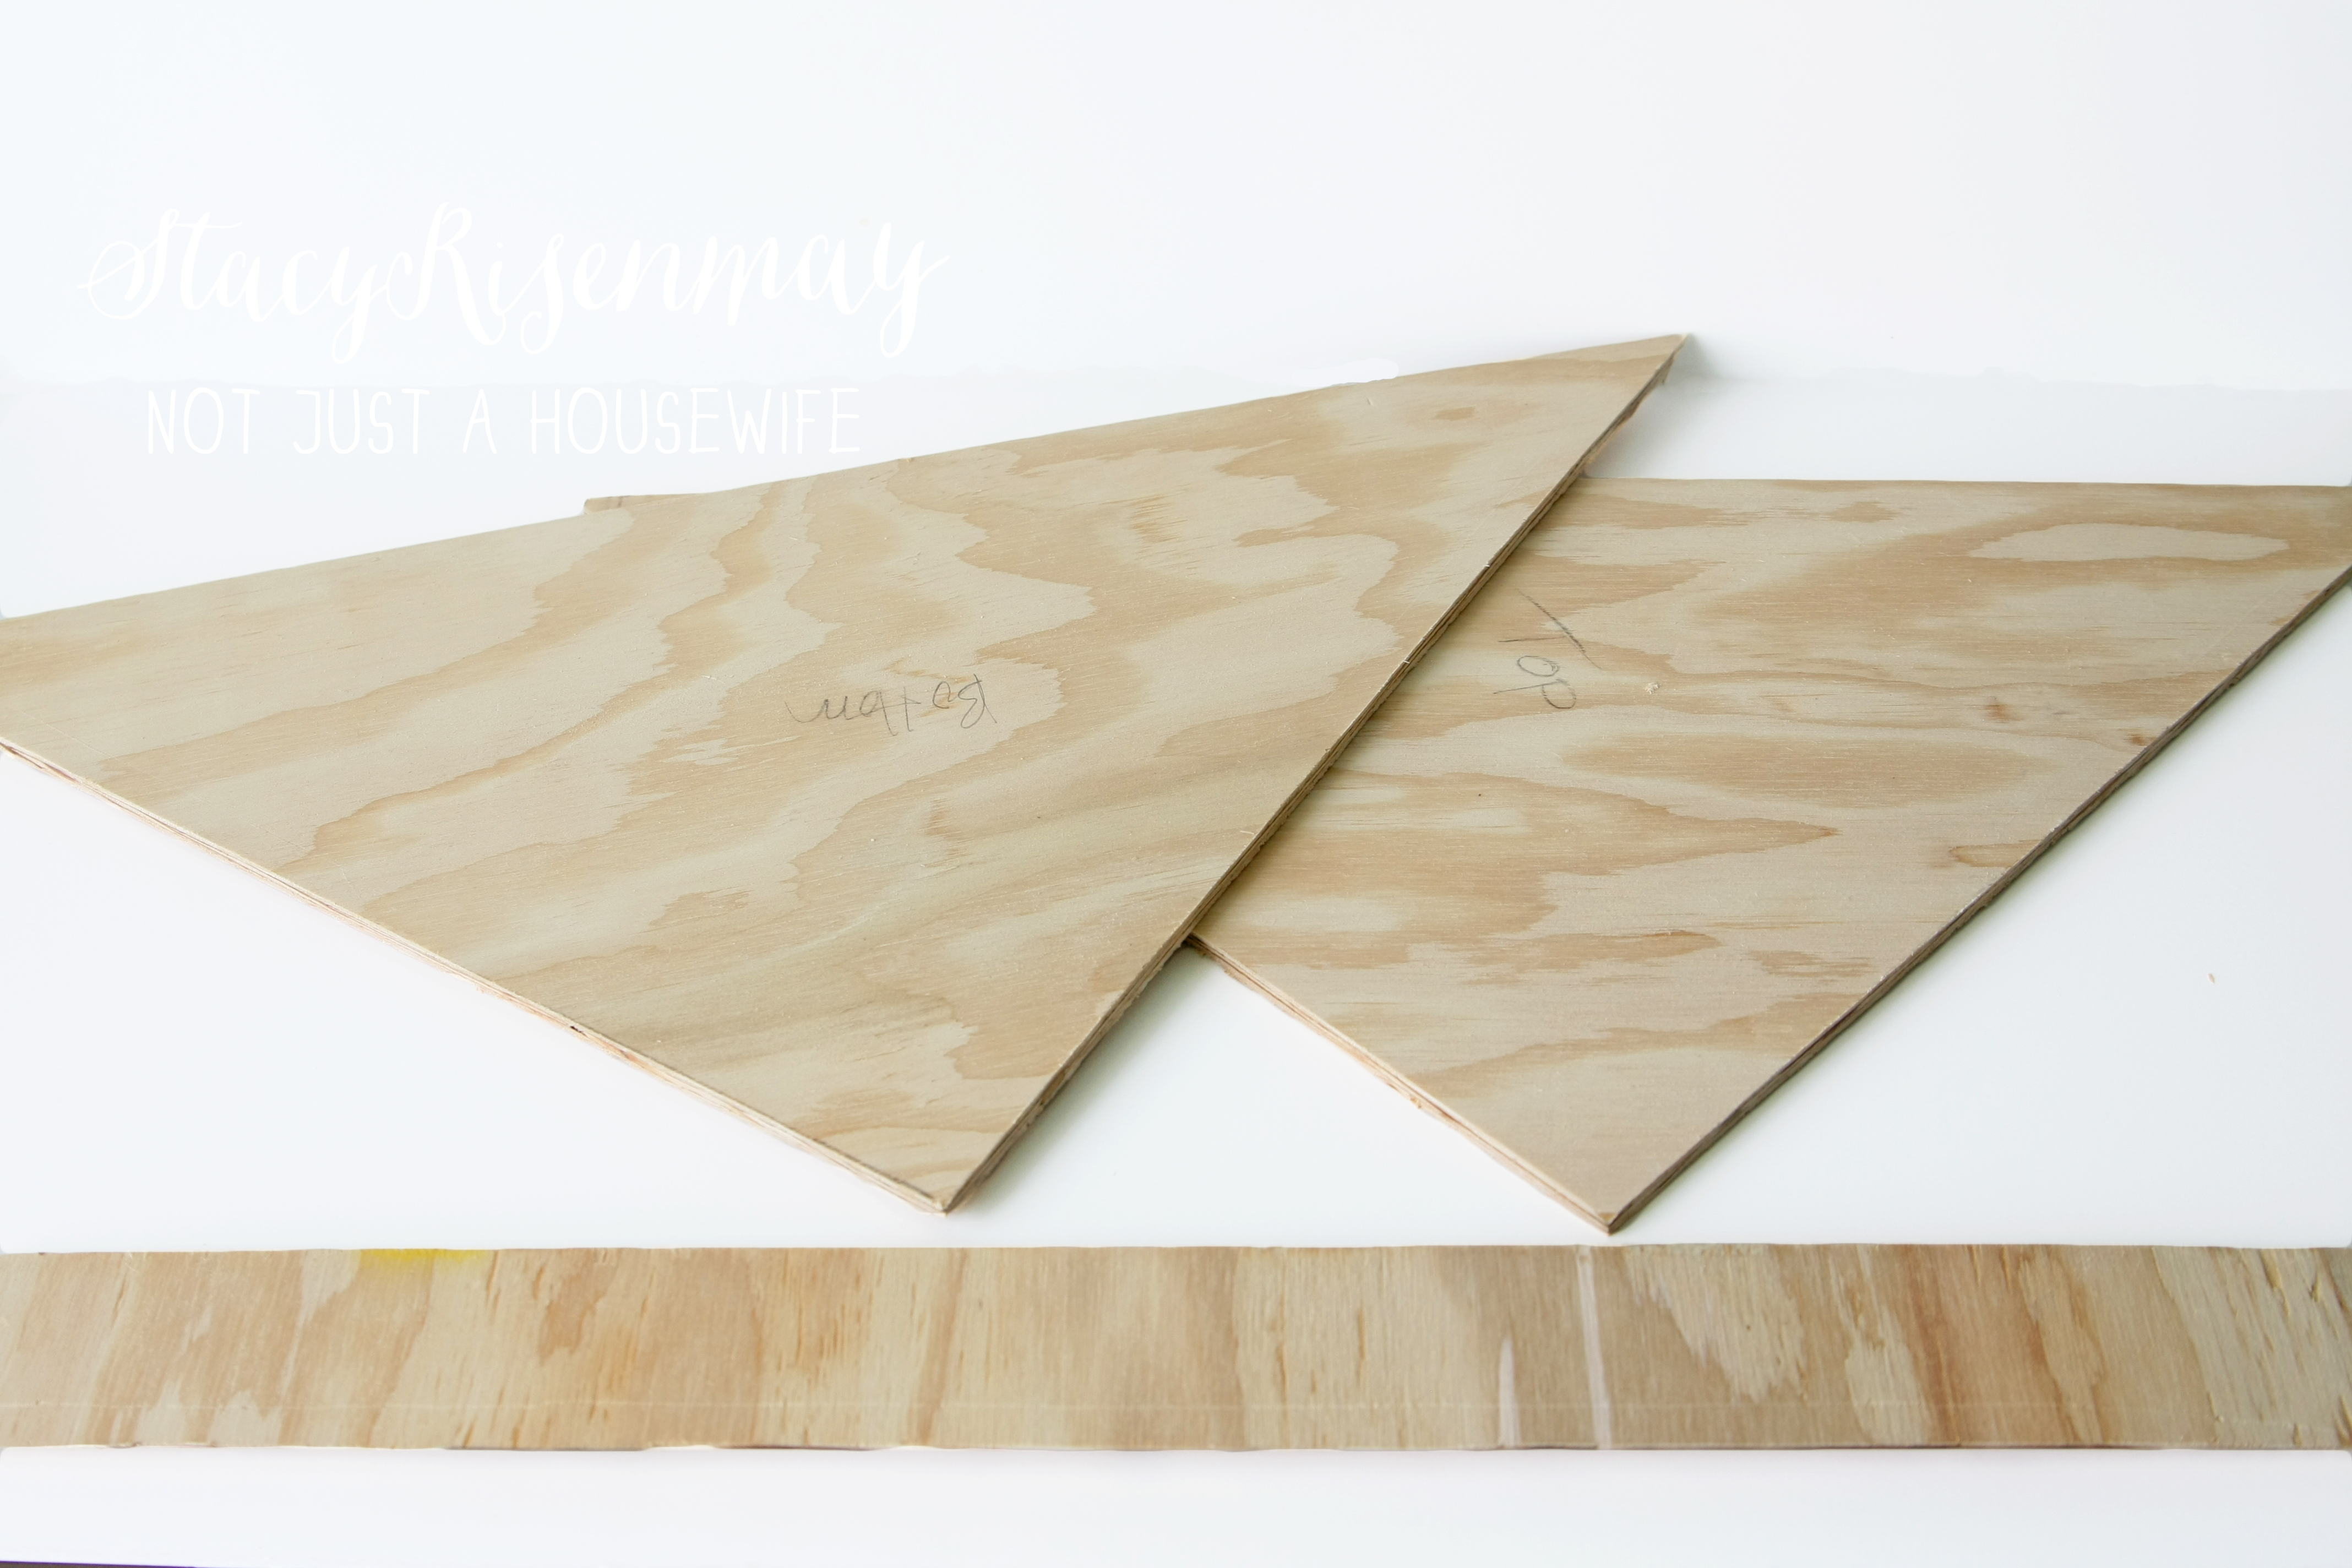
I used plywood because it is what I had on hand and because it is light weight. If you chose to use plywood, use at least 1/2″ in thickness.
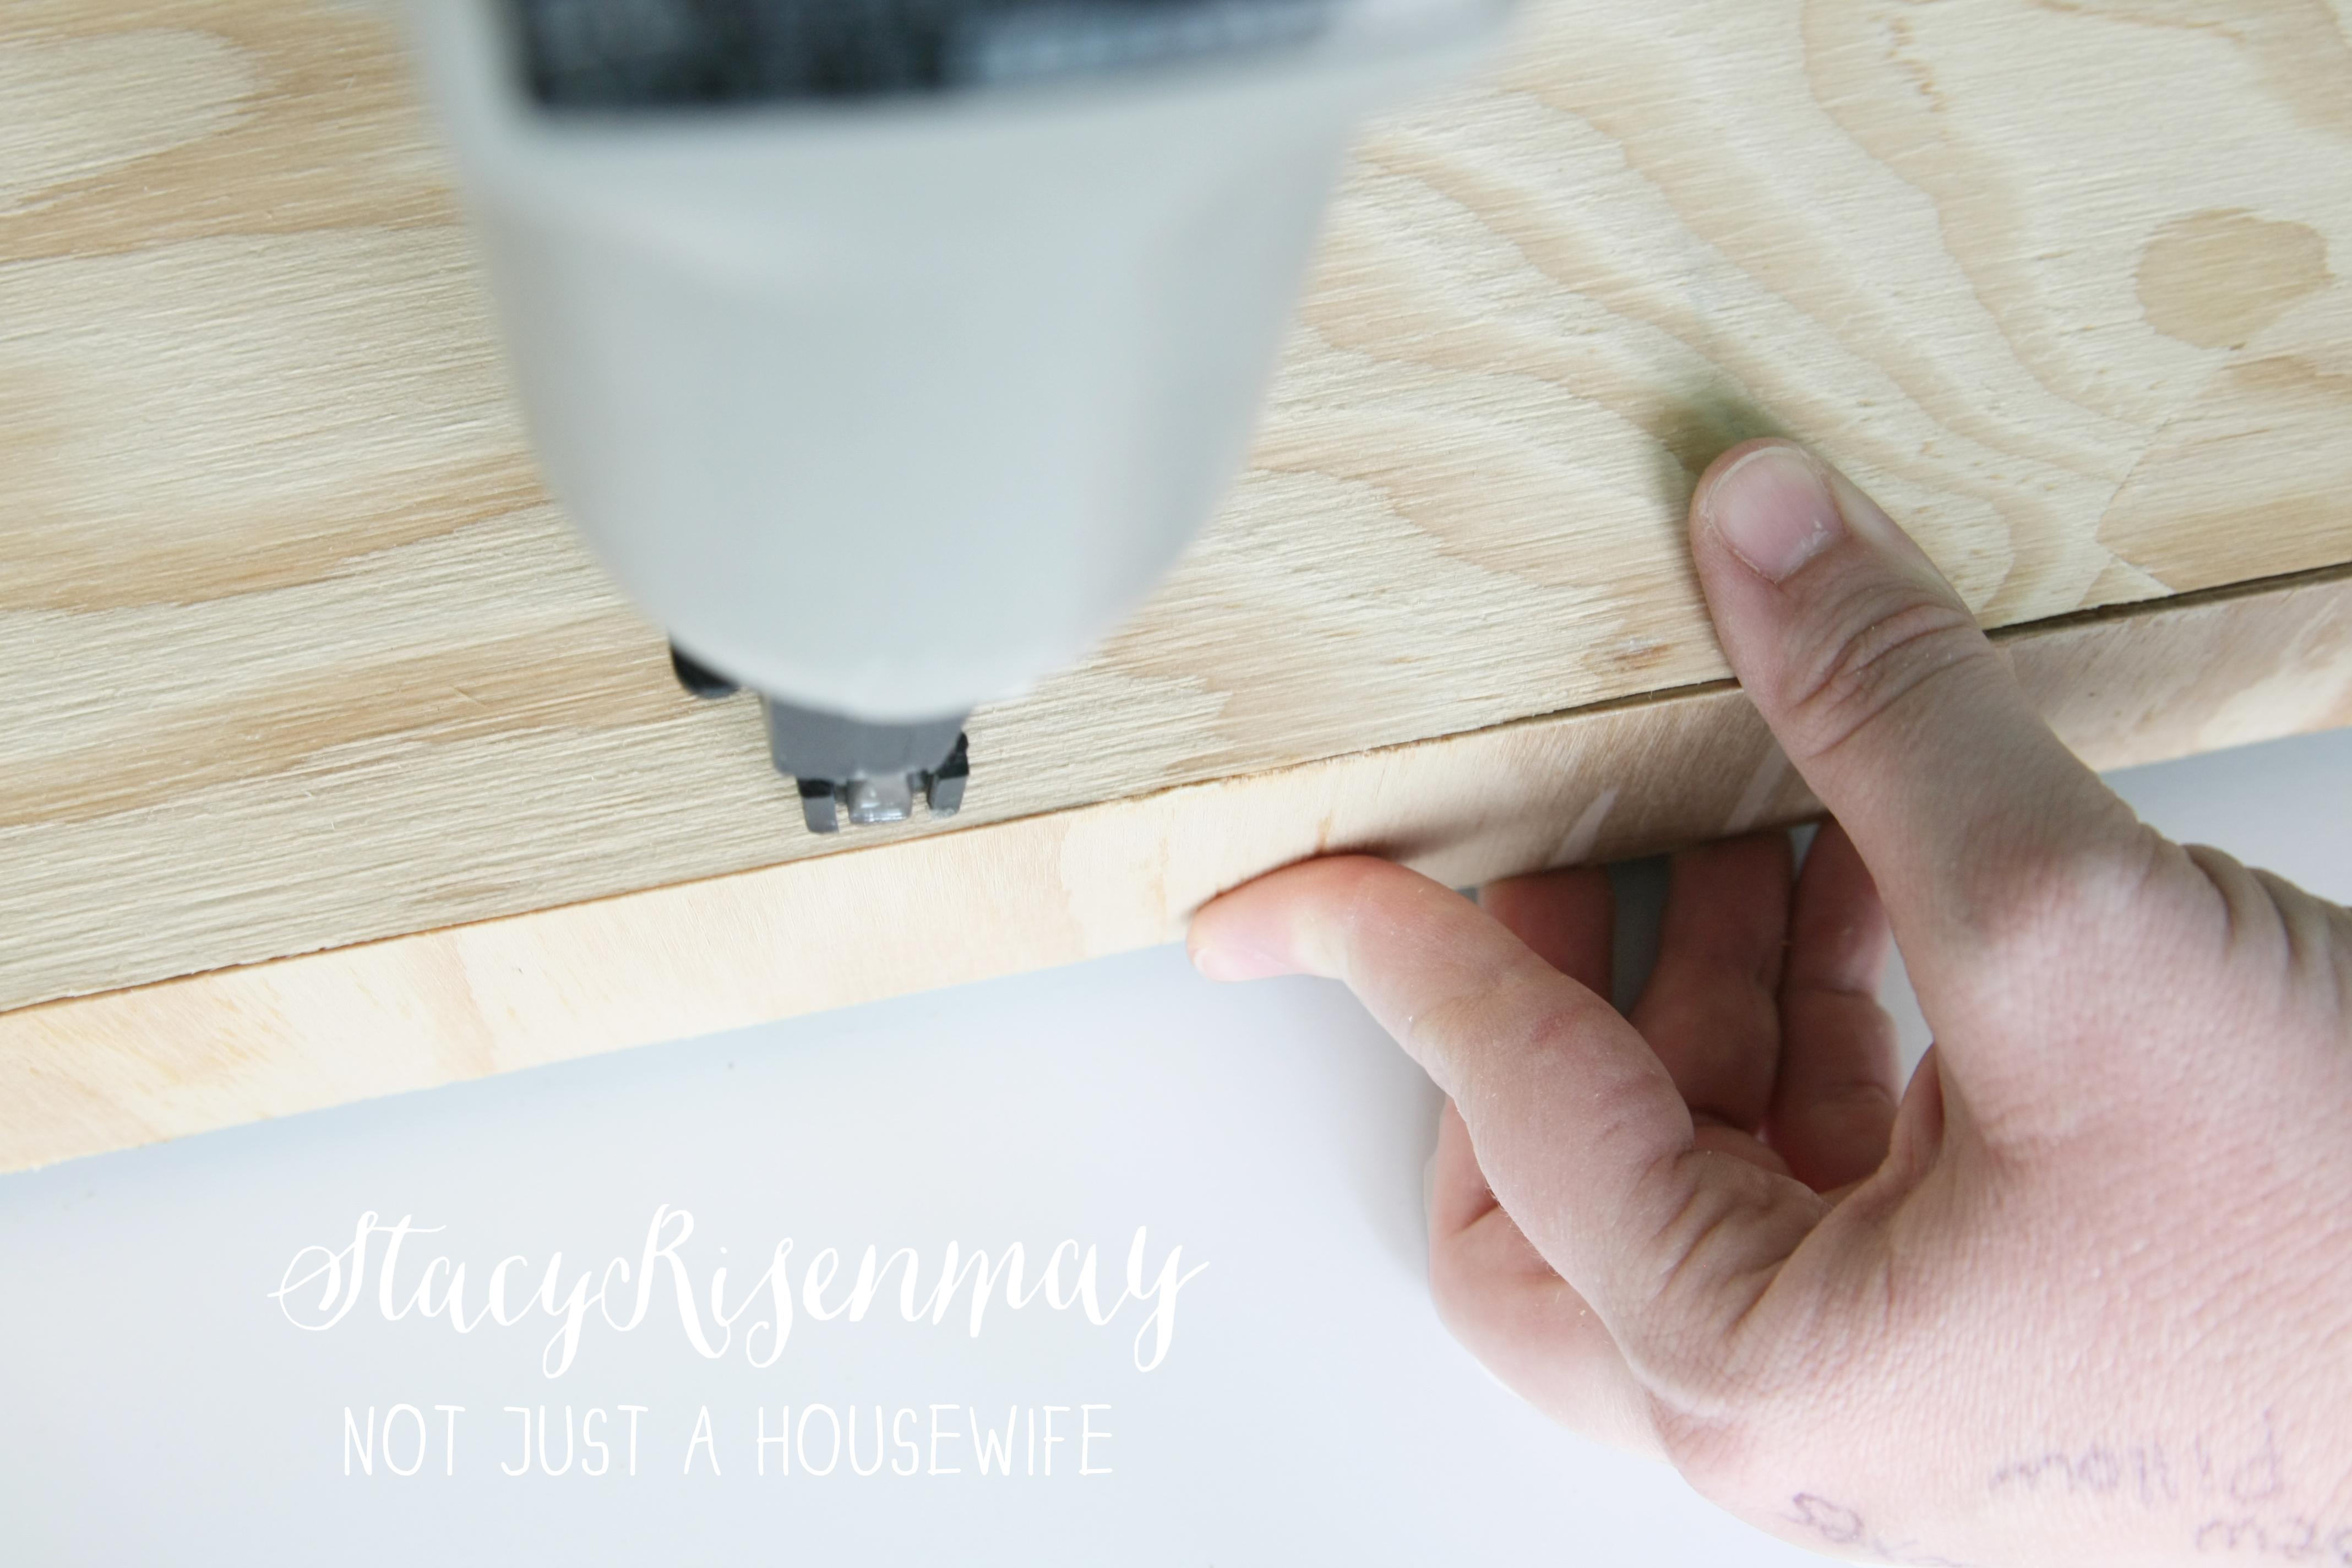
Cut out a triangle piece for the top, a triangle piece for the bottom, and a long rectangular piece for the front. I chose to also cut the edges on a 45 degree angle so the edges would be mitered in stead of doing a butt joint. You can see more detailed photos of the different joints on my floating side table tutorial.


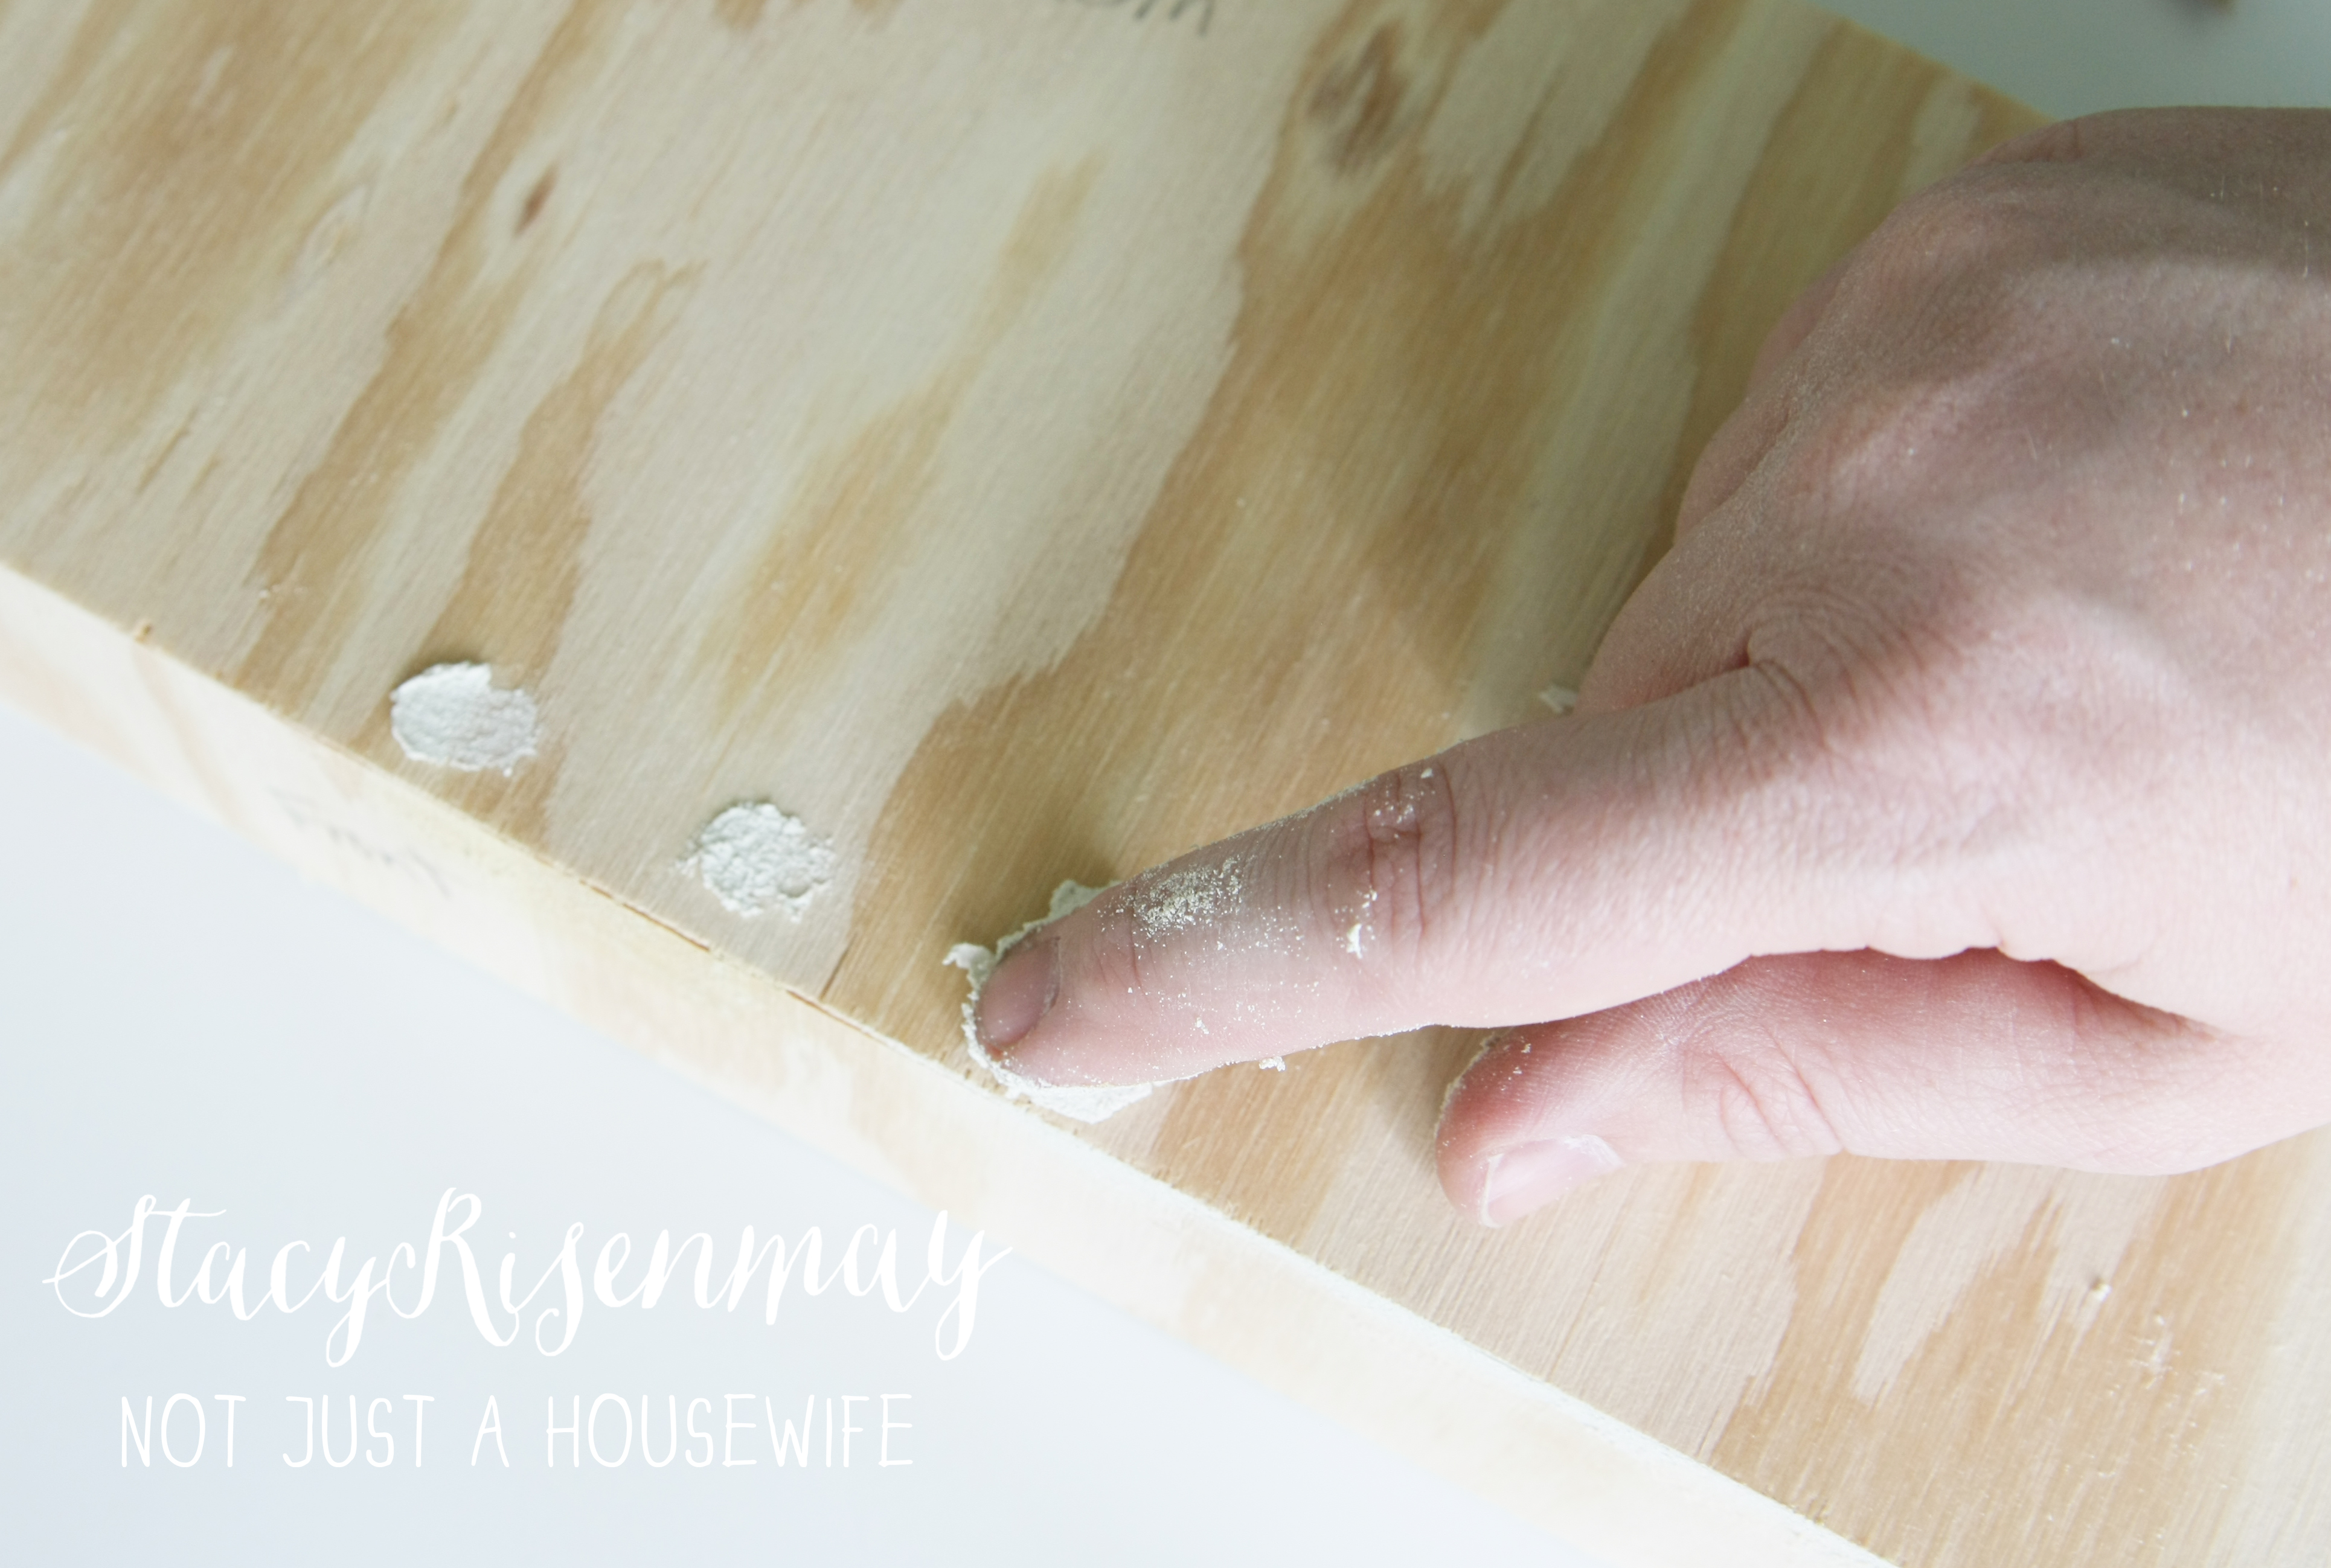
Then use a wood putty to fill the nail holes. Wait for it to dry, then sand the whole shelf smooth. Make sure to use a fine grit sand paper and sand with the grain (along the grain lines).

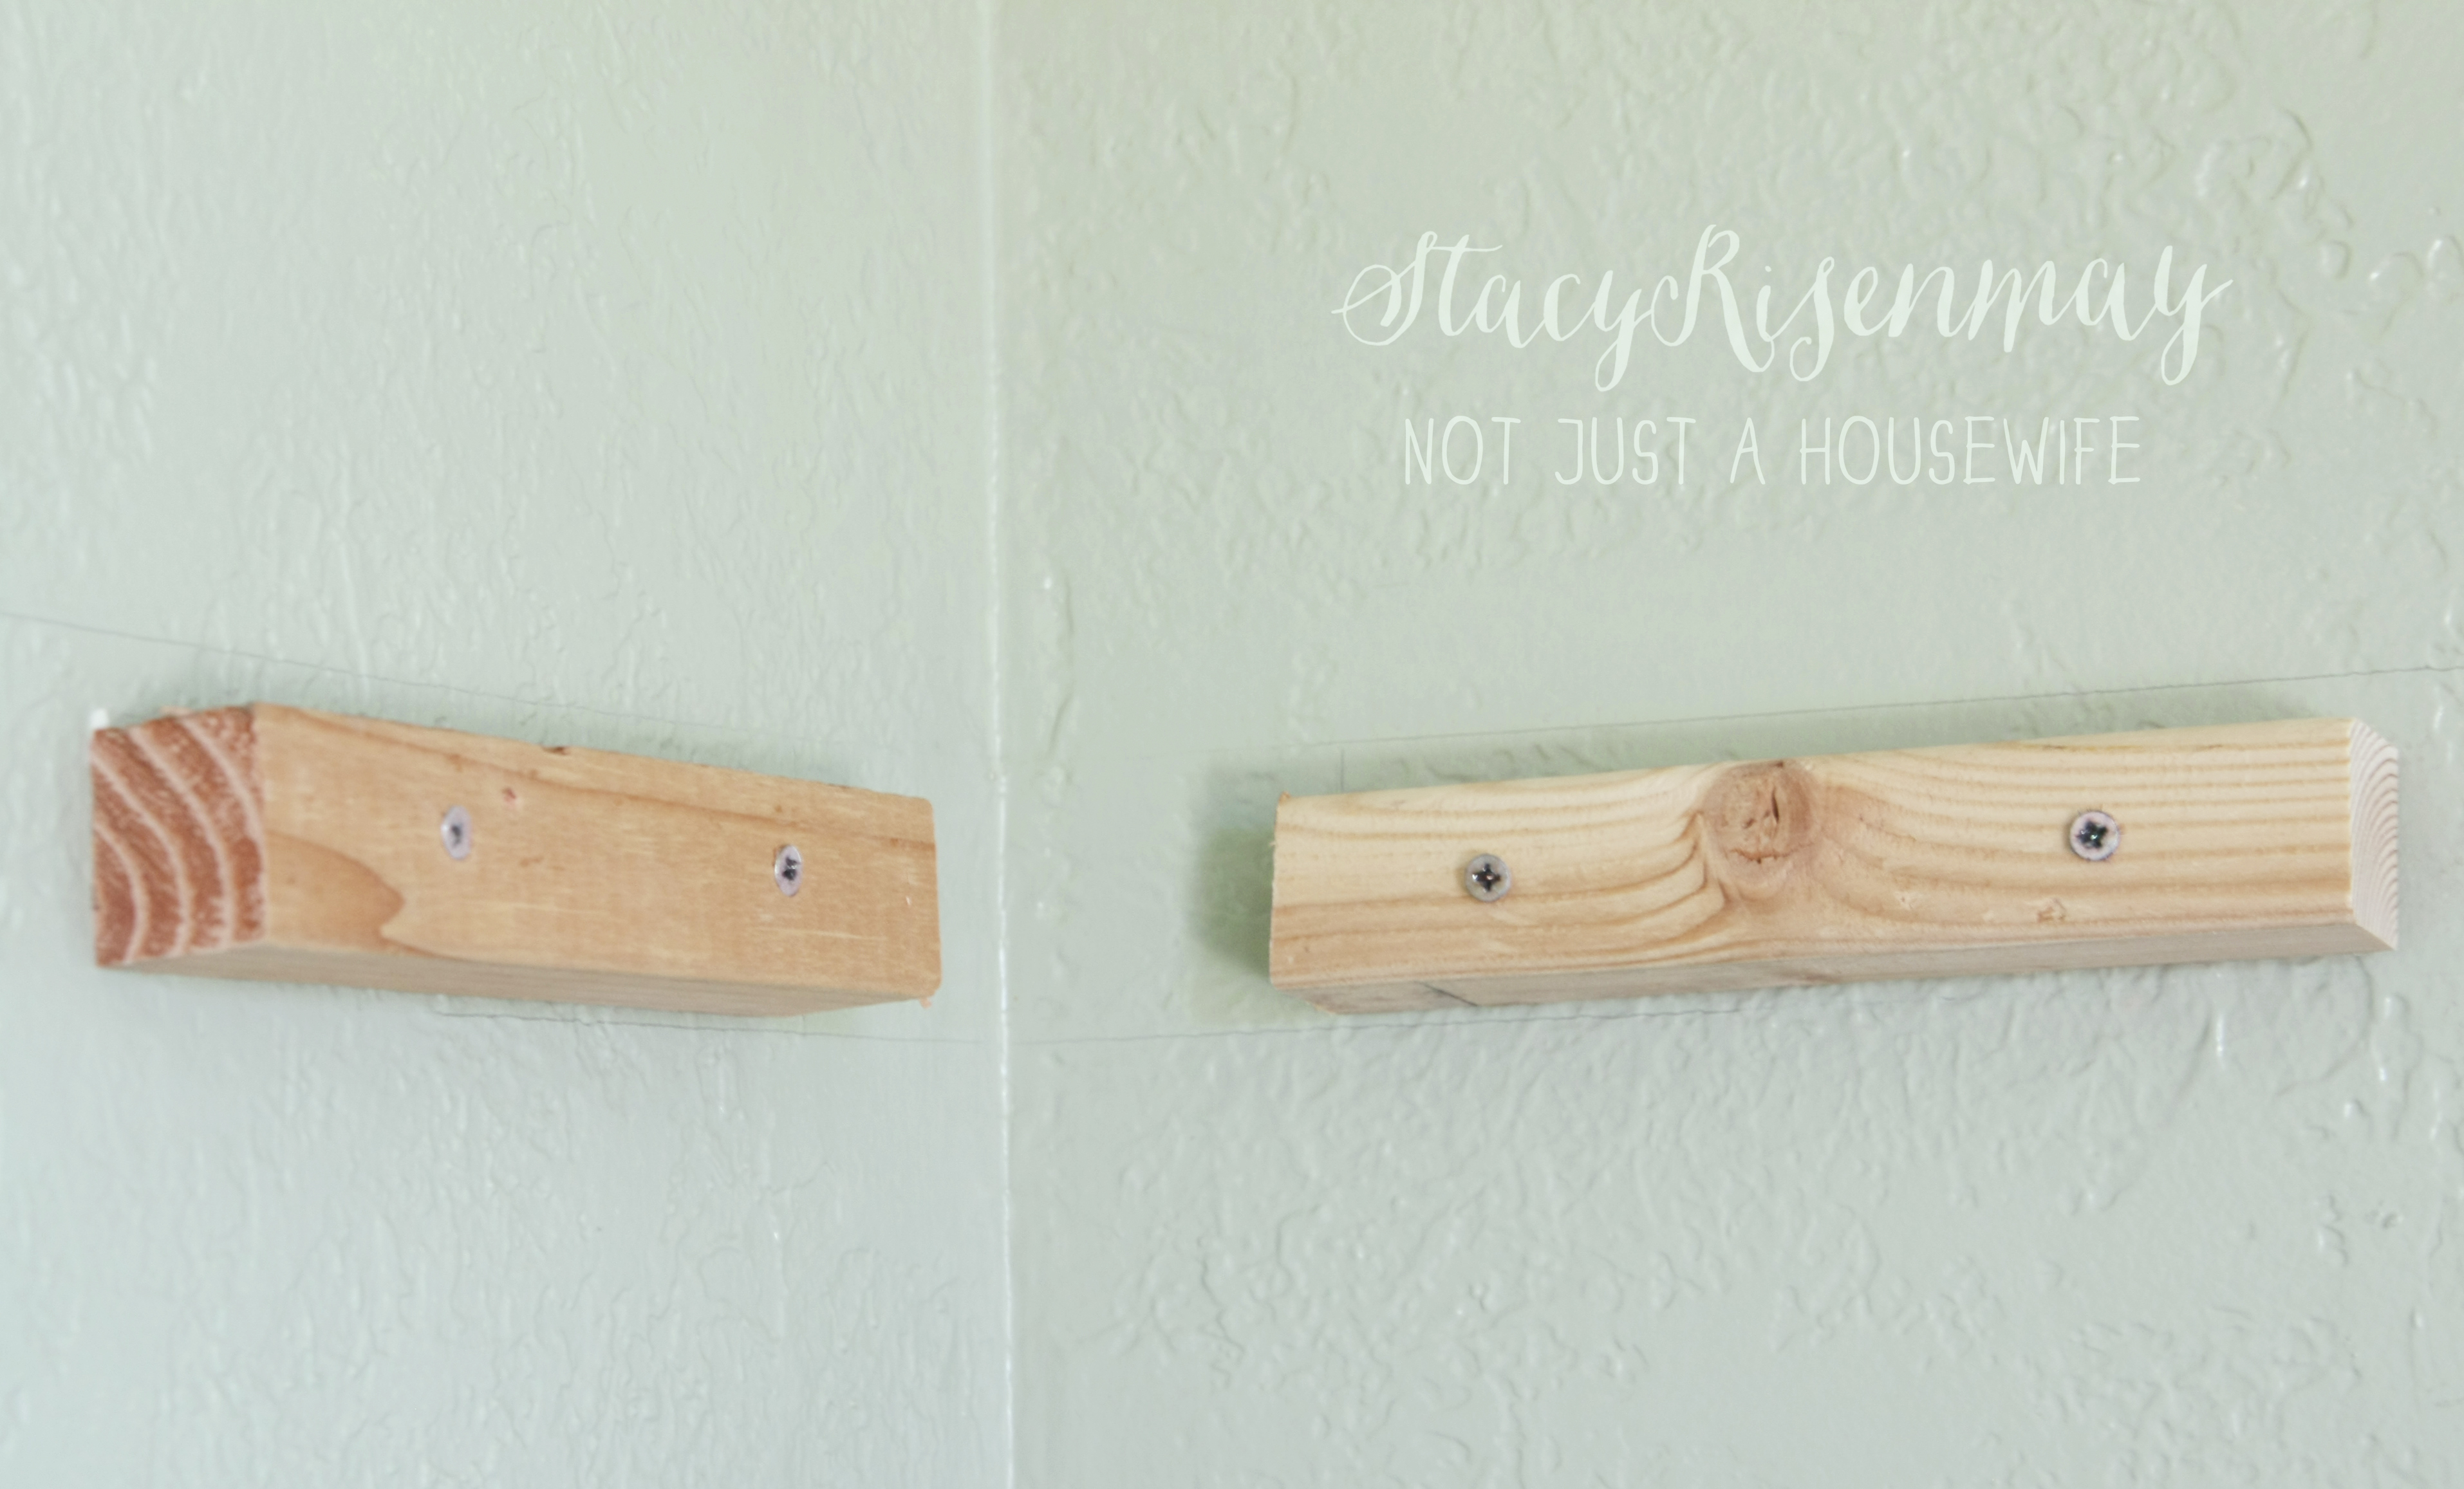
One the shelves are built, you will need to create a brace to hang them with. I cut a 2×4 in half length wise and then cut them into 8″ pieces. You braces should fit snuggly inside the shelf.
I then drill pilot holes so the wood wouldn’t split when I screwed them into the wall.

I used 4″ wood screwed to attach them to the wall. I have lathe and plaster walls and the spacing of the studs are a little dofferent, but make sure that you find a stud to screw the brace into so the shelf will be more secure.
Make sure they are level.


When I hung the one shelf years ago I did not caulk. But it was painted almost the same color as the wall, so the slight spaces did not show as much. Wall will not always be 100% square so even if you build the shelf perfectly, you will still have small gaps in places. I decided to caulk the edges this time for a cleaner look. If I ever want to remove them, all I have to do is use a razor blade along the caulk line.


I can’t wait to show you the whole space! I am hoping to get it done this week.