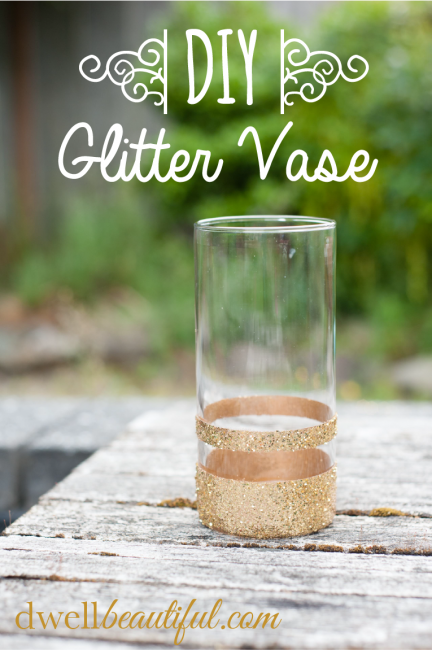
Easy DIY Glitter Vase
Hi friends! My name is Erica and I’m the blogger over at Dwell Beautiful! I’m so excited to become a regular contributor here at Oh my! Creative – you’ll be seeing posts from me every 3rd Thursday of the month! A BIG thanks to Susan for having me along. I love blogging about DIY home projects, craft tutorials, and current interior design trends. Some of my favorite projects involve taking something old or ordinary and putting a creative twist on it. I just love a good craft session with a glass of wine!
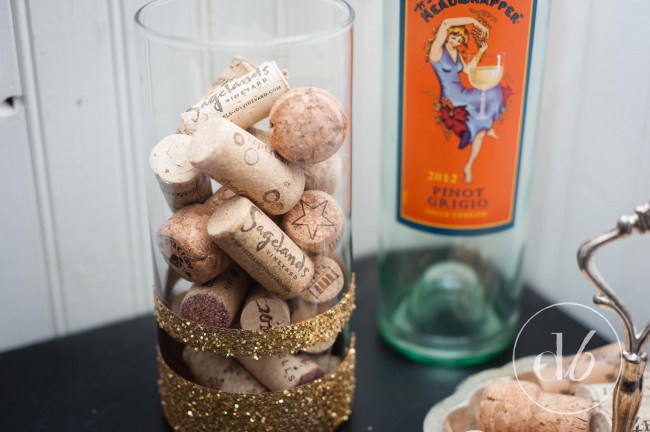
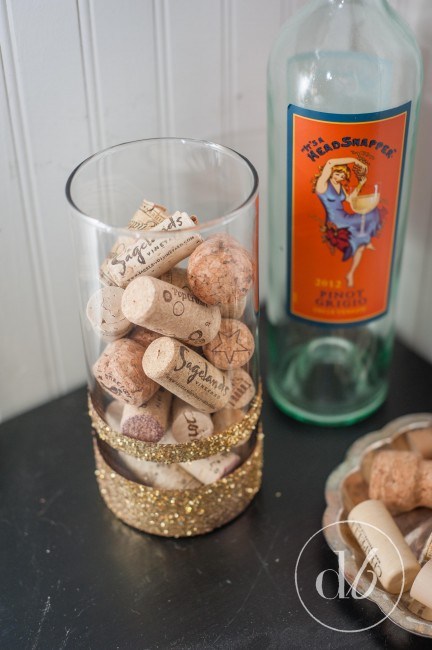
I collect wine corks and have been wondering what to do with them for a while – they’ve just been collecting dust in a drawer! I decided having them in some sort of glass container would be a fun way to display some of my collection, which is the inspiration behind this tutorial! But I didn’t just want to use a plain vase, so I decided to spruce up a dollar store one with a little bit of glitz and glam – Easy DIY Glitter Vase. Let’s get the ball (or corks – a little drinking and crafting never hurt anyone… right?) rolling


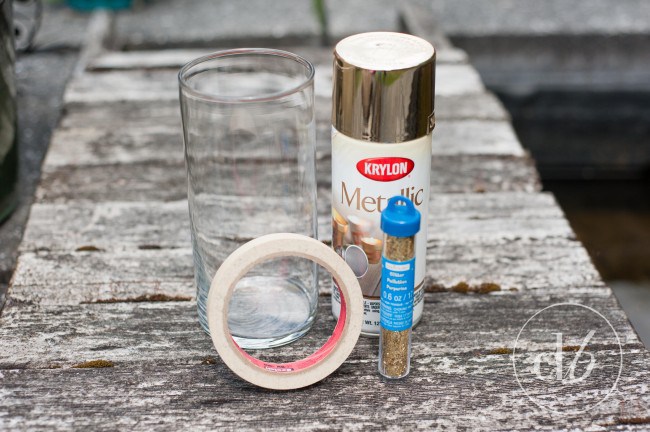
Glitter Vase Craft Materials
– Glass Vase (I got mine at the dollar store!)
– Masking Tape
– Spray Paint

– Glitter

I decided to do gold spray paint with gold glitter because I’m completely obsessed with all things glittery gold! It helps to have coordinating spray and glitter so in case the glitter doesn’t fully cover you won’t be able to tell the difference. Of course, it might be fun to do differing colors for a fun effect!
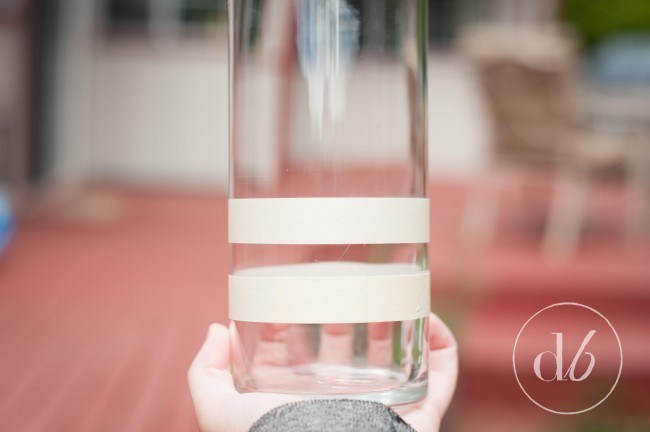
Step 1

Take your masking tape and carefully tape even lines around your glass. Vary the height of the lines for visual interest. You don’t have to do lines if you don’t want to – feel free to mix it up by putting polka dots, triangles, zig-zags, you name it! Just keep in mind that whatever the tape is covering will be clear glass!
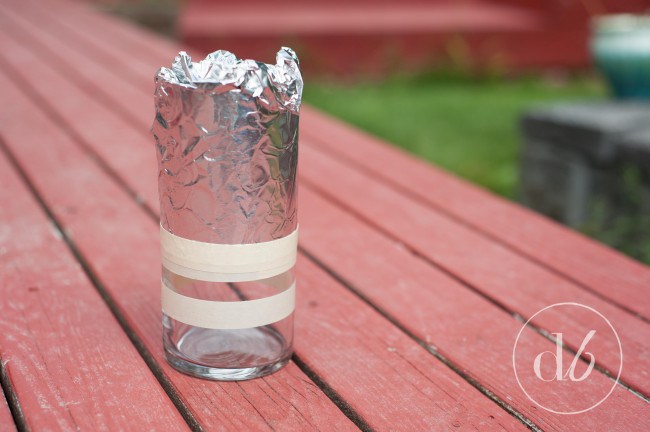
Step 2

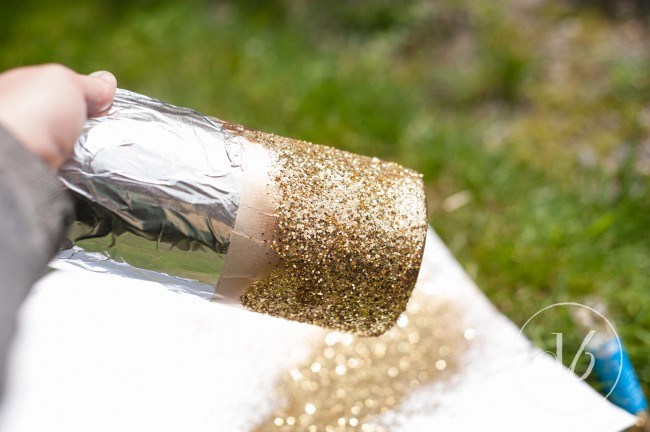
Put foil around anything you don’t want getting spray painted – this is a trick I learned from Delineate Your Dwelling! Foil molds easily around pieces and is a bit cleaner to work with than newspaper. I reinforced the foil seal by adding another piece of masking tape.
Steps 3-4

Now, taking a picture of these two steps is tricky, a.) because I only have two hands and b.) because the spray paint dries quickly. Take your spray paint and give quick sweeping motions to cover the piece, immediately sprinkle glitter over the wet spray paint, making sure you cover as much of the paint as possible. Use a piece of paper to catch extra glitter so you can put it back in the container to use again later!
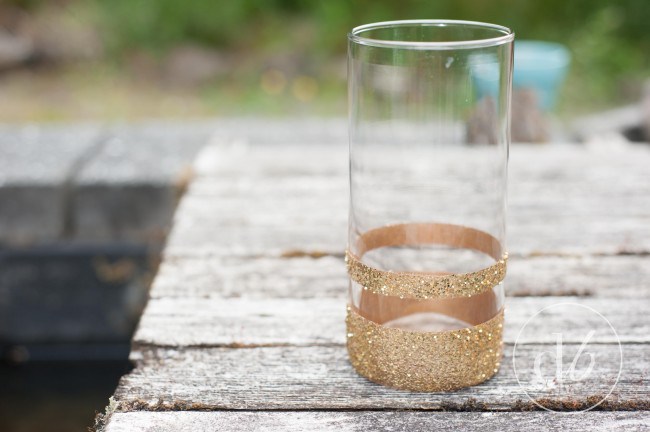
Peel off the tape once everything is dry Et Voila!

This super easy glitter vase craft only took me maybe 10 minutes tops from start to finish. The spray paint/glitter combo was dry within minutes and ready to be brought inside!

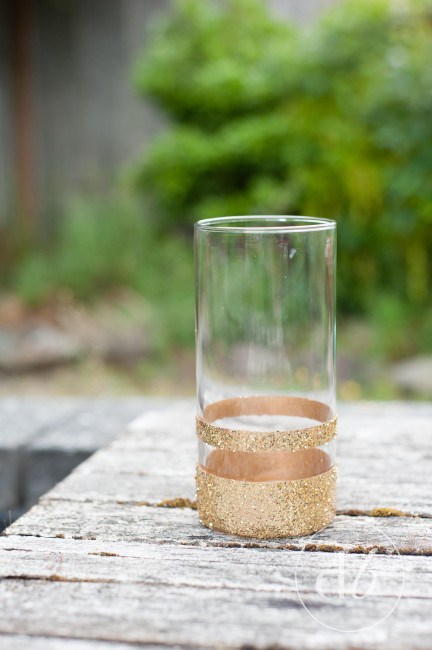
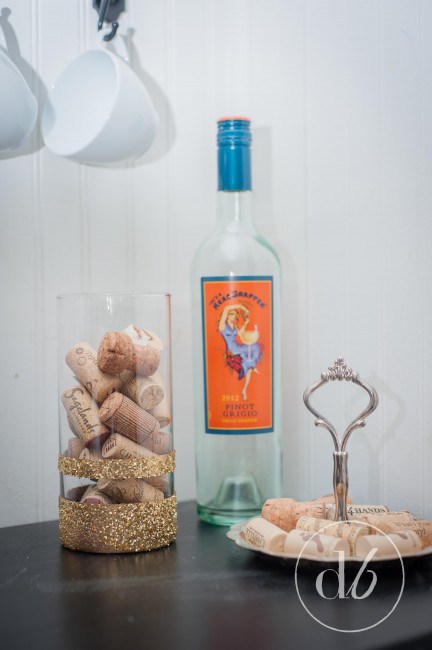
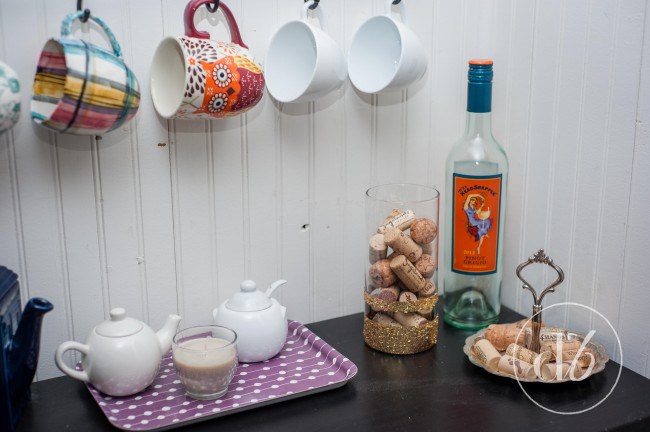
I love how crisp the lines are and how the glitter sparkles in the sun! Le sigh, my heart beats for all things glittery gold! I threw in some of my more interesting and special wine corks and set her up in a little corner on my tea/coffee/wine bar.


What would you put in your glitter vase? I think another great option would be to add some glass beads in the bottom and stick your make-up brushes in it! Join me again next month for another fun DIY project!

The post Easy DIY Glitter Vase appeared first on Oh My Creative.