
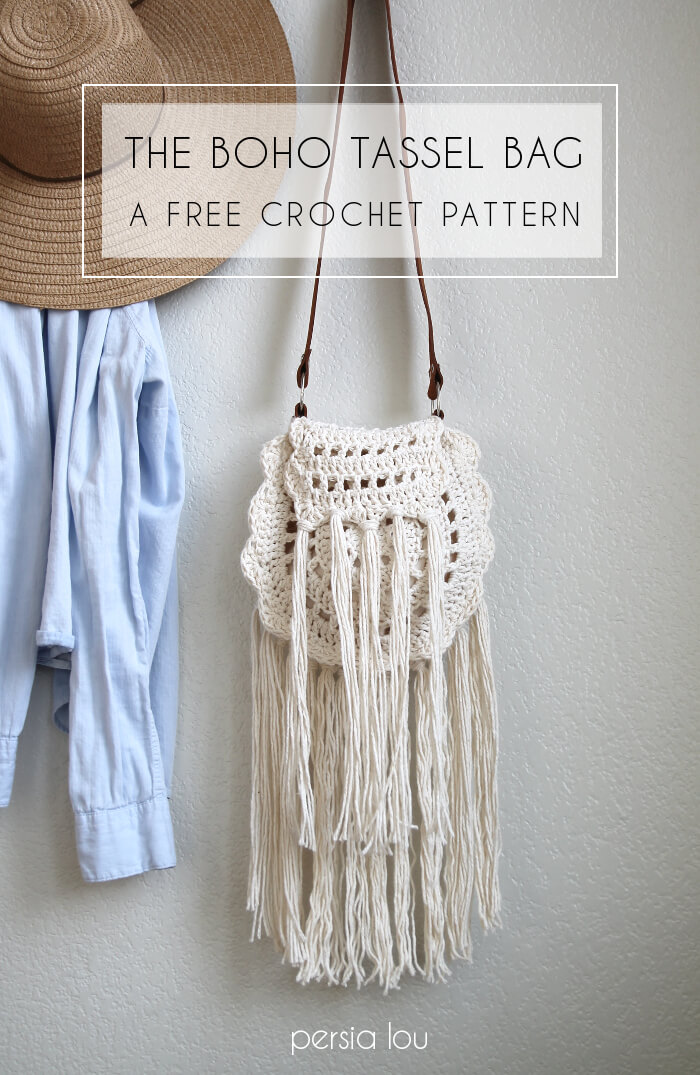
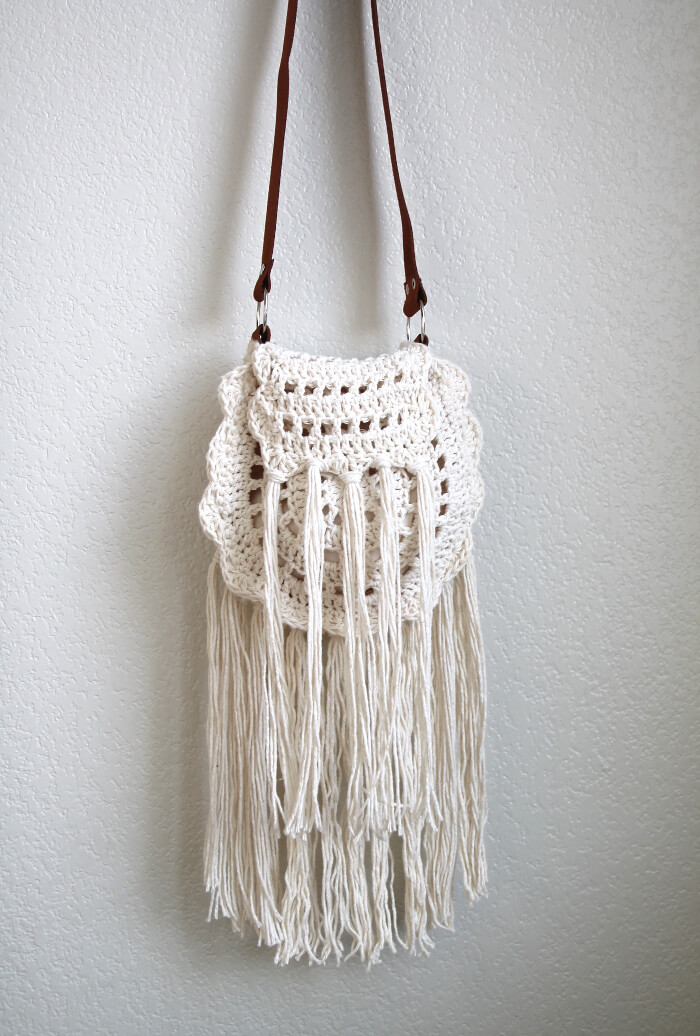
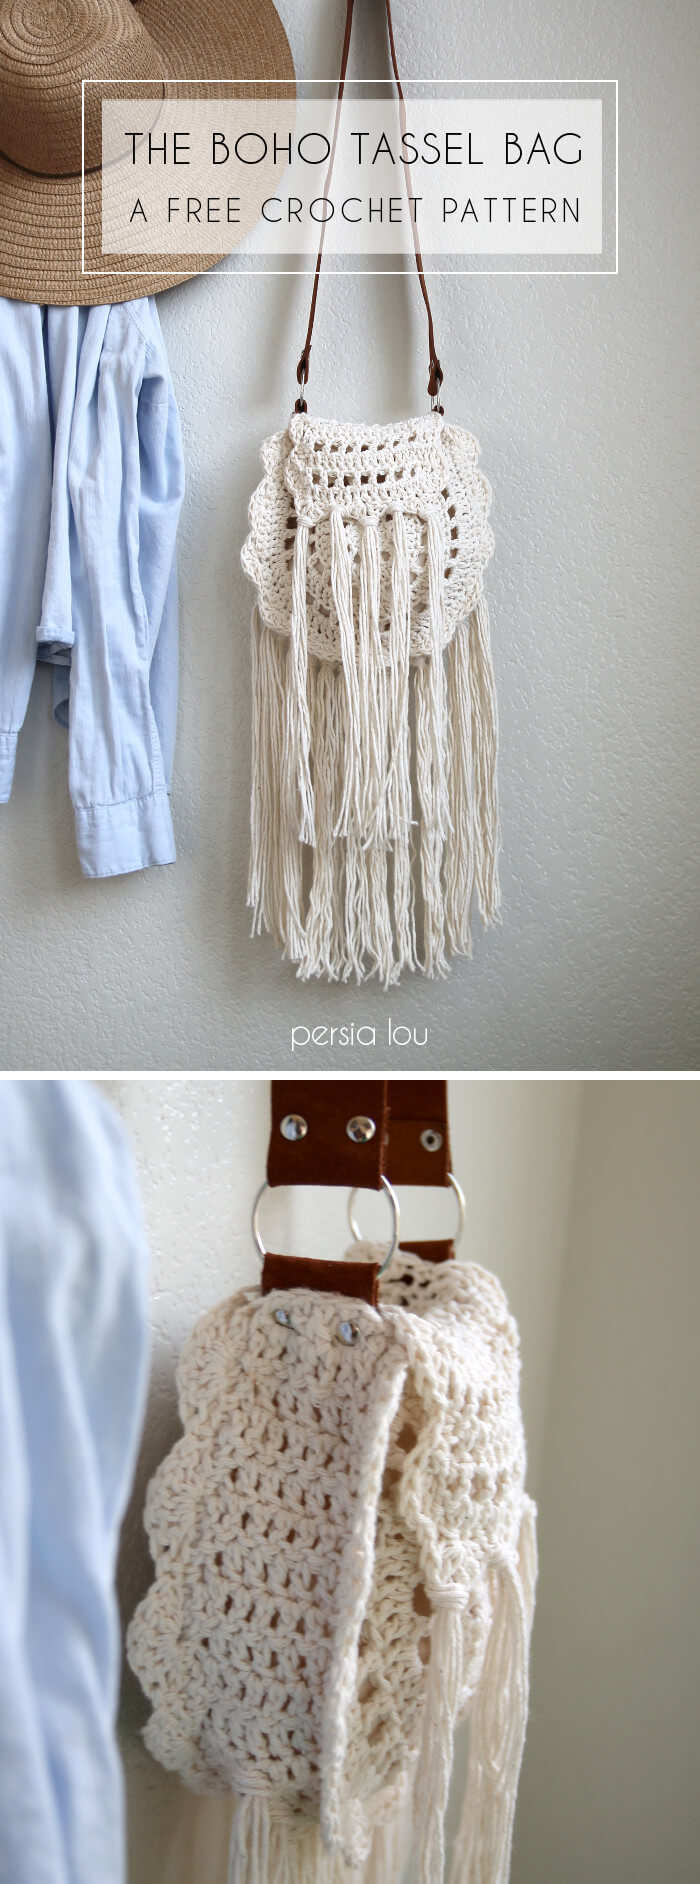
Boho Tassel Crochet Bag – Free Pattern

Is it warming up in your part of the world yet? It’s definitely been feeling summery here in the desert for a while now, and I was ready to bust out my cotton for some warm weather crochet. I was at Target recently (when is that statement ever NOT true?), and I saw this cute little crocheted bag and decided to try to recreate it at home.
Sure, you could totally just buy the Target bag for 30 bucks. Sure, I probably spent half that in supplies plus at least three hours making this bag. Sure, sure. But that’s not really the point, is it? The point is that I MADE this thing, and I am dang proud of that. I mean, it’s so cute, right?

Here’s what you need to make your own:
- Worsted Weight Cotton Yarn (I used about 8 ounces of Lily Sugar N Cream in Ecru)
- Size I (5.5 mm) Crochet Hook
- Half a Yard of Unbleached Muslin
- 2 Steel Rings
- Rivets and Rivet Setter
- Leather Strip or an old belt would work great too.
- Leather Punch
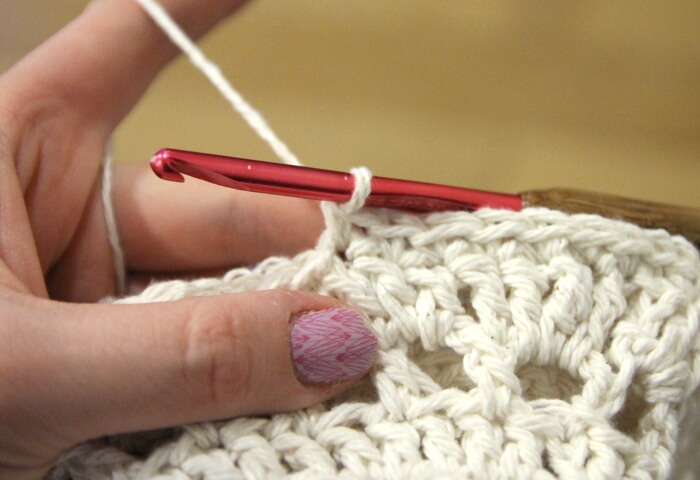
Boho Tassel Bag Pattern
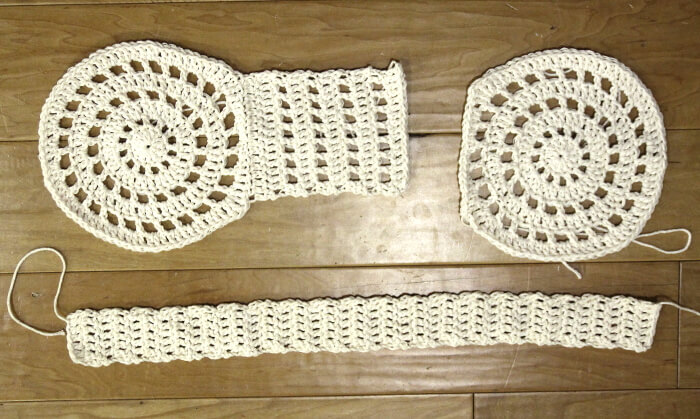
Bag Front

Round 1: Starting with a magic loop, ch 2 (counts as first dc), work 11 dc in magic loop, pull to tighten, sl st to join (12 dc).
Round 2: Ch 3 (counts as first dc and ch 1), dc , ch 1 in each stitch around, sl st to join (12 dc, 12 ch 1 sps).
Round 3: Ch 2 (counts as first dc), 2 dc in next ch 1 sp, *dc in next dc, 2 dc in next ch 1 sp, repeat from * around, sl st to top of first ch 2 to join (36 dc).
Round 4: Ch 4 (counts as first dc and ch 2), skip two dc, dc in next st, *ch 2, skip 2 dc, dc in next st, repeat from * around, sl st to 2nd ch of beginning ch 4 (18 dc, 18 ch 2 spaces).
Round 5: Ch 2 (counts as first dc), 2 dc in ch 2 sp, *dc in next st, 2 dc in next ch 2 sp, repeat from * around sl st to first ch 2 (54 dc).
Round 6: Ch 4 (counts as first dc and ch 2), skip 1 dc, dc in next st, *ch 2, skip 1 dc, dc in next st, repeat from * around sl st to 2 ch of beginning (27 dc, 27 ch 2 spaces).
Round 7: Ch 3 (counts as first htrc), (trc, htrc, htrc) all in next ch 2 sp, *dc in next dc, 2 dc in next ch 2 sp, repeat from * 18 times, dc in next st, (dc, htrc) in next ch 2 sp, htrc in next st, (trc, htrc, htrc) all in next ch 2 sp, dc in next dc, 2 dc in next ch 2 sp, hdc in next st, 2 hdc in next ch 2 sp, sc in next st, 2 sc in next ch 2 sp, sc in next st, 2 hdc in next ch 2 sp, hdc in next st, 2 dc in next ch 2 sp, sl st to beginning ch 3 to join. Weave off, finish in ends.
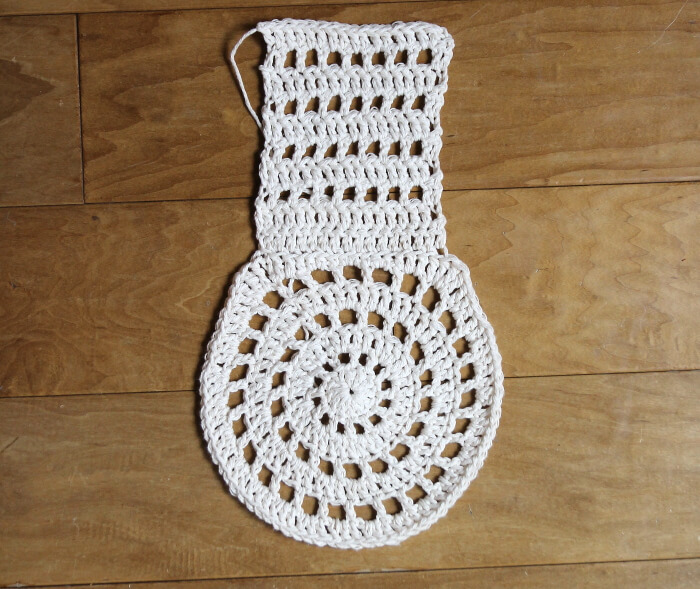
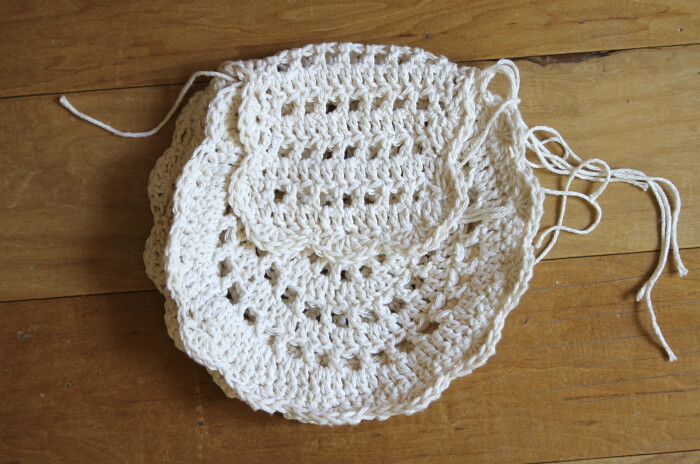
Bag Back

The back of the bag is worked the same as the front but with a flap added to the top.
Round 1: Starting with a magic loop, ch 2 (counts as first dc), work 11 dc in magic loop, pull to tighten, sl st to join (12 dc).
Round 2: Ch 3 (counts as first dc and ch 1), dc , ch 1 in each stitch around, sl st to join (12 dc, 12 ch 1 sps).
Round 3: Ch 2 (counts as first dc), 2 dc in next ch 1 sp, *dc in next dc, 2 dc in next ch 1 sp, repeat from * around, sl st to top of first ch 2 to join (36 dc).
Round 4: Ch 4 (counts as first dc and ch 2), skip two dc, dc in next st, *ch 2, skip 2 dc, dc in next st, repeat from * around, sl st to 2nd ch of beginning ch 4 (18 dc, 18 ch 2 spaces).
Round 5: Ch 2 (counts as first dc), 2 dc in ch 2 sp, *dc in next st, 2 dc in next ch 2 sp, repeat from * around sl st to first ch 2 (54 dc).
Round 6: Ch 4 (counts as first dc and ch 2), skip 1 dc, dc in next st, *ch 2, skip 1 dc, dc in next st, repeat from * around sl st to 2 ch of beginning (27 dc, 27 ch 2 spaces).
Round 7: Ch 3 (counts as first htrc), (trc, htrc, htrc) all in next ch 2 sp, *dc in next dc, 2 dc in next ch 2 sp, repeat from * 18 times, dc in next st, (dc, htrc) in next ch 2 sp, htrc in next st, (trc, htrc, htrc) all in next ch 2 sp, dc in next dc, 2 dc in next ch 2 sp, hdc in next st, 2 hdc in next ch 2 sp, sc in next st, 2 sc in next ch 2 sp, sc in next st, 2 hdc in next ch 2 sp, hdc in next st, 2 dc in next ch 2 sp, sl st to beginning ch 3 to join. Ch 2 (counts as first dc), TURN.
Now the pattern will switch from rounds to rows.
Row 1: Ch 2 (counts as first dc), working in back loops only, dc in each of next 16 sts (17 dc total). Turn.
Row 2: Ch 2 (counts as first dc), dc in next st and each st across (17 dc). Turn.
Row 3: Ch 2 (counts as first dc), dc in next st, *ch 1, dc in next st, repeat from * six times, dc in next st (10 dcs, 7 ch 1 sps). Turn.
Row 4: Ch 2 (counts as first dc), dc in next st and each st across (17 dc). Turn.
Row 5: Ch 2 (counts as first dc), dc in next st, *ch 1, dc in next st, repeat from * six times, dc in next st (10 dcs, 7 ch 1 sps). Turn.
Row 6: Ch 2 (counts as first dc), dc in next st and each st across (17 dc). Turn.
Row 7: Ch 2 (counts as first dc), dc in next st, *ch 1, dc in next st, repeat from * six times, dc in next st (10 dcs, 7 ch 1 sps). Turn.
Row 8: Ch 2 (counts as first dc), dc in next st and each st across (17 dc). Turn.
Row 9: Ch 2 (counts as first dc), Turn dc in next st, *ch 1, dc in next st, repeat from * six times, dc in next st (10 dcs, 7 ch 1 sps). Turn.
Row 10: Ch 2 (counts as first dc), dc in next st and each st across (17 dc). Finish off, weave in ends.
Bag Side Panel
Row 1: Ch 8, dc in 3rd ch from hook, dc in remaining 5 chs (6 dc total). Turn.
Row 2: Ch 2 (counts as first dc), dc in each of next 5 sts (6 dc total). Turn.
Repeat Row 2 until the piece is long enough to wrap around the outside of the bag front – about 37 rows.

To join the front of the bag to the side panel, hold the wrong sides together and work single crochets through both layers.

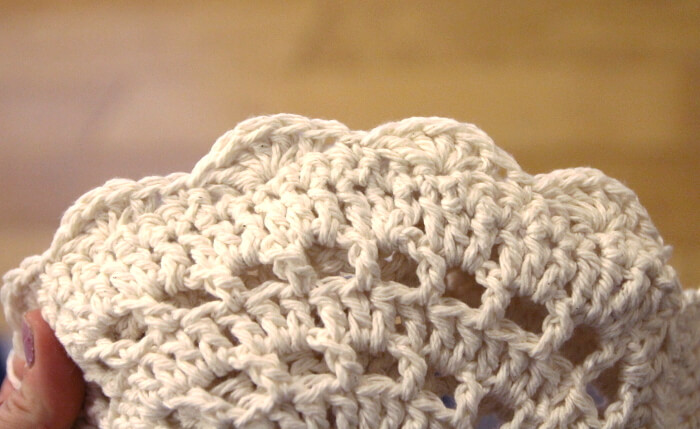
When the pieces are all joined together, work a shell stitch edge around the outside seam you just made. Starting in the corner of sc seam of the front of the bag, ch 1 and single crochet in the same stitch. Skip two stitches and then work 5 dc into the next stitch. Skip two stitches and single crochet in the next stitch. Repeat this pattern (sc, skip 2 sts, 5 dc, skip w sts, sc) to form shells all around the outside of the front.

Work the shell stitch edge around the seam of the back of the bag as well, but continue to work the shell pattern around the flap as well. I worked three shells on each side of the flap.


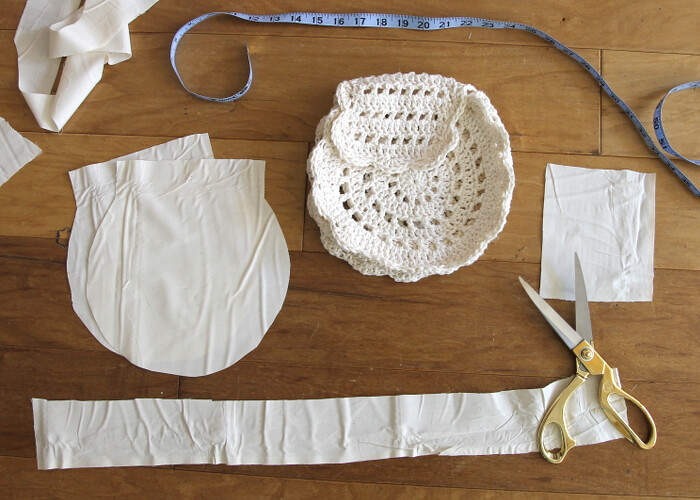
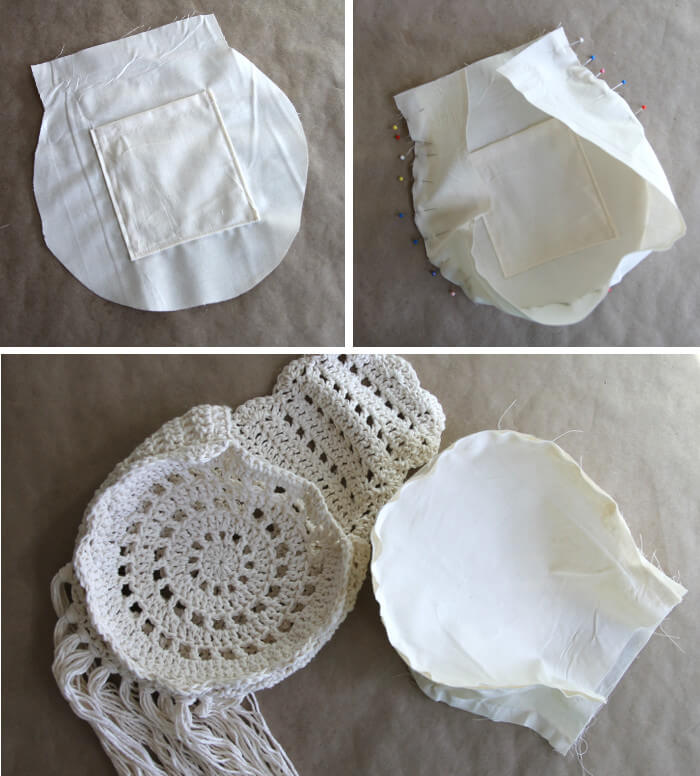
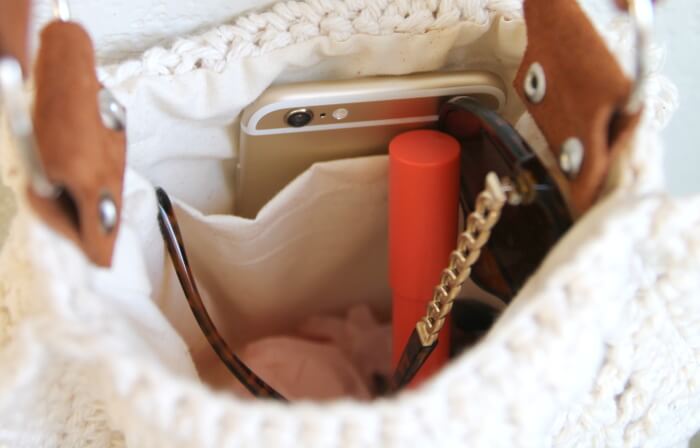
To make the lining of the bag, use the bag as a guide and cut pattern pieces. You will need a front and back piece (you do not need to line the flap, so they should be the same shape and size) as well as a side panel piece.

I added an extra inch or so to the top of the front and back piece patterns so I could turn it under to finish that opening. I also added a pocket to one of the pieces.

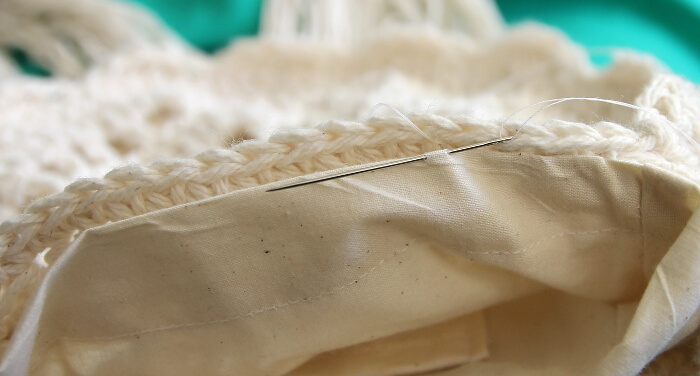
Pin the back or front piece to the side panel piece, and sew around the seam. Then repeat on the other side. Finally, stuff the lining into your crocheted bag and hand sew the lining into the bag.

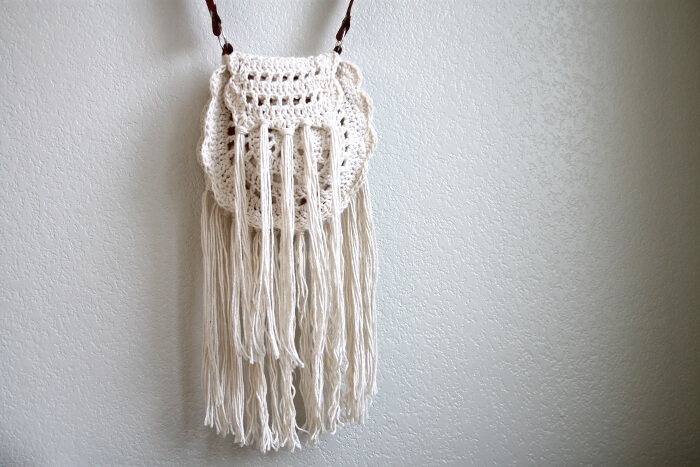
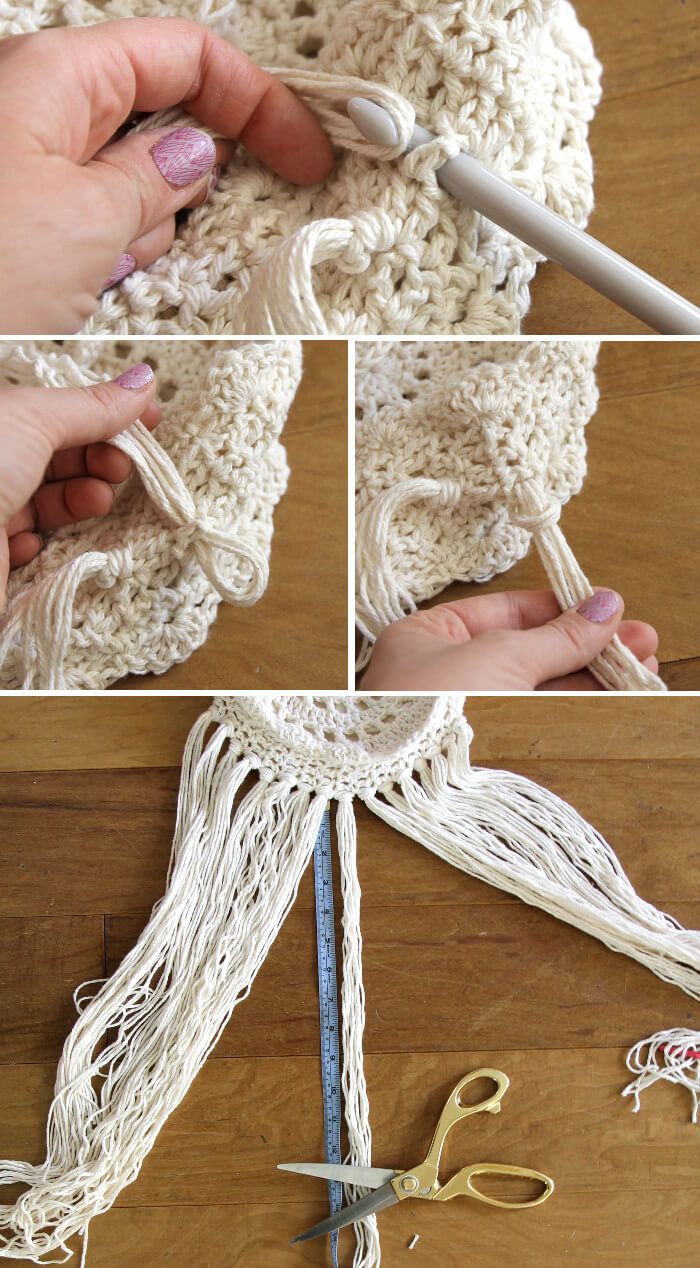
When the lining is sewn in, it’s time to add the tassels! Cut five lengths of yarn, then fold them in half and use a large crochet hook to loop it around stitches along the bottom of the bag as well as the bottom of the flap.

Finally, trim all of the tassels to the same length. I cut mine to 11 inches each.
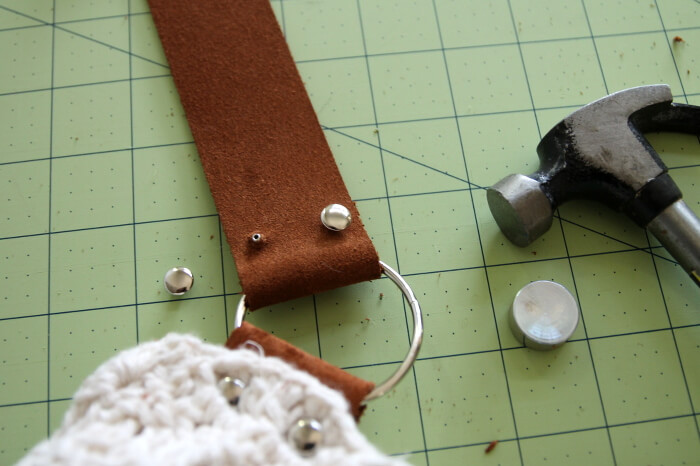
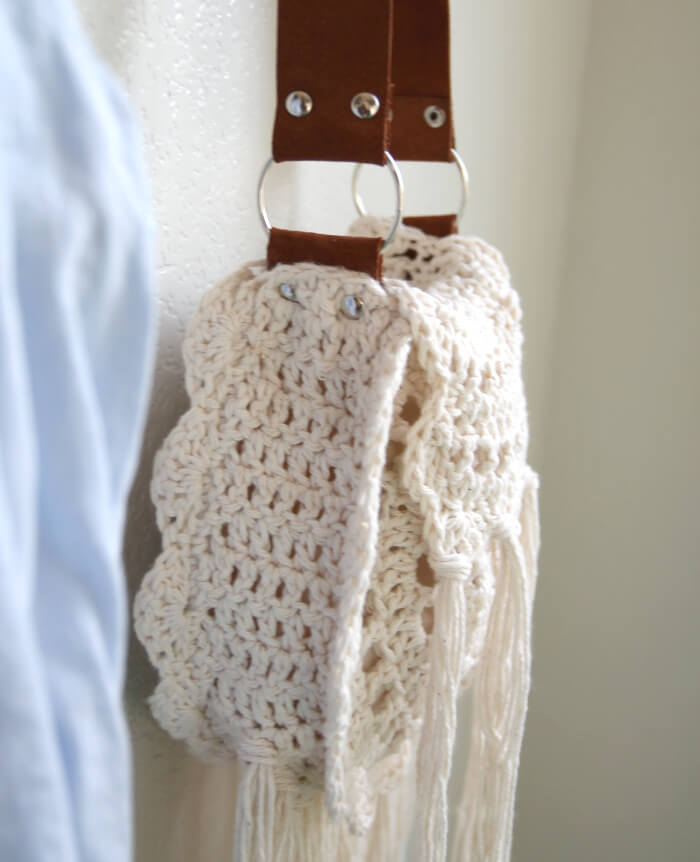
Last but not least, it’s time to add a strap. You could crochet a strap, but I liked the contrast of the leather, and it was a good opportunity to work with a material I don’t use all that often.

I started by cutting small pieces about an inch and a half long that I looped around the steel ring and attached to the bag using rivets.
To set the rivets, first punch a hole the right diameter for your rivets through the leather, then push the rivet through all layers, push the end on with your fingers, and then set the rivet with the setter and a hammer.

I repeated the process to join the strap to the rings. And that’s it! My fun new summery bag was all done!


If you have any questions, please leave them in the comments and I will be happy to try to help. If you make your own bag, I would love to see it! Please share it to my facebook page or tag me on instagram.
And if you like this post, I would love if you pinned them image below. Thanks!
