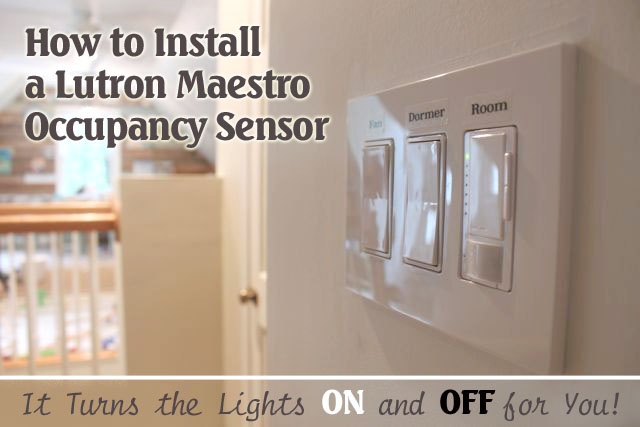
How to Install a Lutron Maestro Occupancy Sensor on a 3-way Switch

Teaching kids to turn off the lights in a room they are no longer in is a tough job. No matter how many times I try to explain that leaving the lights on wastes electricity, it just doesn’t seem to sink in. In their defense, they are like little wind up tops flitting from room to room playing with trains in one; reading in another and barely stopping to use the toilet in the bathroom (putting the lid down is a whole other issue! Ugh.)
When Lutron approached me about giving my kids a helping hand with the lights, I was immediately intrigued. It turns out that Lutron has just introduced the Maestro occupancy sensor dimmer that can be easily installed in place of an existing light switch. (Single pole switches are easiest. Dual or Multi-location switches may require a little more wiring and programming to work properly.) After some thought, I decided to try the Maestro in our art & craft studio. This is the room that we least notice when the bulbs are burning (it is over the garage and is separated by our guest room from the rest of the house.)
Follow along to see how to install your own. Your attentive nature may be rewarded at the end.
Materials:

- Drill or screwdriver
- Needle-nosed pliers
- Electrician’s pliers
- Voltage tester
- X-acto knife
- Lutron Maestro Occupancy Sensor Dimmer
Make sure you purchase the switch specific for your location. If your light is only controlled by one switch, the single pole switch is used. If your light is controlled by two separate switches, chose the 3-way or multi-location switch. (It’s called a 3-way configuration even though there are only two switches. I know confusing.)

Here is a quick
Photographic Tutorial:
1. Make sure you have the power turned off to the light AND any other switches that are in the same switch box. Test all the power (black and red) lines with a voltage tester before proceeding.
2. Remove the existing light switch from the junction box but do not remove the wires yet. You may wish to mark which wire was connected to which screw. Especially if this is one of two switches that controls the same light fixture.
3. This is where things can get tricky. The lighting in our art room is controlled by two separate switches (3-way switch configuration.) One switch at the top of the stairs and one at the bottom. I added the Maestro to the top switch since this is the one that will sense motion as the kids and I are playing in the room.
4. Wire the Maestro in the location that will view the activity in your room.
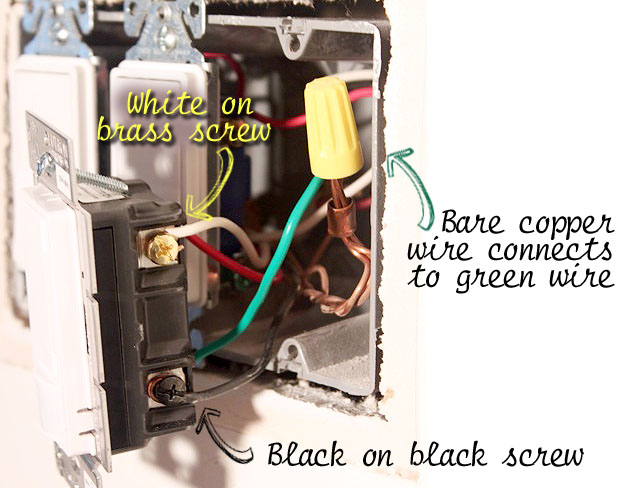
Always wire the ground (green or bare wires) first. This will ground the switch should someone accidentally turn the power back on. Also, the Lutron sensor must be grounded to work properly.

Then connect your house white or neutral wire to the brass screw. Attach the black wire to the black screw.
Finally, attach the red wire to the blue screw.

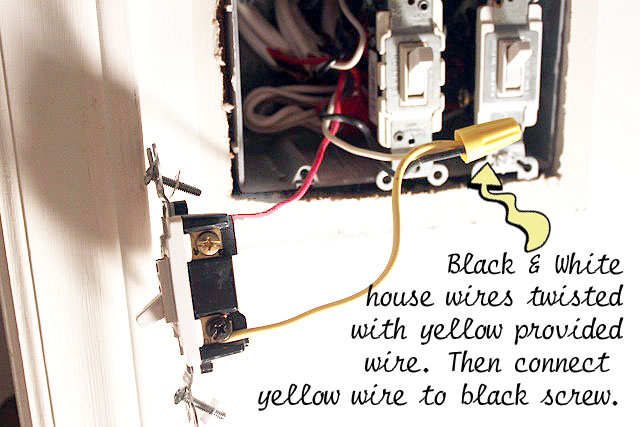
5. In order for the Maestro to maintain power, you must re-wire the other switch that controls your light fixture.
The red wire remains attached to the mechanical switch.

Remove the black and white wires from the switch. Twist them together along with the yellow jumper wire included with the Lutron Maestro. Connect the yellow wire to the black screw on the switch.

6. Screw the mechanical switch back into the junction box.
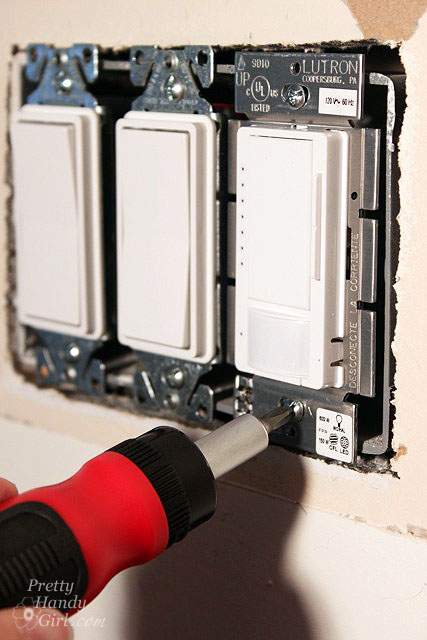
7. Screw the Lutron Maestro back into its junction box.

8. Turn the power back on and test both switches to your light fixture to insure that they work properly.
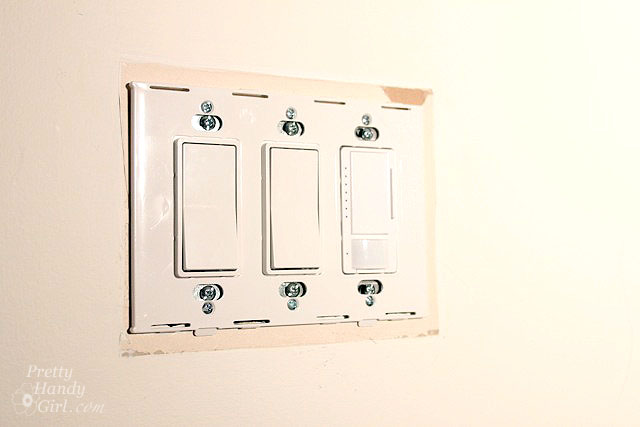
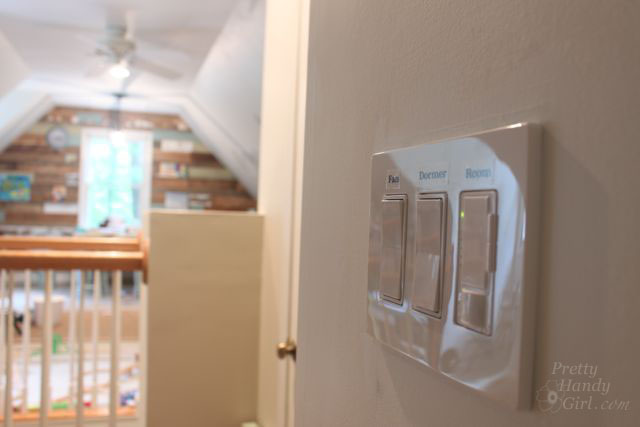
9. Attach the face plate and you’re done.

(Side note: If your switch is located in a box with other switches, you’ll have to replace the other switches with decorator switches to work with the new face plate.)
Hey, who left the lights on?


The Lutron Maestro Occupancy Sensor Dimmer is programmable if you wish to change the length of time the light remains on after it stops sensing activity; the sensitivity to motion and heat; and the light level. See additional video tutorials on installation and programming at Lutron.
Don’t be discouraged if your wiring doesn’t match my wire colors. I highly recommend calling Lutron’s 24/7 Tech Support! I called them when I had questions and they were super helpful. The Lutron Tech Support number is: 1-800-523-9466

Want Your Own Maestro?!
Hey loyal readers, you made it to the end of my tutorial. Congrats! How do you like the sound of a Lutron Maestro Occupancy Sensor for your own “trouble room”? One would be perfect in a basement laundry room. Or a walk in closet. Or how about the kids’ bathroom? Leave me a comment below telling me where you could use a Maestro and if you need a single pole or 3-way switch. I have four to giveaway. One winner will be chosen at random on Friday, September 20th.


Disclosure: This post is a sponsored post for Lutron. I was compensated for my time and project materials. All opinions and words are my own. Lutron is a company that I was happy to partner with because they make quality products that I have used for years. Rest assured that I will not partner with brands that I don’t value or respect.
If you liked this post, you may like more electrical tutorials:

The post How to Install a Lutron Maestro Occupancy Sensor on a 3-way Switch appeared first on Pretty Handy Girl.