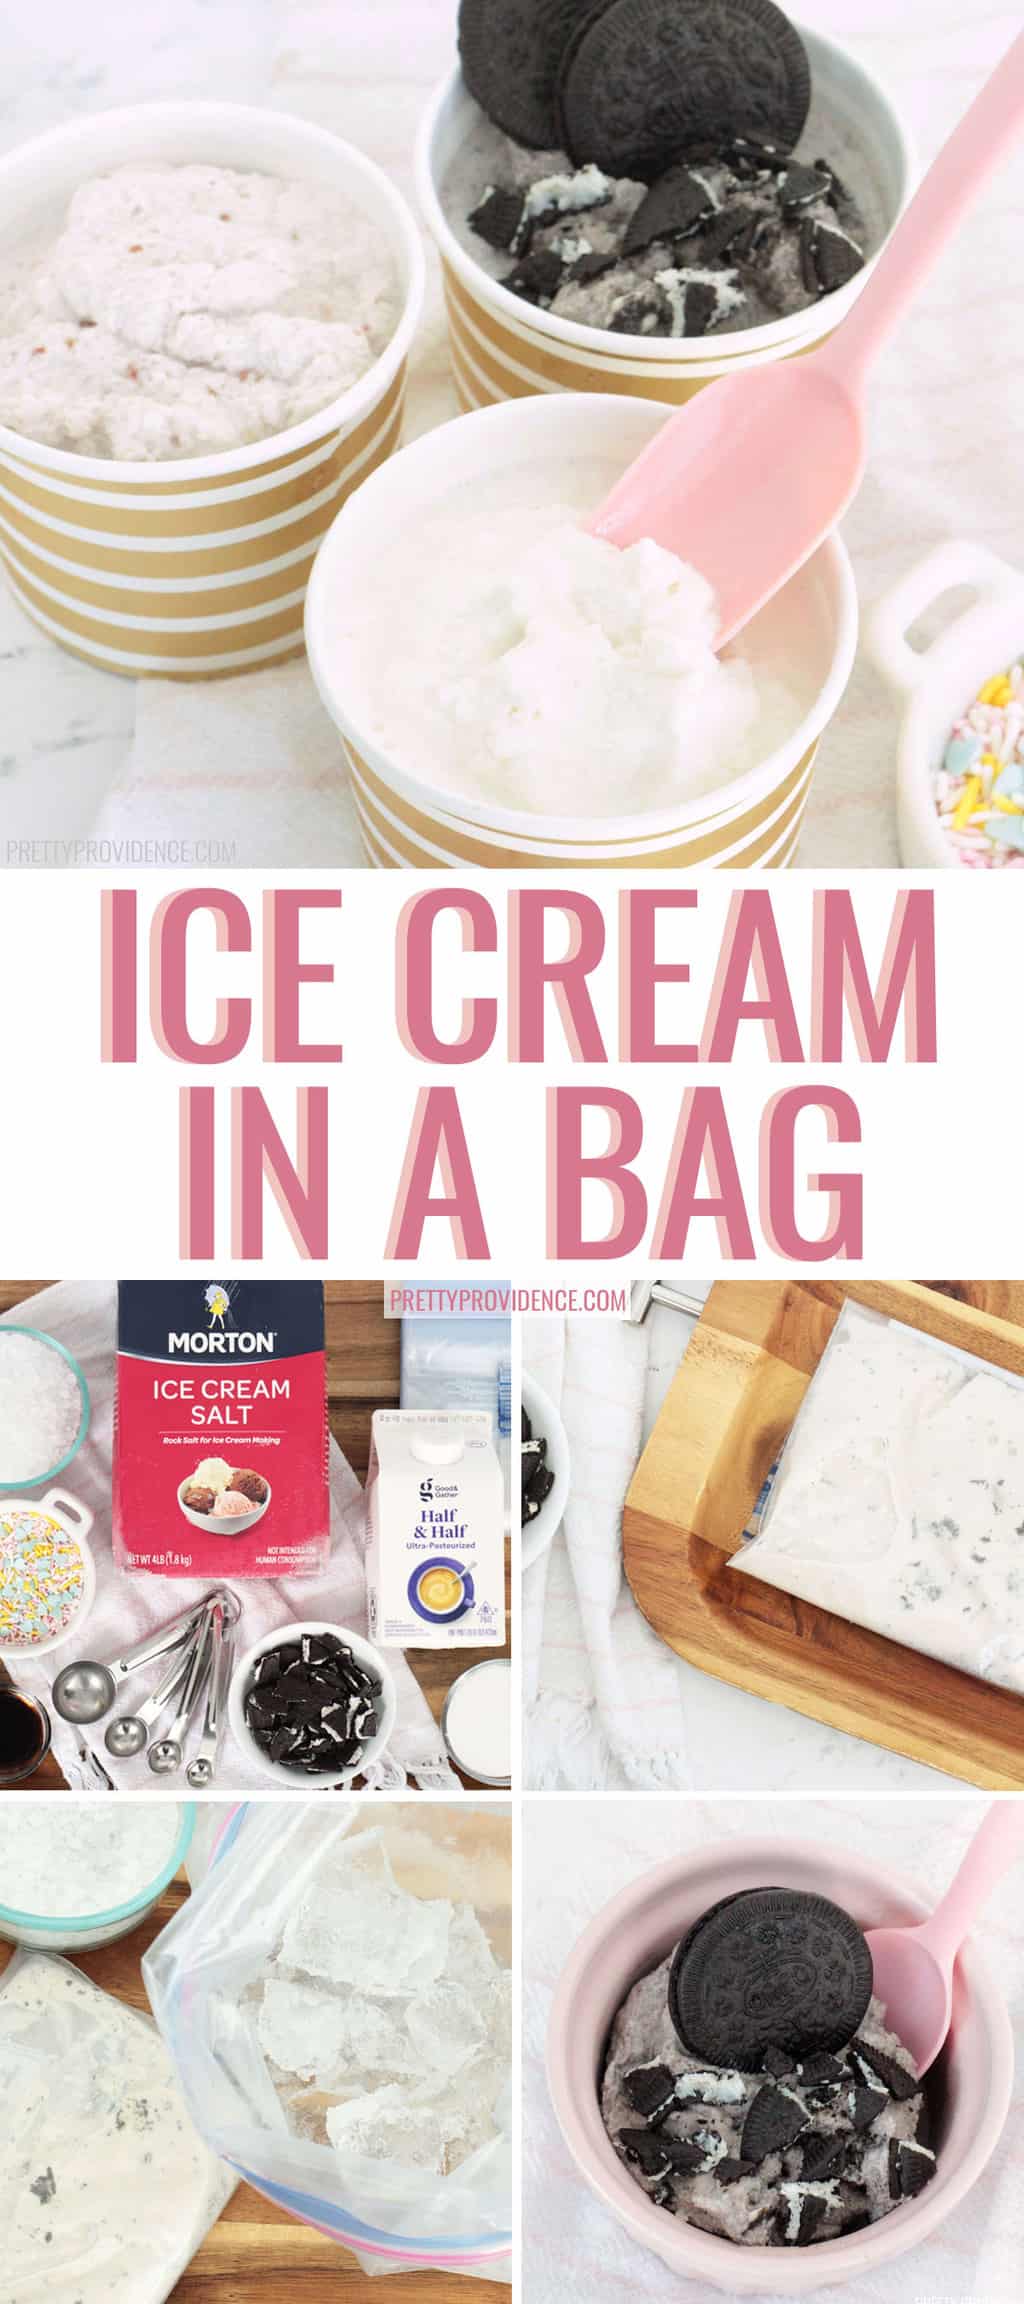
Fun and Easy Ice Cream in a Bag Tutorial
We are so excited to be a part of Kimberly Clark’s #celebratefamilyvalues campaign this summer! Family is so important to us here at Pretty Providence and we can’t wait to share some of our best ideas and activities with you guys over the next 8 weeks. We hope you love them as much as we do! Today I’m gonna kick things off with one of my family’s favorite activities that doubles as a yummy treat: fun and easy ice cream in a bag!
Okay, if you have never made ice cream in a bag before you are in for a serious treat! It is so easy, so fun and so delicious! I have such fond memories of making this as a kid, and it has been such a fun tradition to start with my own little ones! This is a great treat to take camping, on a picnic, or for a family night activity or a child’s birthday party! It is perfect because everyone can pick their own flavor, and ends up with just the right serving size. Oh, and did I mention that you don’t even have to dirty a dish? Mom heaven! I can promise you won’t regret trying this recipe out with your loved ones this summer!
Okay let’s get to the recipe and tutorial, shall we?

Yield: Each recipe yields one serving! So you will want to multiply the recipe by how many people you have participating!
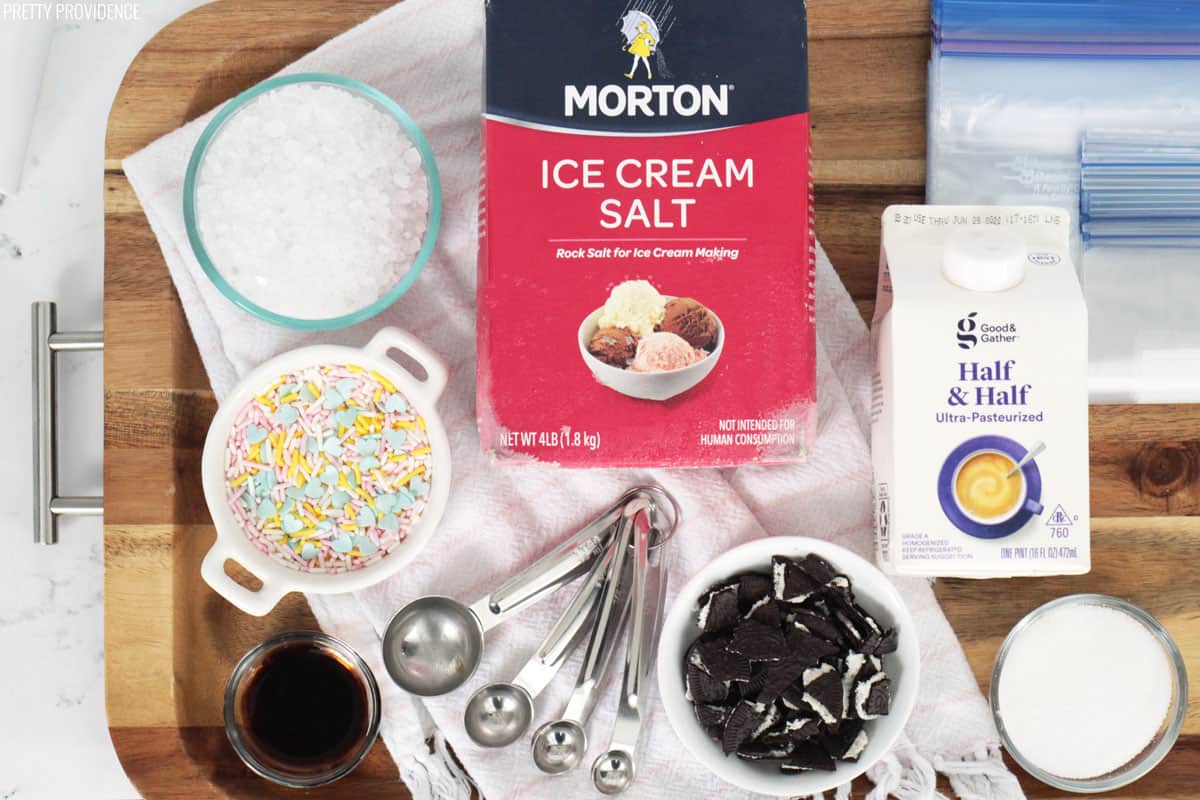
Ingredients
- 1/2 cup half and half
- 1 tablespoon sugar
- 1/4 teaspoon vanilla
- 1 heaping tablespoon additional topping, if desired
- 2 sandwich sized ziploc bags
- 1 gallon size ziploc bag
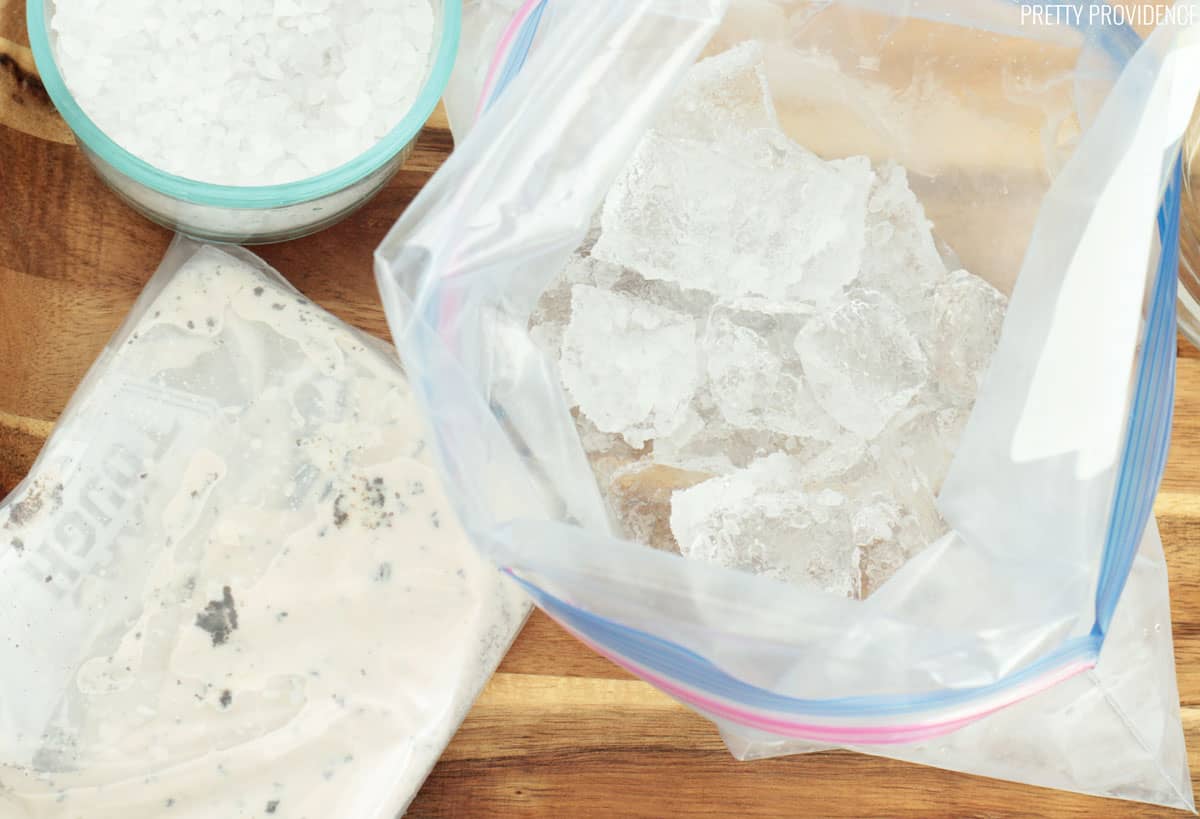
- 3 cups crushed ice
- 1/3 cup rock salt
- paper towels
- plastic spoons
Instructions
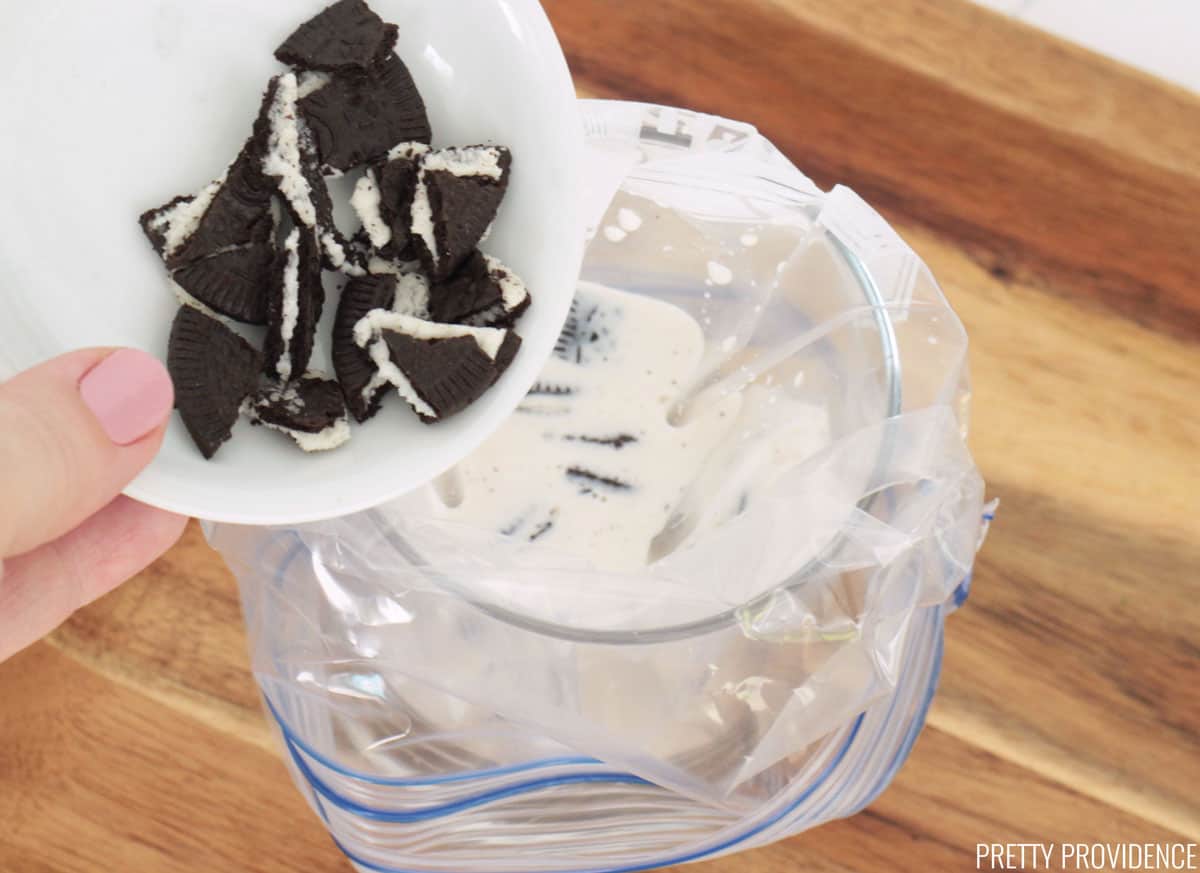
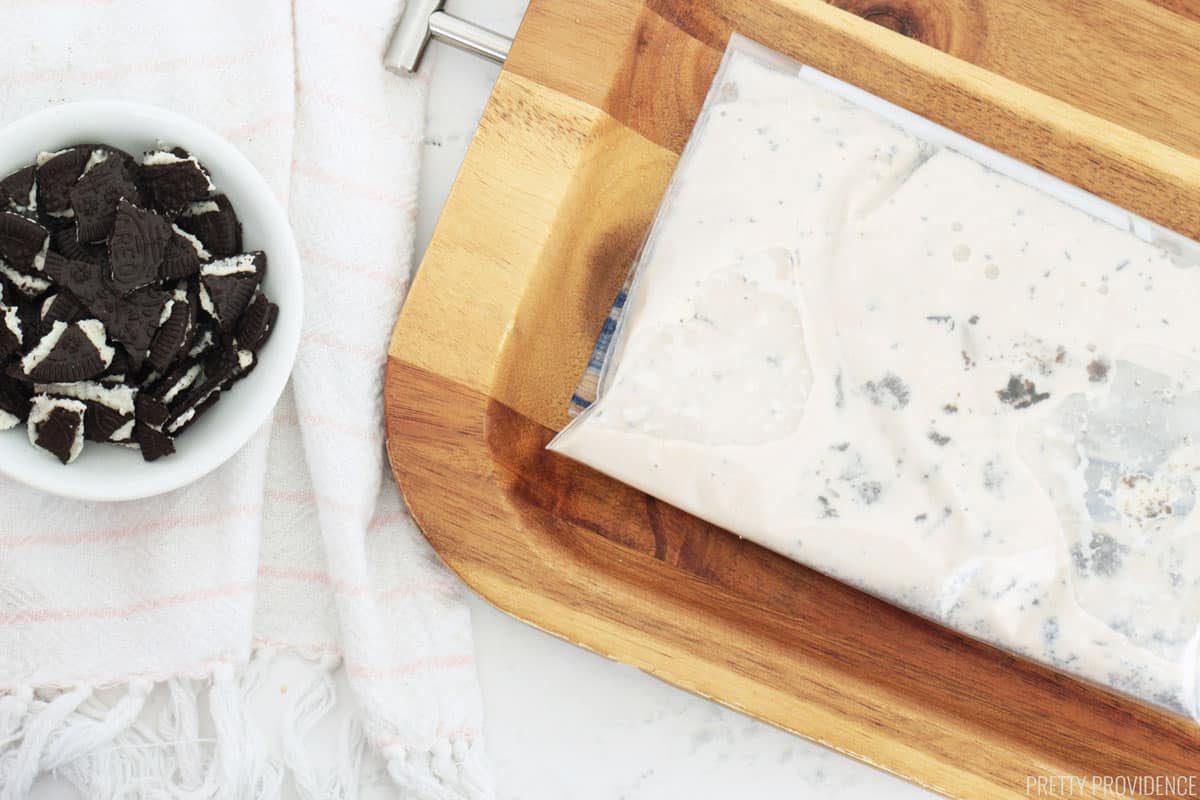
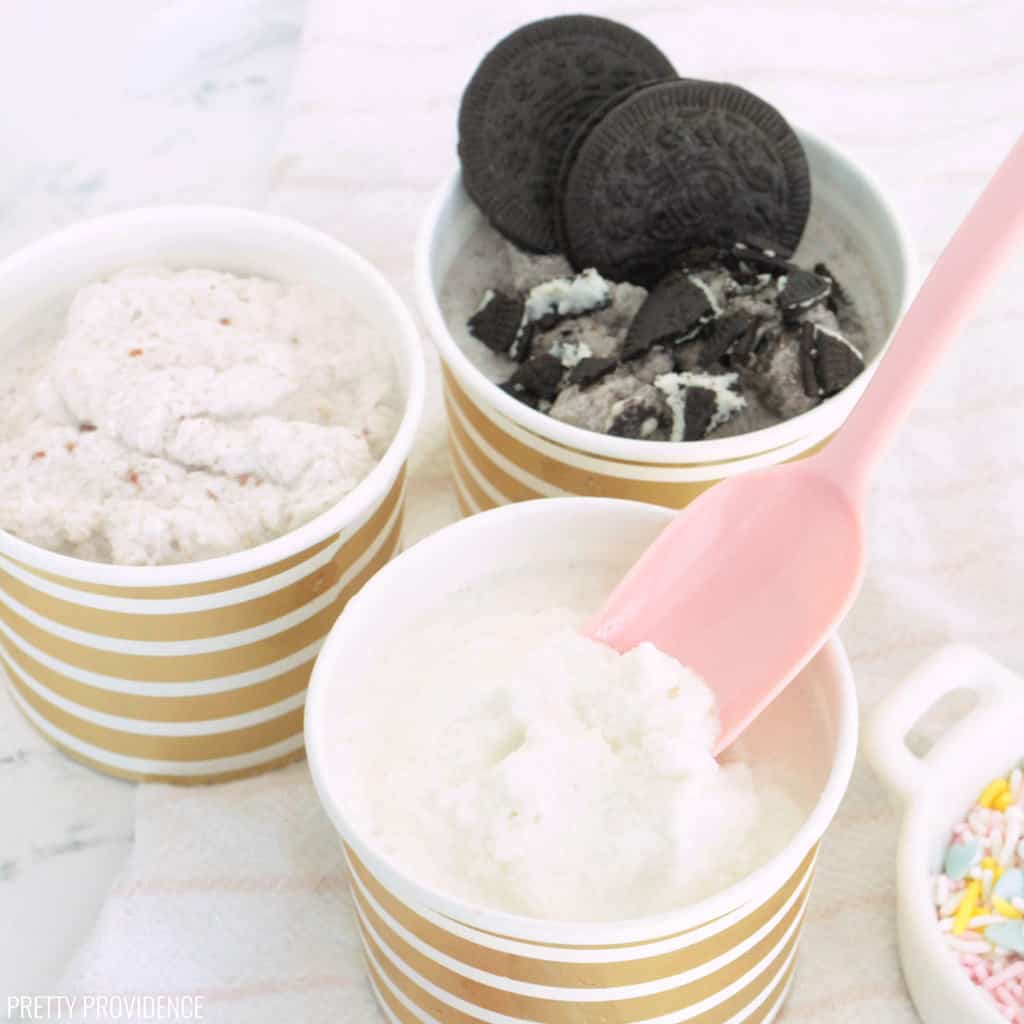
- Put your first three ingredients and additional topping in your sandwich sized ziploc bag, eliminating as much air as possible, and seal tightly. For our strawberry ice cream we add one heaping tablespoon of homemade strawberry jam (soooo yummy) and for the cookies and cream we added one and a half crushed oreos!
- Once bag is sealed, place inside your second sandwich sized ziploc (we don't want any leaking) and seal tightly.
- Add your ice and rock salt in the gallon sized bag and then add the sandwich bags full of ice cream mixture.
- Remove air and seal the large bag.
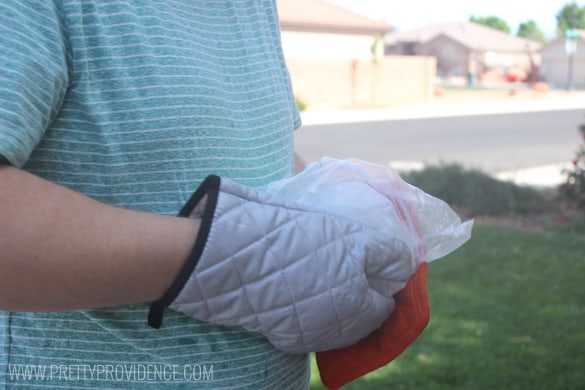
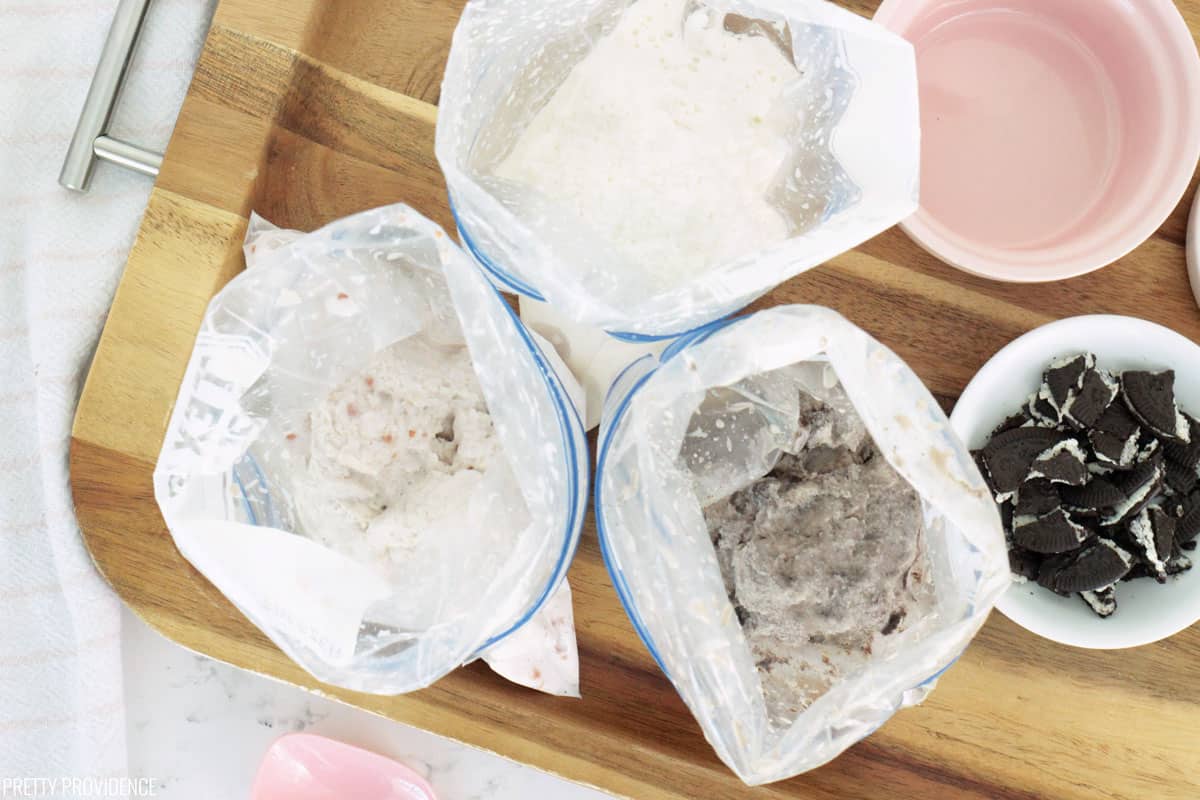
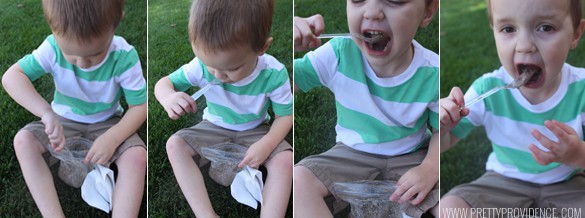
- Squeeze and shake your bag until ice cream forms! To achieve the consistency you see in our pictures (about like a thick frosty) we shook for ten minutes each! If you like your ice cream thicker plan on closer to 15 minutes. Either way is delicious!
- Remove your filled bag from your other bags and enjoy with a plastic spoon.
How about a picture tutorial of the whole process? The photos above are of our strawberry variation, and the pictures below are of the cookies and cream option!


Don’t forget to follow Pick Up the Values via Facebook and Twitter for great deals and to see more awesome ideas from the #celebratefamilyvalues campaign!

P.S. If you liked this post you will love this homemade bubble solution or these awesome tie dye sugar cookies!
The post Fun and Easy Ice Cream in a Bag Tutorial appeared first on Pretty Providence.