
Layering Technique with Gelli® Printed Tissue Paper
Hello and welcome to the Gelli Arts® blog! It’s Birgit here today and I want to share with you one of my favorite techniques, layering with Gelli® printed tissue paper.
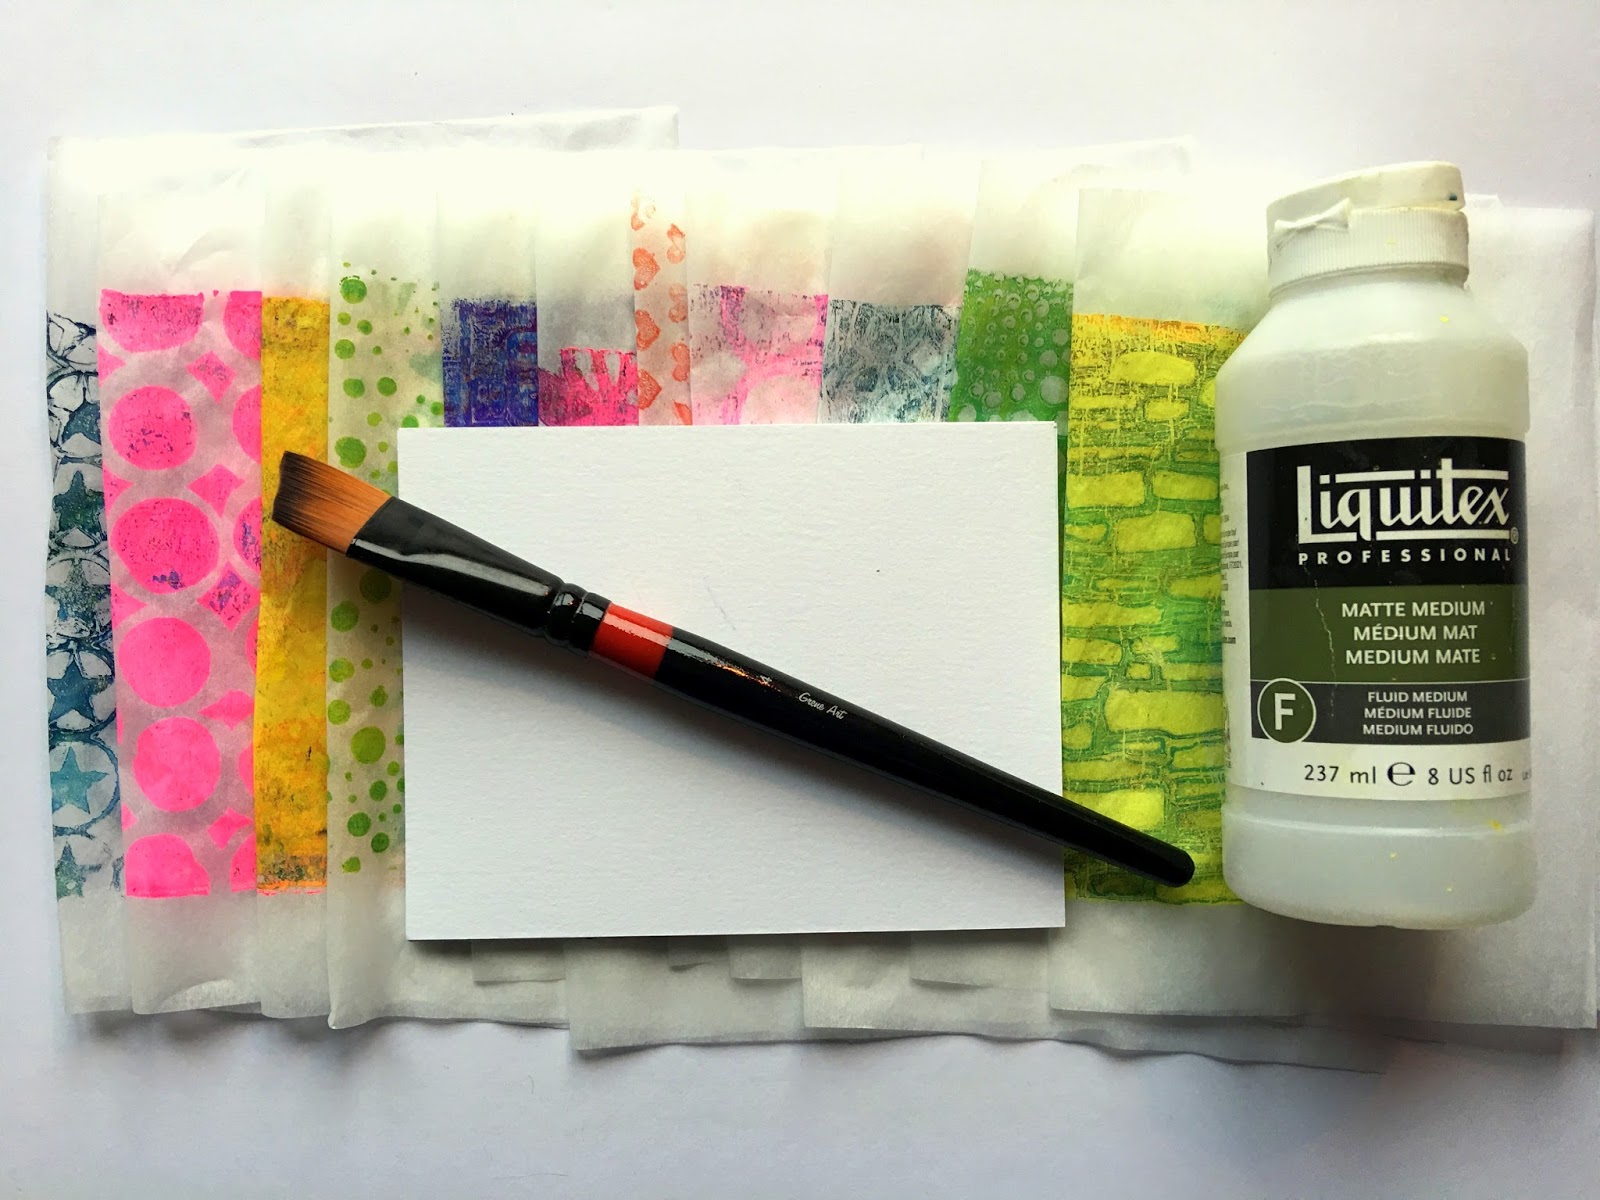
Here is what you need to start with:

Tissue paper, acrylic paint, brayer, stencils and a Gelli® Plate. I used the 5x7” student plate.
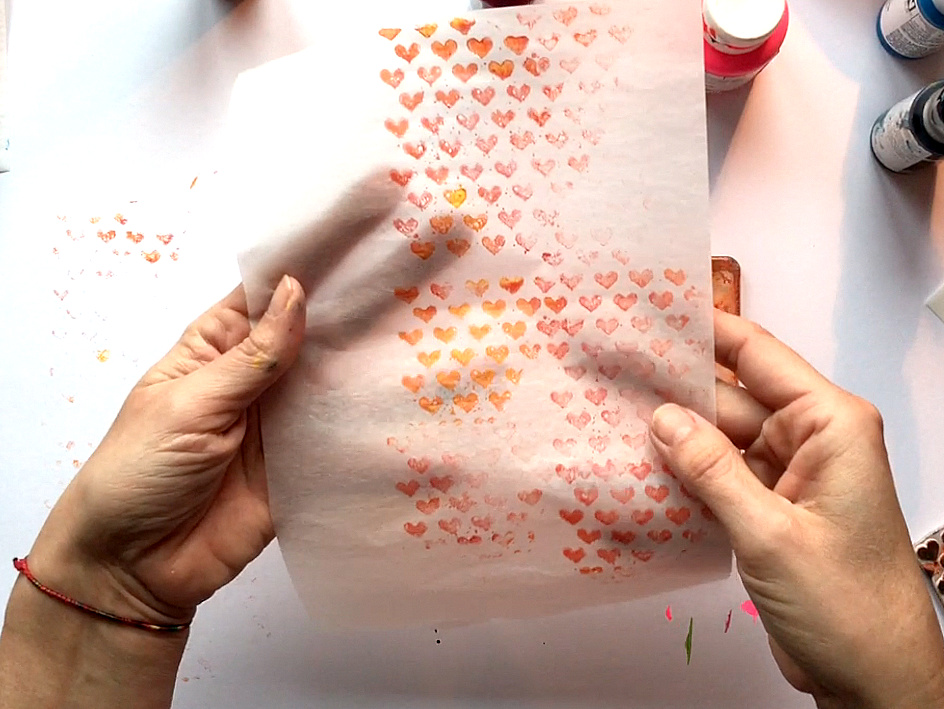
The tissue paper I used is very thin, like gift tissue paper or the kind you find in shoeboxes. The thinner the paper the better, as the chance that it will turn completely translucent will be bigger. As long as the paper doesn’t rip when lifting it from the Gelli® plate it is ok.
The way you make your prints is not a lot different than on thicker paper. You just have to be very careful that you don’t use too much paint. The more paint, the bigger the possibility that it soaks through the paper and you will smear it or tear the paper.
Also you have to make sure you don’t let the paint dry with the paper on the plate as it will be hard to remove the paper then.
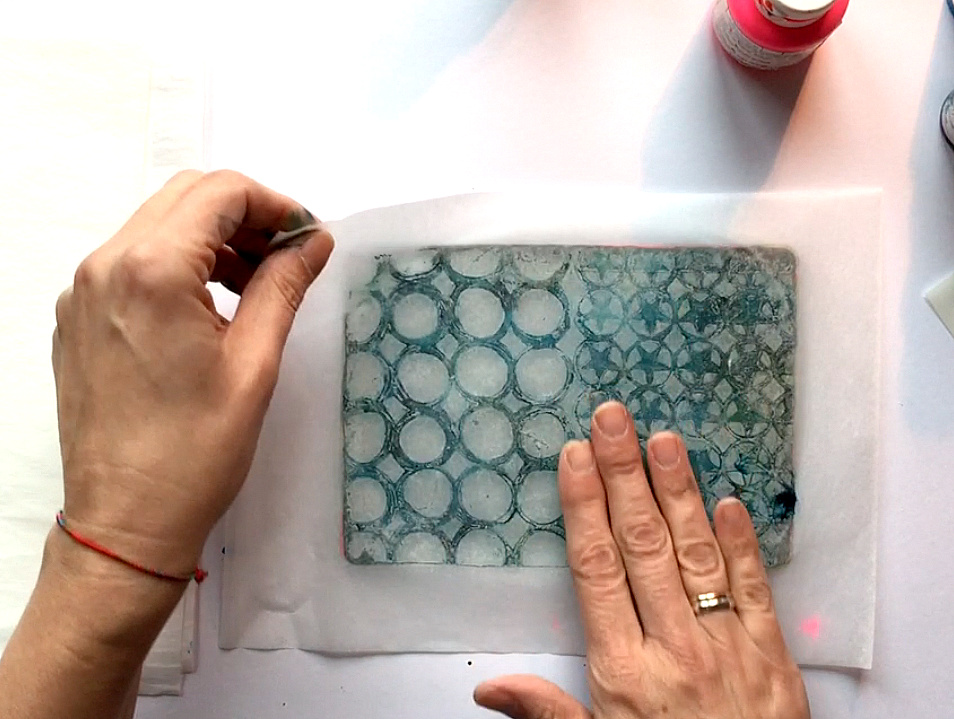
And finally, instead of rubbing the paper firmly when on the plate you have to gently push the paper in the open spaces of the stencil.
All together you just have to be a bit nicer to the paper because it is so delicate. The fun thing is that once the paint has dried on the paper it is not so delicate anymore and easy to work with.
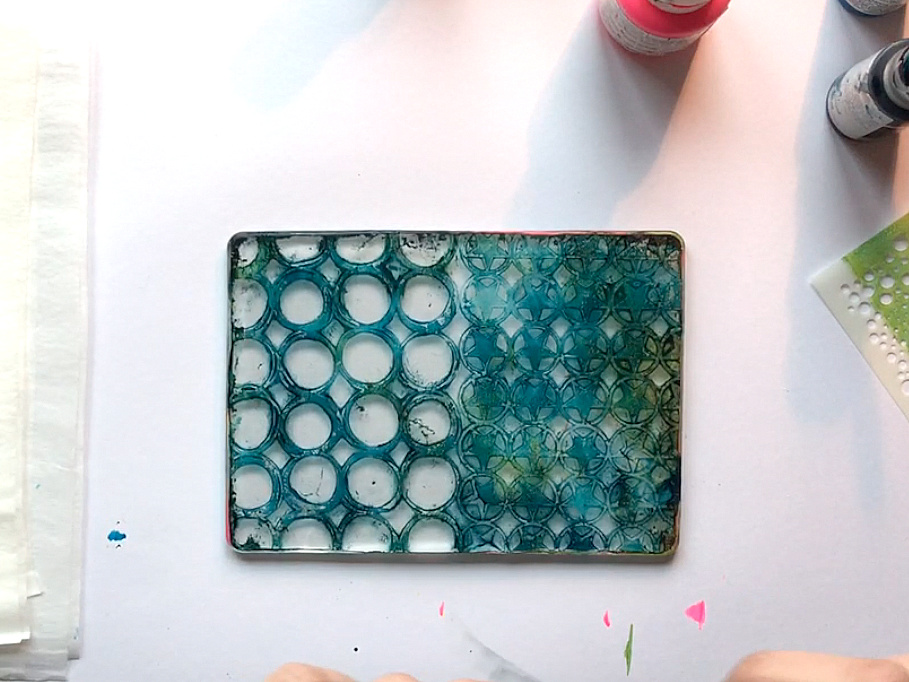
I started with covering the plate with acrylic paint and placing stencils on top. Then I made the first print.


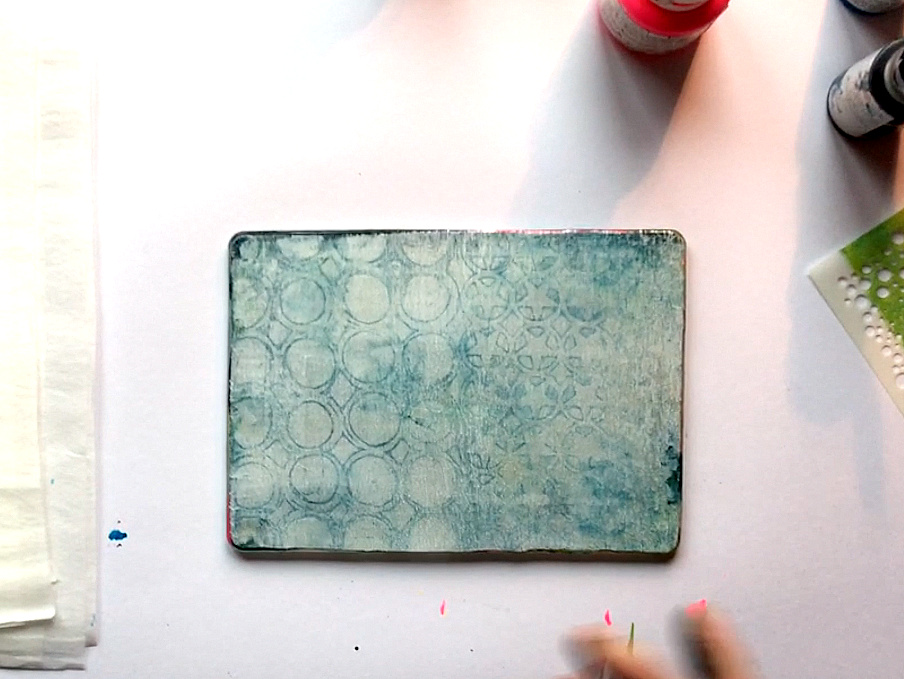
After that there was still some paint on the plate that I left to dry for a few seconds. Then I added a tiny little bit of white paint (you can use any color you like, just experiment a little to see the different results), spread it out covering the whole plate and made a print of that.


Now I have 3 different prints from one session. Two will be completely translucent when glued down, the third will be semi translucent as there is a layer of paint on the entire print, and there are no “open” spaces.
This way I created a bunch of papers using a variety of colors and patterns.
Then I made some prints using stamps.
In the first option I covered the plate with acrylic paint and then pushed a stamp onto the plate to lift up some paint. I stamped the paint off on a piece of tissue paper.
After repeating this on the entire plate I made a print.


In the second option I covered the plate with 2 colors next to each other. I stamped on the left side of the plate, lifting up the paint, then placed the stamp on the right side, transferring the pink paint into the blue area. Then I made the print.


Sit down for half an hour of printing and you’ll be amazed how many beautiful papers you’ll end up with!

And now you’re ready to start layering!
You need some card stock, watercolor paper or an art journal to work in, a flat brush and some matte medium.

Tear a piece from the printed tissue paper and glue it down to your background using the matte medium. Then cover the glued down piece with a thin layer of matte medium. This is what makes the paper transparent.

Then tear another piece of tissue paper and glue it down overlapping the first piece. You will notice that all the areas where there is no paint will turn transparent revealing the layers underneath.


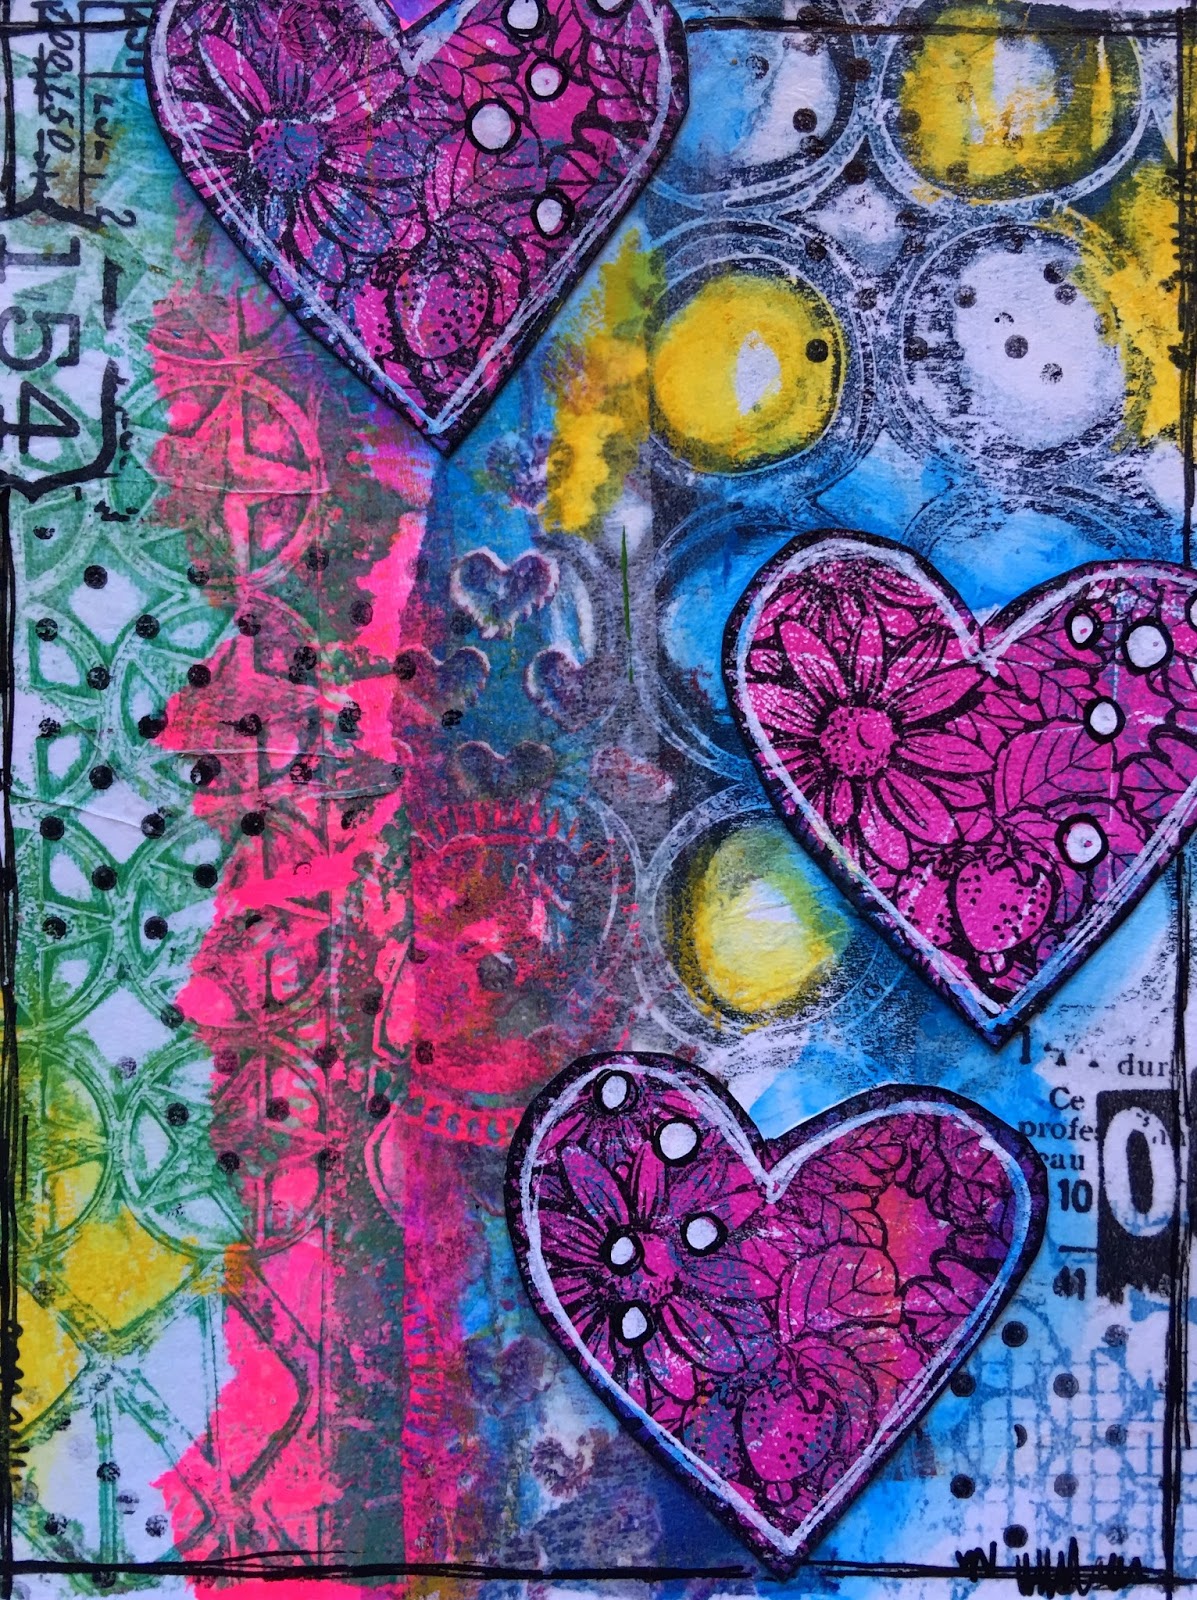
Continue this way until the background is covered and you are satisfied with the result.
Don’t you just love how you can see all the layers on top of each other and still have vibrant colors?!


Now your background is ready and you can use it for whatever you like, whether it is art journal pages, cards, ATCs… or use the technique on wood, glass, and cardboard boxes. The possibilities are endless!


PS: Please—share your prints with us on our Facebook page, or on Instagram using the hashtag #gelliprint #gelliarts and #gelliplate. Tag us with @gelliarts on Instagram and Twitter too! We love to see what you're creating!!
Remember, we now have Gelli® partners all over the world, so it's easier than ever to find a Gelli® retailer near you!
