
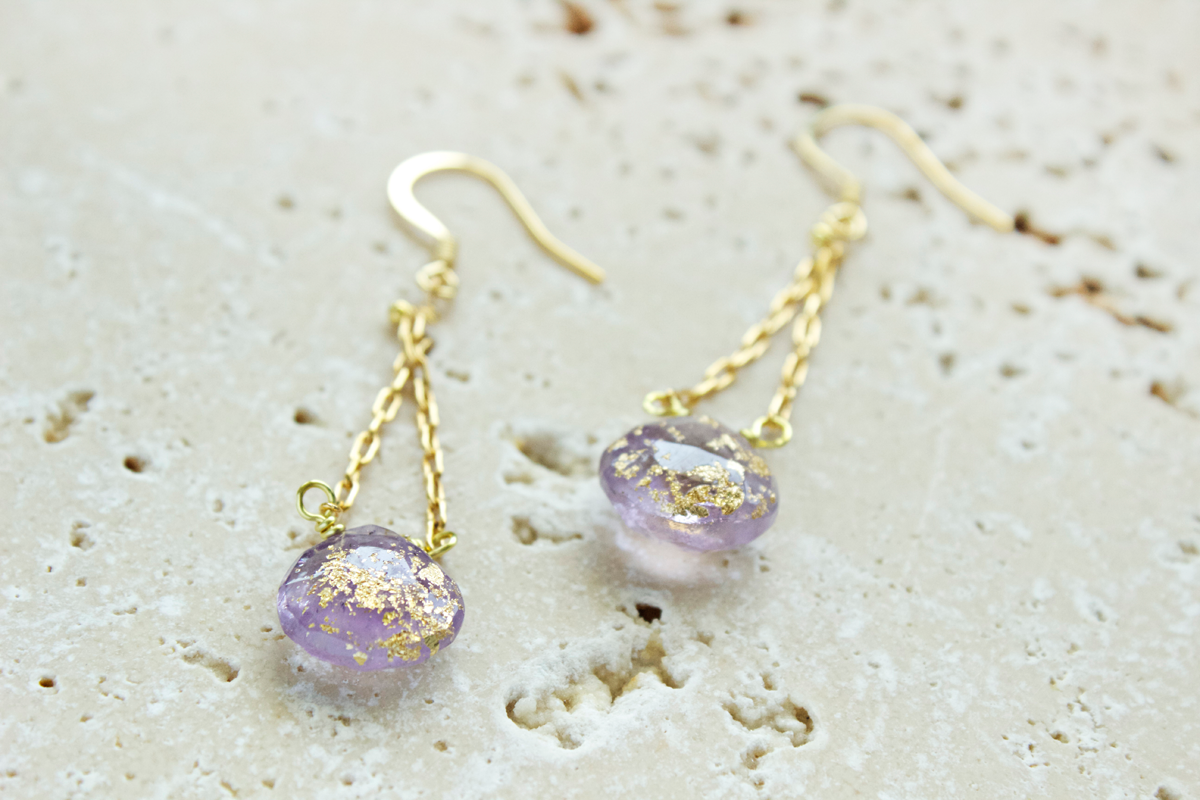
Gilded Briolette Drop Earrings


Classy, chic and always stylish, briolettes are something I don't work with often. But, for this tutorial, they stand front and center as the focal point of these earrings.

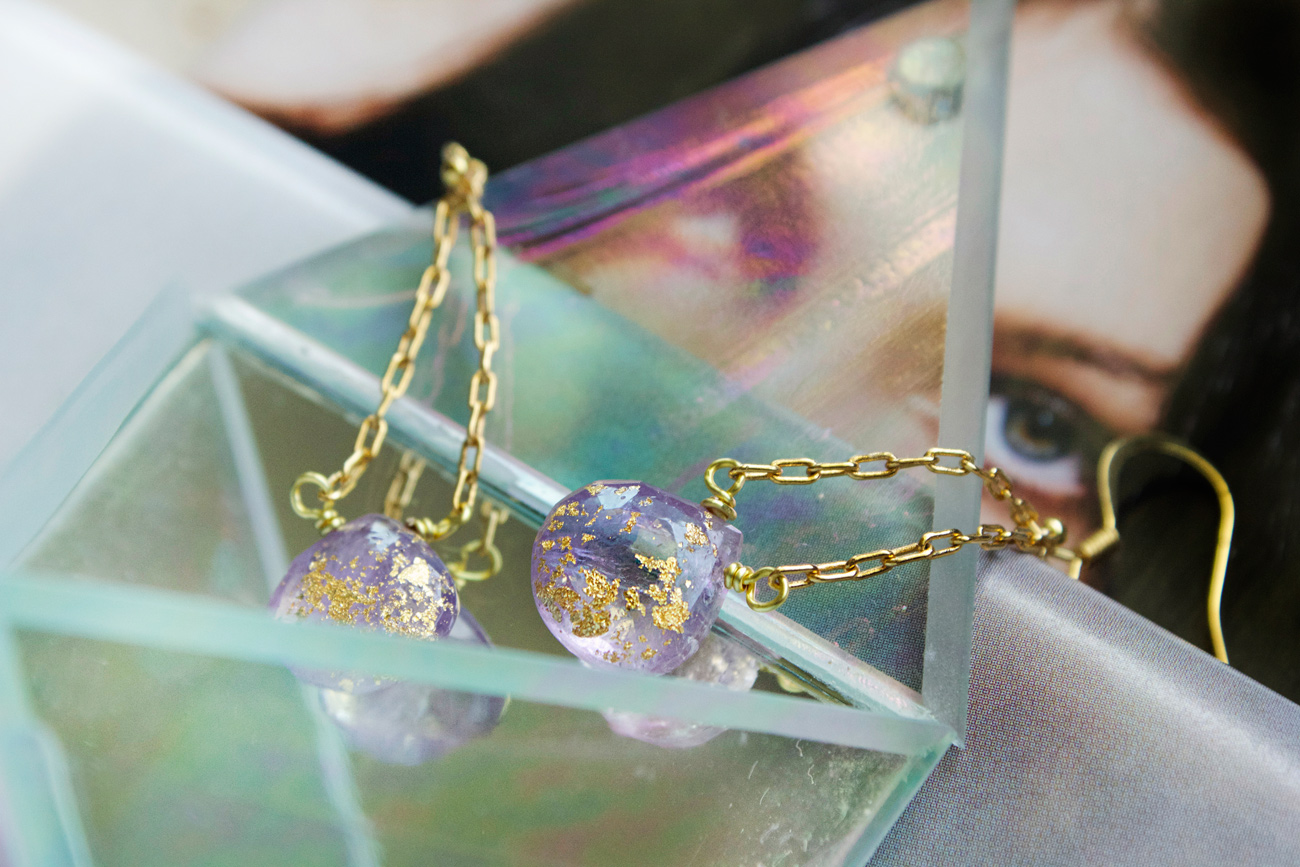
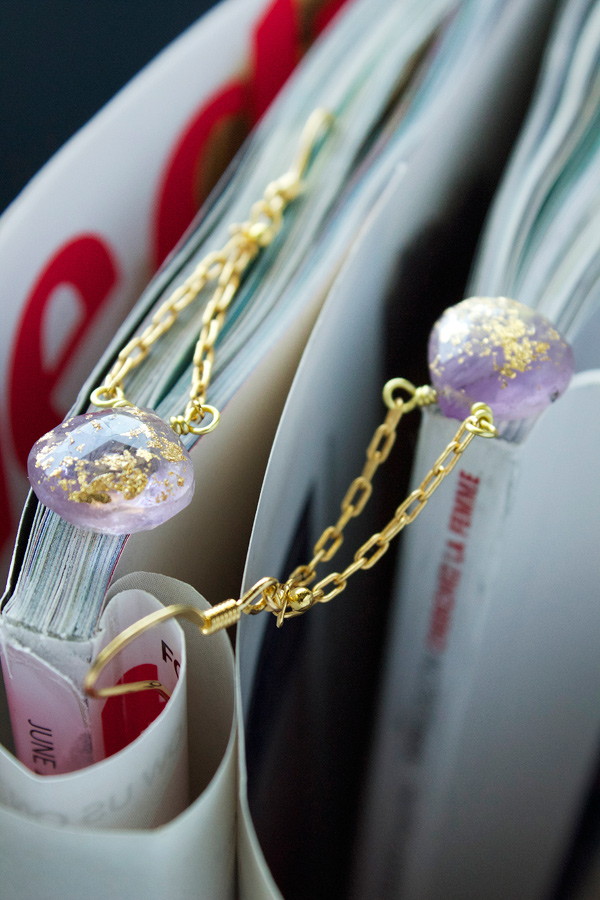
These amethyst faceted stones seemed a little "plain" to me, so I gilded them with some gold flake (I'll show you how to later). This gave added detail and shine, and make them look like they've been dipped in gold!

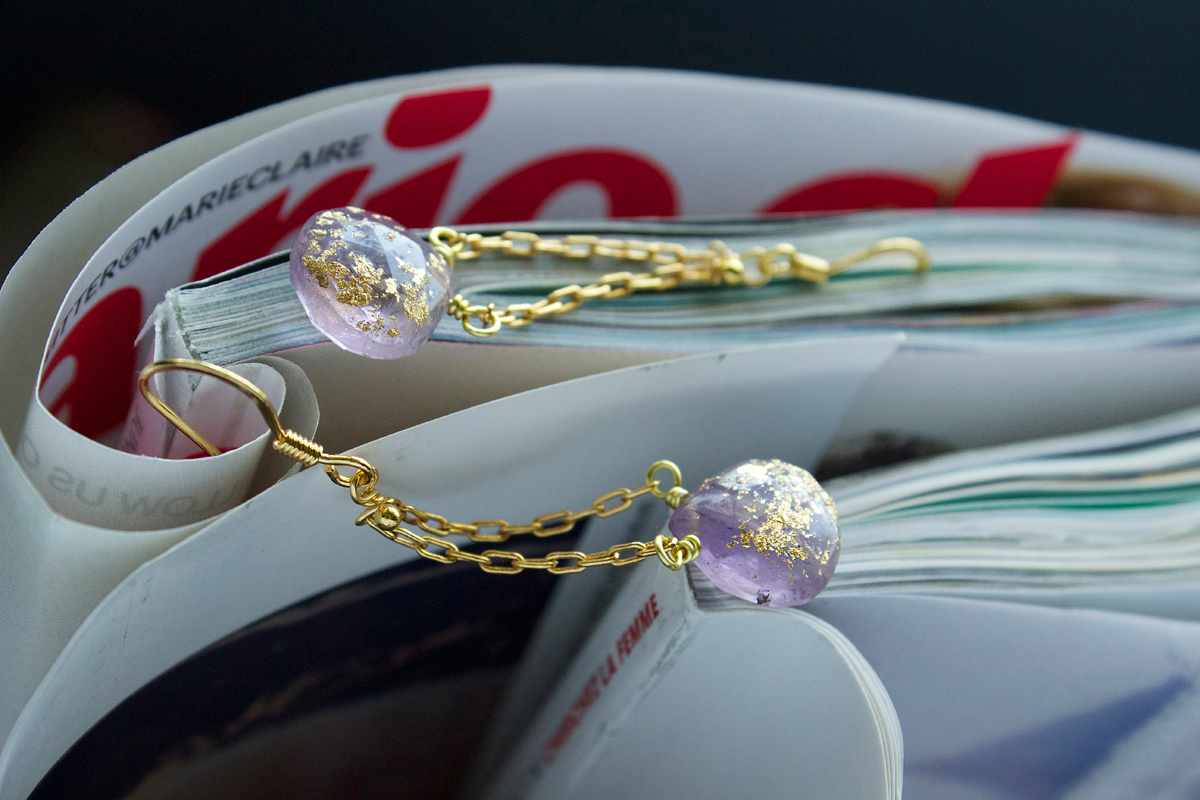
Attach those to a sleek cable chain, add an ear wire, and you're set to go. These are great earrings for work, as they aren't too long and are definitely dressy but not fussy.

If amethyst isn't your fav gemstone, feel free to pick other colors. I also have citrine, rose quartz and peridot briolettes and are sure they'd look great. One thing - if you choose silver flake and metals, it will evoke a more contemporary look. Gold is more traditional. Experiment with combos and see what turns out!

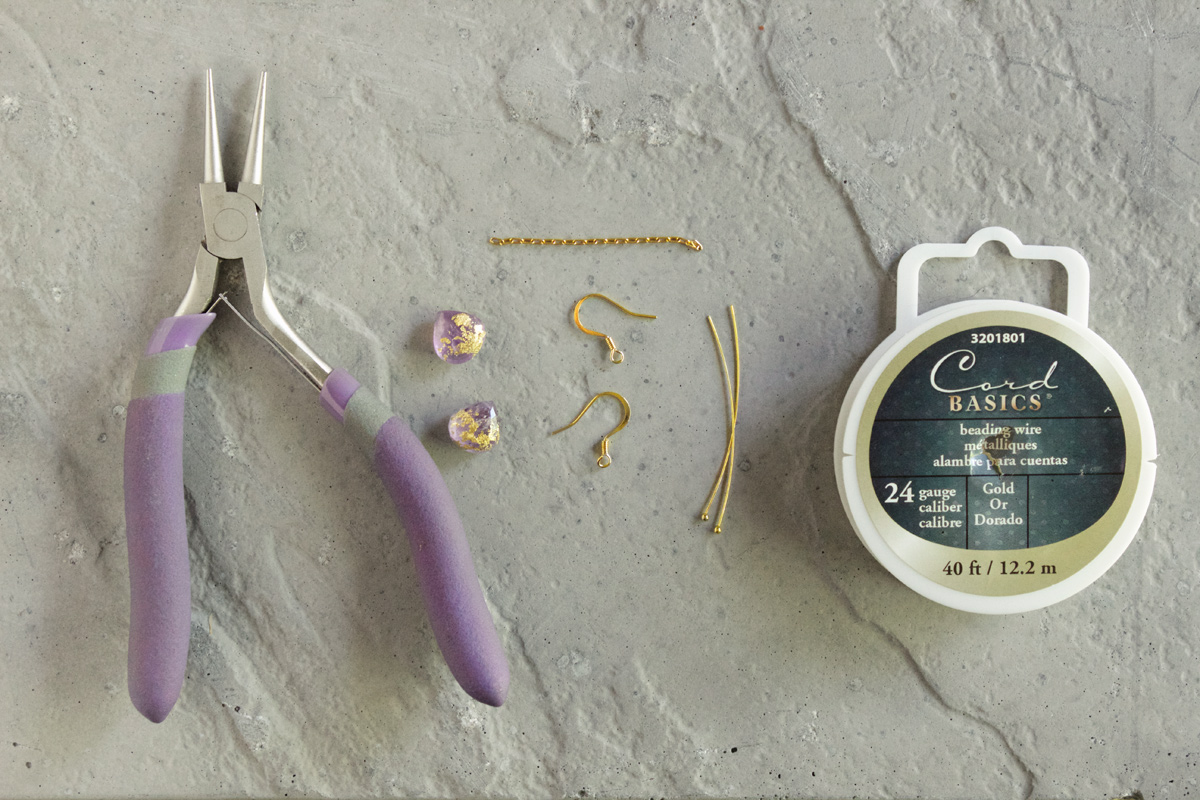
Step 1: Gather materials. You will need round nose pliers, wire cutters, top-drilled briolettes (I used 6mm X 8mm amethyst ones, you can find similar ones here), Cousin Elegance Metals 14k gold plated fishhooks, Cousin Elegance Metals 14k gold cable chain, ball-end gold headpins, and 24g gold wire (mine by Cousin Jewelry Basics). You can find all these Cousin brand materials at craft stores like Michaels and JoAnn Fabrics.
To get the gold gilded look on your briolettes, I simply adhered gold flake with clear gloss glaze. You can look on my Instagram account for the mini tutorial!

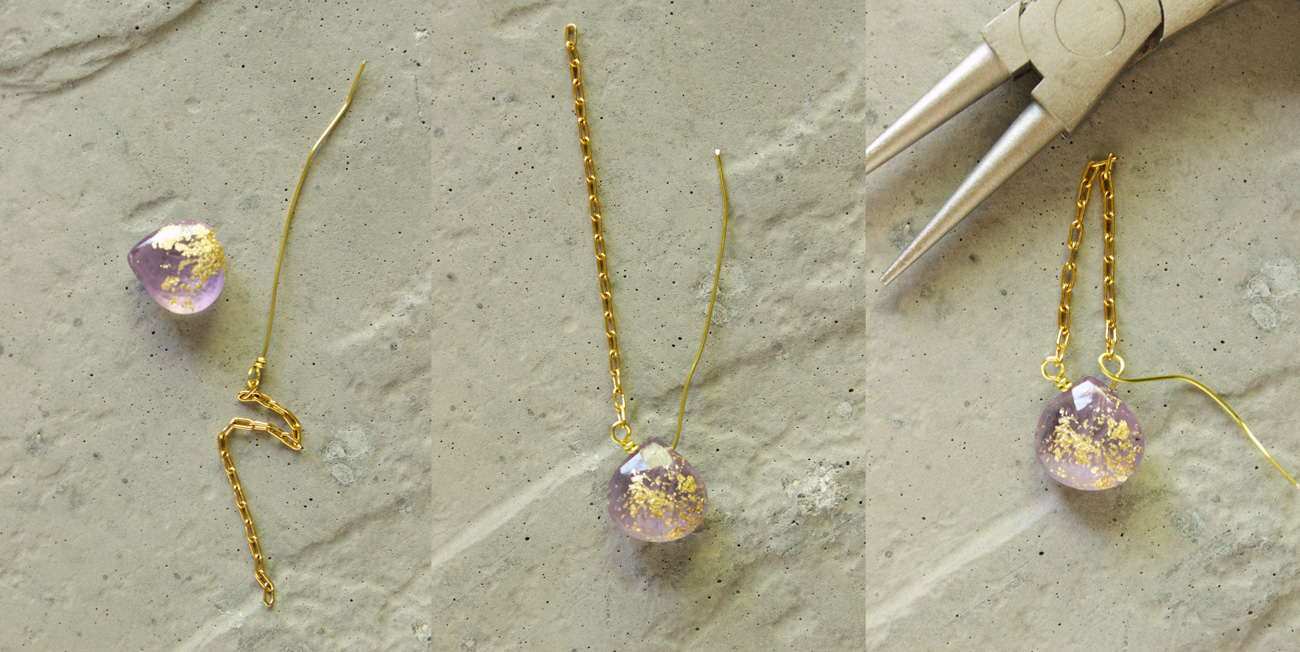
Step 2: First start by cutting a 3" piece of your wire. Create a wrapped loop at one end, catching in a 3" piece of your gold cable chain.

Step 3: Thread the wire through the briolette. Create a wrapped loop at the other end, catching in the other end of the chain.

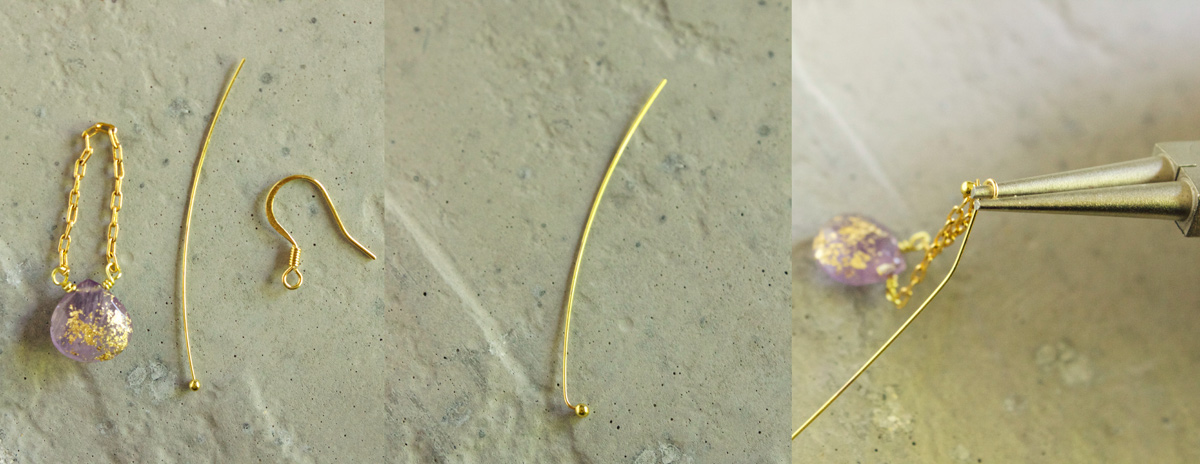
Step 4: Get your ball-end headpin ready by bending it at a 90 degree angle, right after the ball. Thread the headpin through the middle chain link, and create a wrapped loop at top. Your chain link should be caught between the ball and wrapped loop.

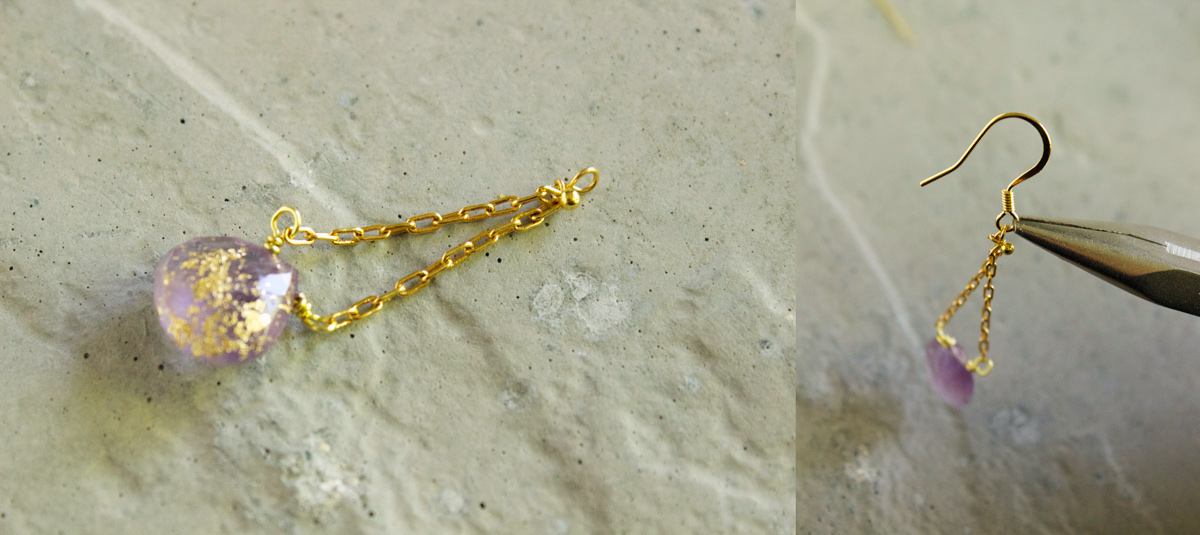
Step 5: You should have something looking like this. I squeezed the ball closer to the top loop with flat nose pliers to prevent movement and tighten. Finally, add a fishhook to that top wrapped loop.

This is an alternative way of finishing, instead of just catching the middle chain link in the fishhook. Adding a bit more detail, this creates a dressier vibe!


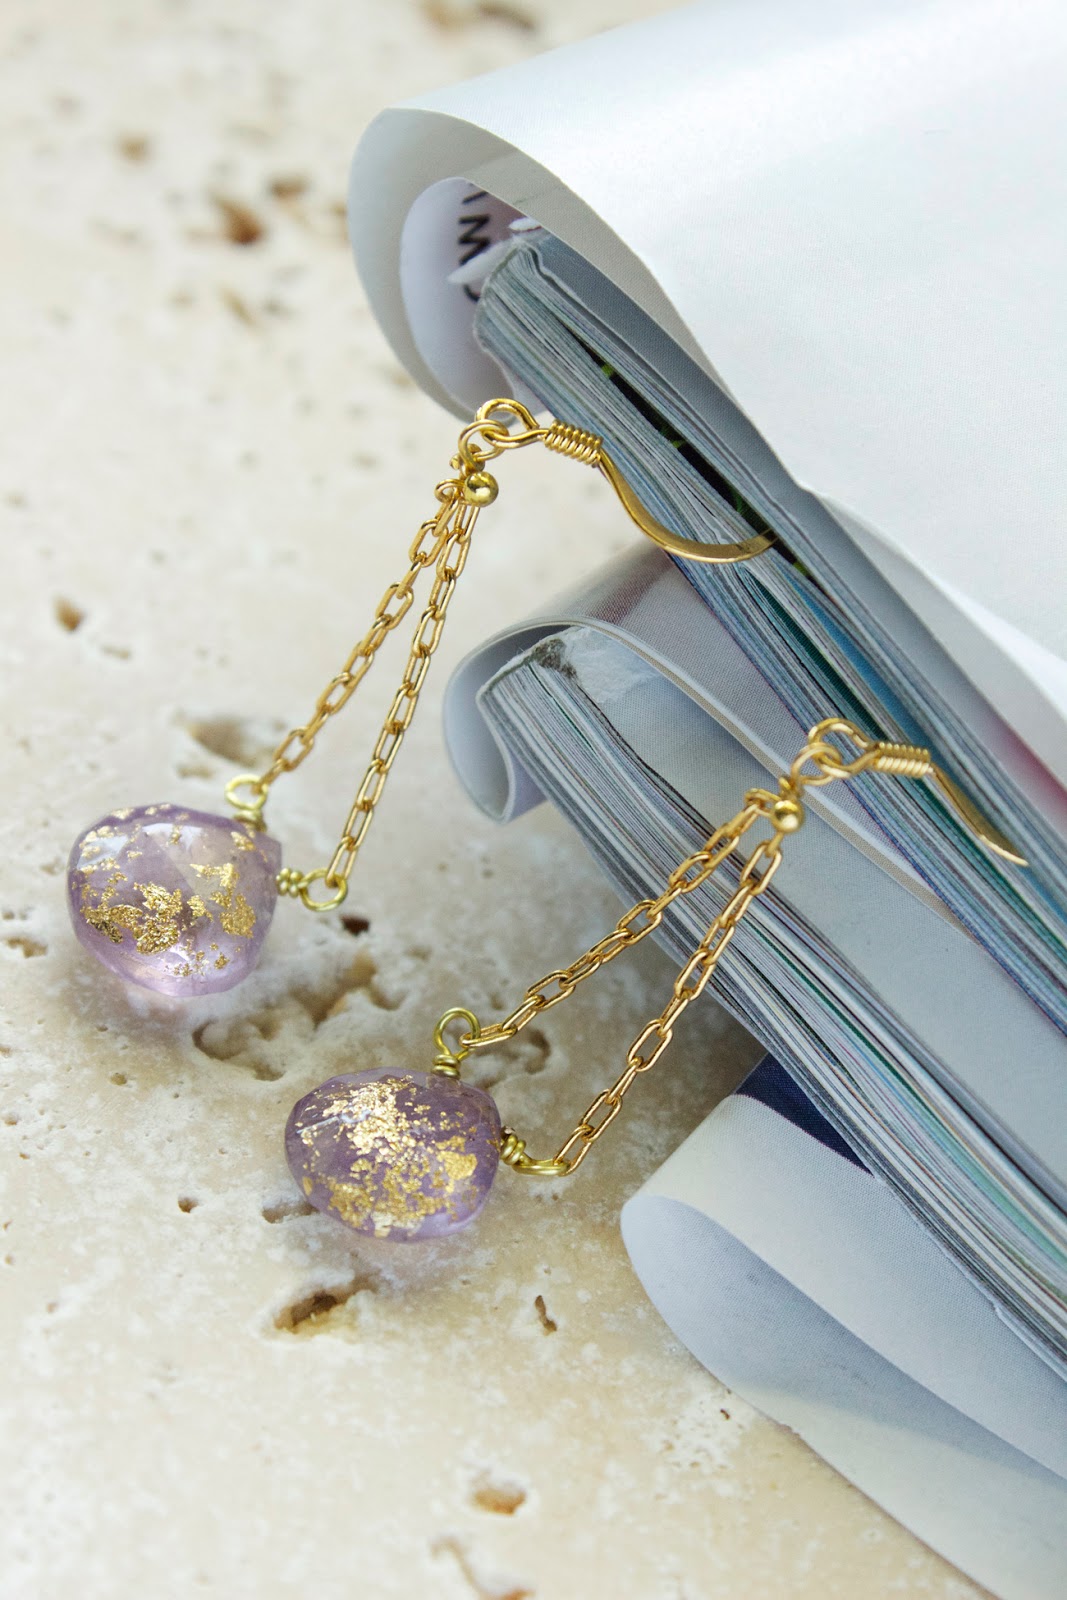
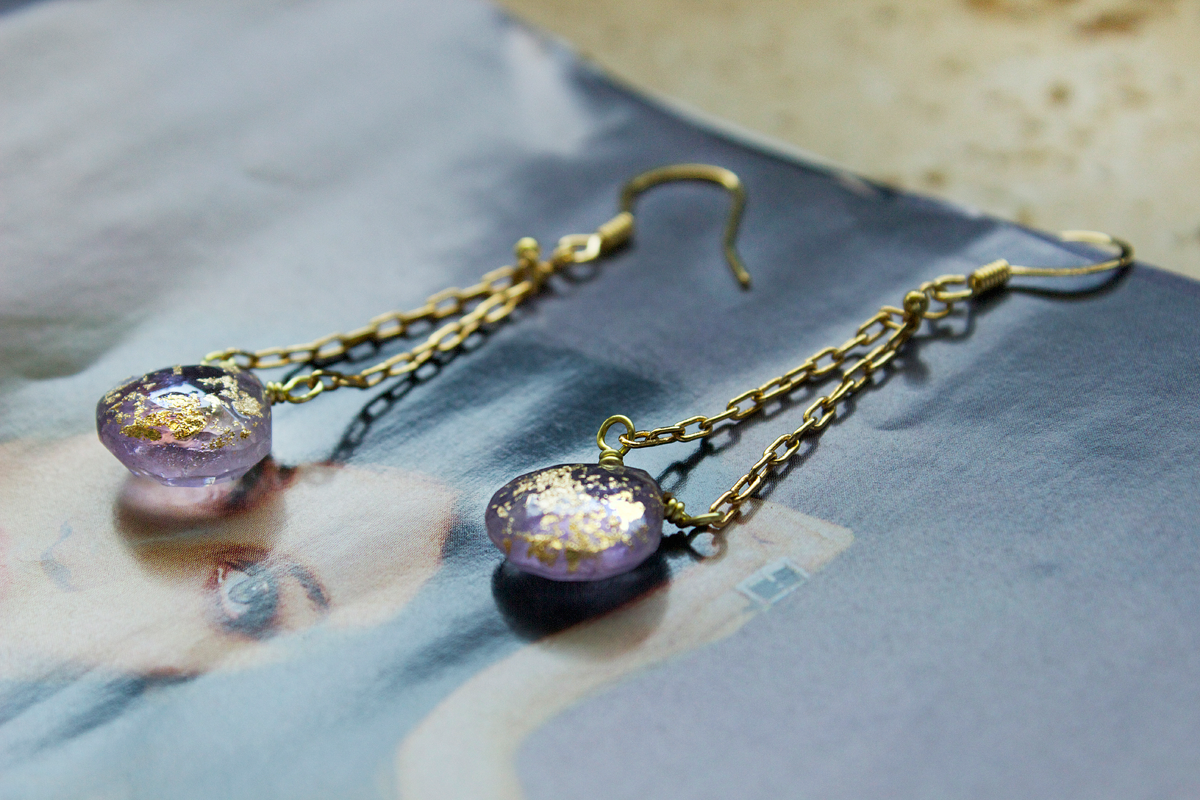
A high-quality drop earring that's super versatile - plus, with the added bonus of being handmade - will be your next go-to accessory, trust me. Pair with a blouse and cropped slim pants for work, or mix with a bohemian printed maxi dress and sandals for a beachy look.
You can also play around with chain lengths, to create a shorter or longer drop earring. It might even be cool to add more than one briolette to the wire, to create a fan-like drop. I'll leave you with some inspo pics to finish. If you follow this tutorial, post your creation to Instagram and tag me @quietlioncreations - I'll repost you!


All photos copyright Allison Beth Cooling for Quiet Lion Creations. Do NOT post or reuse without crediting me and linking to me!
More posts from Allison Beth Cooling