
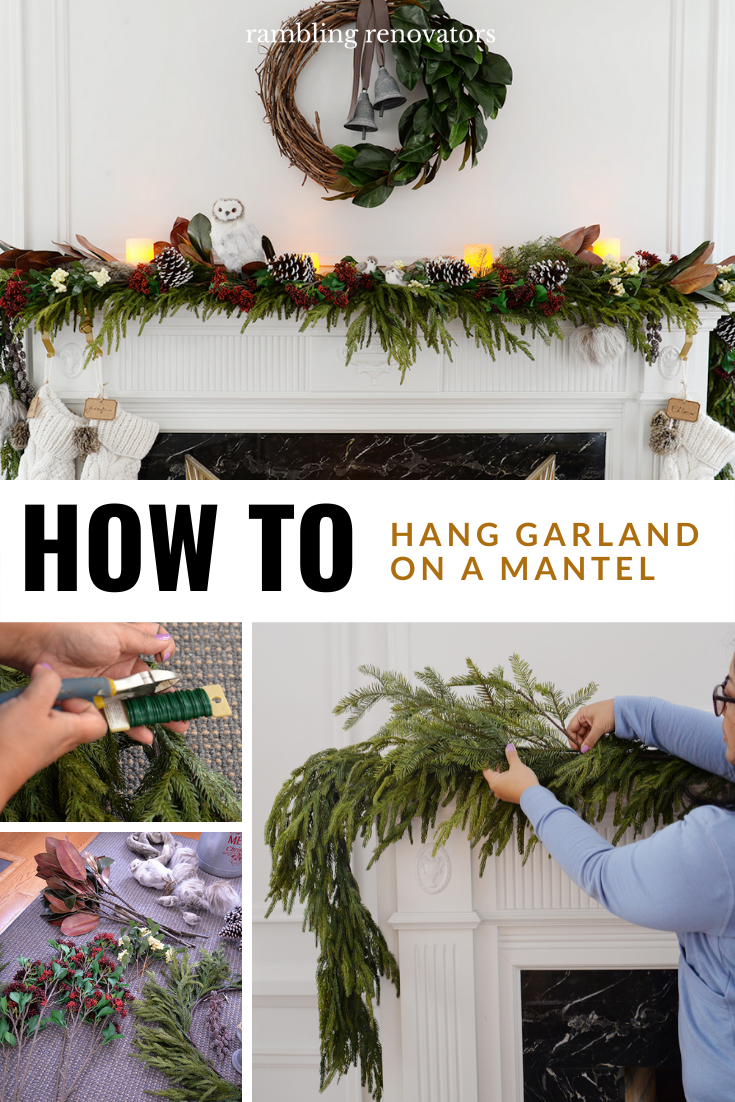
How To Hang Garland On A Mantle (Or Mantel)
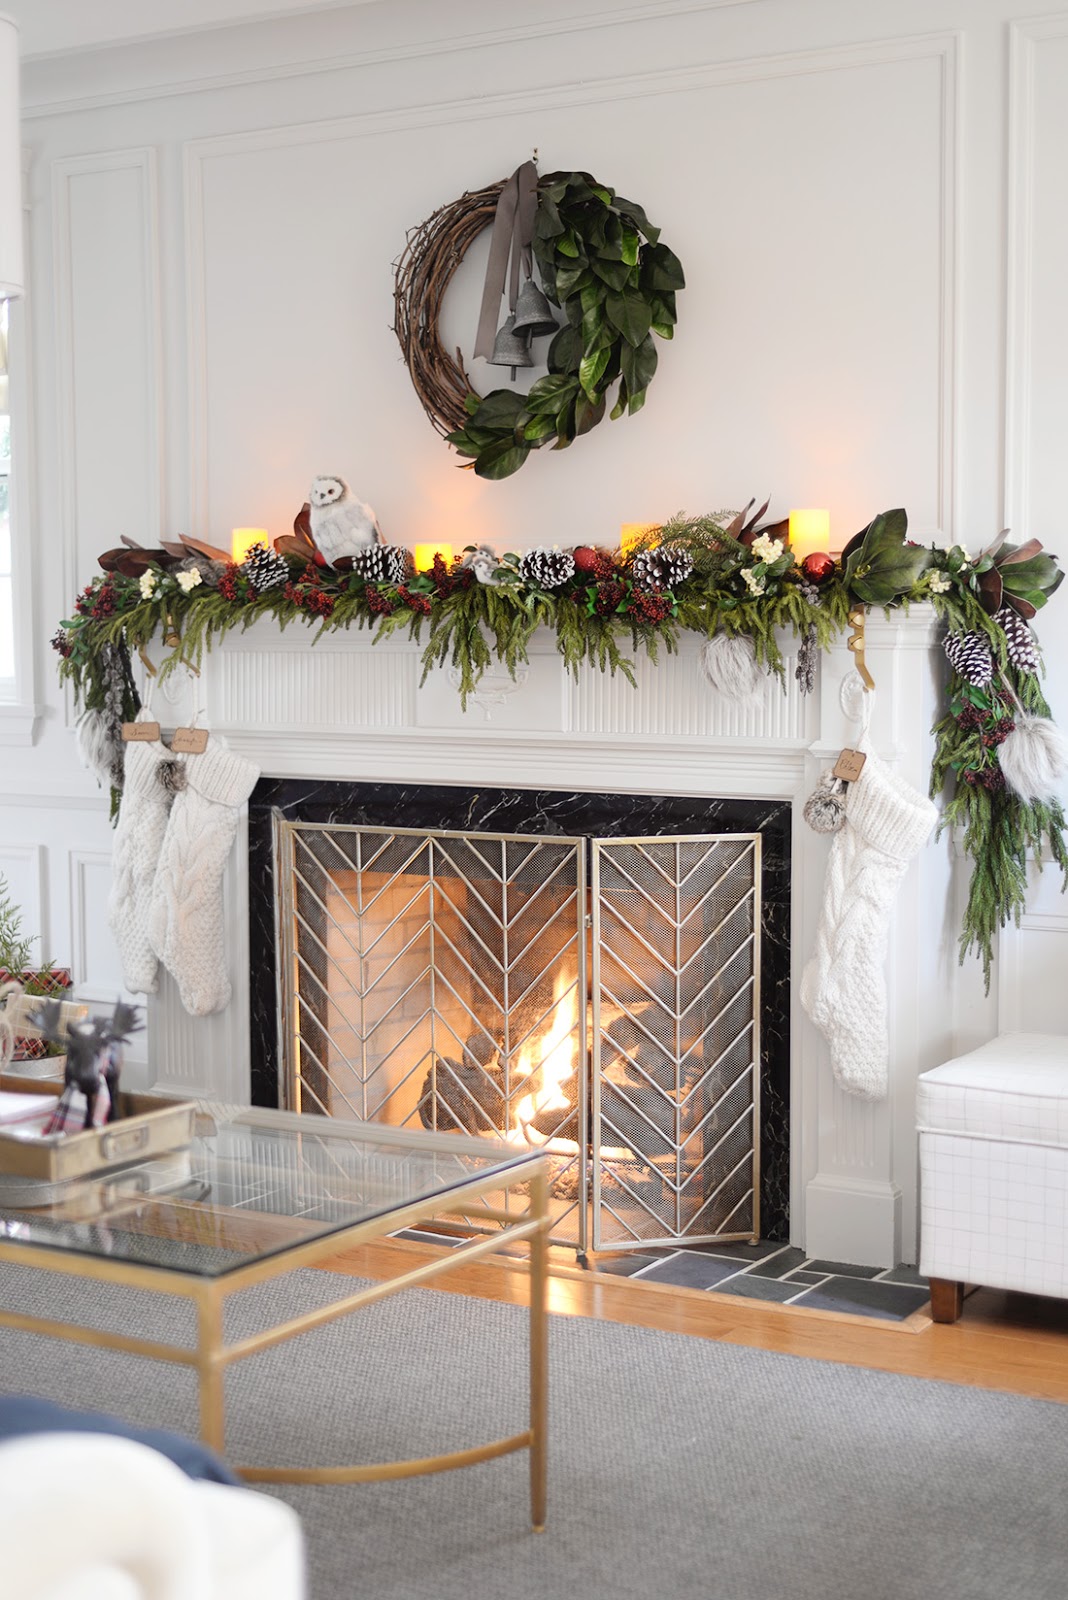
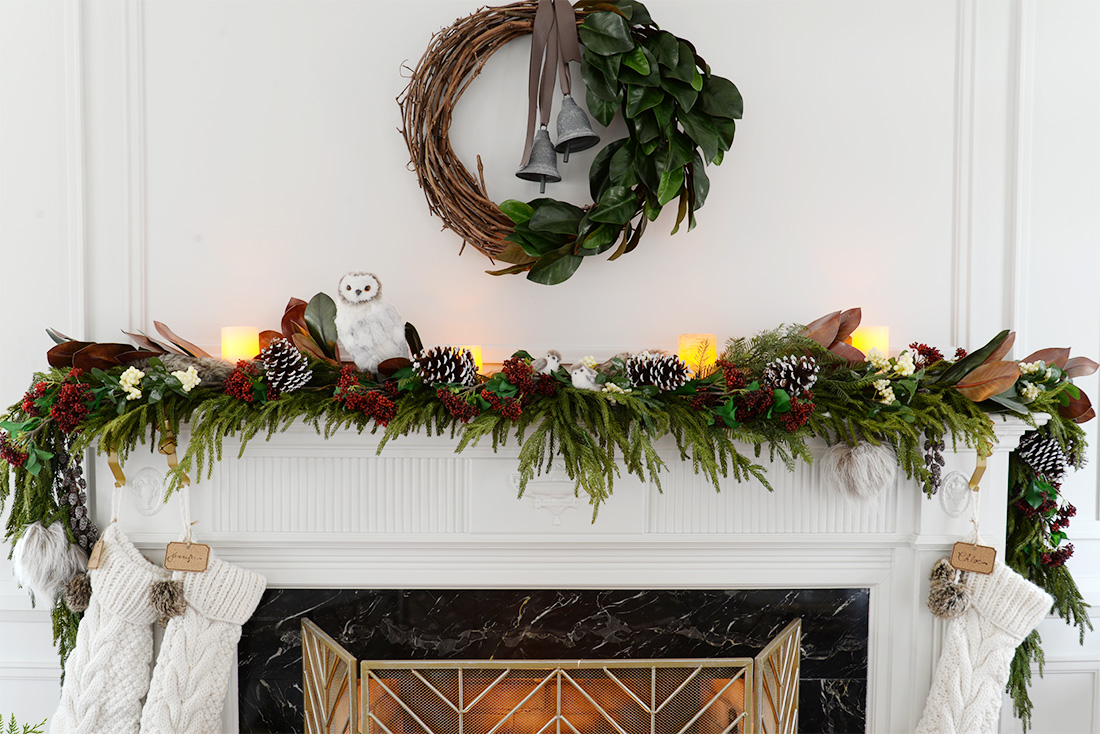
Earlier this week, I shared my Christmas fireplace mantel garland. It's a textured and layered look and I wanted to share how to hang garland on a mantle (or mantel). This is a task I struggled with and I thought I'd share how I addressed this problem.
But first: I'm convinced mantel is the most misspelled word ever. "Mantel" is the correct spelling though I see it more commonly spelled as "mantle" which is why I've included it here. If you're wondering how to hang a garland on a mantle, I want you to be able to find that information here ;)
Ok, enough of the English lesson!

Decorating a Mantel With Garland
Garland on a mantel is a classic Christmas look. There are many different varieties of garland you can use - seeded eucalyptus, magnolia and cedar are my favourites - and you can go with real or faux greenery. Of course, faux garland will last much longer and it is easier to manipulate, shape, and adorn with accessories.
You'll need to choose where you're placing your garland. You have three options:
- Sitting flat across the top of the mantel, along the seam where the mantel and wall meet. If this is your placement, then you will not need to secure the garland and just need to lay the garland on top of the mantel.
- Have part of the garland cascading over the front of the mantel. If some of your garland overhangs the front of the mantel, then you might need to secure it somehow. Depending on the weight of your garland, it might be at risk at slipping and falling off the mantel
- Swag or scallop the garland on the front of the mantel. With this option, you will definitely need to secure the garland
Options 2 and 3 are similar in terms of how you secure the garland to the mantel. This isn't a difficult task. You just need to ensure you have the right materials and tools.
Here's ten easy steps on how to hang garland on a mantel:
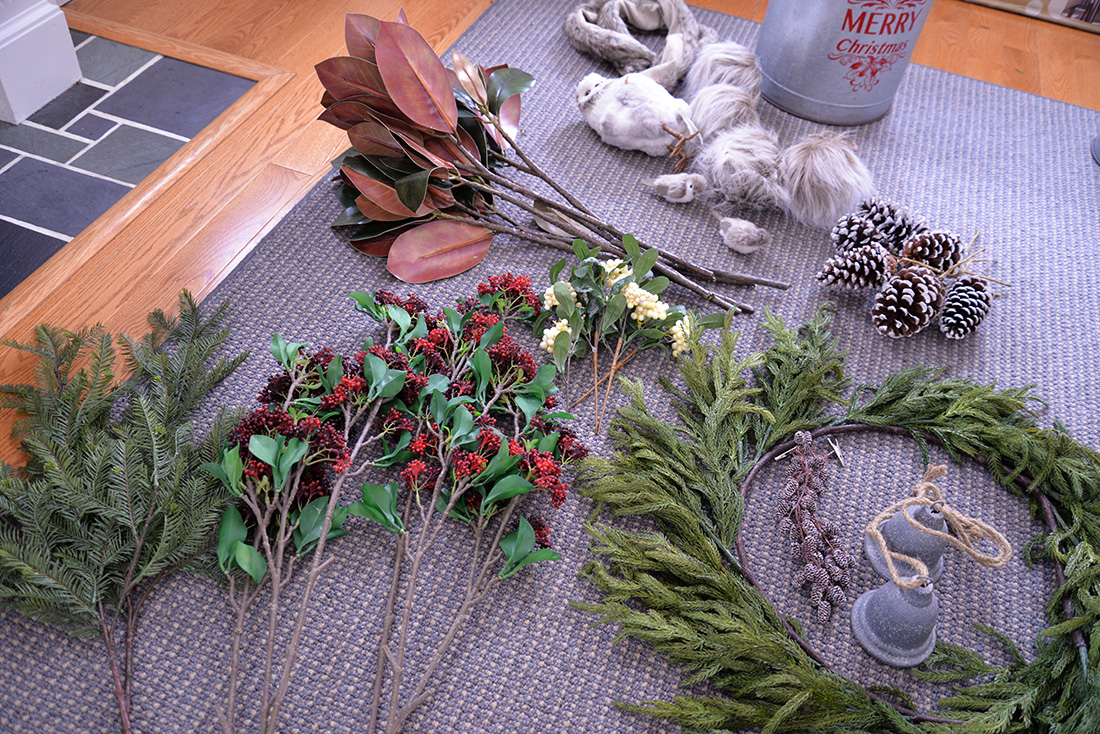
Step 1: Gather your mantel decorations

First step is to gather all of the garlands and accessories you'll be using to decorate your mantel. Group like items together. You'll want to think about the order in which you'll attach the items to the garland to ensure you don't miss a step or have to redo things.
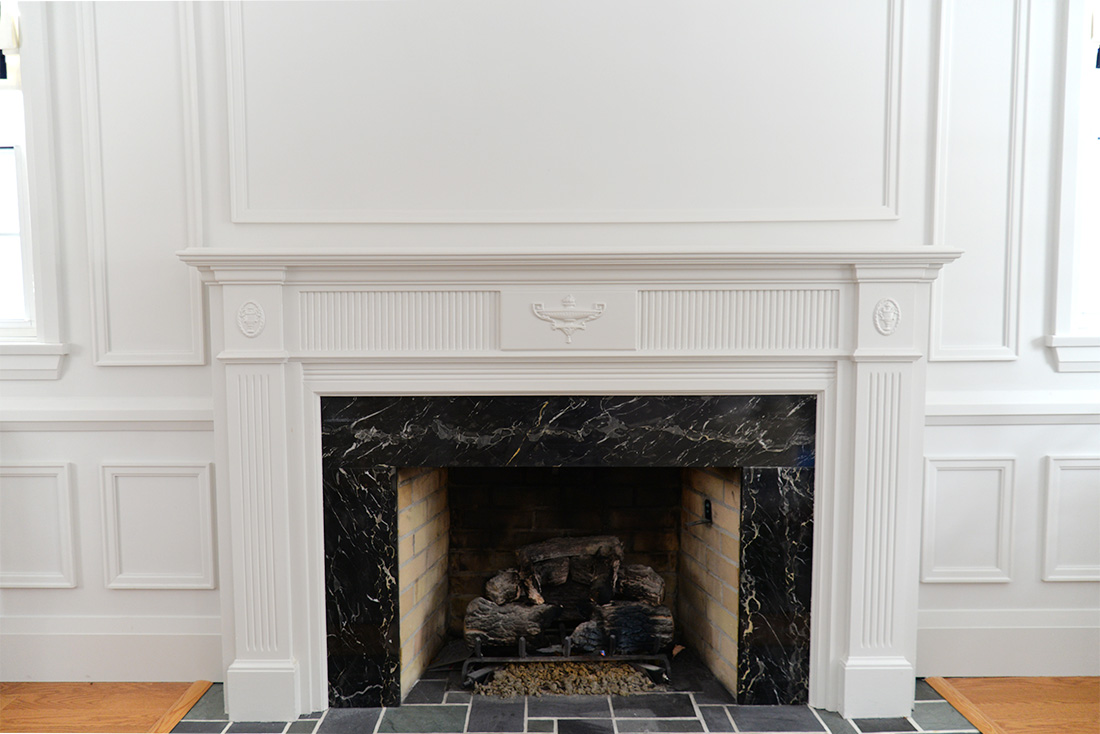
Step 2: Clean the mantel

Next you'll want to clean your mantel. Just wipe it down with a clean dry or slightly damp rag but don't use any cleaning product. I'll explain why in the next step.
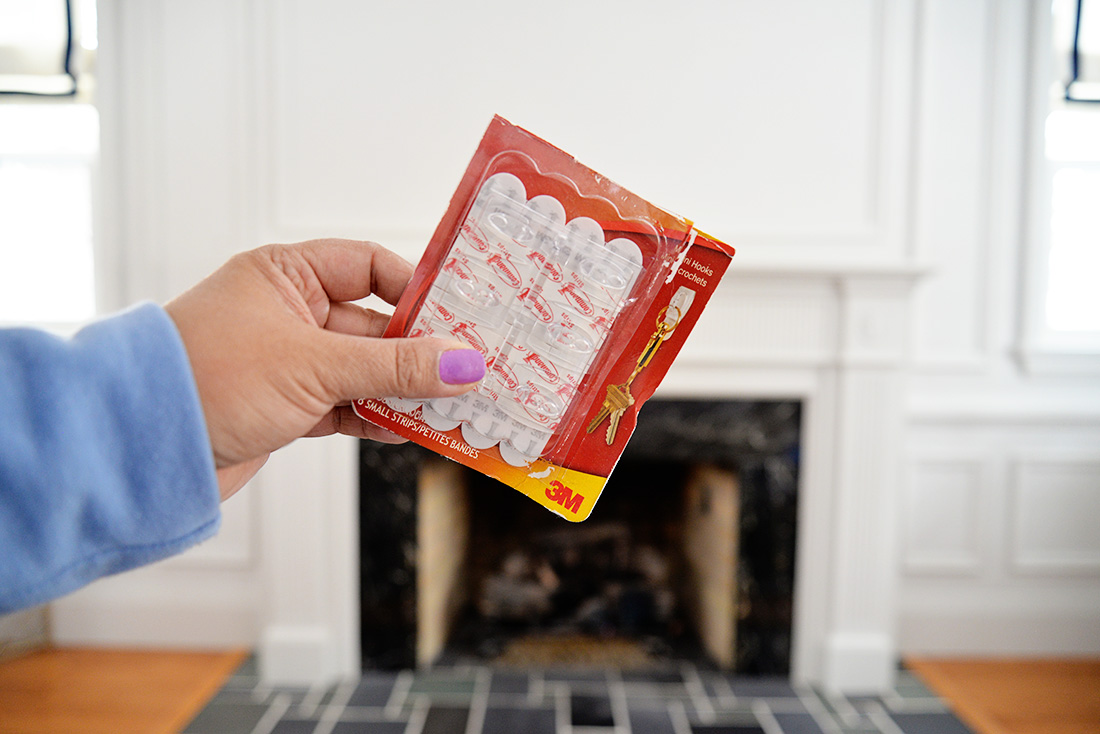
Step 3: Affix Command hooks to the mantel

3M Command hooks are what I use to hold the garland to the mantel. Before you adhere Command hooks to any surface, clean that surface with rubbing alcohol. This allows for better adhesion. This is why you don't want to use cleaning product beforehand.
It is important to use the right size hook for your situation. As my garland was only slightly overhanging the front of the mantel (option 2), and because my garland was fairly lightweight, these Command mini hooks were sufficient for the job. I use clear hooks to ensure they won't be seen in the arrangement.
How to hang a heavy garland
If you want to hang a very heavy garland, you can either use larger Command hooks, or use more than one smaller hook in the same spot to distribute the weight. Ensure you follow the Command hook directions exactly, allowing for sufficient time for the hook to adhere to the surface before you hang anything on it.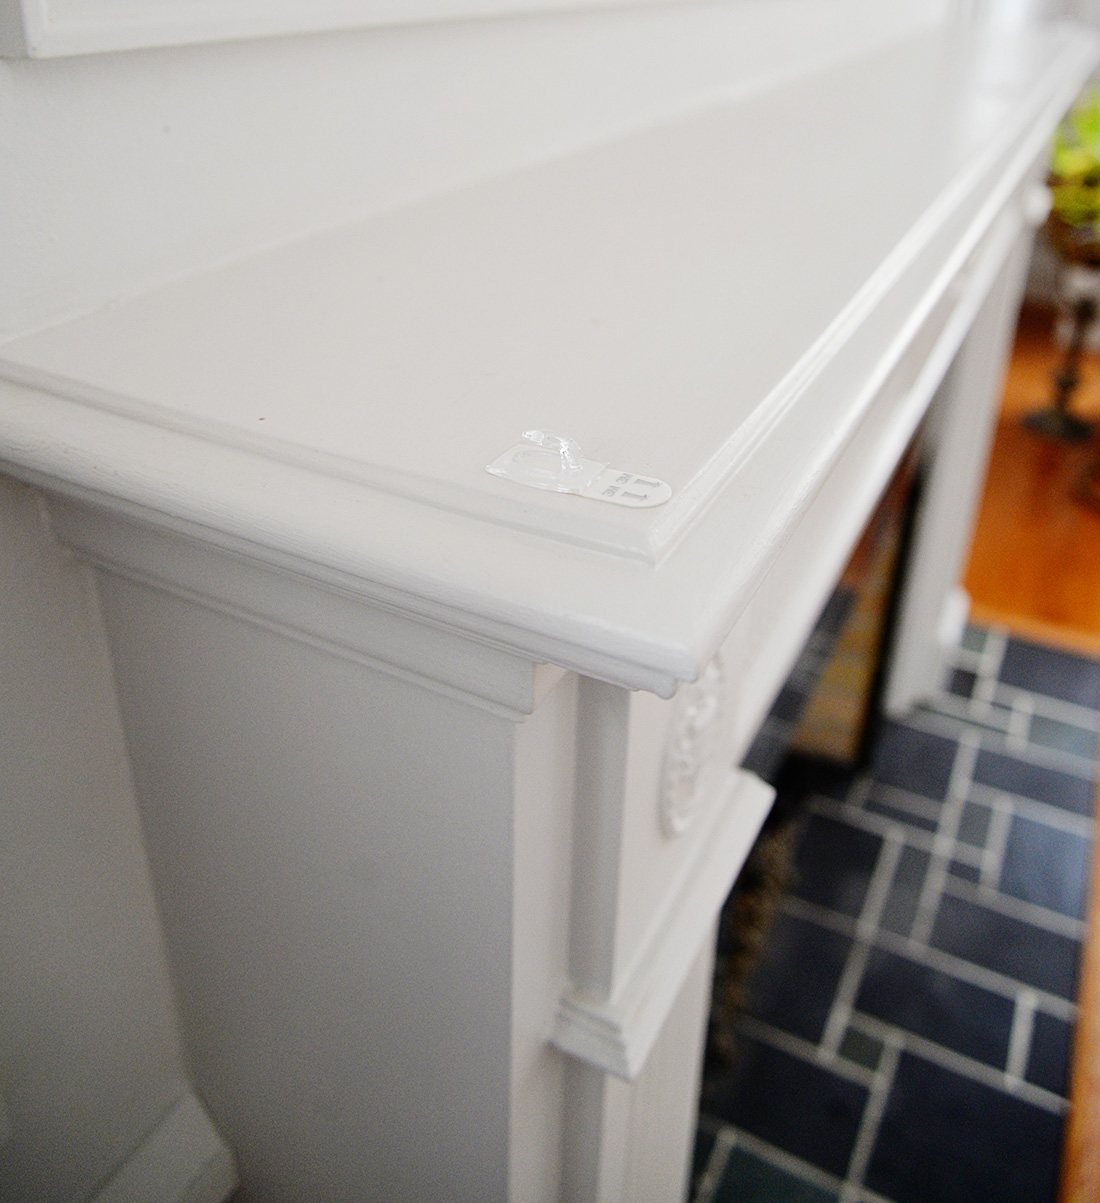

You'll want to affix the Command hooks to a horizontal surface (the top of the mantel), as opposed to a vertical surface (the face of the mantel). This will allow the hooks to bear more weight and stay secure.
Place the hooks at least an inch back from the front of the mantel. Affix at least one in each corner and one in the middle of the mantel top. If your garland will be swagged on the front of the mantel and will have multiple scallops (option 3), then you'll want to place additional hooks as needed, one at each end of the scallops.
Step 4: Lay the garland on the mantel to determine length

In this step, your aim is determine how far your garland will extend down the sides of the mantel. My garland was only 5' and I knew I wanted to go at least a foot down each side so this meant I needed to use two garlands.
Step 5: Wire multiple garlands together

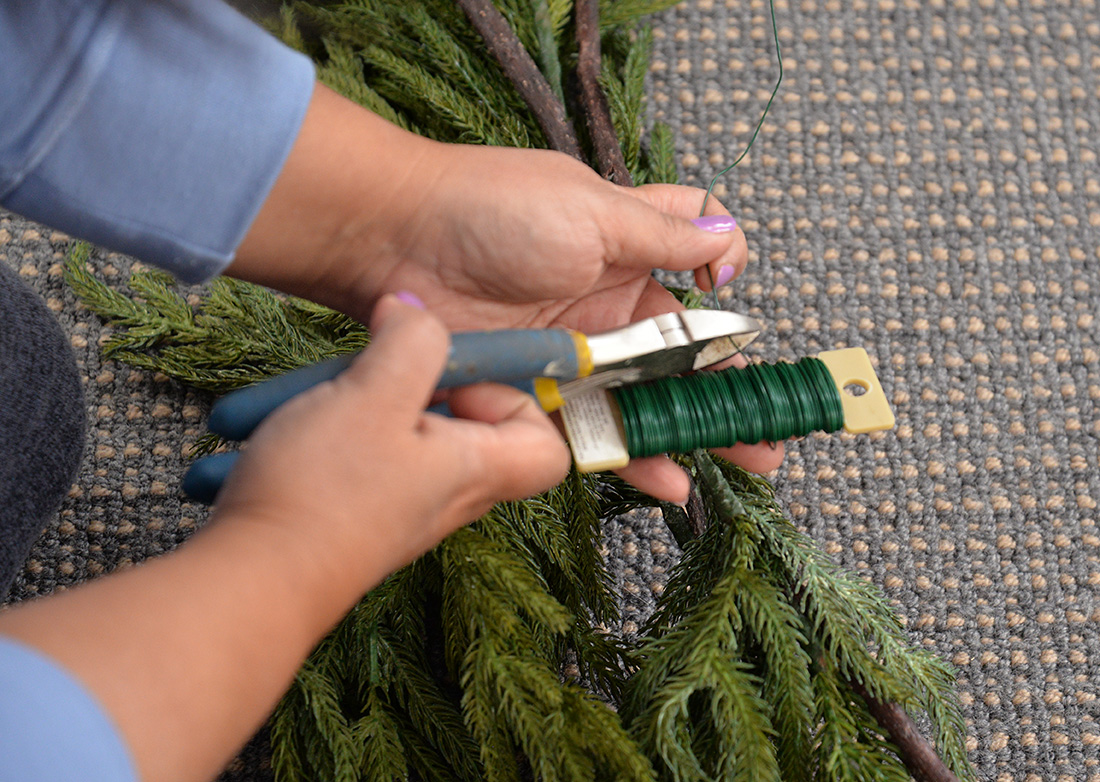
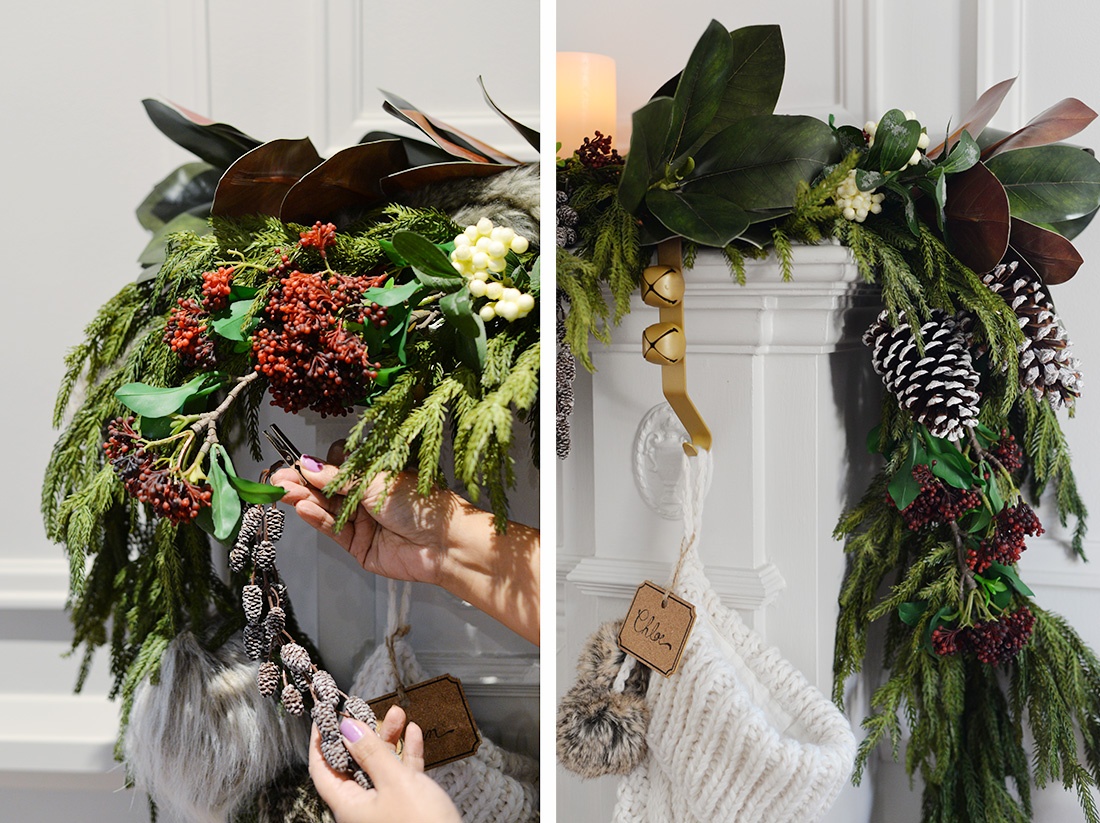
If you are using multiple garland strands, wire them together using floral wire. I used 22 gauge floral wire. Place the garlands end to end with a slight overlap. Be aware of the natural "direction" of your garlands. Do you want all the branches to fall in the same direction? Or do you want them to fall outwards from the middle of the mantel (as shown two photos above)?

If you are using weaving different types of garlands together one on top of the other, or different materials (like the plaid scarf and magnolia garland I used in this mantel shown above), now is the time to combine them and hold them together with floral wire as well.
Step 6: Secure the garland to the Command hooks

With your garland in the correct place and at the correct length, now you can secure the garland to the hooks. Do this by tucking a branch of the garland into the hook, ensuring it fits snugly. Or, if you want to make things more secure, wrap floral wire around the garland and then wrap it a few times around the hook.
Step 7: Fluff out the garland
Use your fingers to gently spread out the the leaves and branches of the garland. Give the garland volume and shape. Don't worry about it looking perfect. A more natural look is charming.Step 8: Add in branches and sprays
You can add additional branches and sprays to give your garland dimension. Tuck in the branches and secure them using floral wire.


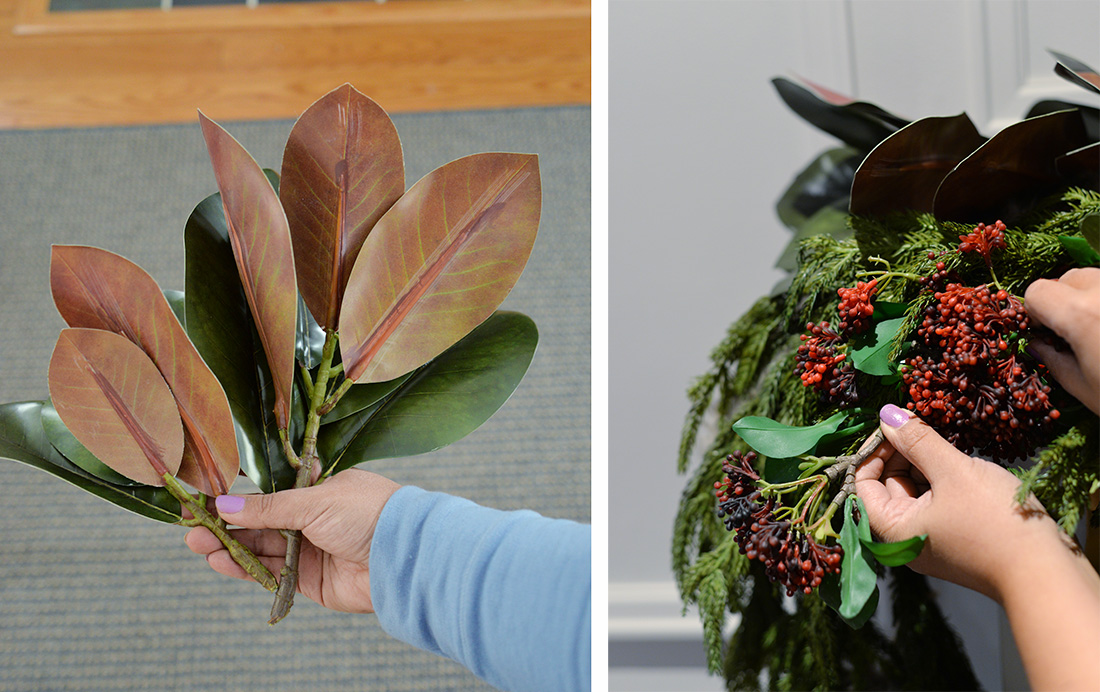
Once the larger branches and sprays are in place, you can then add in the smaller accents. Work by type. Here, I added all of the magnolia leaves first, placing five clusters along the length of the garland. Then, I added the red seeded eucalyptus berries. Spread out your accents in random placements. Anything too orderly will look fake and unnatural.
If you are using ornaments on your garland, this is when they should be added.
Step 10: Add in accessories

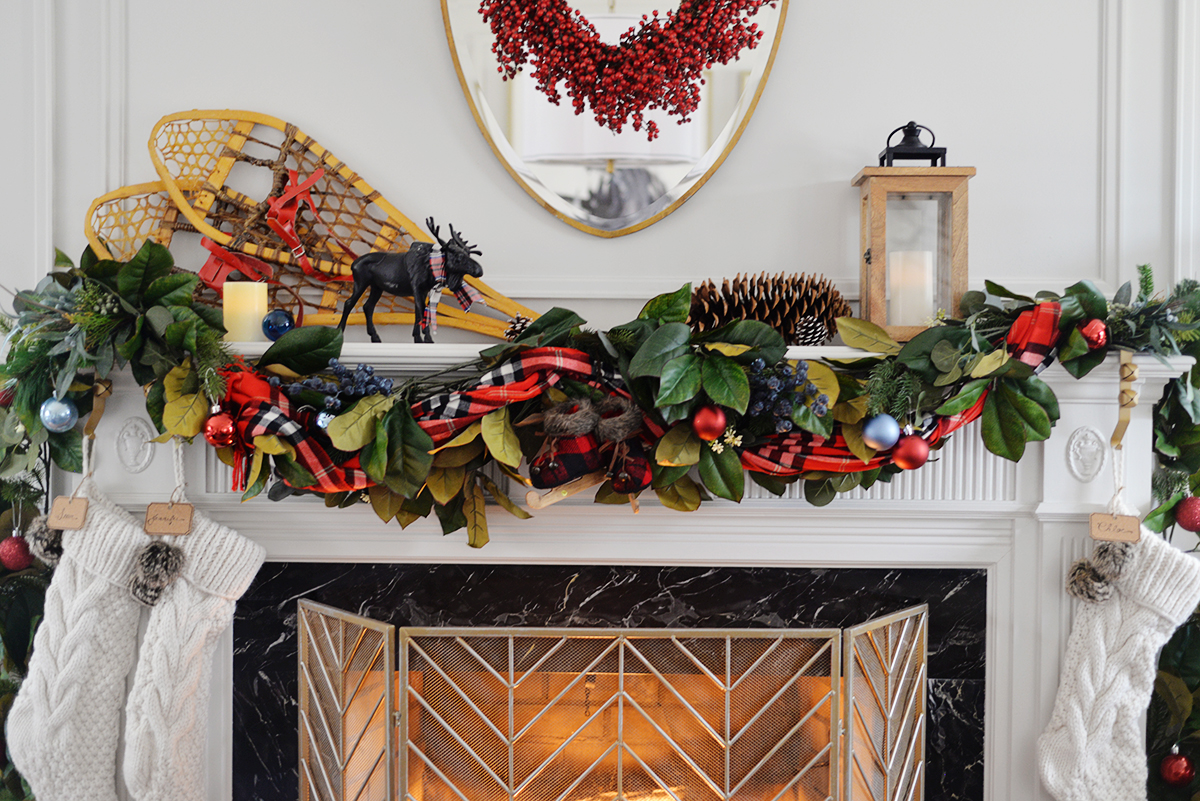
For the final step, add in anything that isn't secured or affixed to the garland. You can see where I've added the stocking holders and stockings, candles, wee birds and an owl, above and below the garland.

And that's it, your garland is complete. I hope this helps you to create and hang your garland and create a beautiful mantel display!

More posts from Jennifer Flores