DIY Vintage-Inspired Corbel Building Plan & Pattern
Hi, it’s Amy from Hertoolbelt back again with another build project. If you missed last weeks project, check out the cute divided bookcase. I have been searching for the perfect corbels to add to my kitchen island (like Justin and Cassity did here). I want a corbel that is more decorative than the basic designs, but not so decorative that it looks like it belongs in a palace. Layla over at The Lettered Cottage found the coolest salvaged corbels for her farmhouse kitchen remodel.

photo courtesy of The Lettered Cottage
These salvaged corbels have me drooling with envy, check out those curves!!! The great thing is that they are a totally do-able DIY project, so we asked Layla if we could pretty-please use hers as our inspiration. So, with her permission, the following plans are for an inspired representation of these beautiful corbels, not the actual measurements from The Lettered Cottage’s corbels. Our DIY corbels are about 9″ wide or deep x 12″ tall x 3″ thick.
How to Make a DIY Corbel
Materials Needed
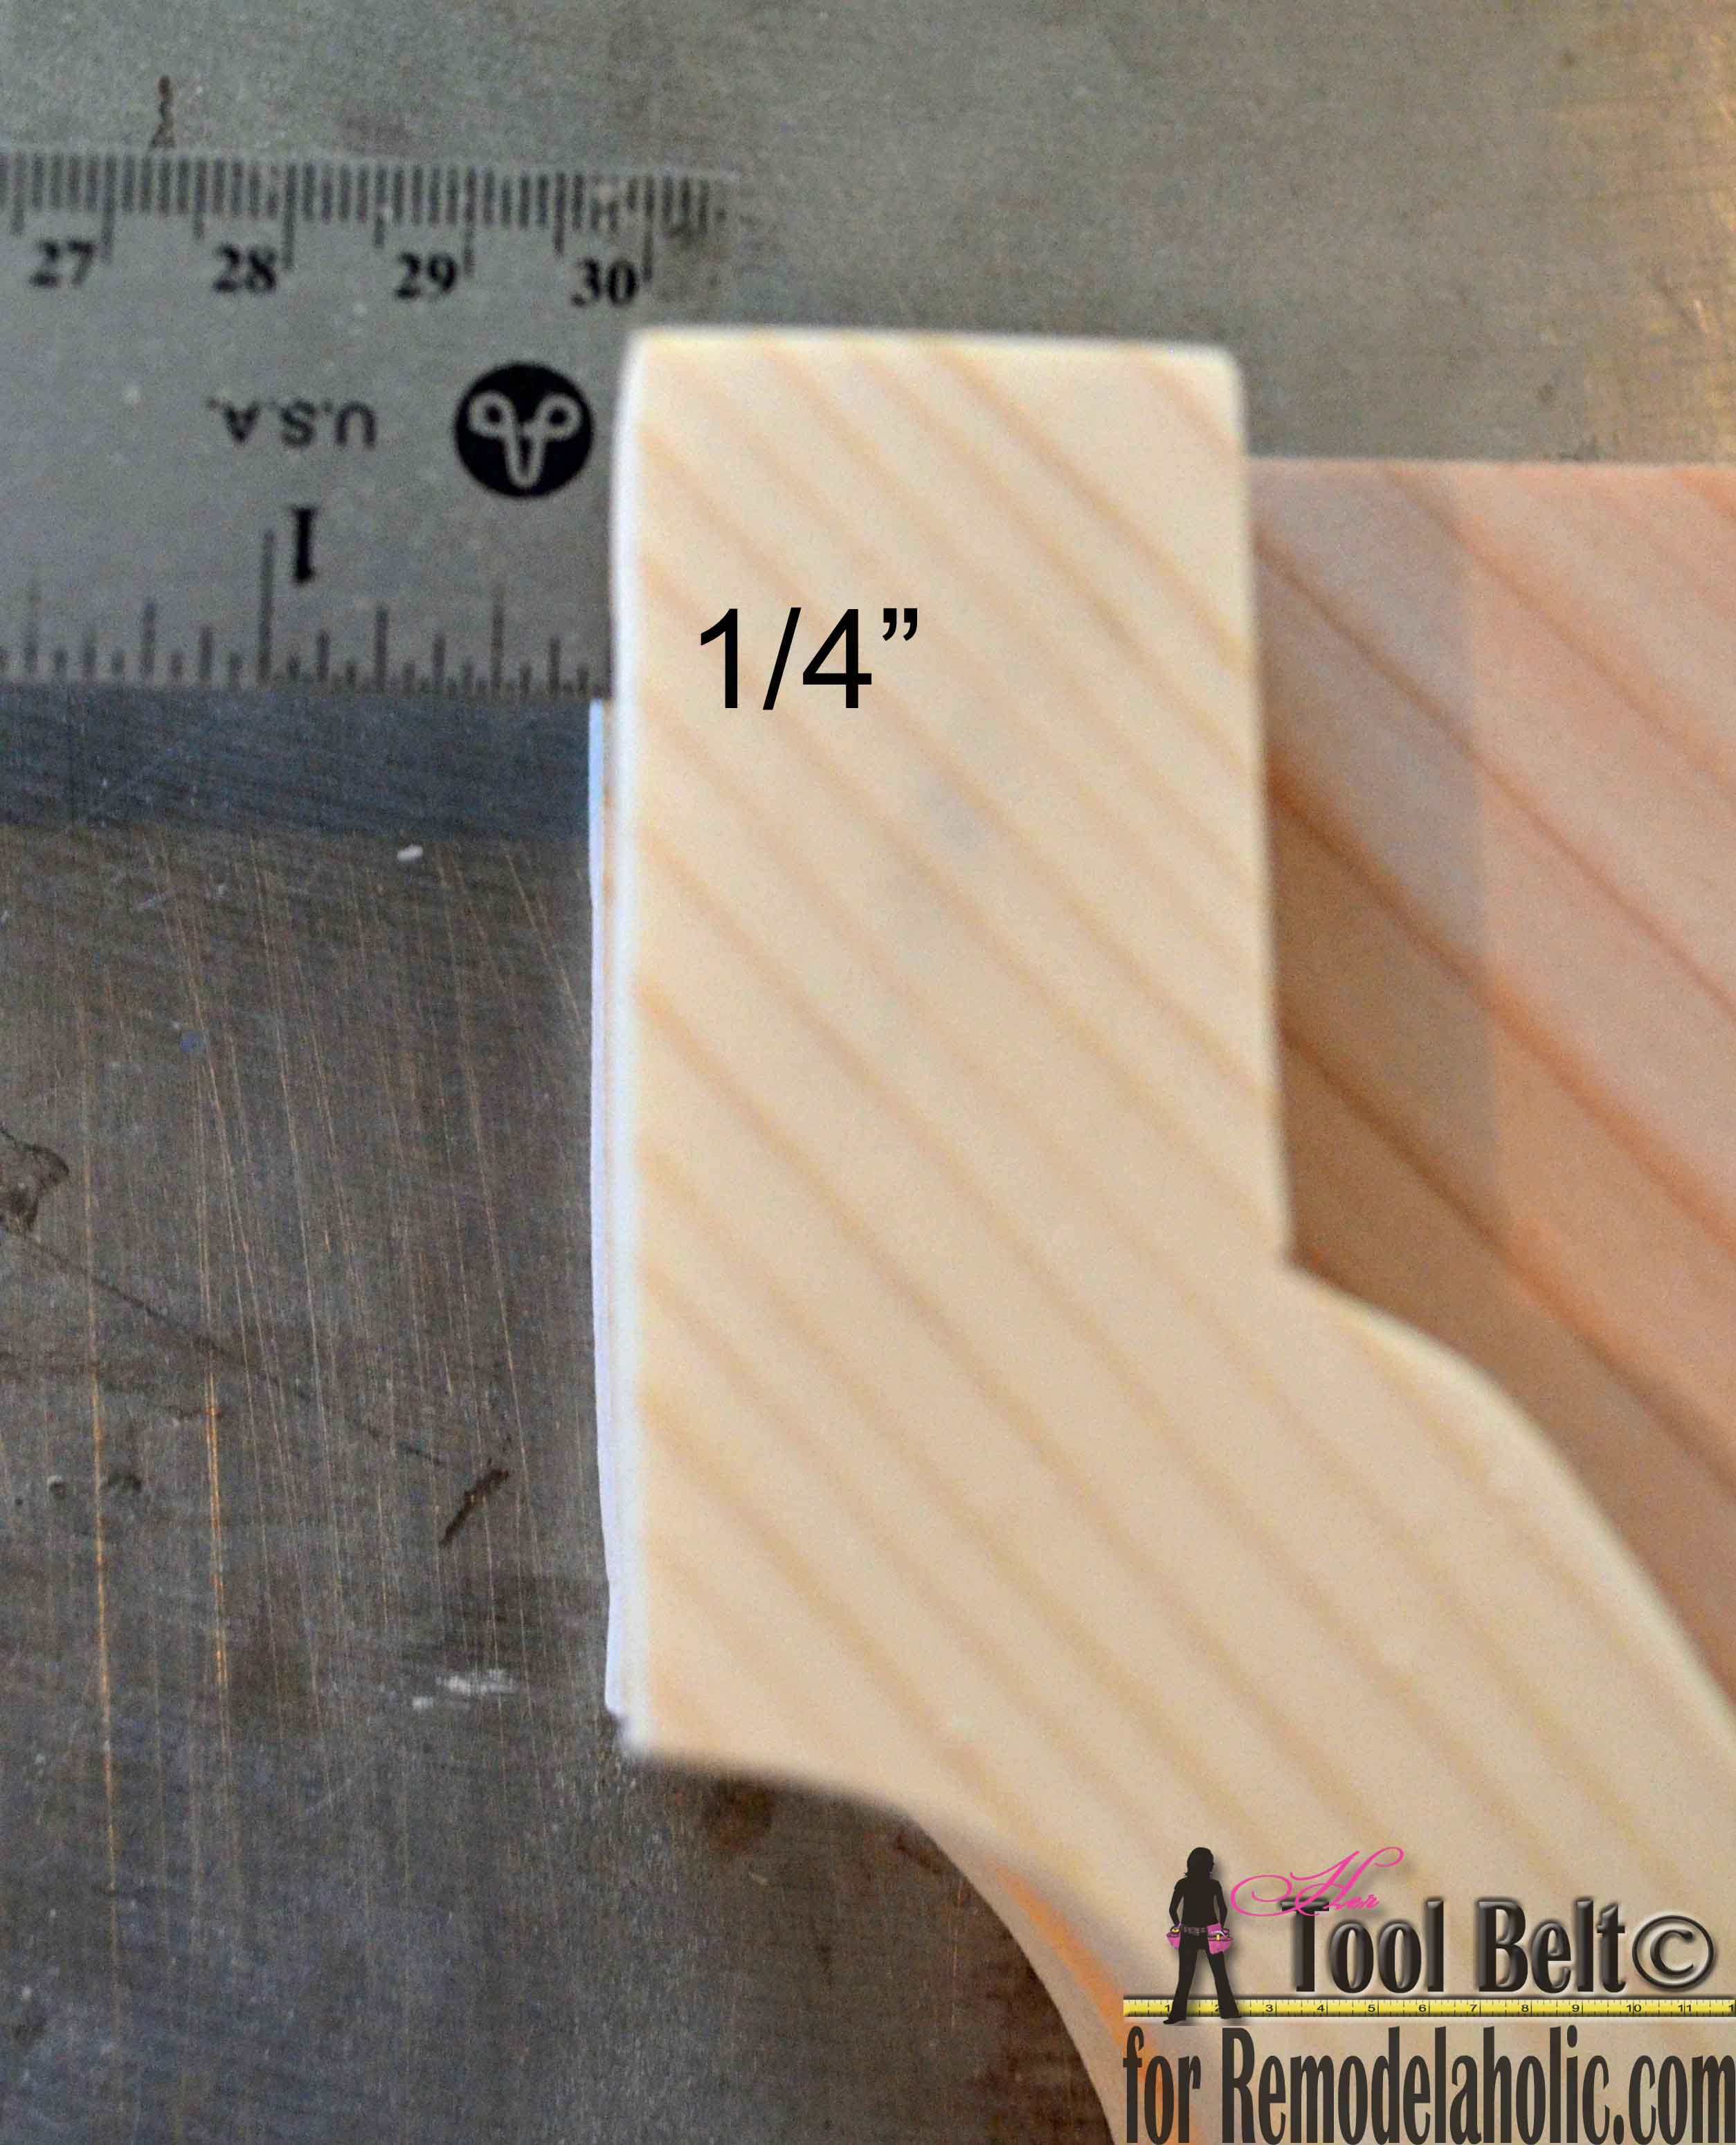
- 2″ x 10″ board (actual 1 1/2″ x 9 1/4″) length depends on the number of corbels desired.
- 1″ x 8″ board (actual 3/4″ x 7 1/4″) length depends on the number of corbels desired.
- wood glue
- 1 1/2″ – 2″ brad nails
- wood filler
- sandpaper
- paint/primer or stain
Step 1
Download and print the following patterns. When printing the PDF documents, make sure the print settings are on 100% and not ‘fit to page’. Outside pattern: Outer Corbel Pattern 1, Outer Corbel Pattern 2. Line up the patterns and tape together, the papers will overlap a lot. Cut out the pattern for the outer corbel pieces. Inside pattern: Inner Corbel Pattern 1, Inner Corbel Pattern 2. Line up the patterns and tape together, the papers will overlap a lot. Cut out the pattern for the inner corbel piece.
Trace 2 outer corbel pieces, for each corbel, on the 1 x 8.


Step 2
Cut out all of the corbel pieces with either a scroll saw, jig saw or band saw. Sand the cut out corbel pieces, smoothing/removing any unwanted striation marks left by the saw.

Step 3
When assembling the 3 corbel pieces, the top of the 2 outer pieces will be flush with the top of the inner pieces. The flat vertical edges near the bottom of all 3 will also be flush.
Apply a bead of glue to one side of the inner corbel piece.


Use a 1 1/2″ or 2″ brad nails to secure the top in place. Make the lower vertical straight edges flush and secure with a brad nail. Nail a few more places to secure the outer piece to the inner piece.

Flip the corbel over and repeat the same process for the other outer piece.
Step 4
For each corbel, cut 2 pieces of wood that are 3/4″ x 1″ x about 8″. Trim the length to fit. It will run flush with the top of the inner piece. Glue and nail the straight pieces to the top of each side of the corbel. Remove any excess glue and allow the glue to dry.
I am super excited about how these turned out!


Step 5
To finish the corbels, fill the nail holes and blemishes with wood filler. After the filler is dry, lightly sand the wood until smooth. If staining, apply wood conditioner and stain as directed. If painting, prime and paint with your favorite color. Apply a top coat.
For an alternative look, The Lettered Cottage stripped the old paint off of their salvaged corbels and left them bare wood (protected with wax) with hints of chippy paint, I love the look.
(A huge thanks again to Layla for both inspiring us and for letting us use a couple of her photos here — and if you don’t already know and love Layla and The Lettered Cottage, head over there and say hello!)

image courtesy of The Lettered Cottage
Use these DIY corbels to add pizzazz to your kitchen island, fireplace mantle or under your upper cabinets. Get the look of Restoration Hardware by mounting 2 corbels on the wall and placing a thick glass shelf on top.


————————————
Add some curvy appeal with these other DIY woodwork projects, too!

