
Shoemaking: My second pair of ballet flats, made from following a book

I made shoes that FIT! I discussed in my very first post that I was going to use the kit to the letter for my first pair of shoes and the book to the letter for the second pair. As it happens my second pair turned out to be a bit of a hybrid between the two options which I'll explain further on. These shoes are not perfect and there are a bunch of things I'll change when I make my third pair but they are definitely wearable!
Last time I made a pair of shoes I was working from a kit so this time I've made a handy dandy table for you so you know what I used.


Following the book
I loved following this book so much. You can tell it's written by someone who has made a lot of pairs of shoes and has ironed out all the kinks in their steps and procedures. She provides a template for a shoe pattern or you can cut open a shoe of your own to make one. Since I had already based my customised pattern on the free template from icanmakeshoes.com I stuck with that. It did mean I varied a couple of things which I'll talk about below.

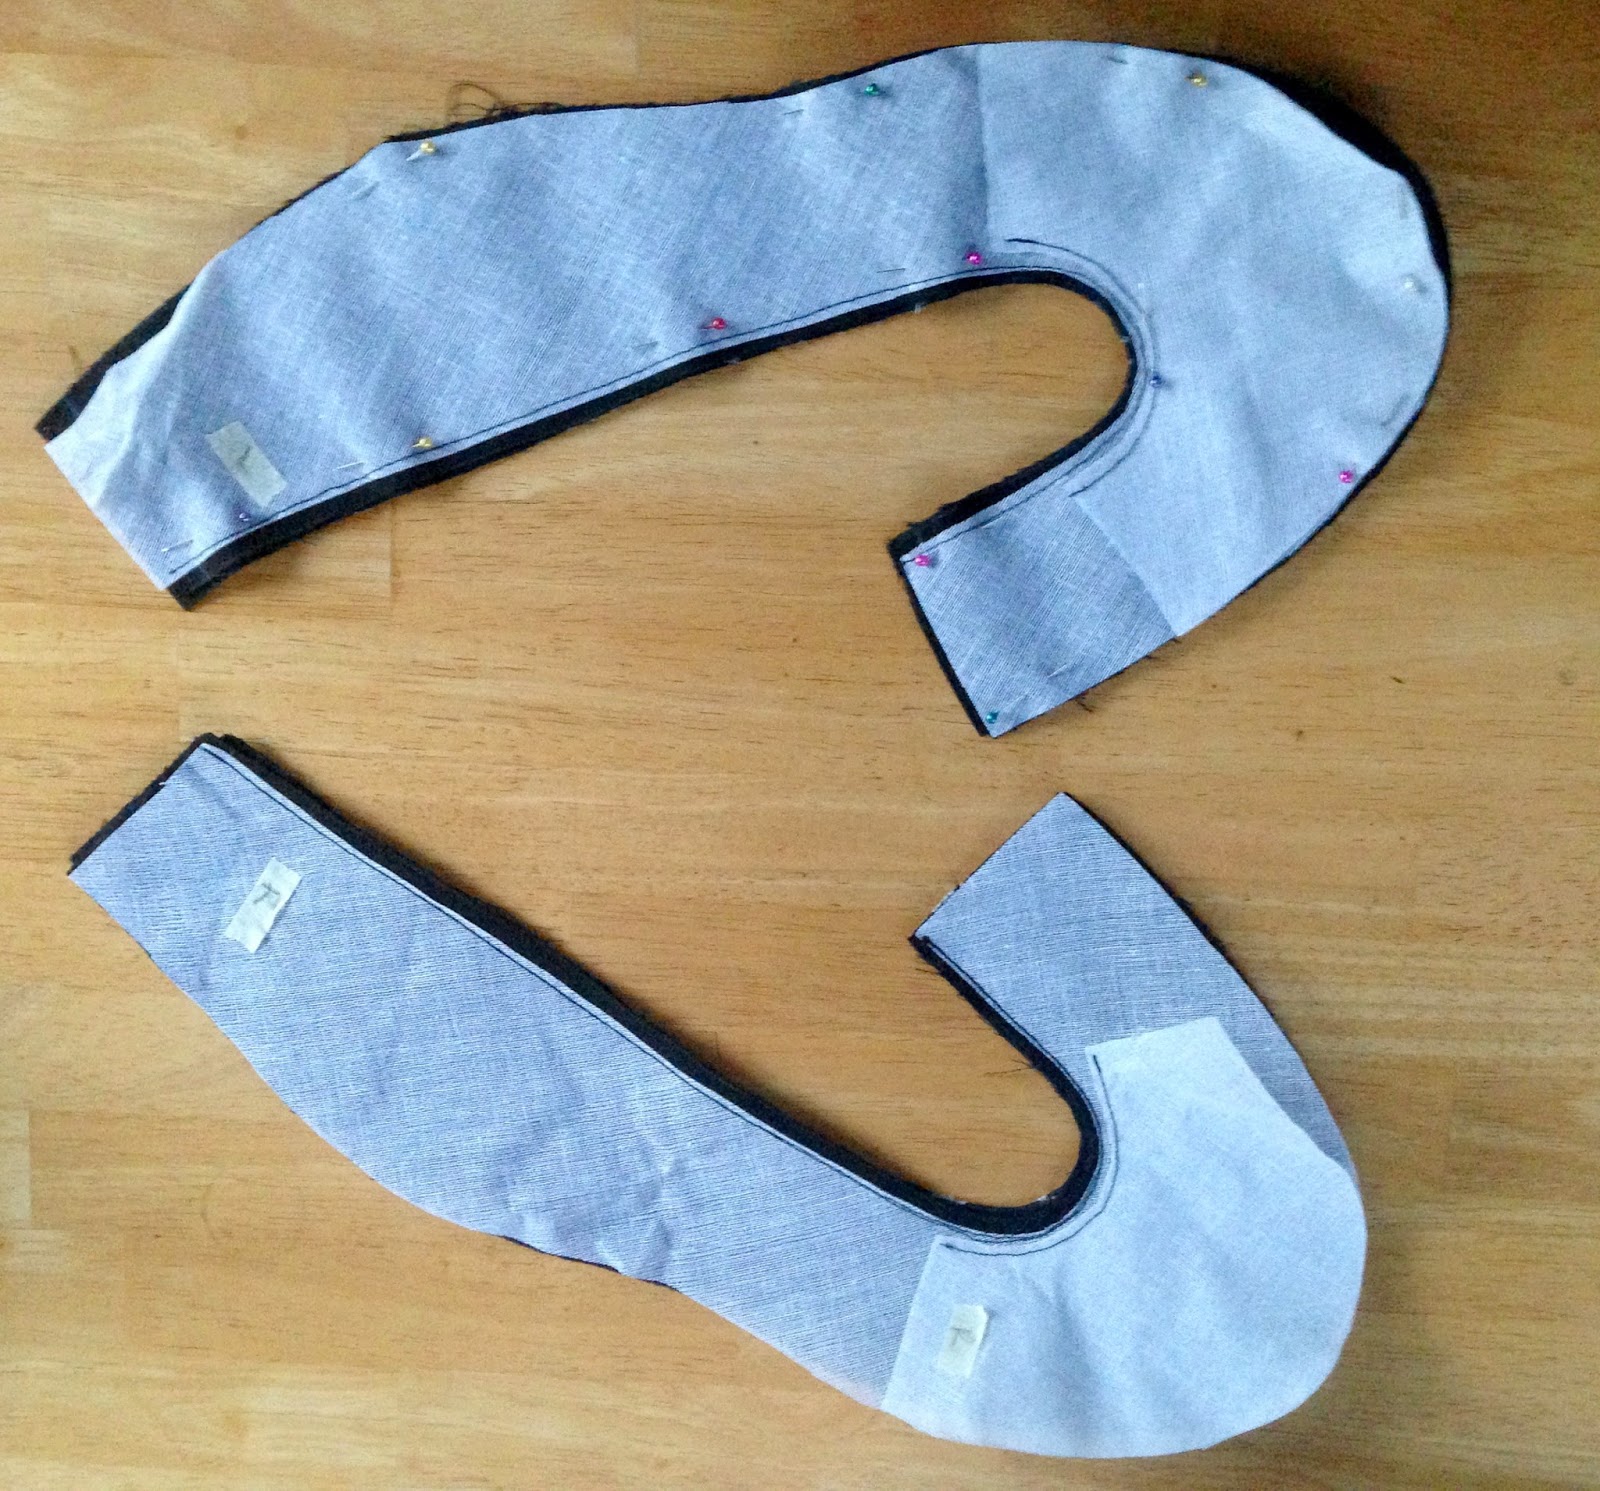
It starts by having you make slightly graded patterns so that each layer in the shoe is stepped off from the next to reduce bulk at the seams. Once you sew it all together you understitch everything but the outer fabric. I trimmed and pressed my seams to reduce any further bulk and then topstitched and pressed again. Unfortunately, because I was changing her suggested process, I hadn't thought through what order to do this all in so I topstitched before I sewed the side seam. It means the seam isn't lying flat which is unfortunate but it's not too noticeable.

I do love the way the side seam is sewn though. It took me a long time to pin this meticulously and I still didn't get it right. Millimetres really matter in shoemaking. I suggest you spend some time on this seam (with a seam ripper handy) to get it right.

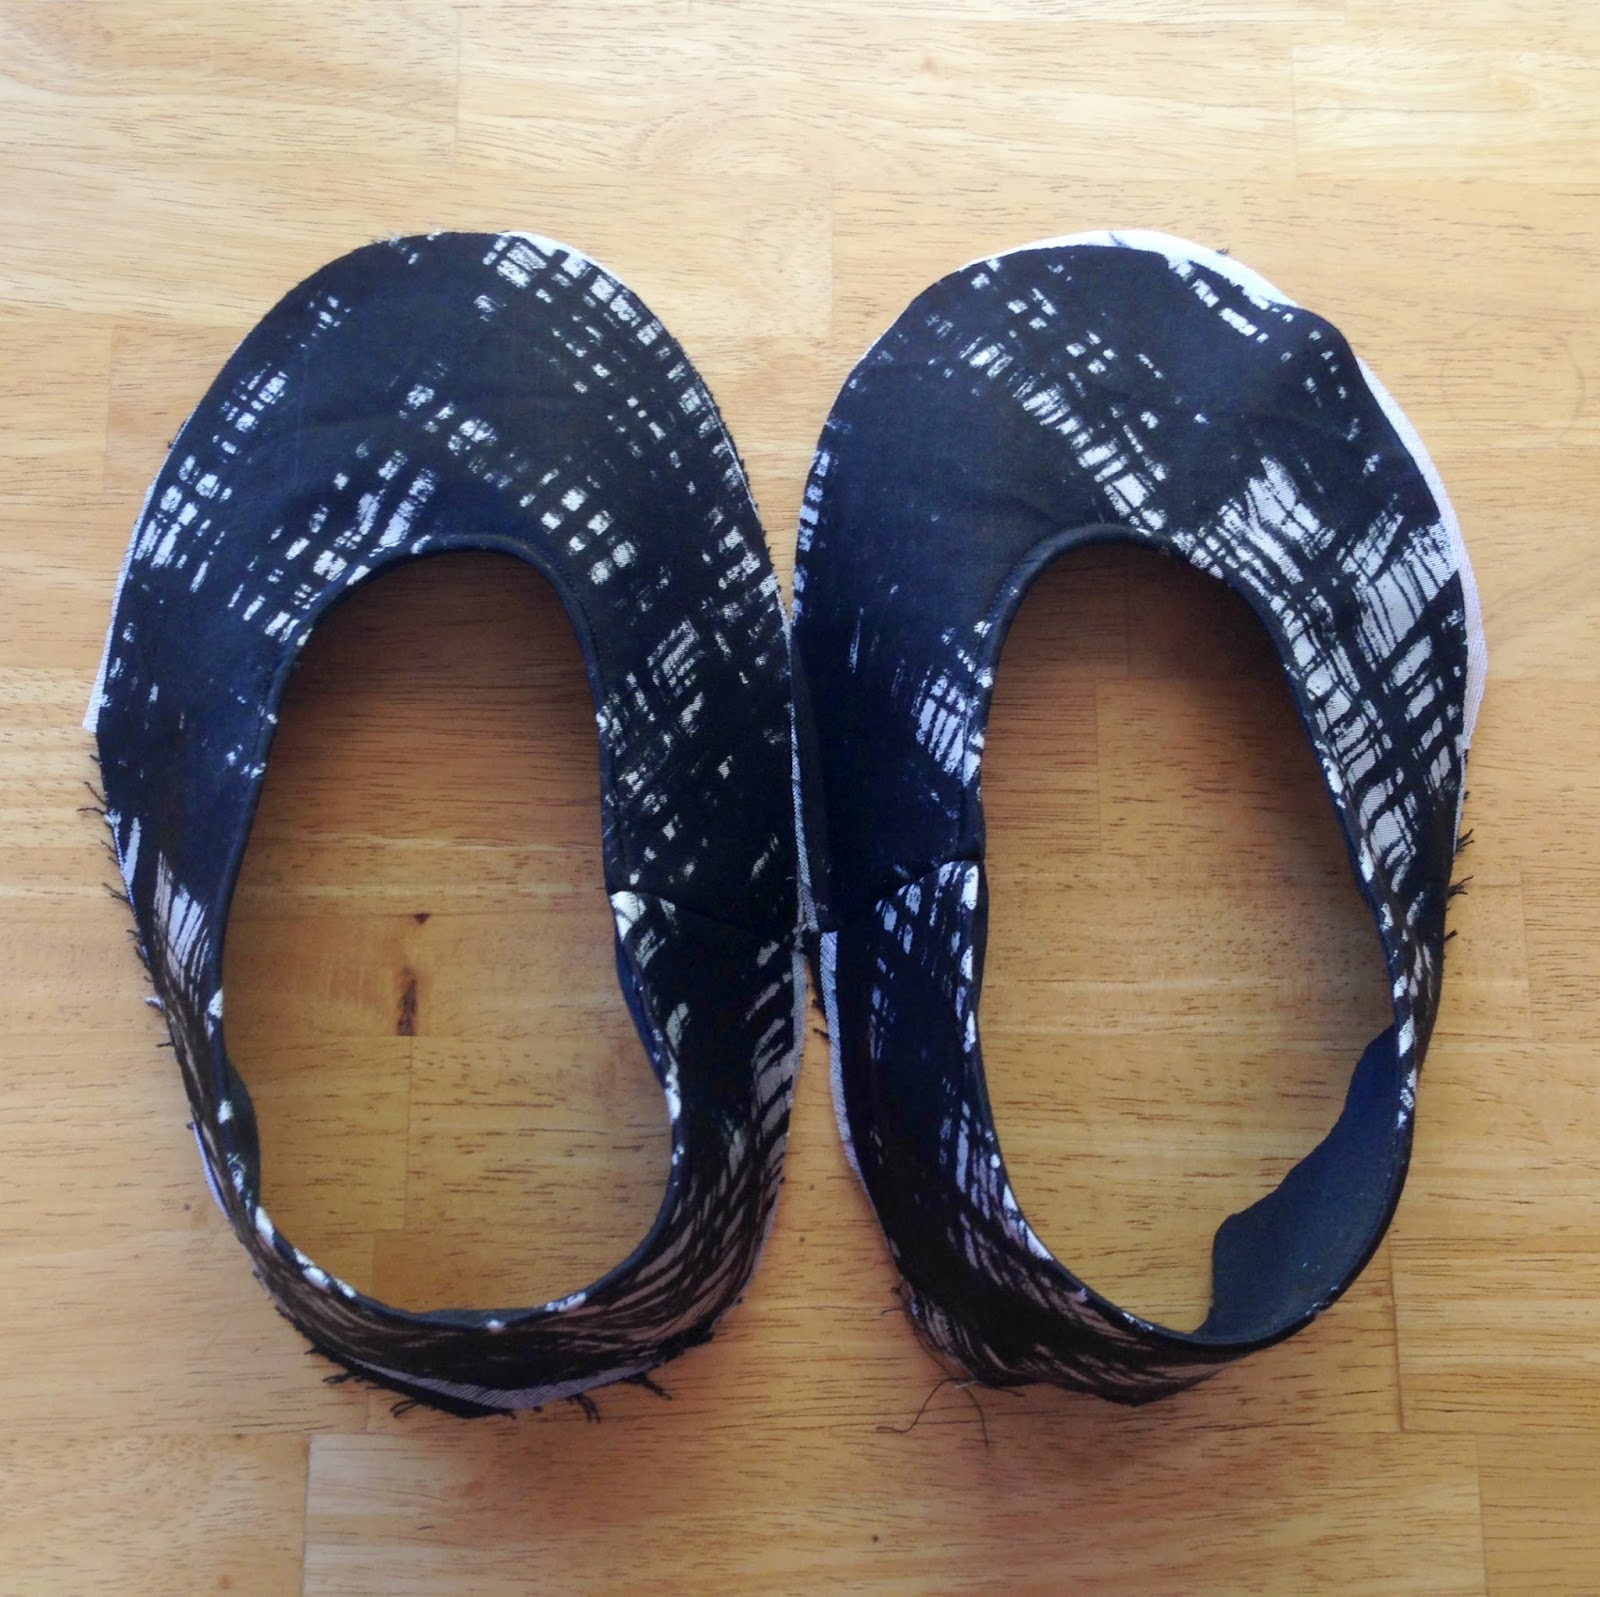
Once all the sewing is over you end up with these weird looking things. This means it's time for some shaping which, when you make them this way, only involves fabric stiffener.

The crinoline and interlining over the toe get fabric stiffener rubbed in to them to give the rounded toe more shape and rigidity. She includes instructions in the book for making your own counters (the part that gives the heel shape). I really wanted to try this as an alternative to having to source them and since it's only layers of crinoline with fabric stiffener rubbed in I was curious to see how well it would work out.

I'm really pleased with the counters. They were messy and fiddly and time consuming to make but they really work. They have the right amount of rigidity with just enough flexibility for your heel to move as you walk in them. They probably took me about 2-2.5 hours to make out of about a 12 hour shoe making process so comparatively they're the biggest and longest step in making the shoes but I really think it's worth it. Also I should mention I drastically reduced the amount of time it should have taken to make these by using my hairdryer to dry each layer as I was working on them. If you had to wait for them to air dry properly between layers you would have to do them over a couple of days which wouldn't be worth it. So have your hairdryer handy!
Not following the book
Because I used my own pattern and not the kind of pattern suggested in the book it had some flow on effects for making my shoes and the order I had to do it in. Firstly she is making a pointed toe shoe and I'm making a rounded toe shoe. Her process for shaping the shoe is to wrap the fabric around the last and handsew giant zigzags of thread across the bottom to pull the sides of the fabric really tightly together. I couldn't do this because there was no way for me to work the fabric around the rounded toe. She also does all this, pops the fabric off the last, attaches the insole, snips off the excess fabric around her pointed toe and glues the sole on. I didn't do that either. I glued it all together just like I did for the first pair I made.

One thing I tried to follow from her book was the insertion of the counter. She has you put the counter over the last between the lining and the interlining. As I said before she then goes about hand sewing these layers tight around the last. I decided to glue my pieces together so I could still get a nice rounded toe shape so I wasn't sure how to deal with this counter. I ended up inserting it where she suggested but then gluing every other layer around it onto the bottom of the insole as I did with my last pair of shoes. With each layer I was pulling, gluing it down, turning my last over to check the positioning and pressing it into place as the glue dried. What I didn't know until right at the end when I popped the shoe off the last was that the lining was really loose and hadn't been pulled into shape very much because I was trying to keep the counter in place. It's only a slight change of steps but next time I will most definitely pull my lining into place over the last, glue it down, check it meticulously and press it into place as the glue dries before I even touch the counter. This will eliminate this problem altogether.

The dart was tricky when trying to follow this process. There are a lot of layers and I was hesitant to sew the dart in the lining and sew the dart in all of the other layers together. I remembered from using the kit that while it helped shape the heel it ended up getting cut off anyway. I made the decision to cut the dart out literally. I cut that triangle out and then just glued each layer down separately and all was fine. I'm really glad I did it this way because it's not actually necessary to have that dart.

What I would change for next time
As I said before these shoes are definitely wearable but they do feel a little soft and fragile so I'll be wearing them with care. Like on non-rainy days.
The Toe
The fabric stiffener on the toe area was good but it's not enough. The toe doesn't feel as firm as it should. I think I'll add a second layer of crinoline for the toe area and use fabric stiffener on them separately, much like with making the counter. It wouldn't need much more than this for a bit of rigidity and shape.
The sides of the shoe
The side of the shoe have no shaping whatsoever. It's just a couple of layers of fabric pulled tight around the last and, in the end, your foot. This is too flimsy, soft and prone to crinkle. I think I'll use fabric stiffener on one layer all the way around the shoe next time so the fabric holds it's shape on the sides.
The insole
When I used the kit I hated how inflexible the texon board was to walk on. This book suggests you use really sturdy and thick cardboard. I used the thickest cardboard I had onhand from a lightly corrugated box but it's just a bit too flexible. I'd like to find a heavyweight, flat cardboard to use next time. I may even glue a couple of layers together until it feels strong enough.
All in all they're a bit too lightweight and flimsy so I feel a little protective of them. I'll still wear them out and I'm contemplating keeping a little journal on the shoes I make so I can monitor how many hours I wear them, how the sole wears, how the fabric wears and how long I get out of them so I can narrow down the best process and materials over time.
What I love about these shoes
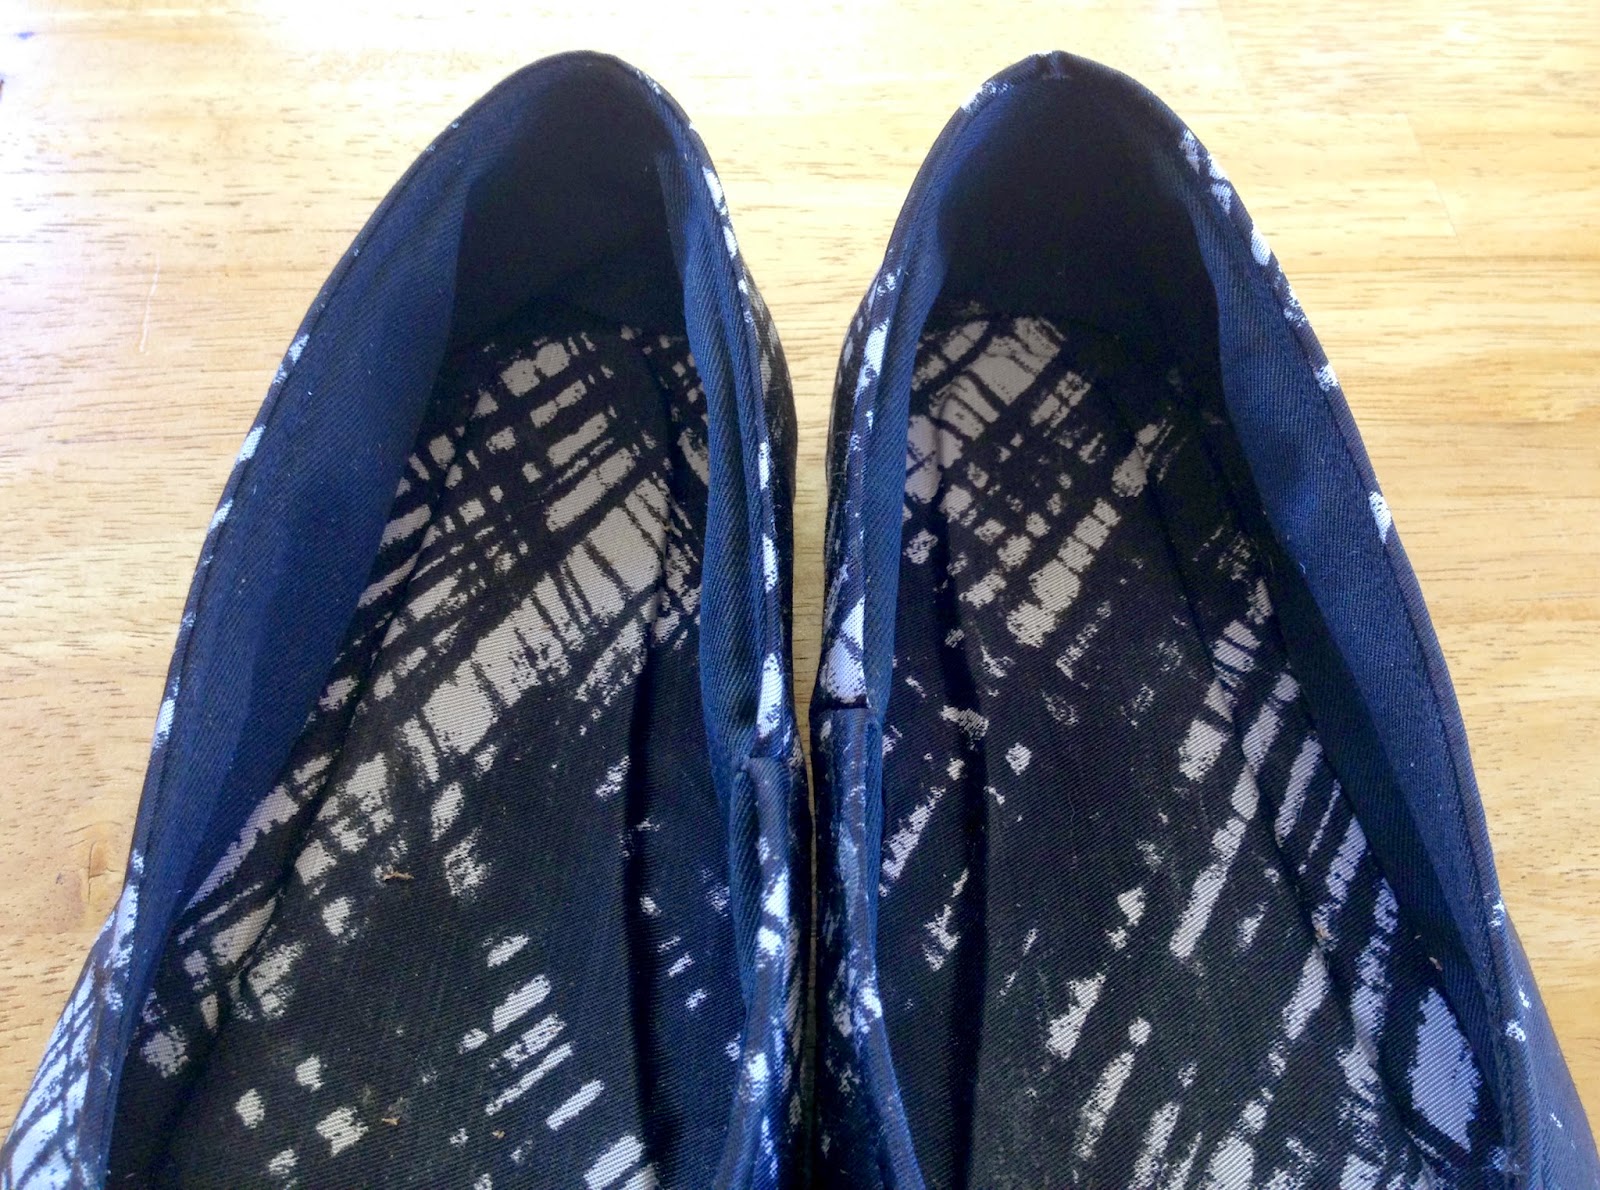
The pattern I made worked a treat! As you can see below my wide feet now actually fit in shoes. I think I might shave a half a centimetre off the sides of my pattern so it's not as high there but I'm stoked that these are the best fit I've ever had on my feet.

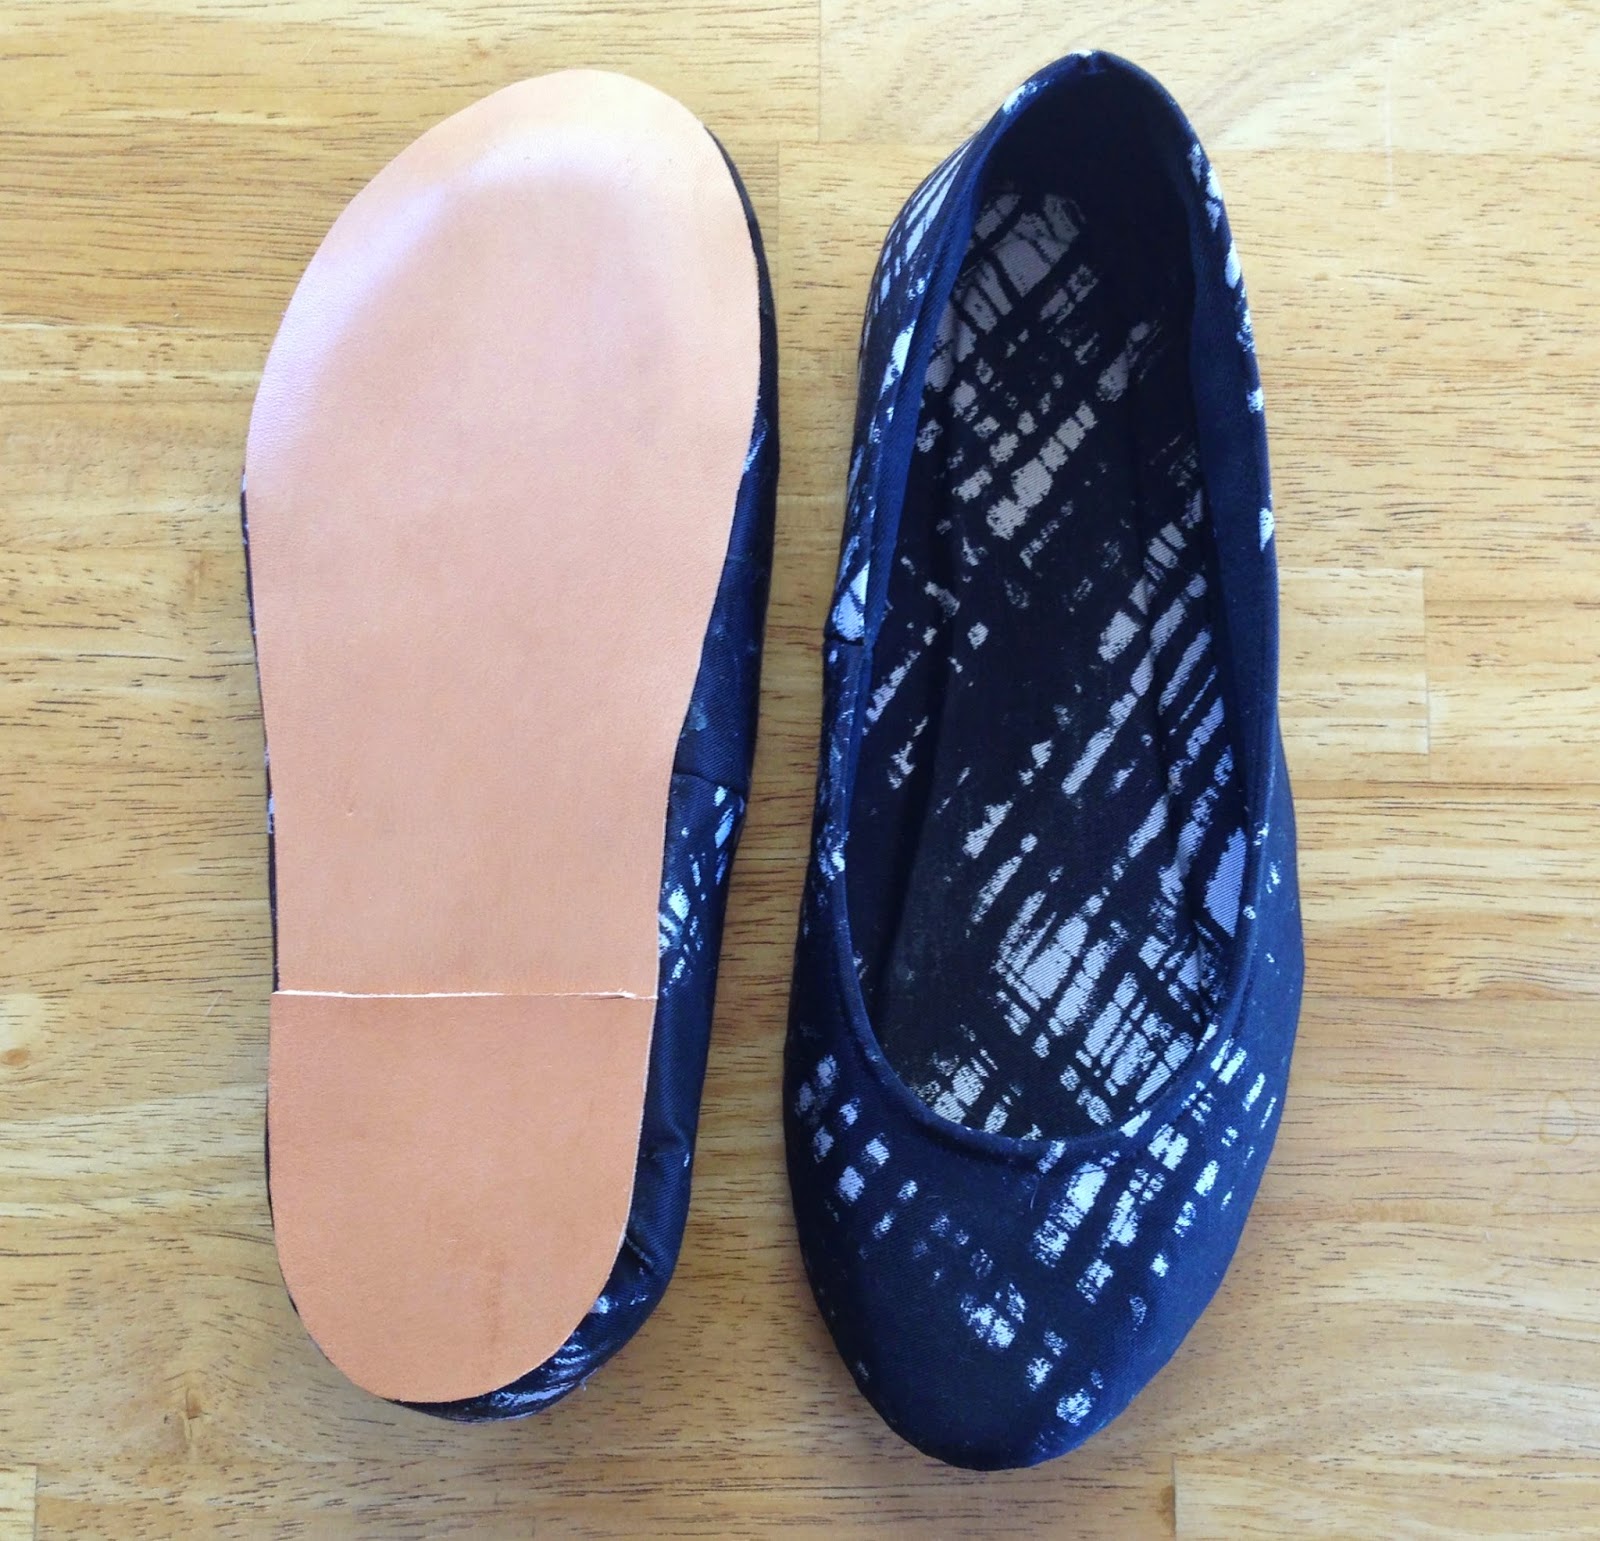
I nailed the insole shape. It's perfect.
I made SHOES that FIT!!
As you can tell from these posts I'm on a very steep learning curve. I'm finding out what works best for me and the kind of shoes I want to make. I will eventually put a detailed tutorial up on my favourite process incorporating all the tips I've learnt the hard way so that you can follow along if you want to get into shoemaking. Since I'm still figuring that out you'll have to just follow along my ramblings for now.
I haven't forgotten about making some sandals and I haven't forgotten about sewing either!
More posts from Jodie Clark