
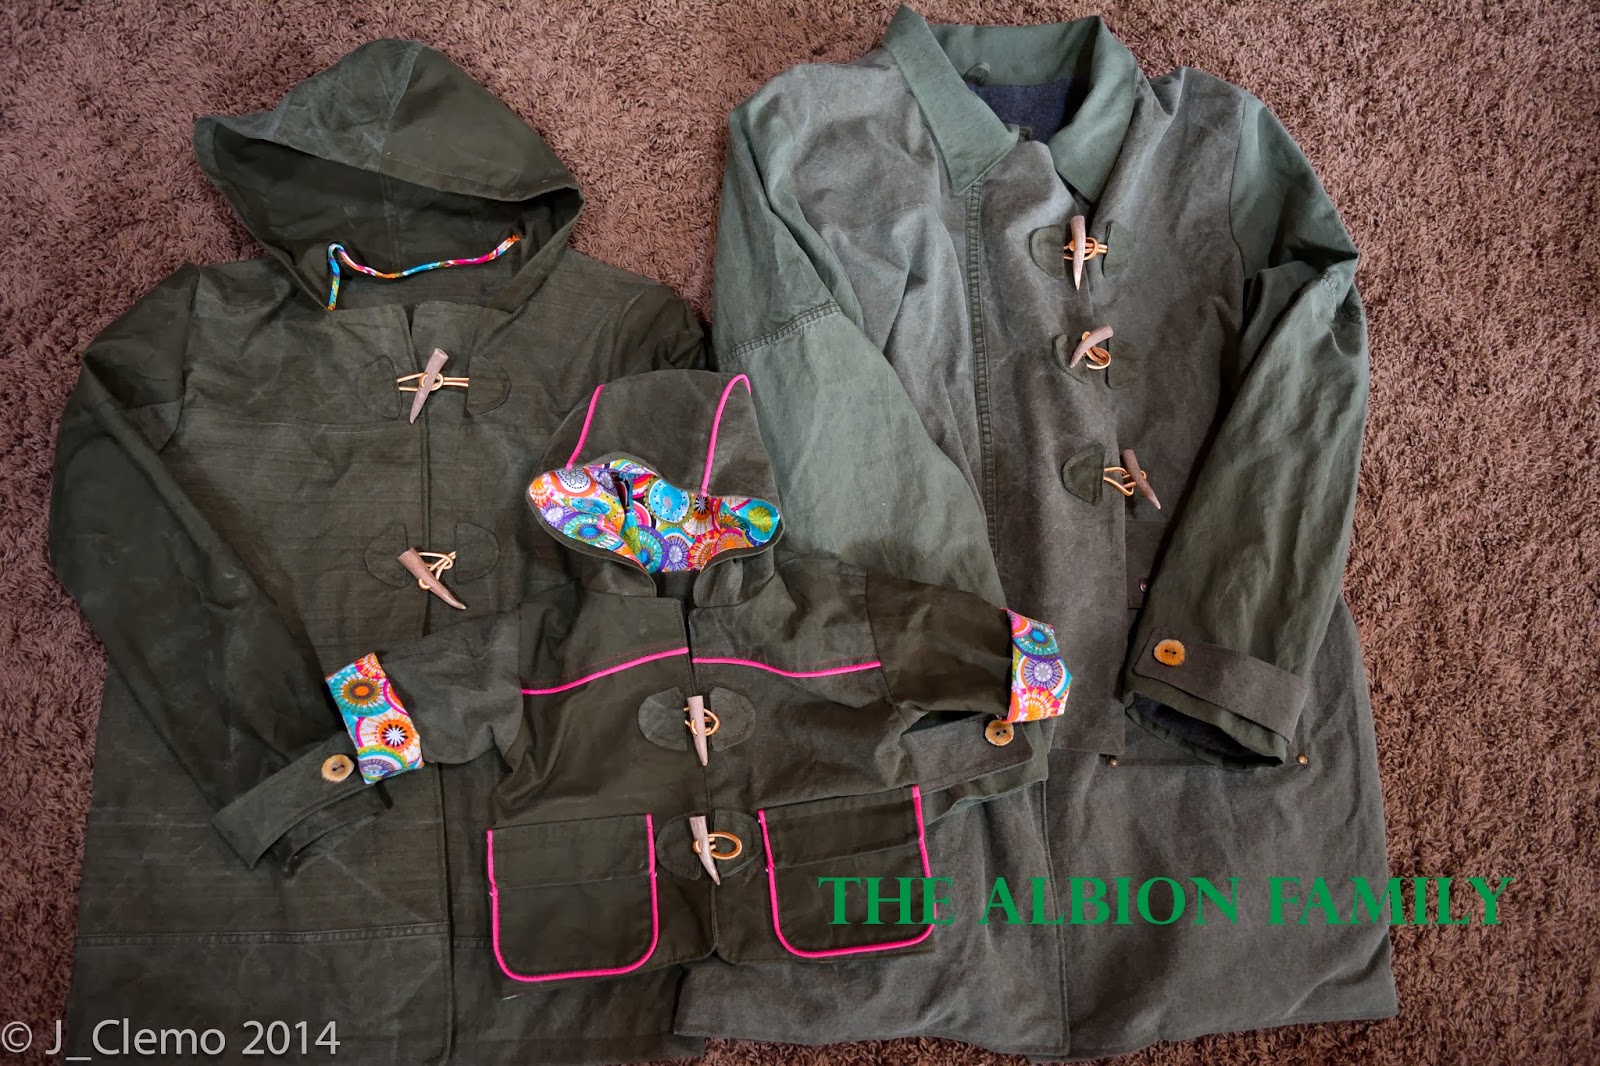
Albion Family - Behind the Scenes
Participating in the Albion sewalong was by far the biggest sewing project I've ever completed. It was a lot of hard work and I really couldn't have finished it without a lot of help and cooperation from my husband especially. I literally worked on this nearly every day from the beginning of January until early March. I devoted a lot of entire weekends to sewing and actually blew off a lot of run training for my upcoming race in April. (I'm probably going to pay for that one!)
I thought it would be fun to show you some behind the scenes photos of the construction phases of the project. So here we go: The Albion Family - Behind the Scenes!

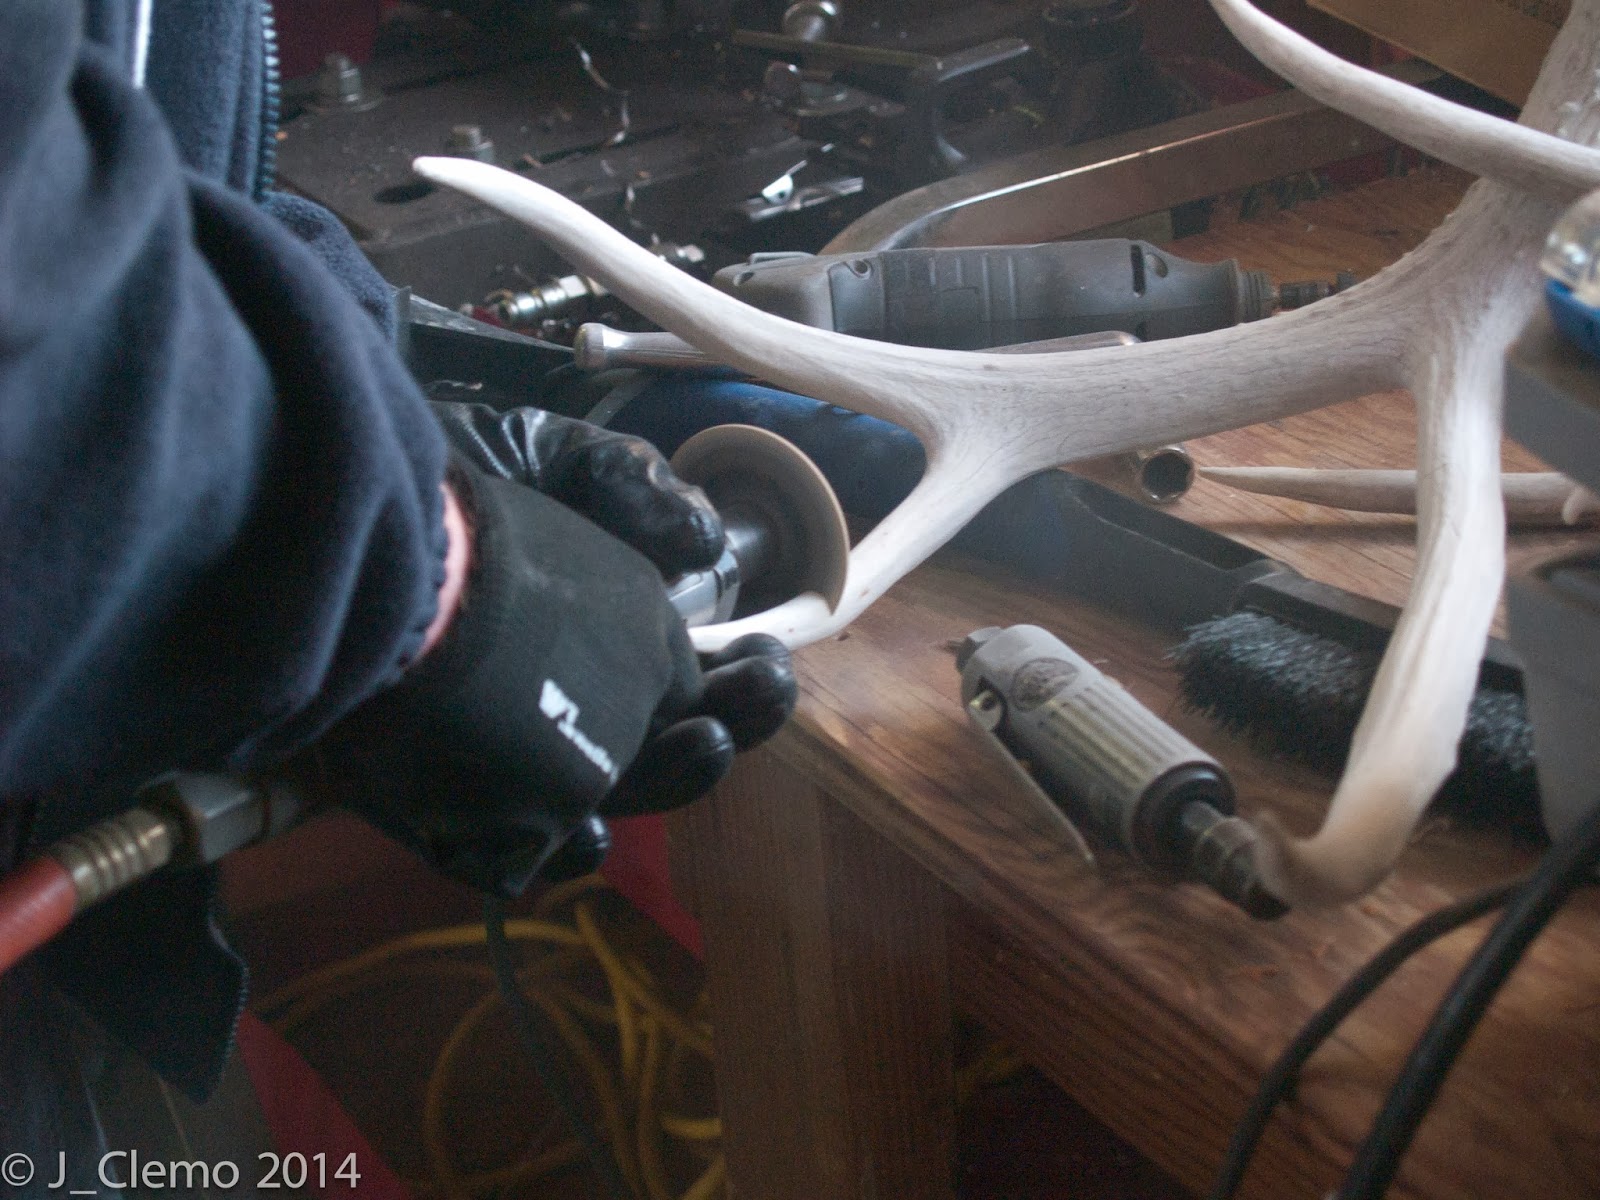
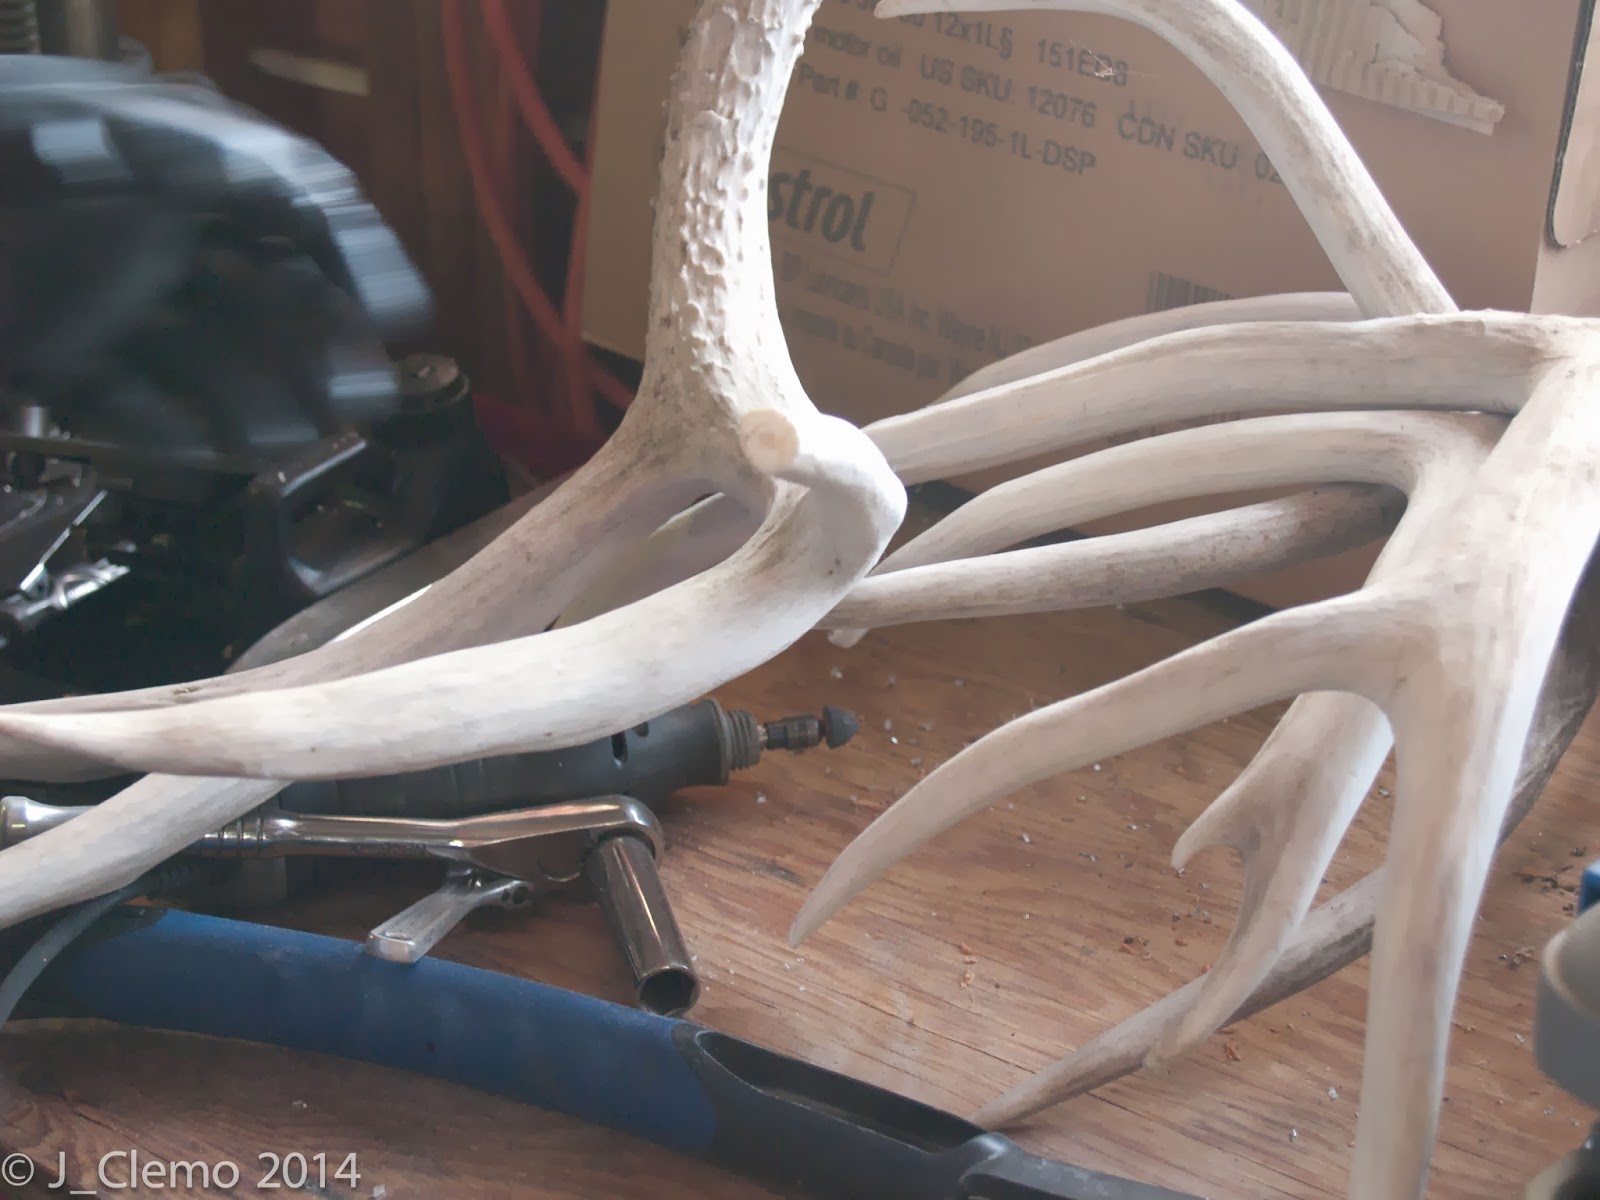
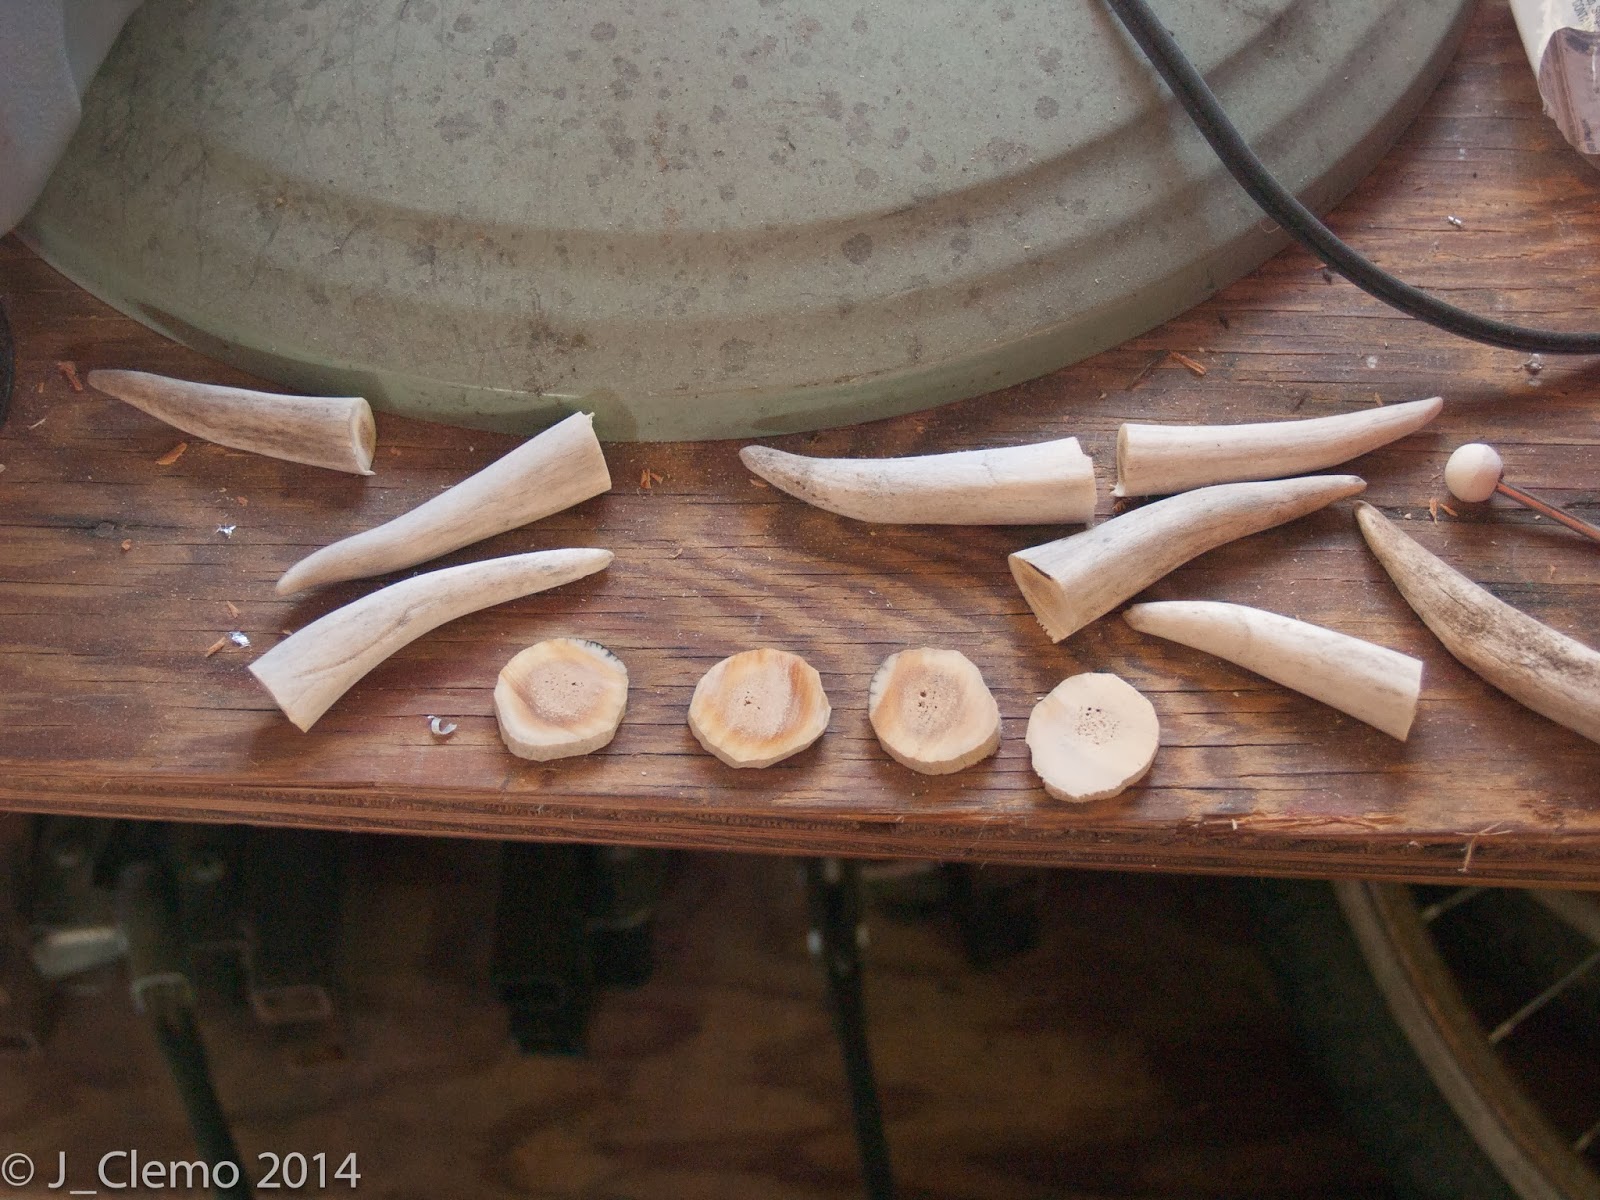
My husband was a huge help in creating the deer antler toggles. When I originally told him what I wanted to do for the toggles he had all sorts of ideas on how we could cut them and stain them. All the antlers we had we somewhat weathered from being outdoors exposed to the elements. This bleached them white and left them somewhat brittle in places.


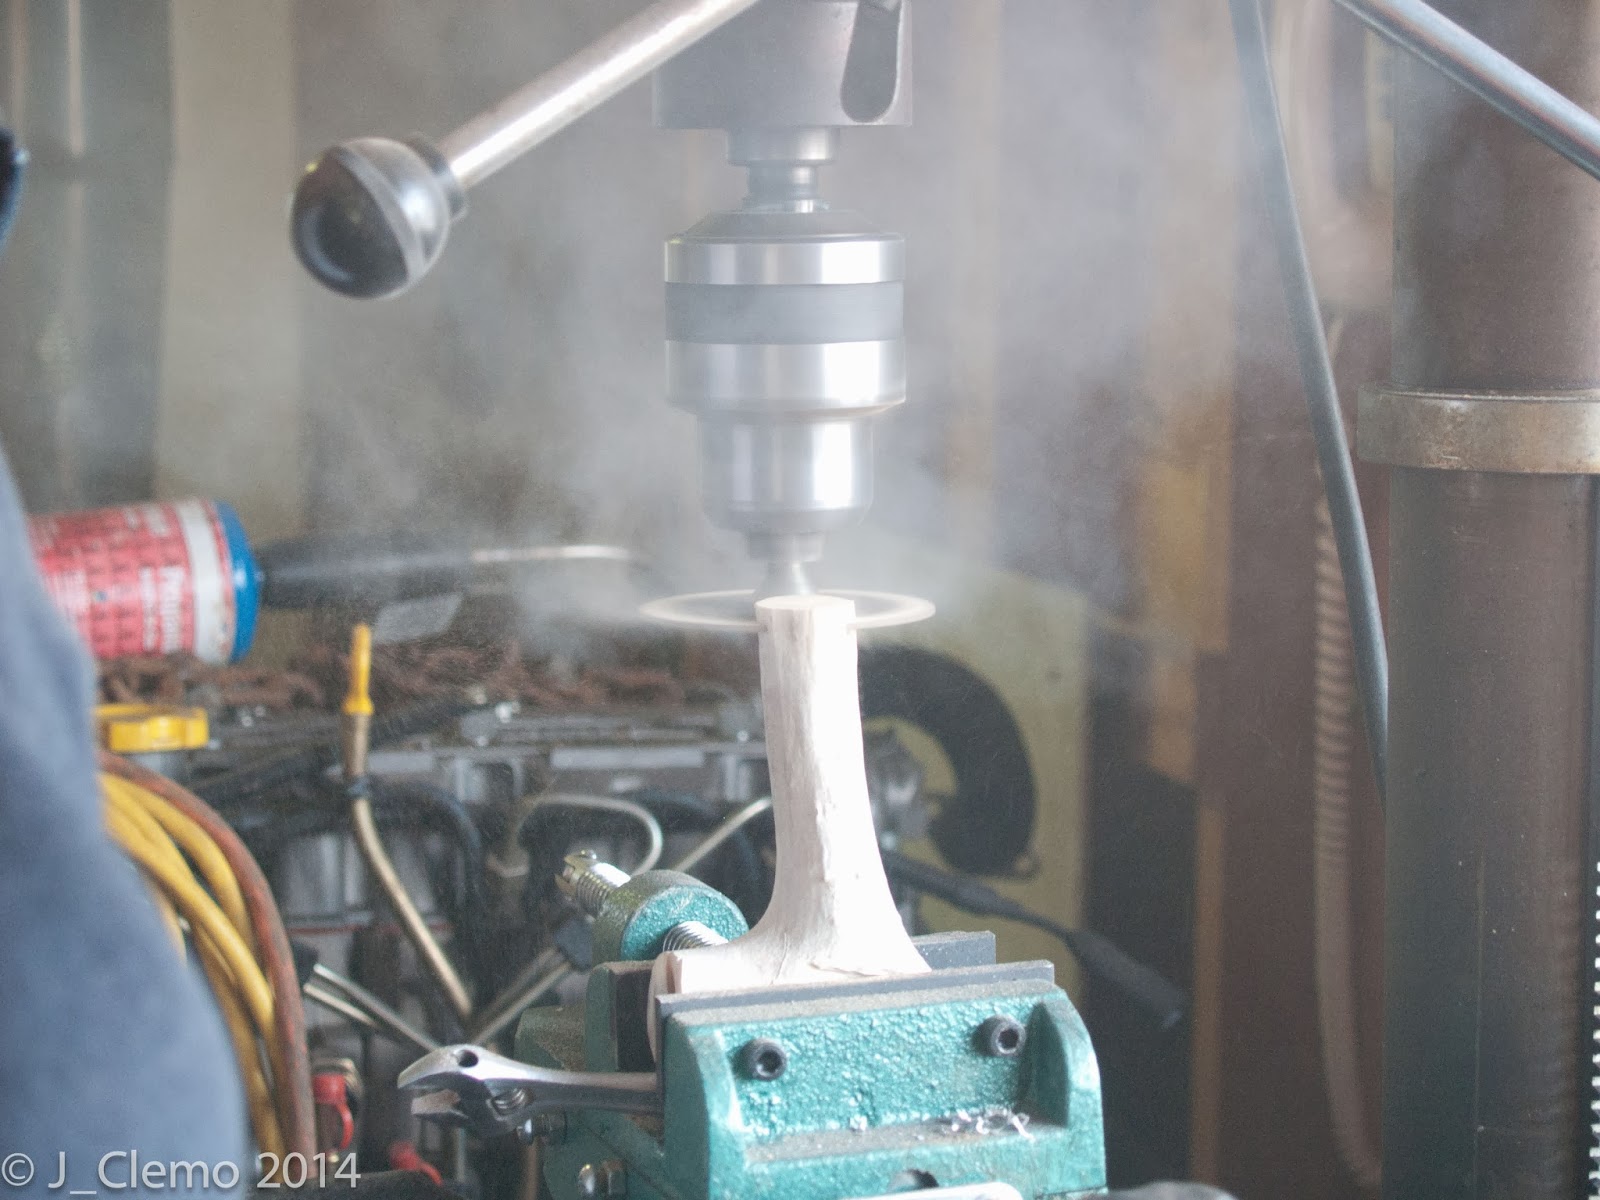
My husband used a milling vice to hold a section of antler and then used a cutting disc in a drill press to cut thin cross-sections for buttons. Do you see all that haze? It smelled terrible.

Toggles and buttons.
Throughout this whole process I was so worried about my old Pfaff hobby machine. This machine is older than I am (34 years) and is a hand-me-down from my Mother. (I actually borrowed a machine from a co-worker just in case this thing bit the dust!) My little Pfaff has a lot of history. It's made dozens of children's dresses, prom dresses and even helped make my wedding dress. It's been a great little machine, but is really getting long in the tooth. I had to do a lot of belt adjustments to make it through all the Albions and the heavy canvas.

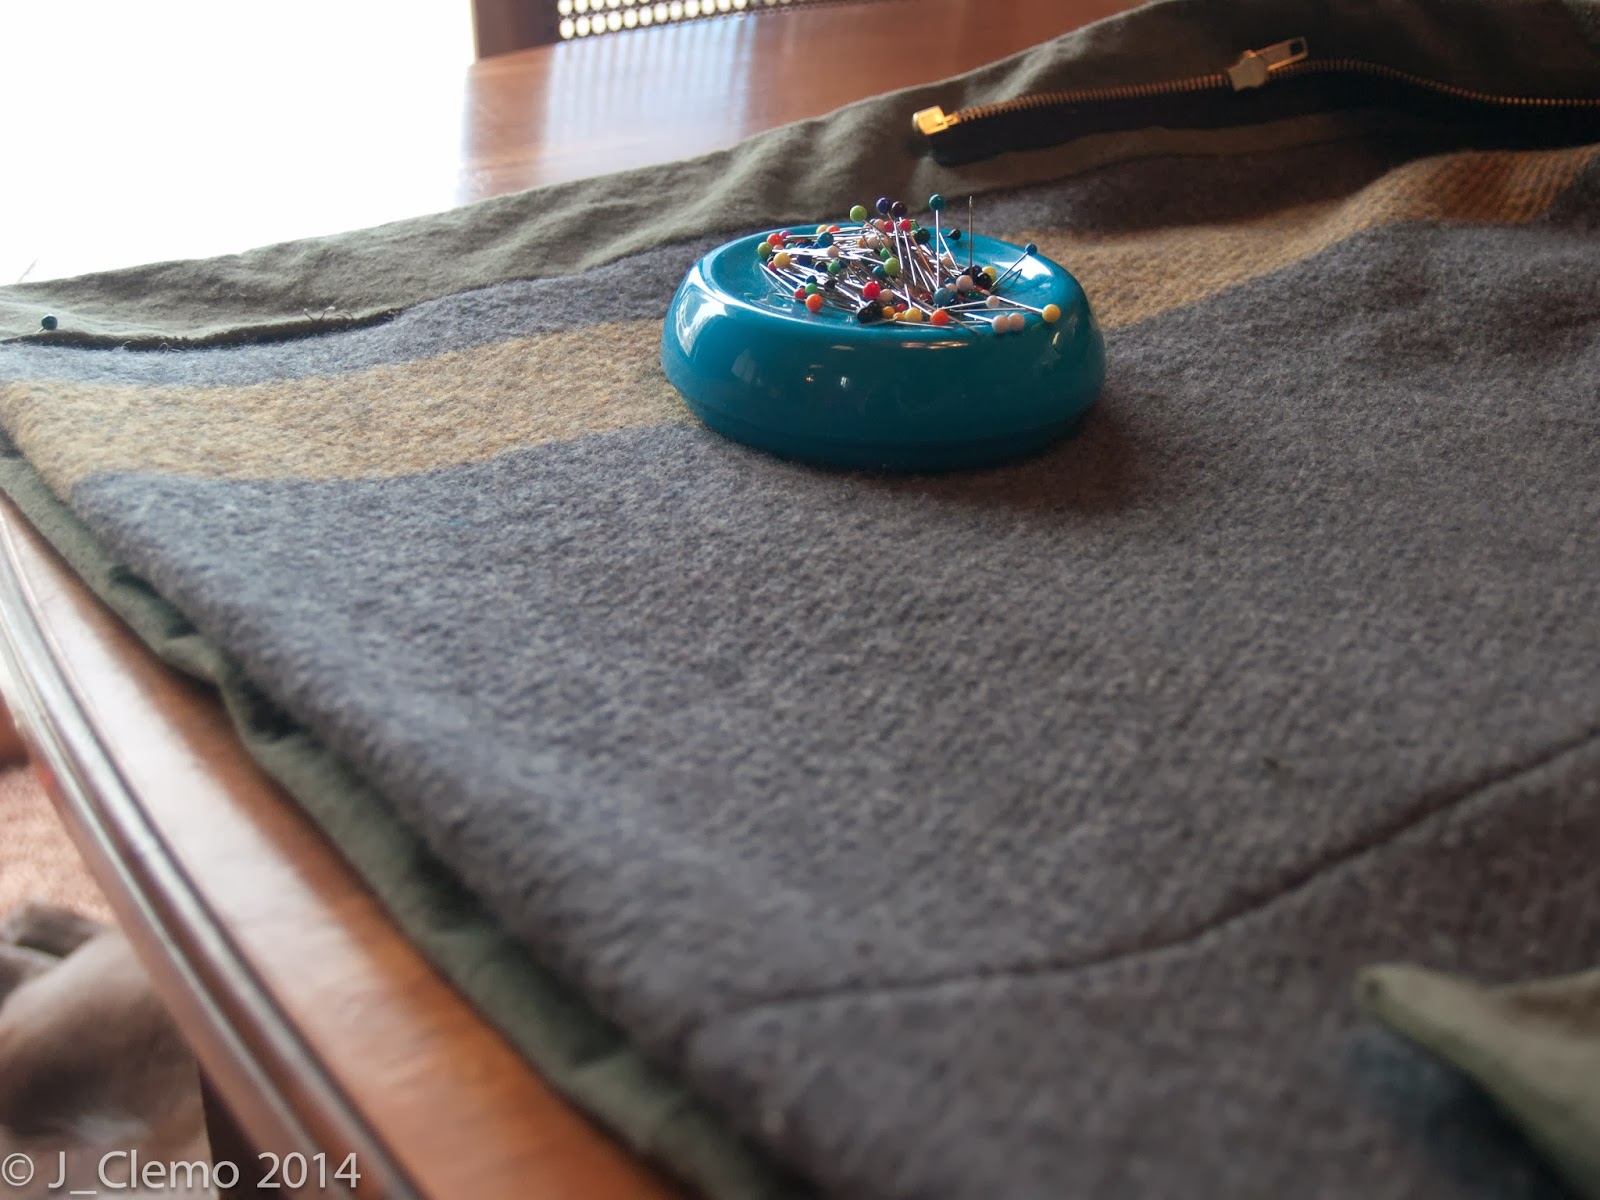
Below shows a close-up the wool army blanket lining for my husband's Albion. I opted to do a hand-stitched blind hem and then top-stitched that by machine. I was having a hard time with all the wool staying put when I tried to just hem with the machine. Too much fabric!


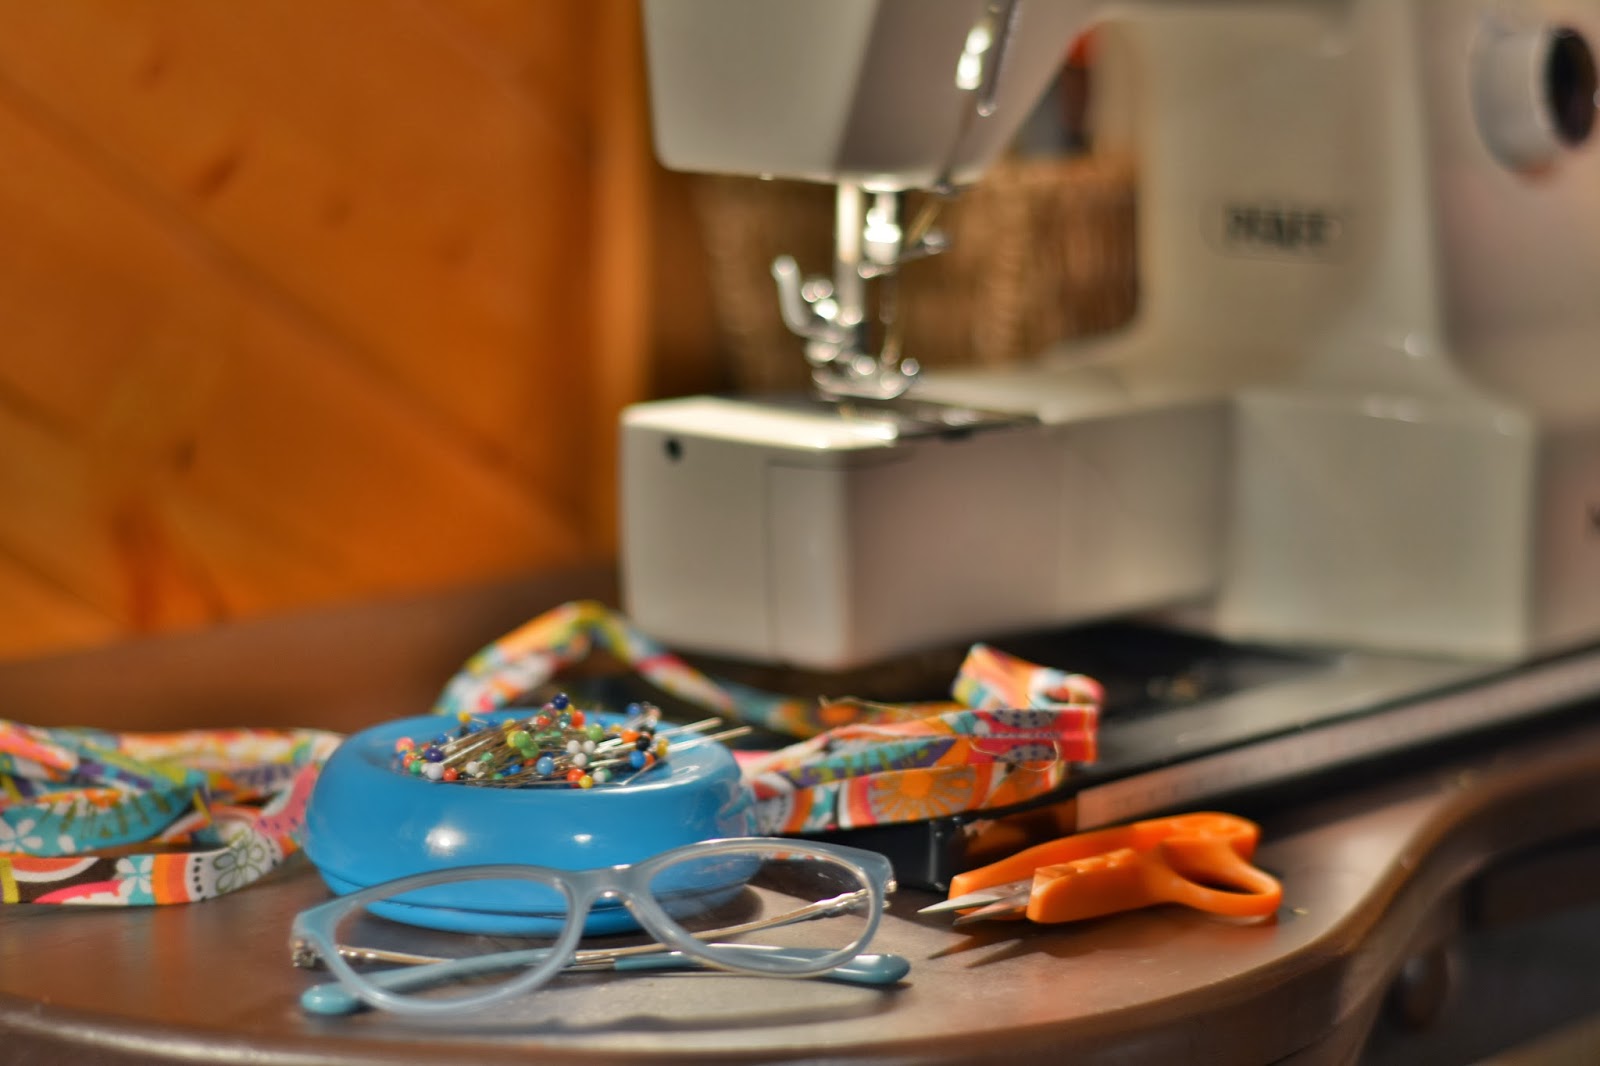
For my Albion, I made version 2. This marks my first time making bias tape. I used the method outlined in a tutorial from the Coletterie. I went out and bought a bias tape maker for this. It sure made pressing easier. I also went and bought glass head pins just for making the bias tape. It made things a lot easier to press since I could put the iron right on the pins.

Clover bias tape maker.
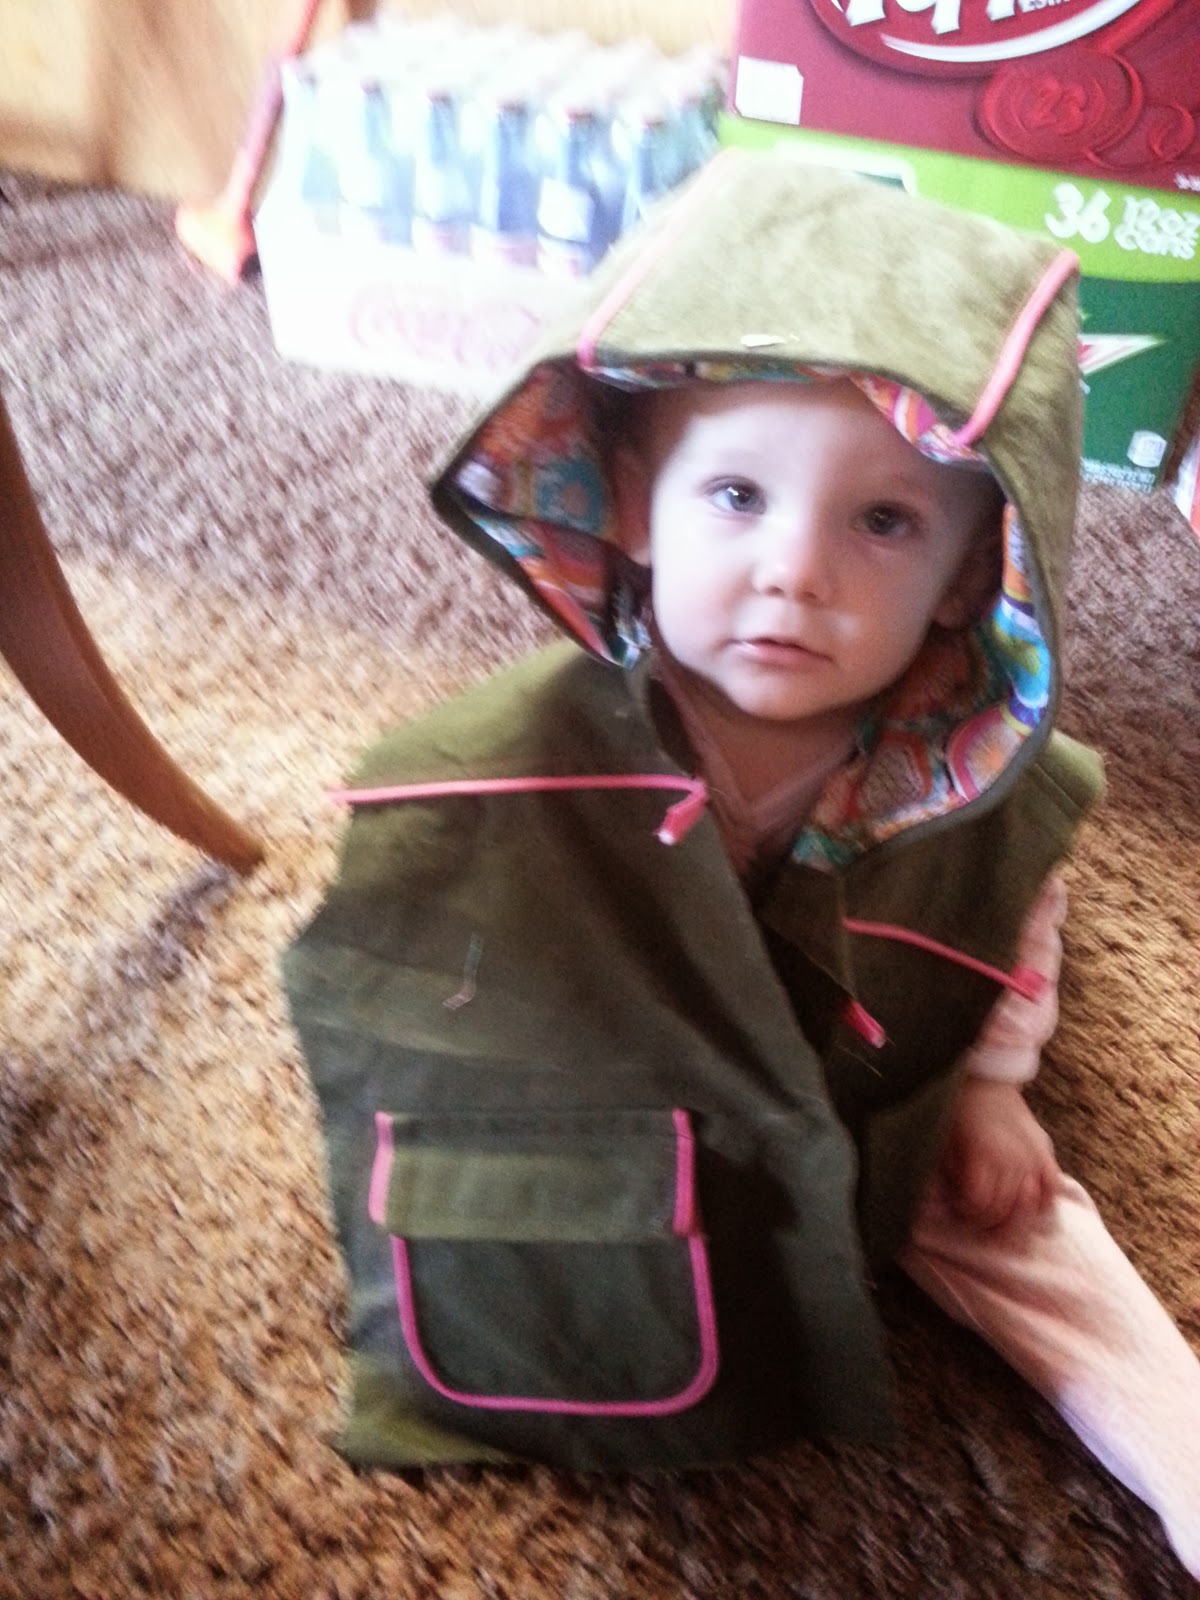
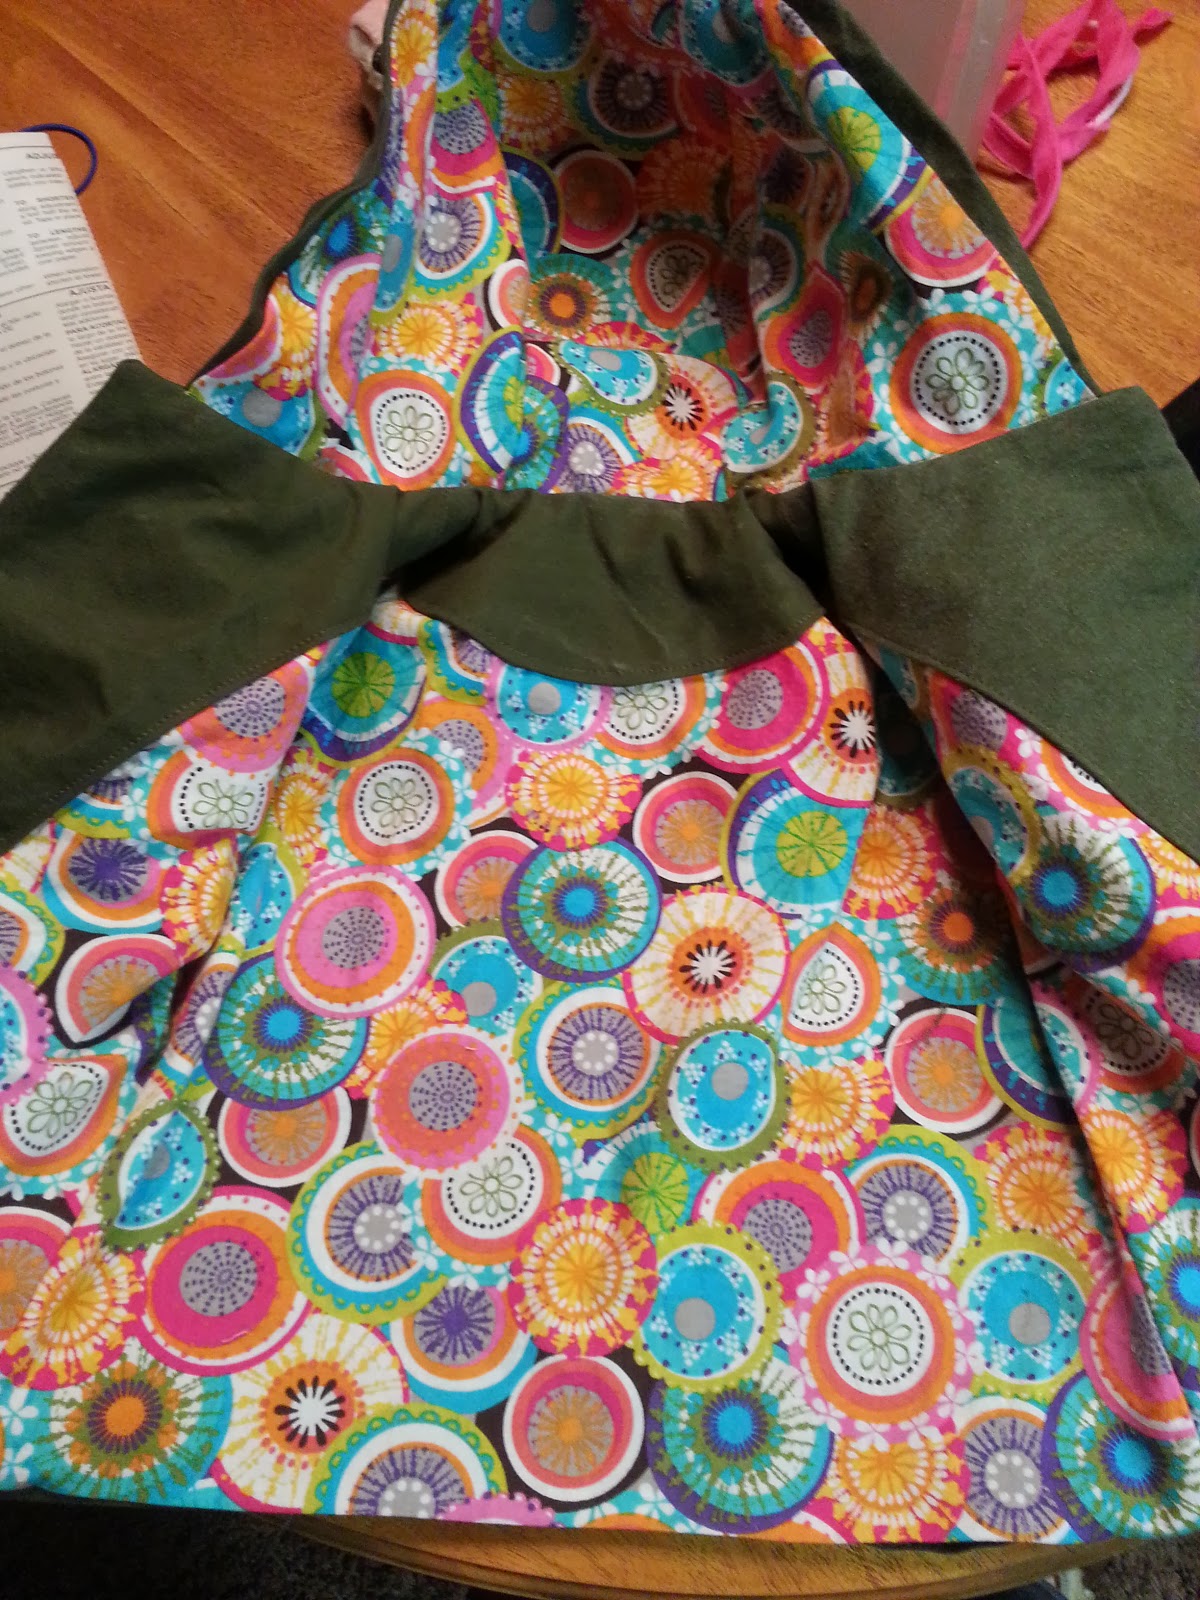
Making the Albion for my little girl was a little bit tricky. I was essentially creating an entirely new pattern and I wasn't sure at all if it would fit. I had to have her try the thing on multiple times during construction. She was a cooperative model. :-)


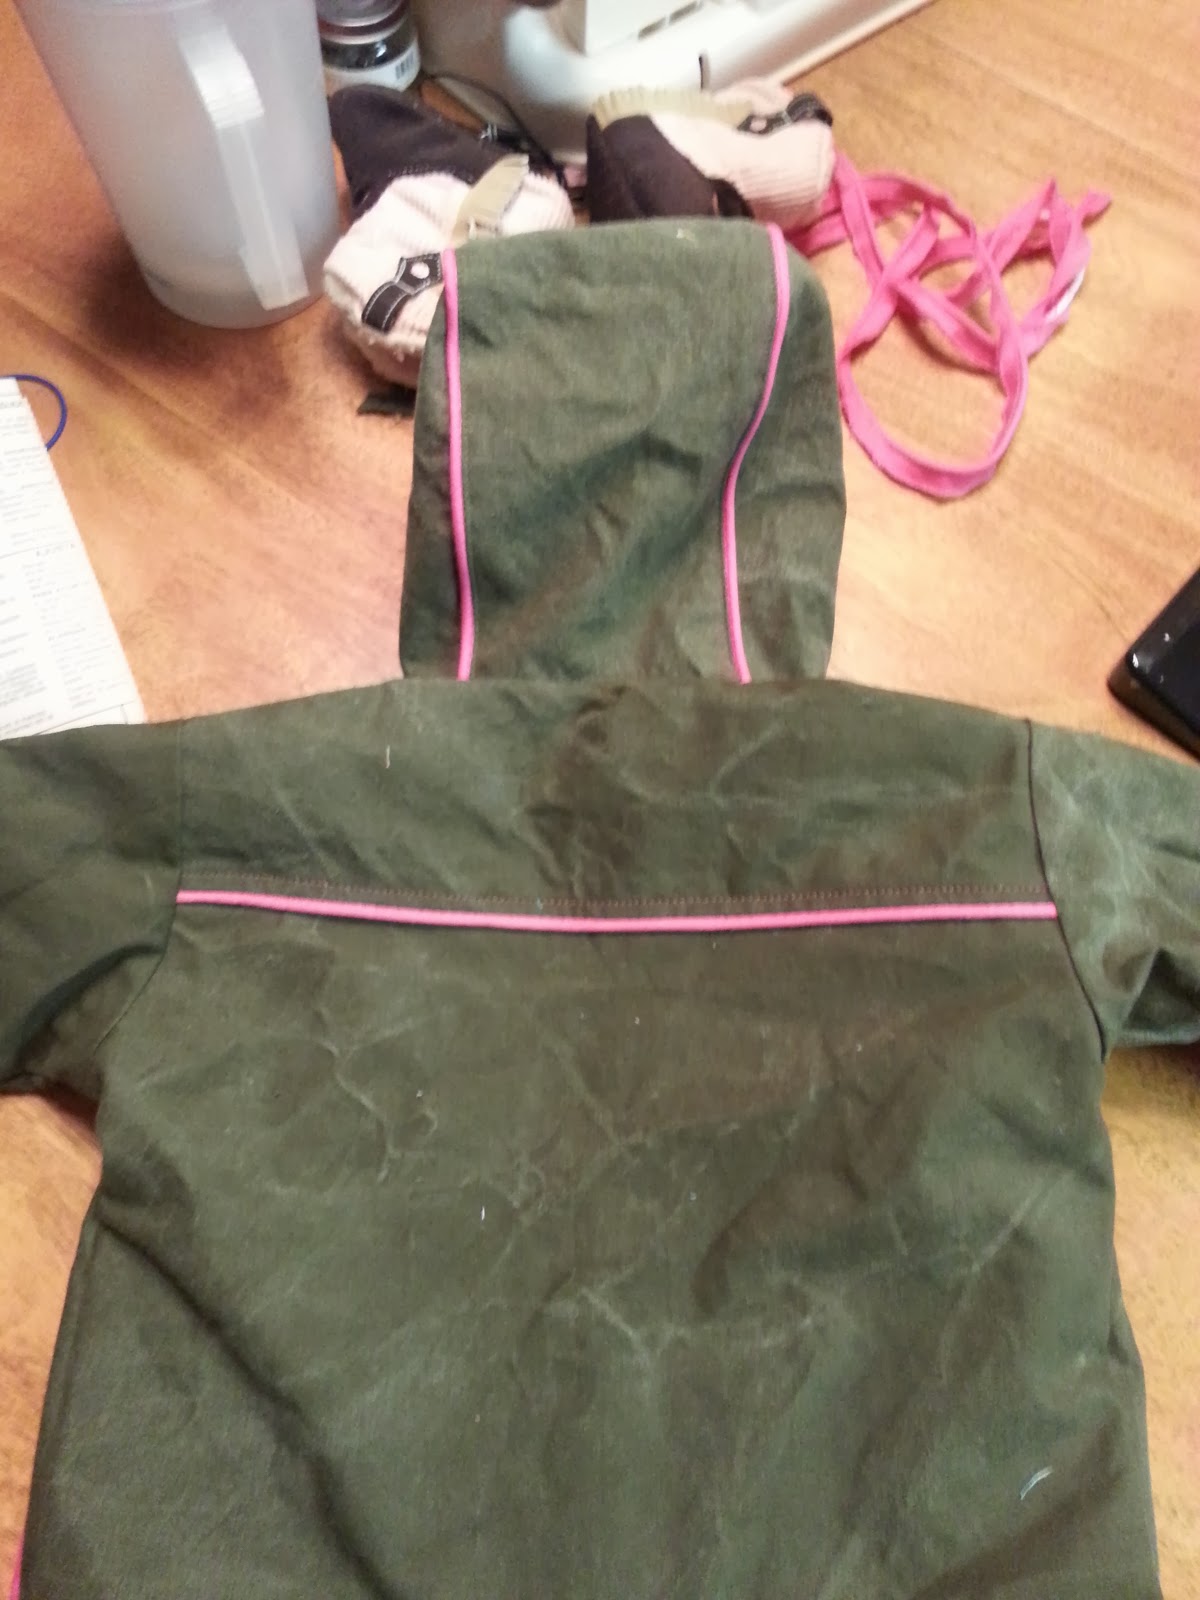
The back showing piping on hood and yoke.
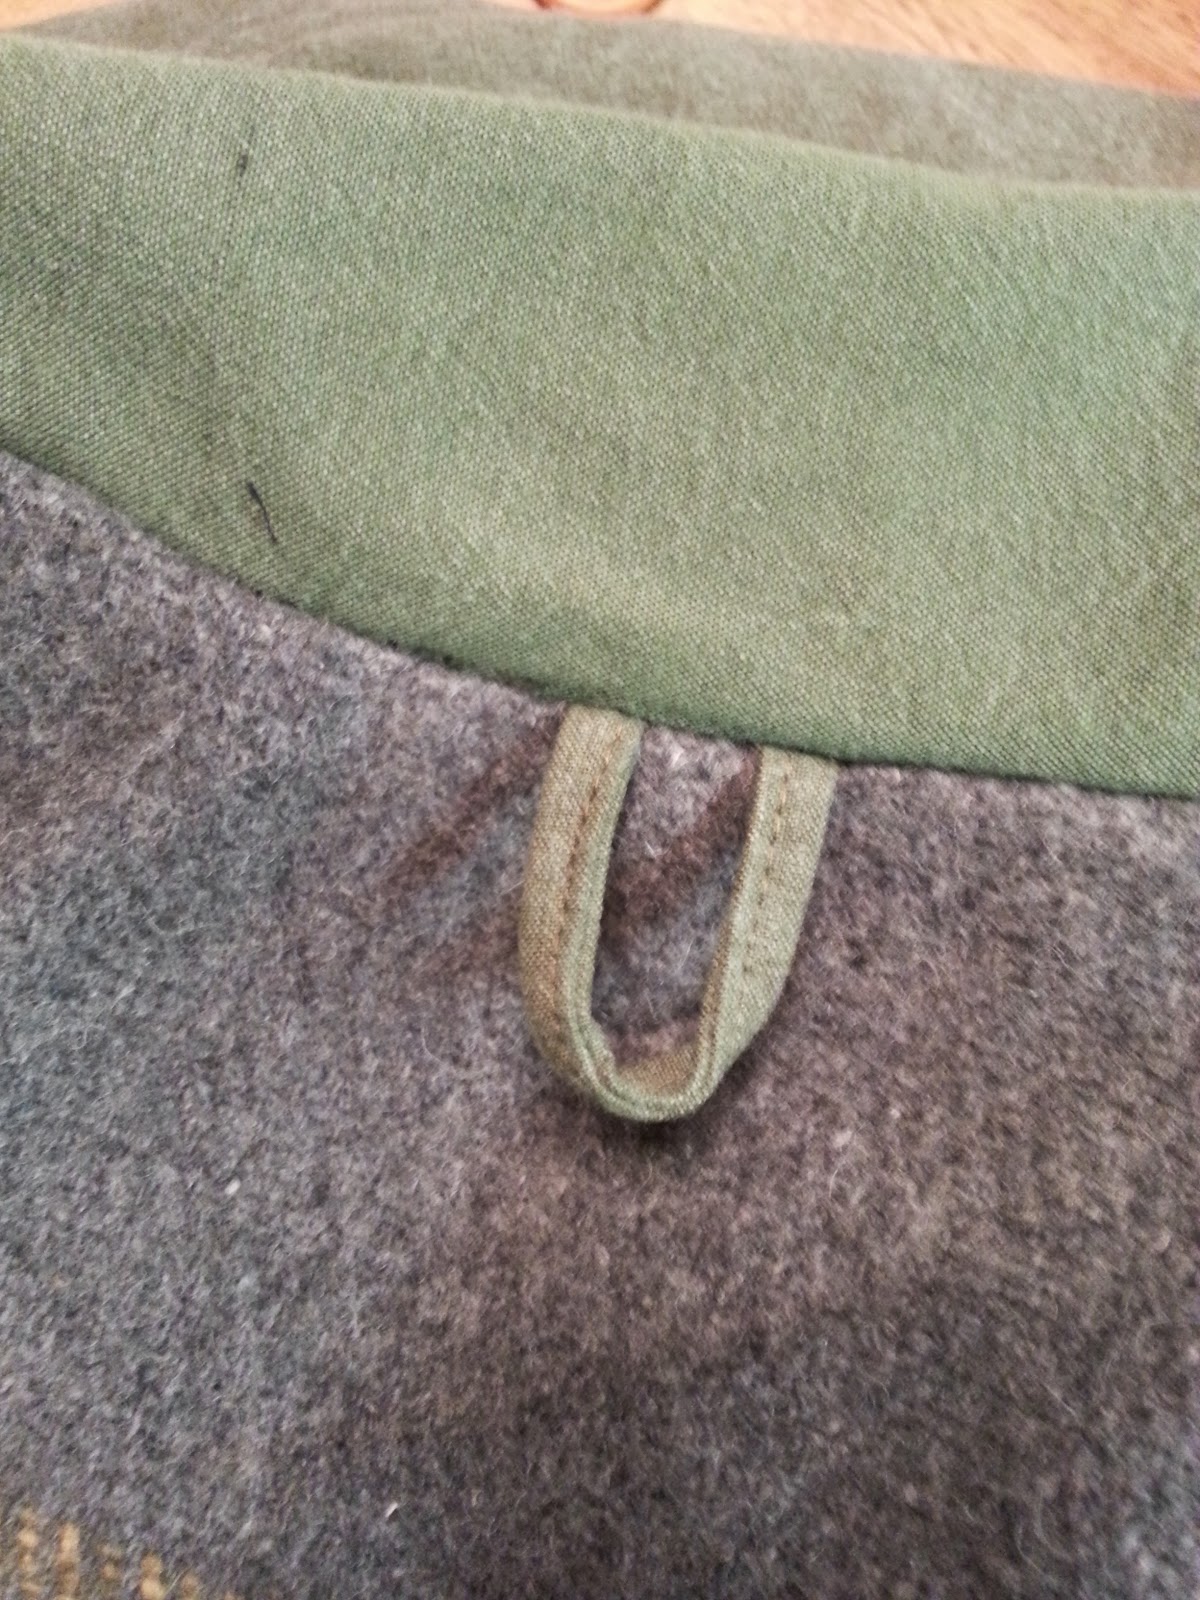
And finally here's a few detail shots of my husband's coat showing the hang tag I added and the pocket placement and construction.


I hope you enjoyed the behind the scenes look at my Albion family. It sure was a fun project and I feel so happy to be able to have made coats for all of us to enjoy together!
More posts from Jane