
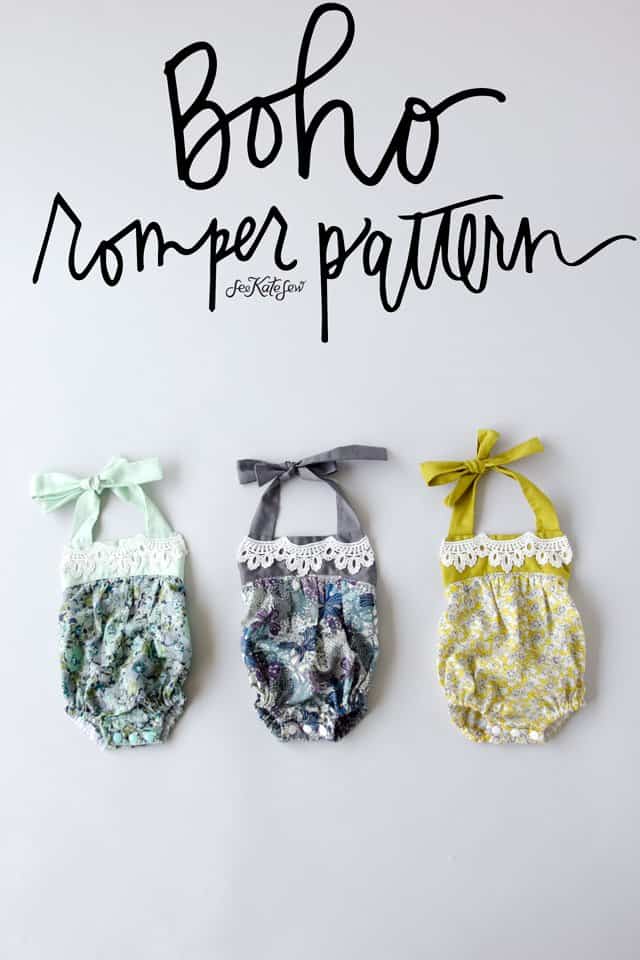
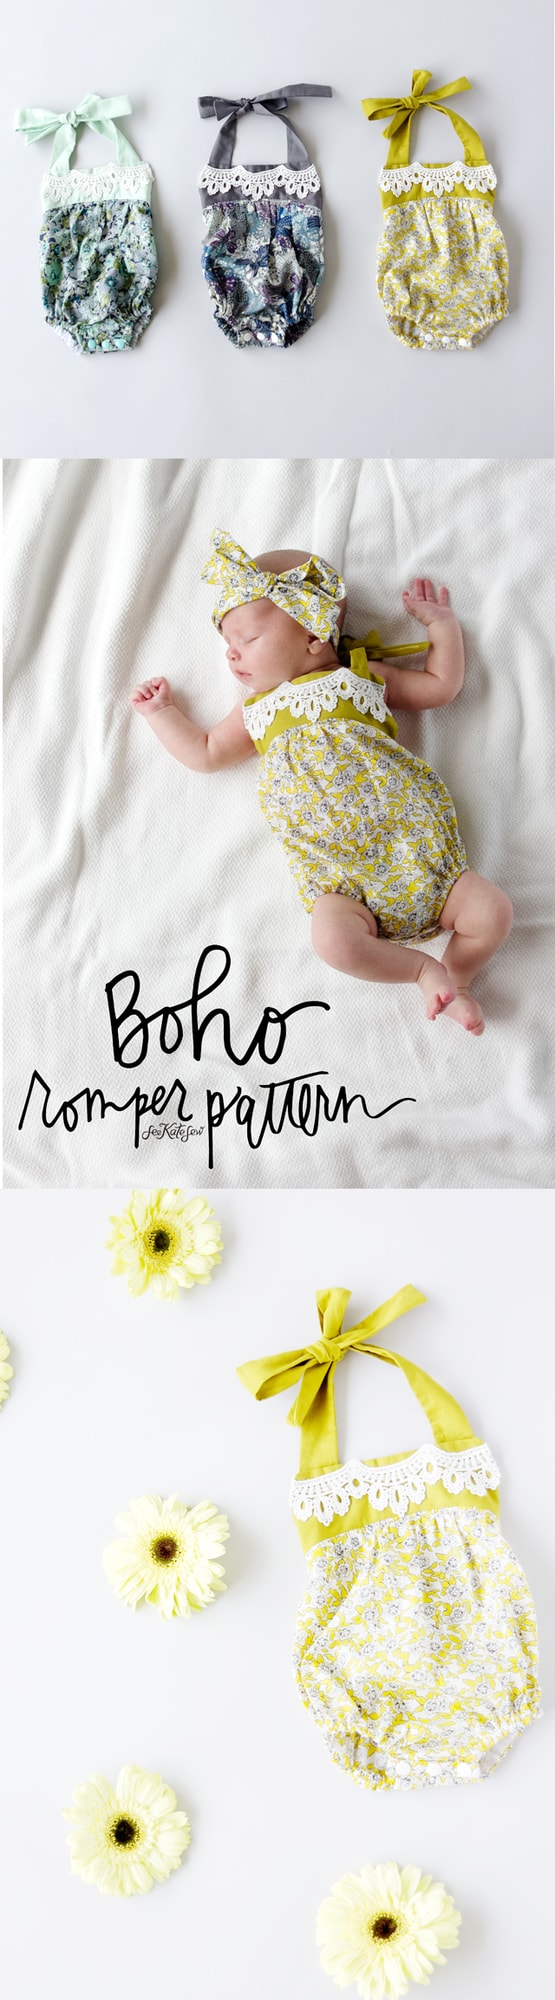
boho baby romper pattern
This post is sponsored by Fabric.com!

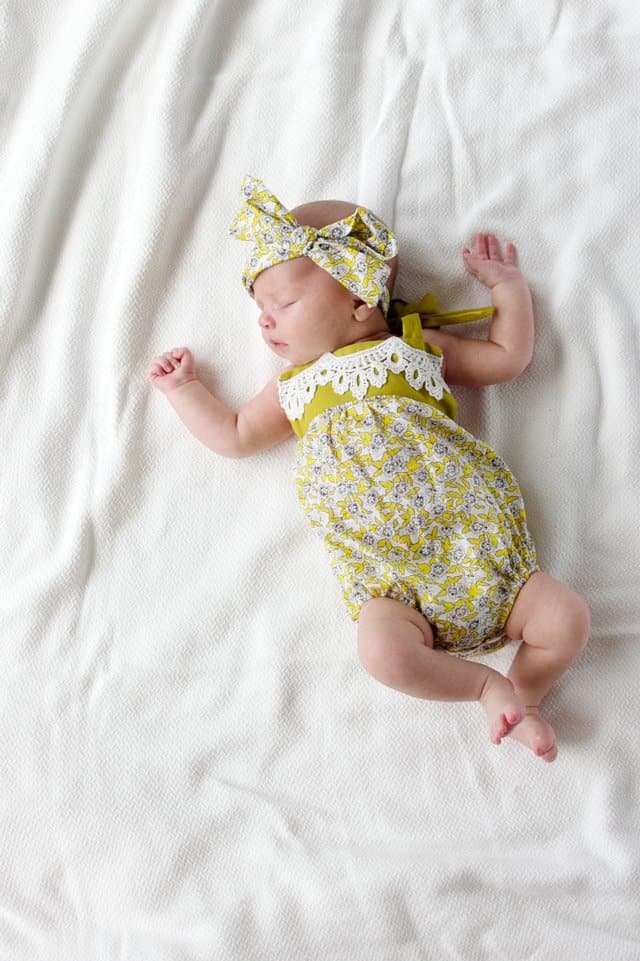
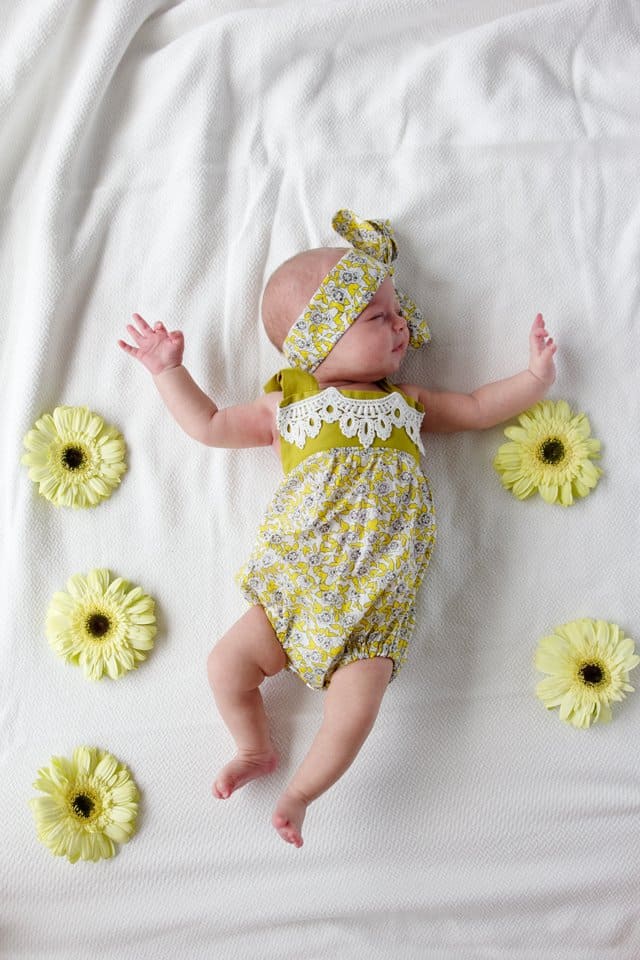
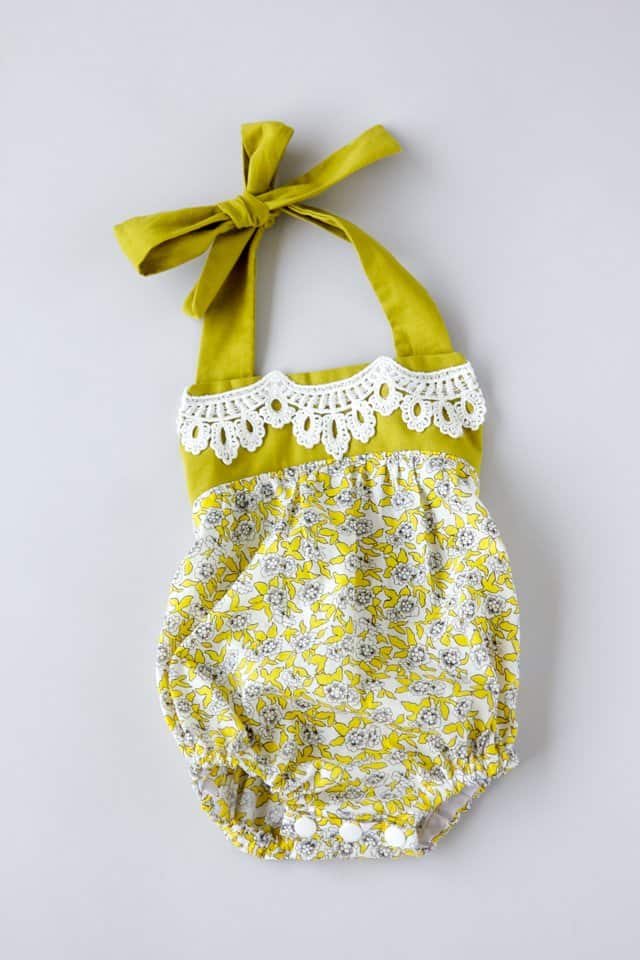
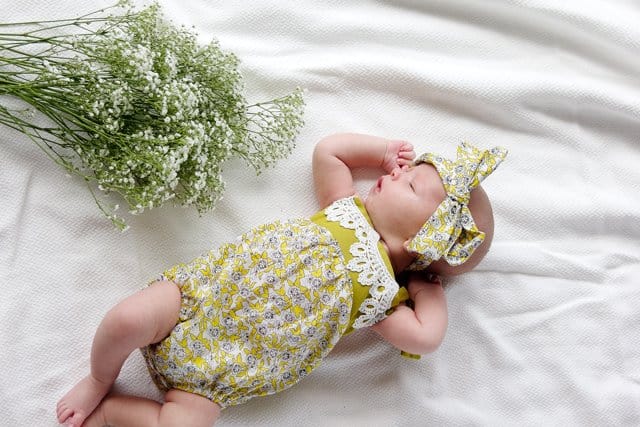
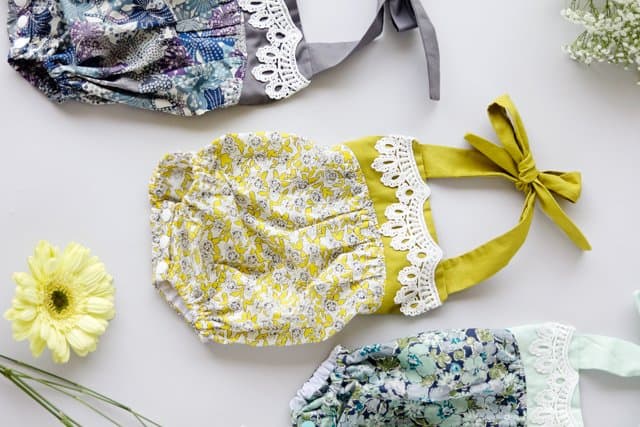
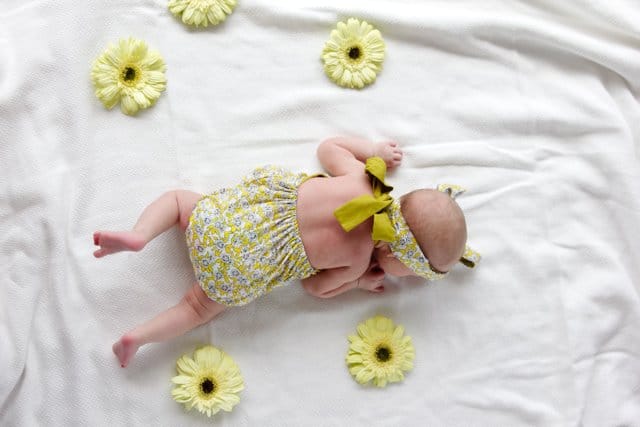
I’m thrilled to share this pattern with you, I had a blast designing it with fabric and trim from Fabric.com! I was going for a vintage-inspired boho feel to this little baby romper and I’m excited about how it turned out! I think it’s pretty cute on my little doll baby! This romper/sunsuit is quick to sew, believe it or not, and there’s a free pattern in this post! The crotch has snaps for easy diaper access and the cute gathered front, back and legs might burst your ovaries ;)


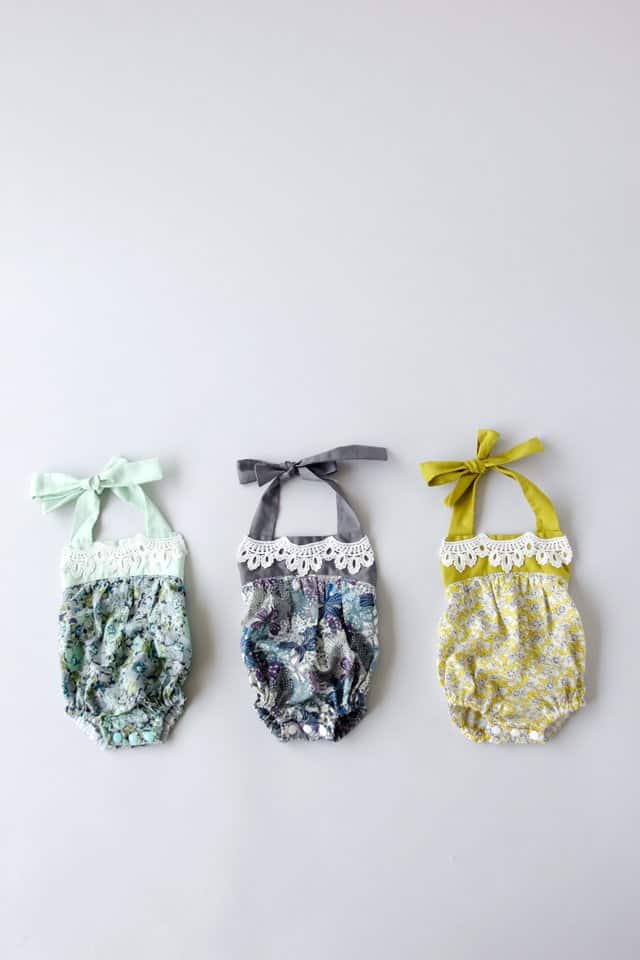
Boho Baby Romper Pattern 3 ways//
Materials:
- 1/2 yard fabric
- 1/4 yard contrast
- 1/4″ elastic (6″ piece for the back and two 5-7″ pieces for the thighs)
- 3 Kam Snaps with size 20 snaps
- 1/2″ single fold bias tape
- 1 yard 2 1/4″ Lori Lace trim
- lightweight fusible interfacing
- pattern download (below)
Fabric selection: I used Liberty of London lawns for these rompers. I have never actually sewn with Liberty fabric before this. Sewing with Liberty of London fabric is sort of a “sewing bucket list” item, it’s beautiful fabric and perfect for clothes. It was fun to check that item off my list, but really it only made me want to sew with it more! Such gorgeous fabric with a beautiful hand. I paired each floral print with a Cotton Steel solid, the colors went together super well and creating each pairing was half the fun! Fabric.com has lots of Liberty of London florals . It’s wide fabric, 58″, so one yard will go pretty far! I recommend purchasing at least 1/2 yard but you won’t use the whole half yard for the romper. Here are the fabrics I used:
- Liberty Lawn Gemma Blue/Multi with Cotton Steel seafoam
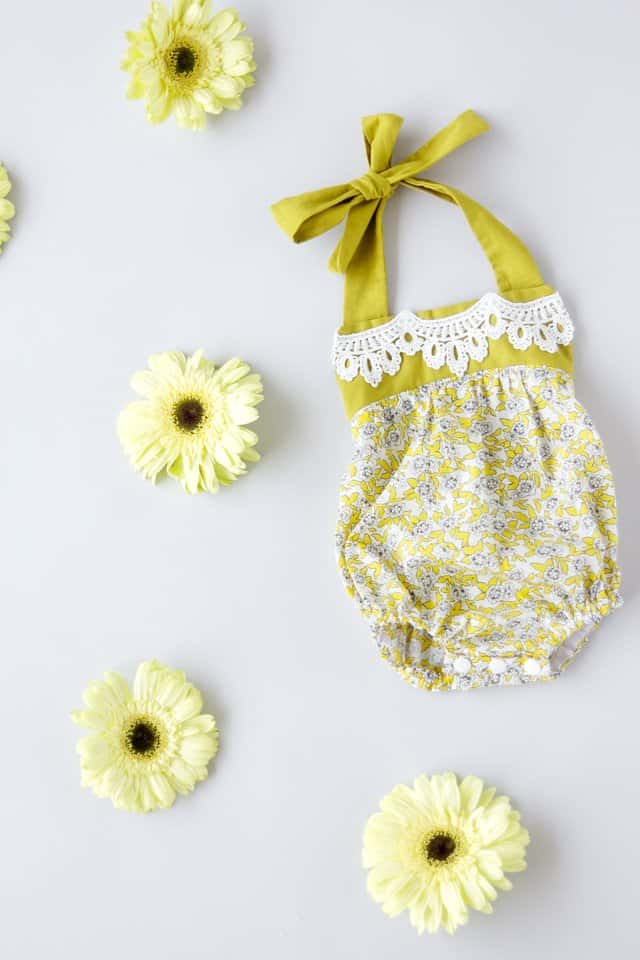
- Liberty Lawn Dynasty Yellow with Cotton Steel goldilocks
- Liberty Lawn Mauvey Blue with Cotton Steel gale force
Browse the whole selection of Liberty Lawns and Cotton Steel solids and make your own pairings!
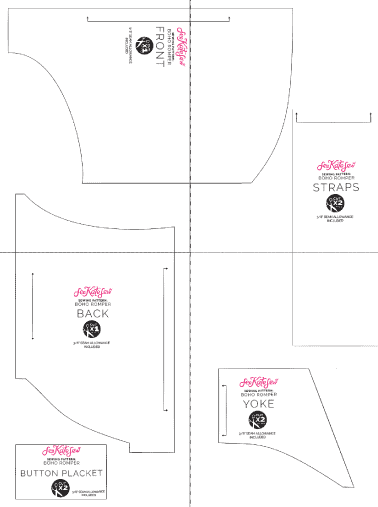
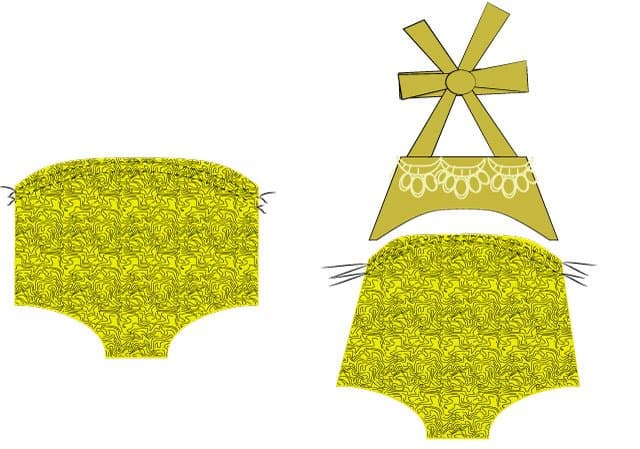
Print the pattern: Print the pattern pieces on 8.5″ by 11″ or A4 paper. Trim the edges of the paper along the lines and tape together as shown:

Cut out the following from fabric:
- 2 snap plackets from floral
- 1 front on fold from floral
- 1 back on fold from floral
- 2 yoke on fold from solid
- 2 snap plackets interfacing

Instructions:
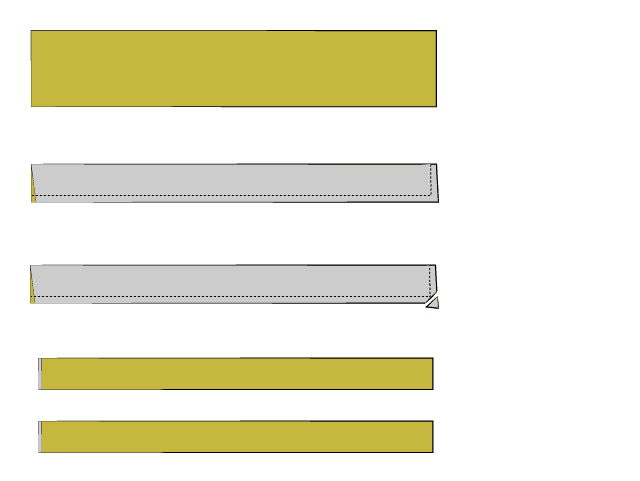
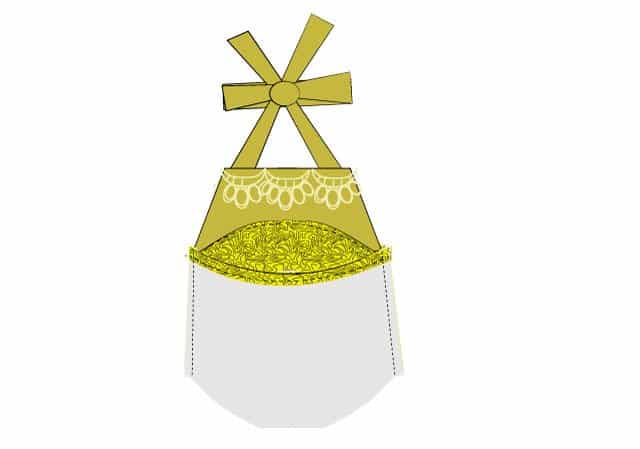
Fold the straps in half longwise and press. Then sew one short edge and the long edge. Clip the corner and turn it right side out. Press again. Repeat with other strap.

Baste the straps to the top of the yoke, 3/8″ from the top of the yoke, with the yoke’s right side facing up. Place the second yoke on top of the first yoke with the WRONG side up. Sew around the sides and top of the yoke, sandwiching the straps in between. Clip the corners and turn. Press well.

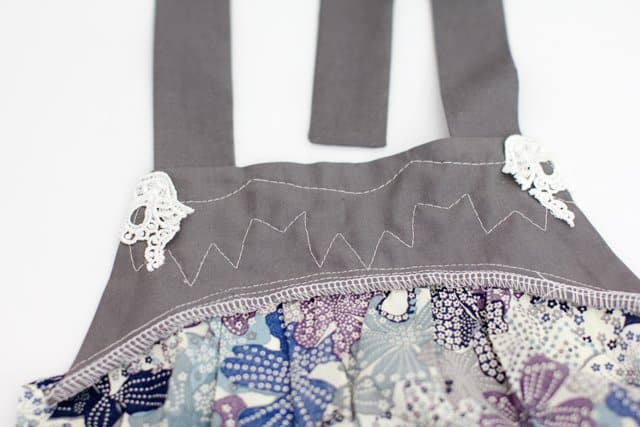
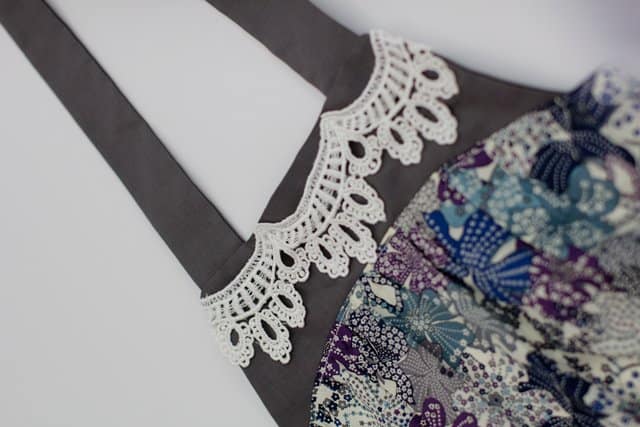
Place the lace on the front of the yoke, with the top edges hanging slightly over the top edge. Sew it on with white thread sewing over the thickest parts of the lace. The stitching won’t show up very well so it will look great. Fold the edges over the side and stitch.


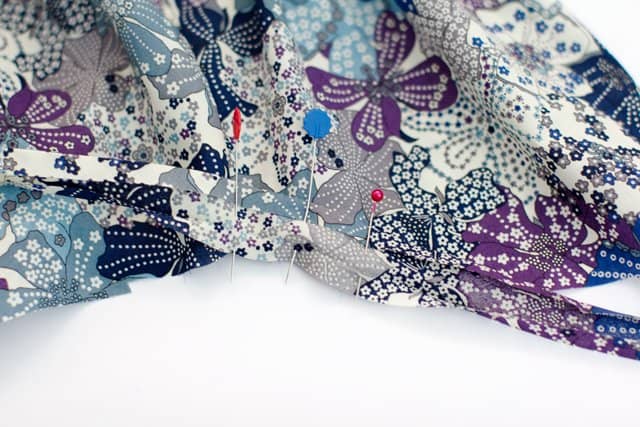
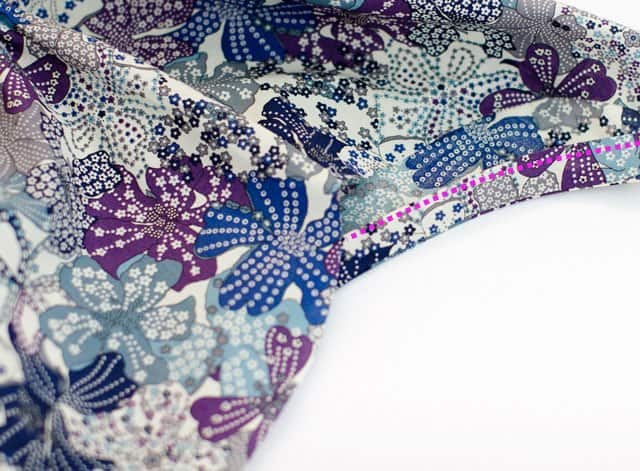
Gather the front piece by sewing two rows of basting stitches along the top, about 3/8″ and 1/4″ from the top edge. Pull the stitches to gather the fabric so that it matches the length of the yoke piece.

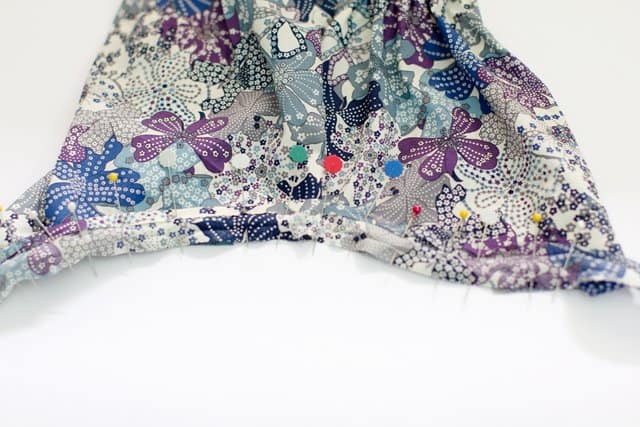
Match the front to the yoke with right sides together, leaving 3/8″ of the front on either end of the yoke. Stitch together.

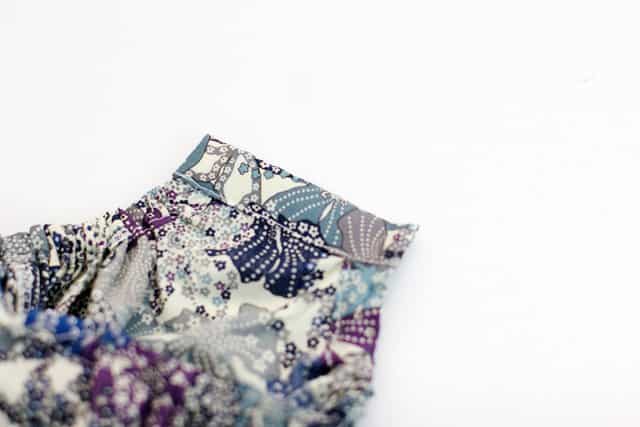
Finish seam allowance and press the seam allowance down. Then topstitch along the front right below the yoke.
With the extra fabric on the sides, fold under 3/8″ at the top to finish that edge, and be sure your topstitching catches it. This will finish the top edge to prepare it to attach to the back.


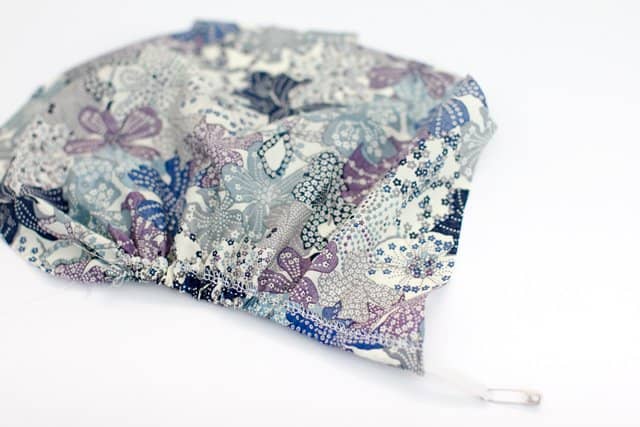
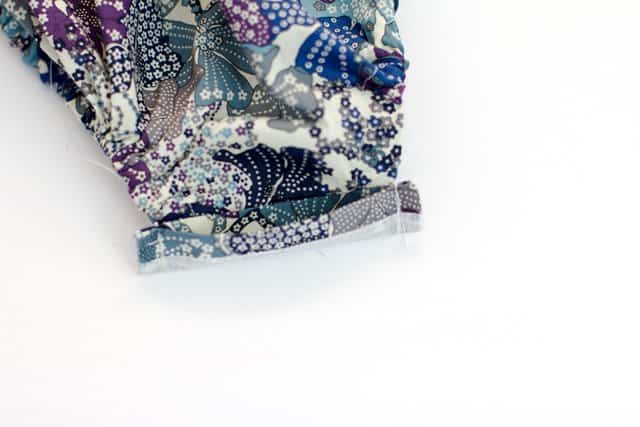
Finish the top edge of the back piece with a serger or zig zag stitch. Fold under 1/2″ at the top and press. Sew down 3/8″ from the top edge to create a casing

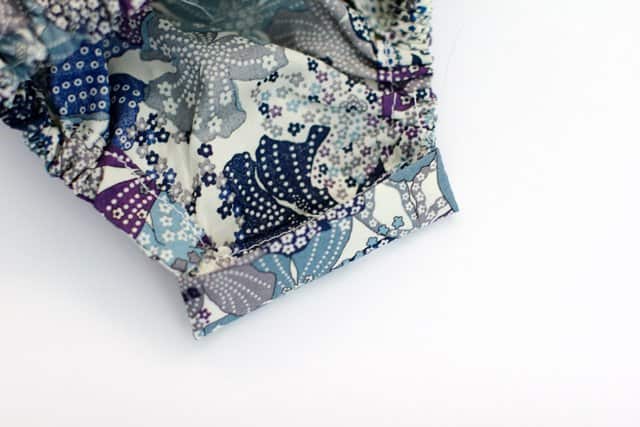
Use a safety pin to thread the 6″ piece of 1/4″ elastic through the casing. Sew the elastic to each end of the casing.


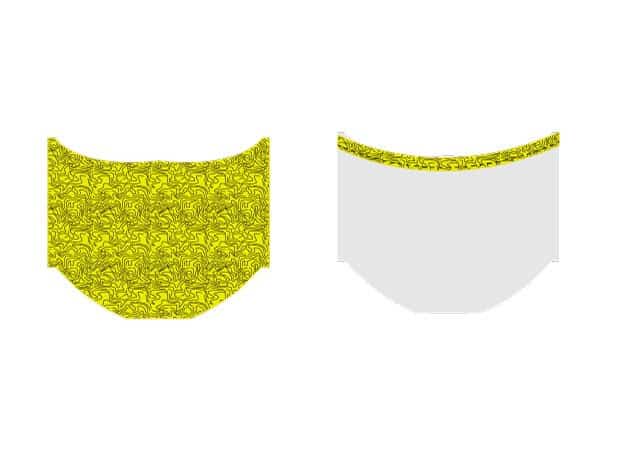
To make the button placket, first fuse interfacing to the back of placket pieces. Then pin the placket piece to the crotch, centering the crotch piece in the middle of the placket piece. There should be approx 3/8″ on either side of the placket piece for seam allowance. Sew it on across the crotch piece, using a 3/8″ seam allowance.
Fold under 3/8″ on the other side of the placket piece. Press. Then fold the other side of the placket under and match the RIGHT sides together.

Sew the short edges together right beside the elastic gathering from the leg openings, about 3/8″ from the edges.

Clip the corners and trim seam allowance to 1/8″. Then turn the placket right side out. Press well. Right now it looks like a little pocket.

Sew along the top of the placket to finish it. Repeat on the other side of the crotch and then add three little snaps.


The post boho baby romper pattern appeared first on see kate sew.