
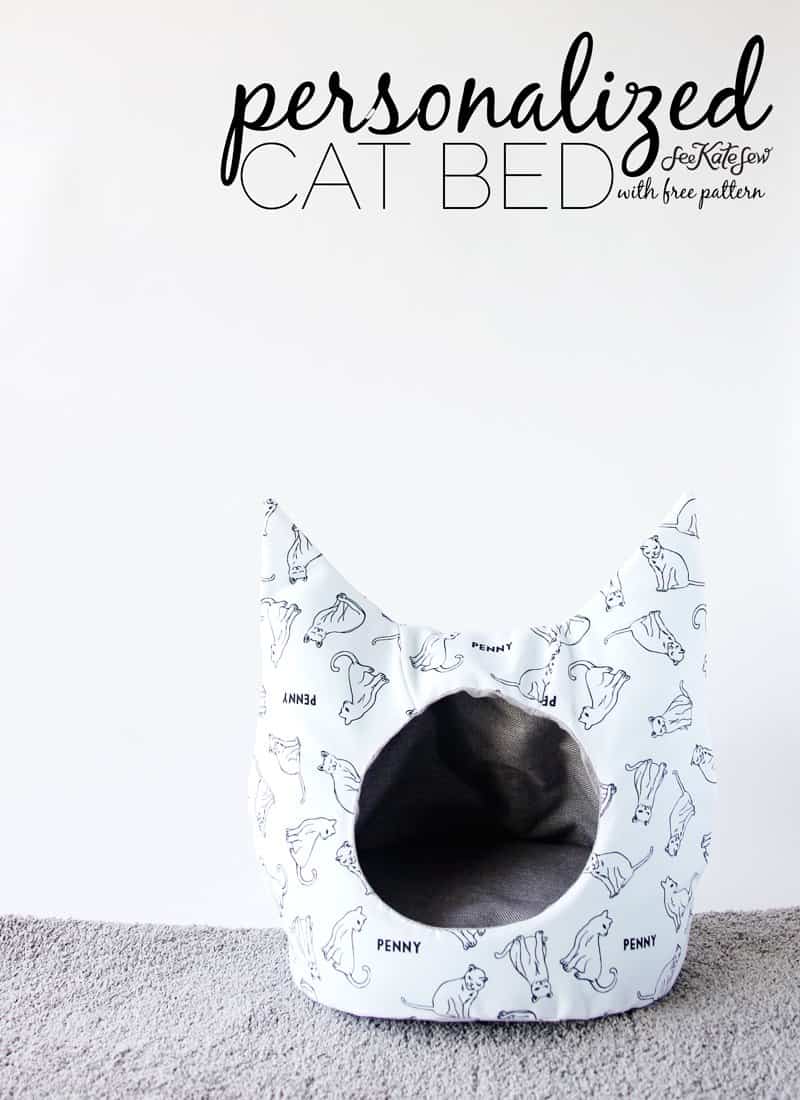
FREE Cat Bed Sewing Pattern
This post is sponsored by Jo-Ann Fabric and Craft Stores.

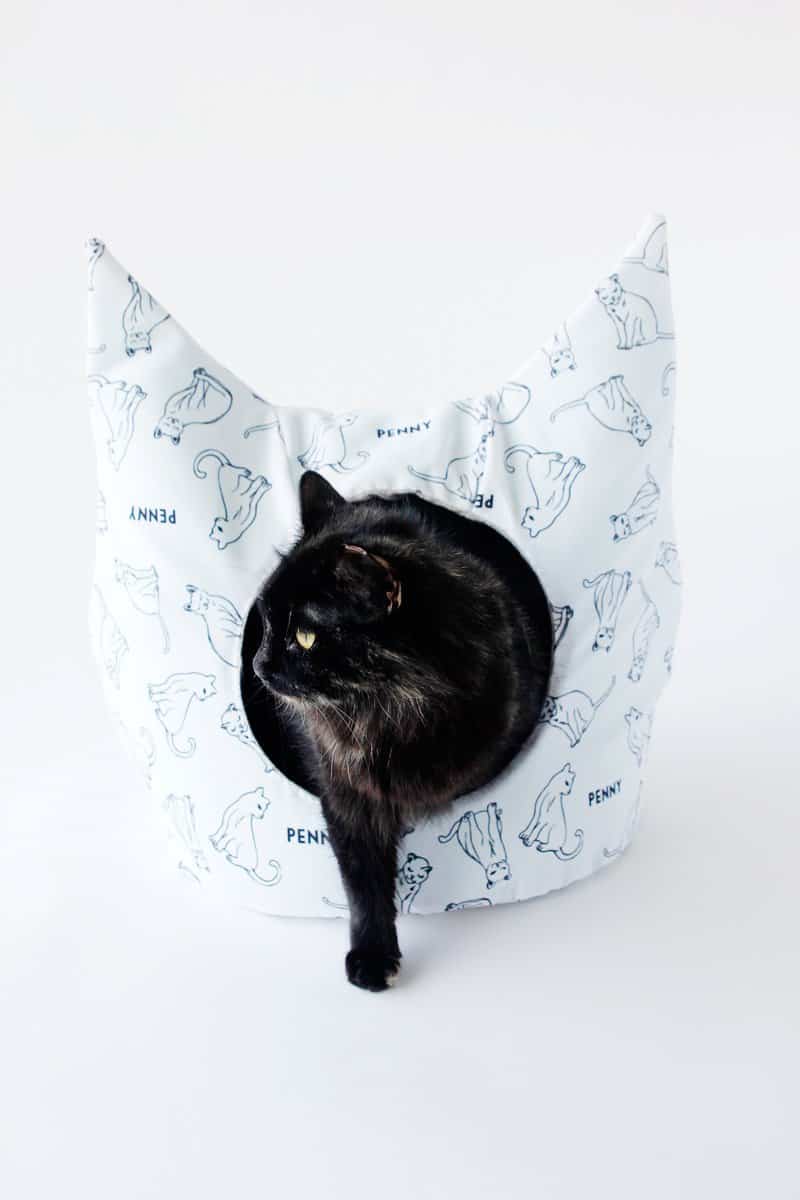
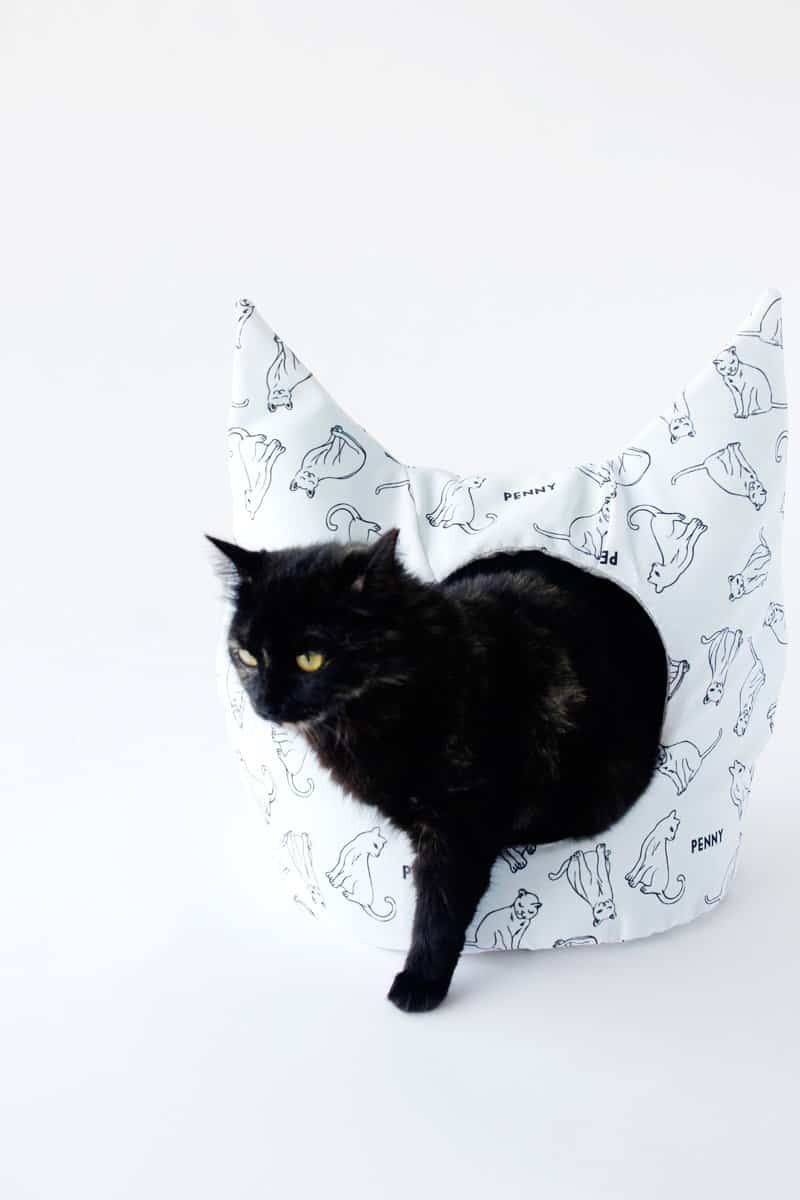
I don’t talk about my cat too much. Honestly, we don’t have a very good relationship. She doesn’t really like me and the feeling is mutual, hahaha. But, the kids adore her and include her in every listing of family members that ever takes place. They play with her and dote on her which is really sweet to watch. Almost sweet enough to forgive the nightly attacks on my feet. Almost!

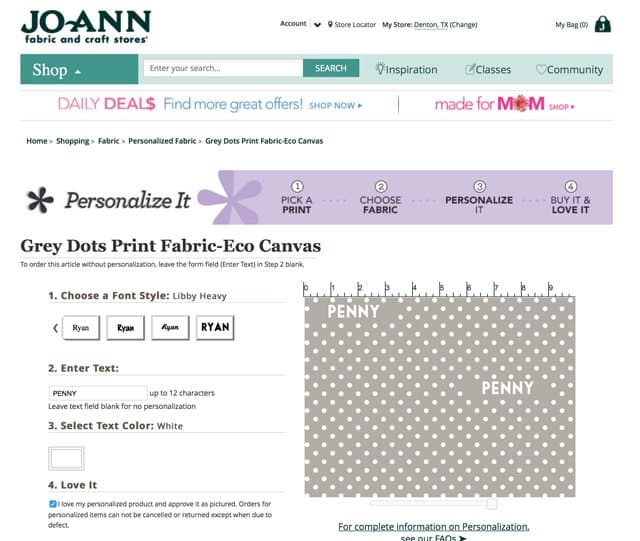
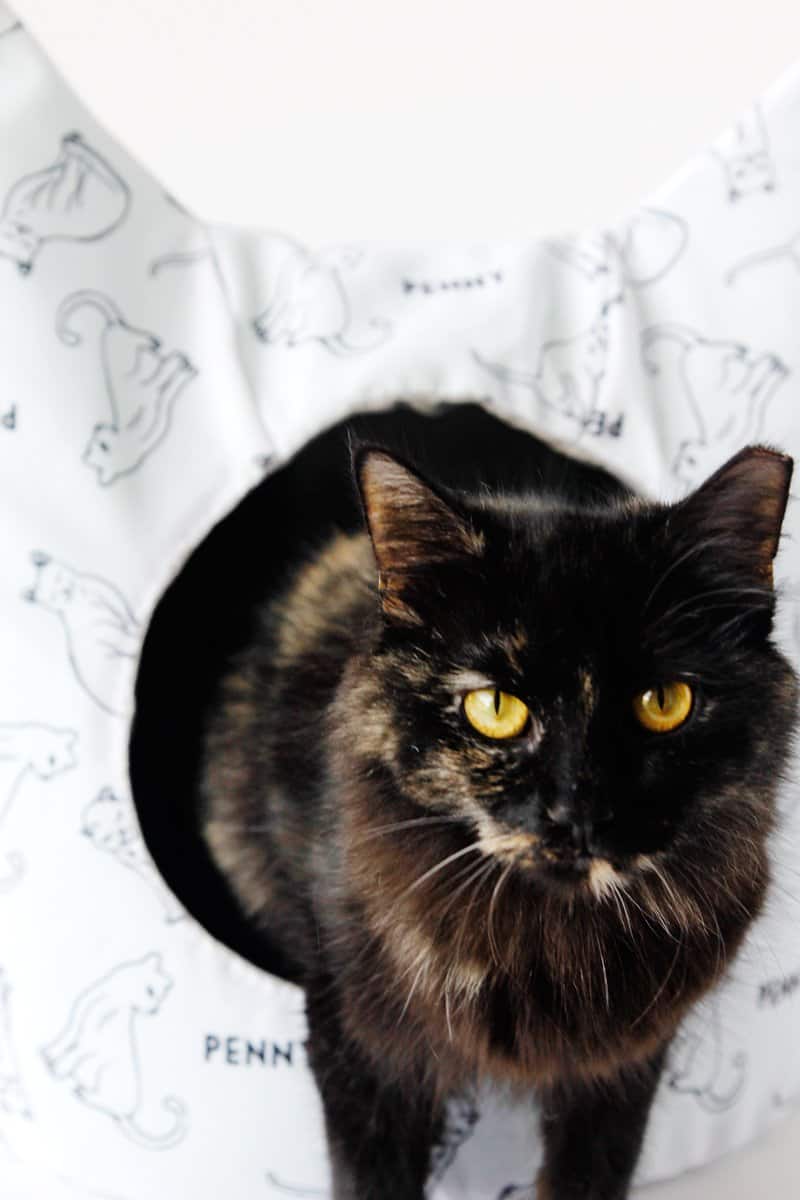
Her name is Penny and I was excited for the opportunity to review Joann’s Personalized Fabric, a new option from Joann.com! The fabric is personalized with the text of your choice, I think it’s especially cute with a name, but you could also choose a special date or inside joke to print. There are over 200 designs to choose from (including many popular characters, baby themes, some new neutral patterns and more!)
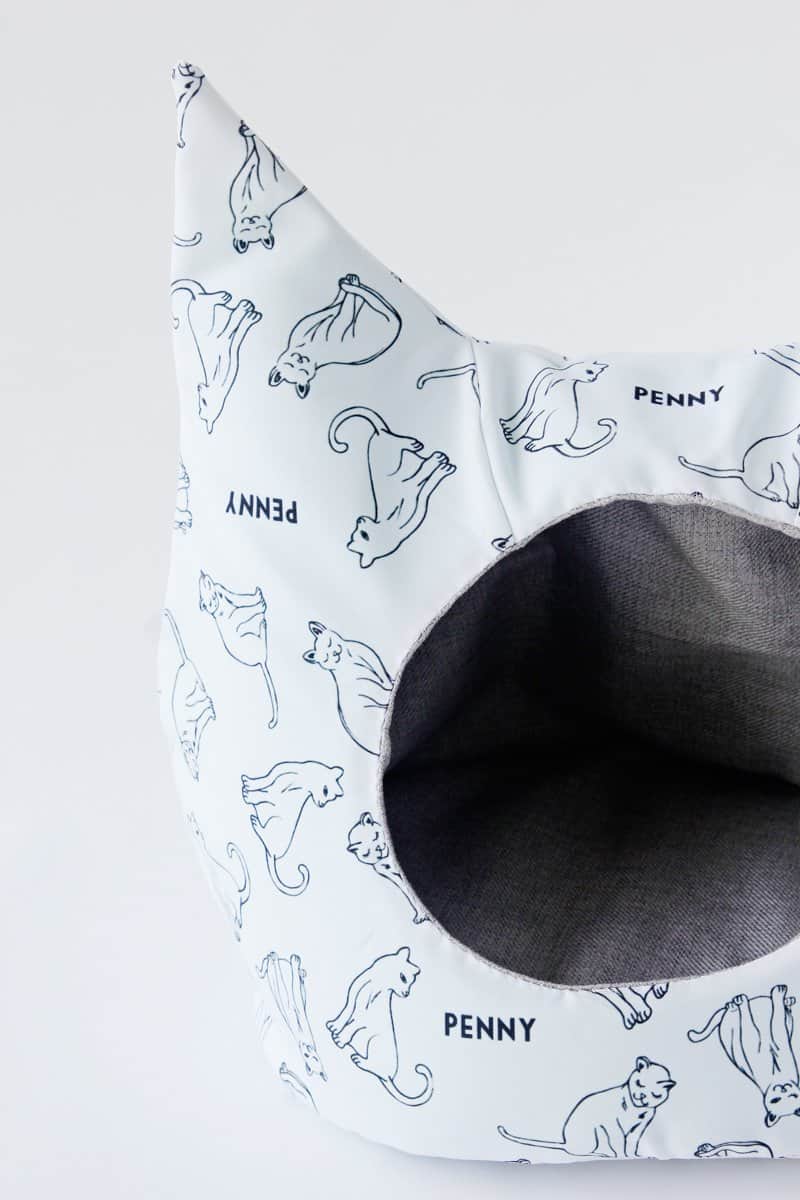
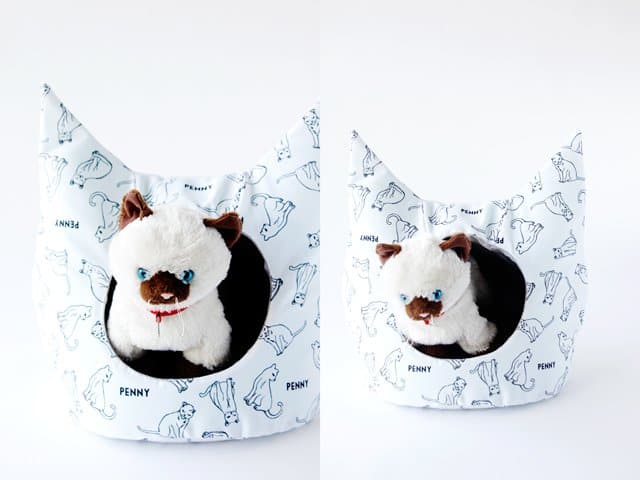
There is something for everyone on there. I decided to get Penny some black and white cat fabric and design and sew a cat bed for her. I included the kids in the process and we had fun learning how to spell PENNY and making something for her.


I know my kids will love pillowcases with their names on them, too, so that may be my next project. As much as I hate characters on everything, character fabric gets my kids excited about sewing and projects, so I’m okay with it. Plus, it’s nice that they have a few less popular characters like Mario and Sofia (and also plenty of Elsa, Ninja Turtles and My Little Pony for good measure). I can deal with character pillowcases and that is likely what I’ll do next. I love the huge selection of fabrics, I got lost on there a few times.
So let’s make one!
Cat Bed Sewing Pattern
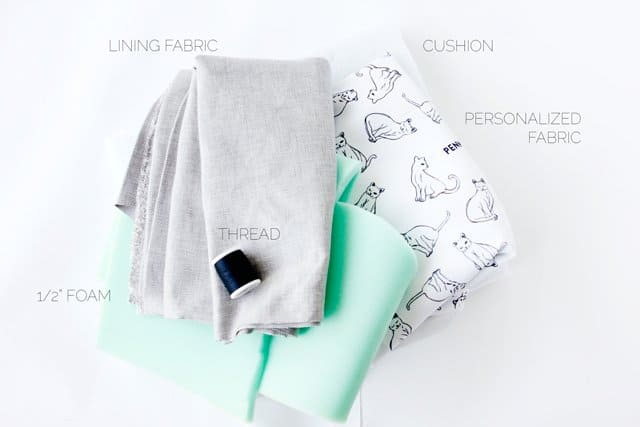
Materials:
-1 yard Personalized Fabric printed on Eco-Canvas
-1 yard lining fabric
–1 yard 1/2″ thick foam
-seat cushion, I used one of these Soft n Crafty densified batting
-free pattern (see button below!)
Cat Bed Pattern Download

I picked this cat print, but there are also a few others suitable for cats, or choose something cool like these triangles or POLKA DOTS!

Instructions:
1/4″ seam allowance
The first step is to design your fabric at Joann.com. It’s super easy…pick a print, a font, a font color and approve it!

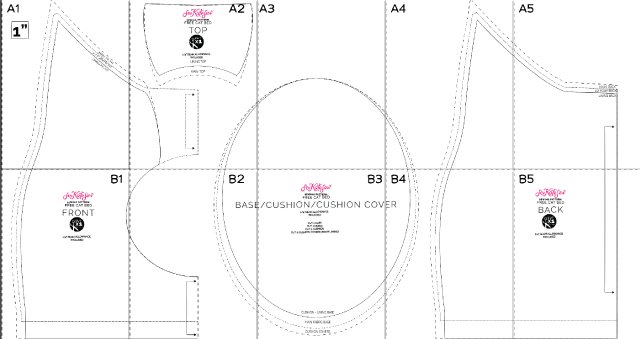
Print out the free pattern download and tape it together! The pieces include about 1/2″ extra, so cut on the lines and match them up as shown below:


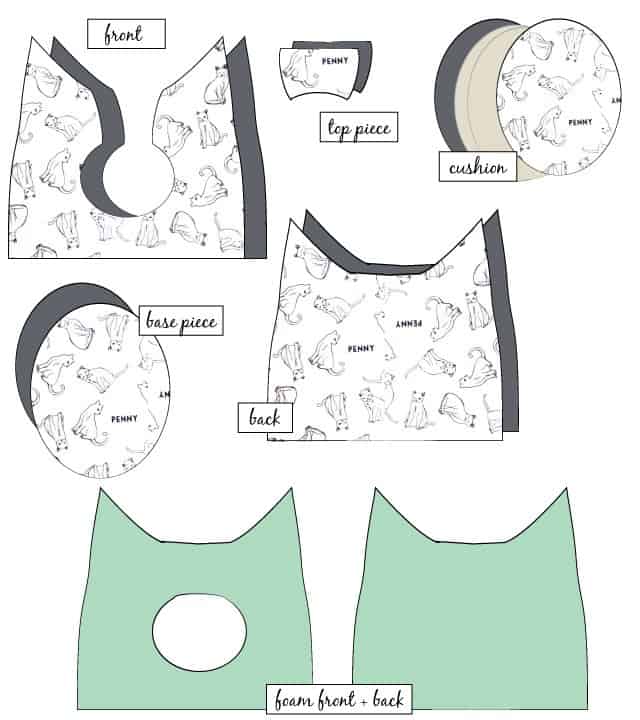
From Main Fabric:
1- 1 front on fold
1- back on fold
1- top piece
-1 base piece
1-cushion cover
From Lining Fabric:
1- 1 front on fold
1- back on fold
1- top piece
-1 cushion cover
-1 base piece
From 1/2″ foam:
-1 front
-1 back
From seat cushion:
-1 cushion piece

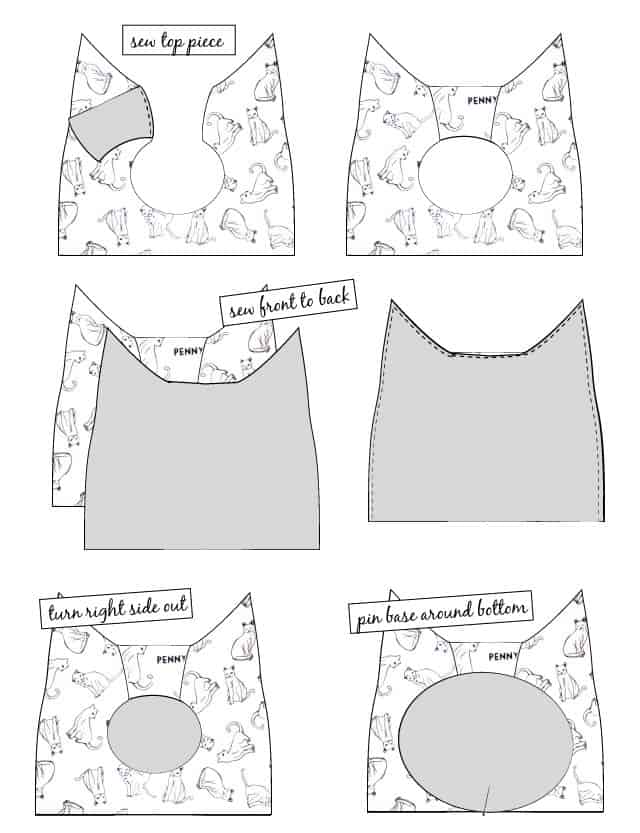
Sew the top piece into the middle of the front. This piece is a little bit contoured so that top bows out a bit, and it also allows you the option to use 2 fabrics. I think it could be a fun little accent piece.
Sew the front to the back along the sides and top of the pattern. Use a 1/4″ seam allowance. Trim top corners of the ‘ears’ but do not trim seam allowance. Press and turn.
Pin the base piece around the bottom of the cat bed, with right sides together. You’ll have to turn and pin and you go. To make this part easier, ease stitch your base and around the bottom of the cat bed and tug threads as needed. Also mark the base with pins to divide in quadrants, then match the sides to the sides of the cat bed piece.

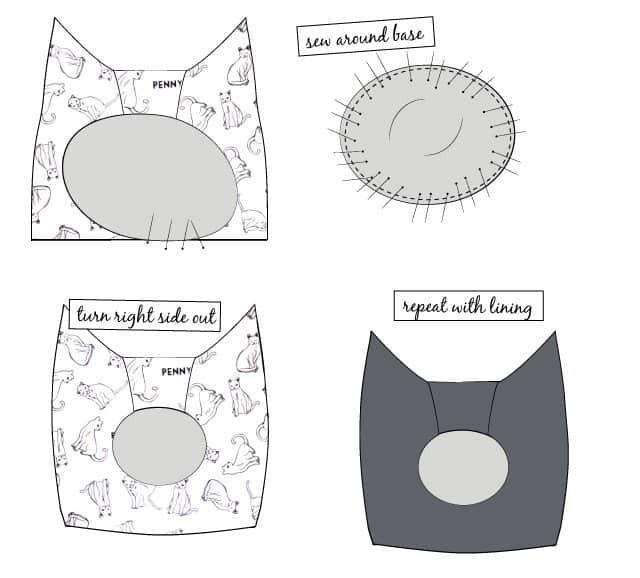
When you’ve pinned all the way around, the cat bed will be inside out. Sew around the base. Turn right side out.
Repeat with lining fabric.


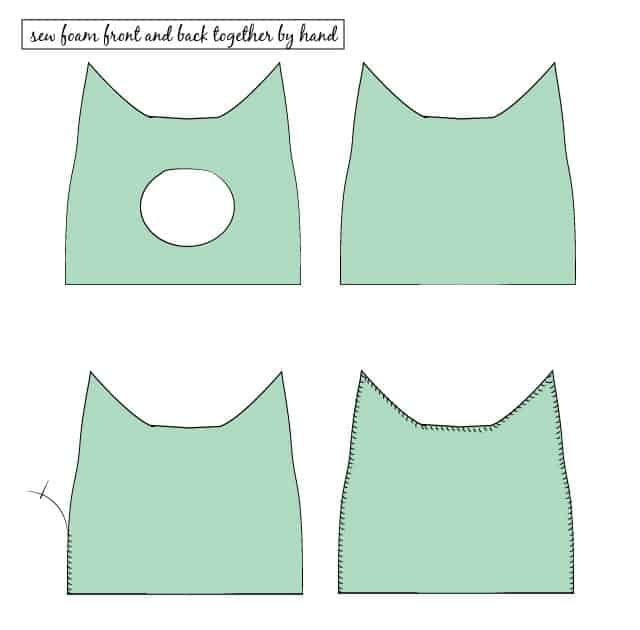
Now grab your foam pieces. Sew the front and back foam together around the edges. Since your foam is 1/2″ thick, the best way to do this is with a quick whipstitch by hand.

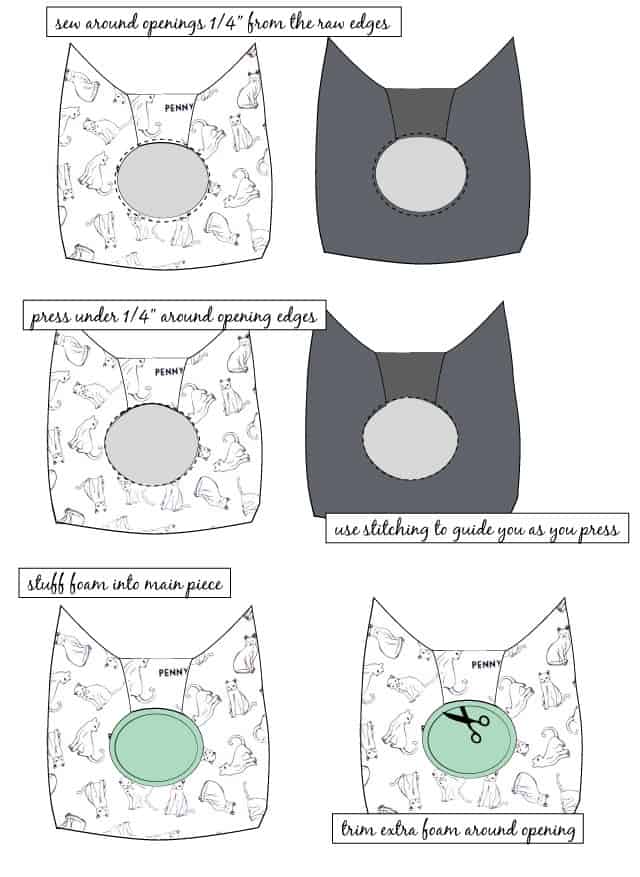
Sew around the door opening 1/4″ from the raw edge of the fabric on both the main and lining cat bed pieces. Use a regular (2.5mm) stitch length. Use this stitching to help you ease under 1/4″ of the fabric to create a crisp edge. Press along the edge as you go and tug threads slightly if necessary.
Stuff the foam inside. The foam pieces are shorter than the cat bed so it will fit in there. It will be a tight fit (and it should be!). The foam also doesn’t have a contoured middle piece on the top of the front piece. If you need to clip into the foam around that area to get the right fit, go for it!
Now trim off the extra foam around the opening of the cat bed. Trim it back so it is approximately 1/4″ wider all the way around than the fabric pieces.

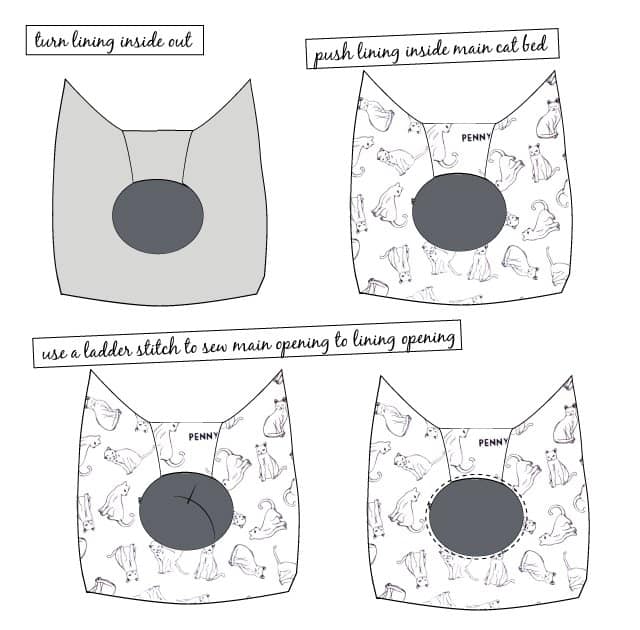
Turn the lining pieces inside out. Then, push the lining inside the cat bed, over the foam. Match up all the edges and smooth it out. Use a ladder stitch to sew the openings together along the creases you made earlier. If you don’t want to hand stitch the front opening, you can use a sewing machine and create a regular topstitch.

Sew the cushion covers together, leaving about 8″ open. Turn the cushion cover and stuff in the cushion. Then sew the opening closed by hand.
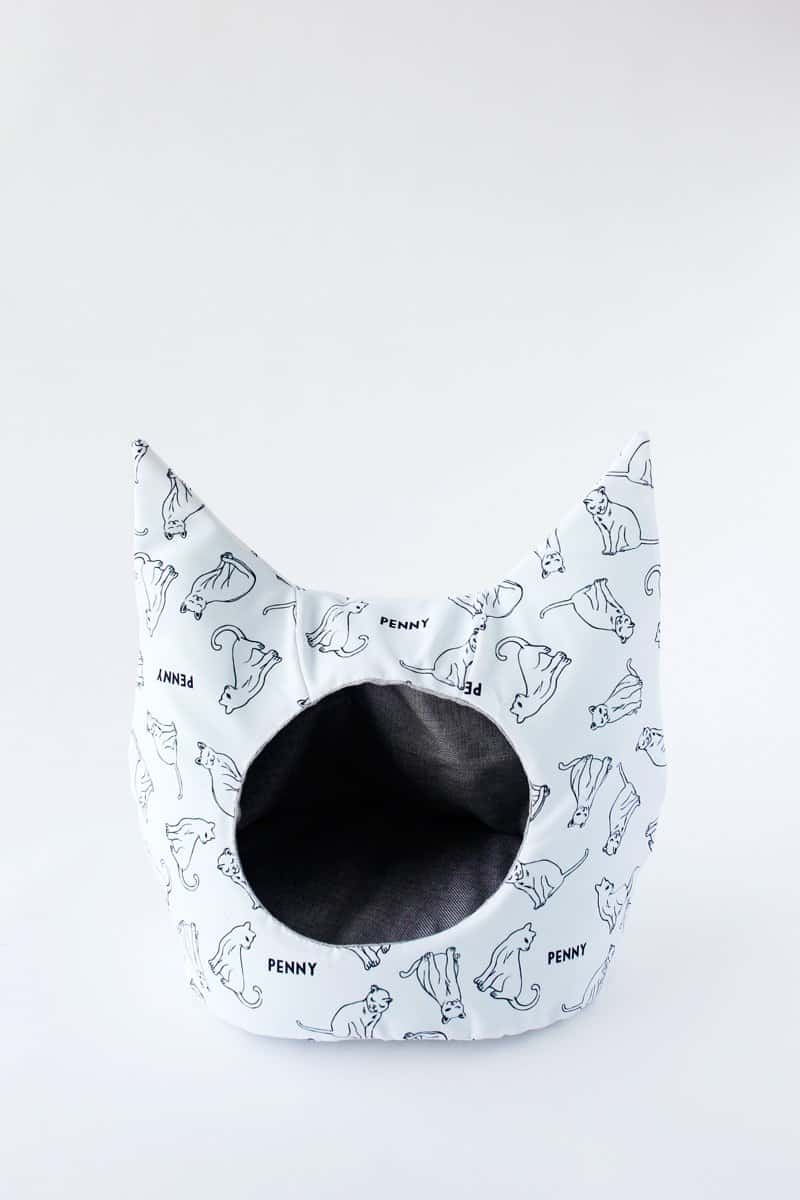
And you’re done!


If you liked this post, you may like my CAT-tober posts!


The post FREE Cat Bed Sewing Pattern appeared first on see kate sew.