
gold button bloomers tutorial
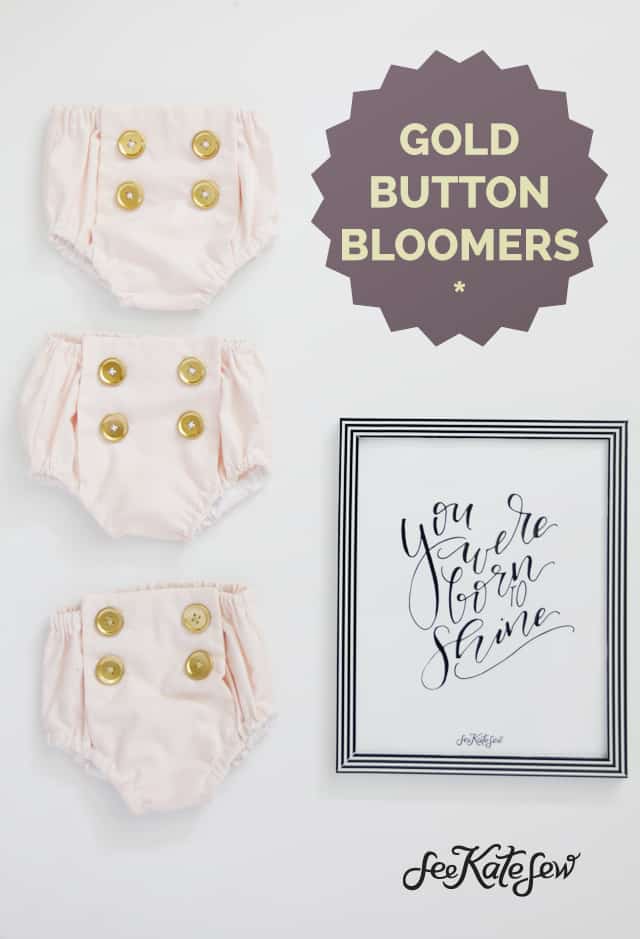
These bloomers have been a few years in the making! I’m finally sharing a free pattern for them! This is a size 3M, which is great for baby showers! Download the pattern now, because it is only free for a limited time!

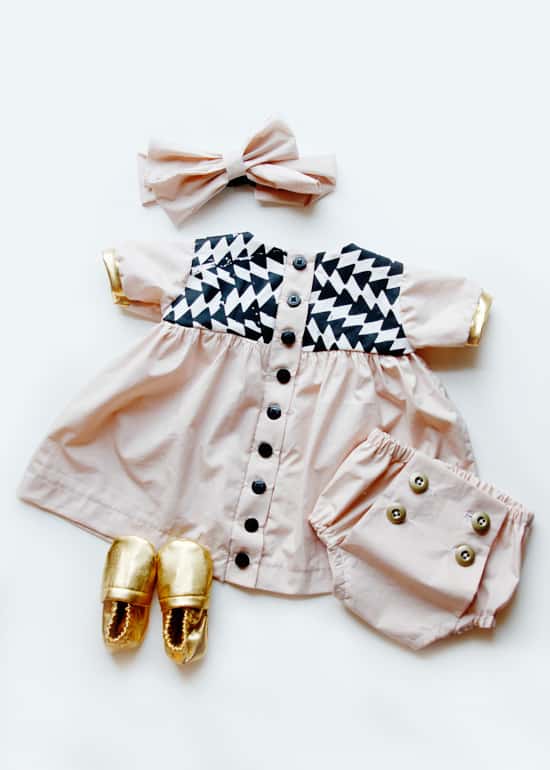
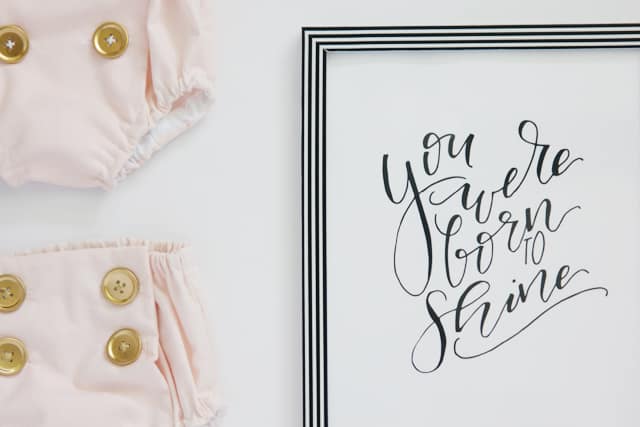
I originally made the Gold Button Bloomers for the Gold Collar Girl look (above!) a few years ago. The dress tutorial (and this free printable) are coming, too!
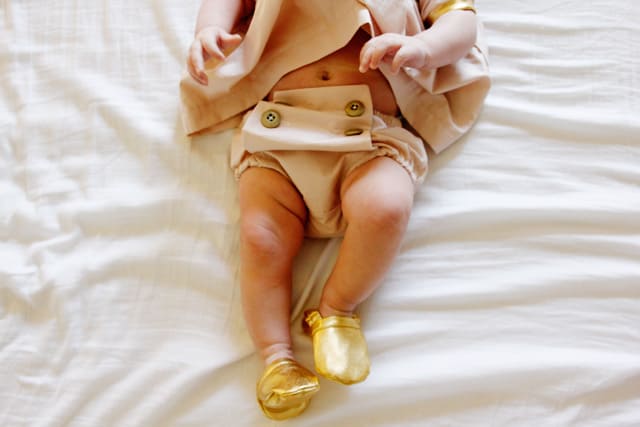
Here is the original pair on my sweet tiny girl! Ah I miss that stage!


Materials:
-1/2″ yard blush kona cotton
-four 3/4″ to 1″ gold buttons
-1/4″ elastic
-1/2″ single fold bias tape
-pattern pieces


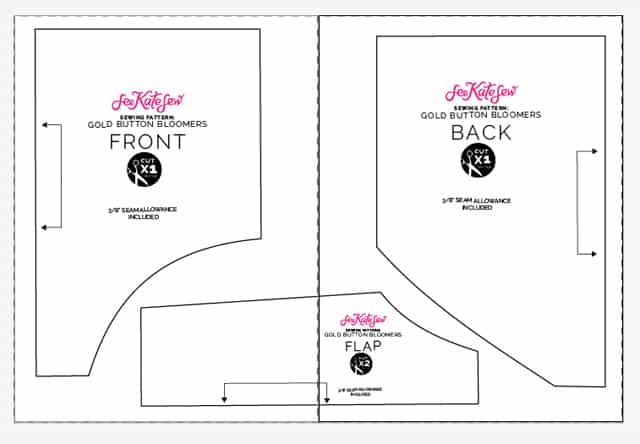
-Cut fabric. You need the following pieces:
- 1 front
- 1 back
- 2 flap pieces
-Sew flap pieces together around the side and top edges. Leave the bottom open. Trim seam allowance and clip corners. Then turn right side out.
The buttonholes are just for show, so you can skip them if you want. If not, make buttonholes where marked on the pattern piece, but don’t bother opening them. Use this tutorial if you’ve never done buttonhole feet before.
Baste the flap piece to the front of the bloomers at the leg openings and crotch.
Lay back piece on top of front piece with right sides together. Sew crotch and side seams.
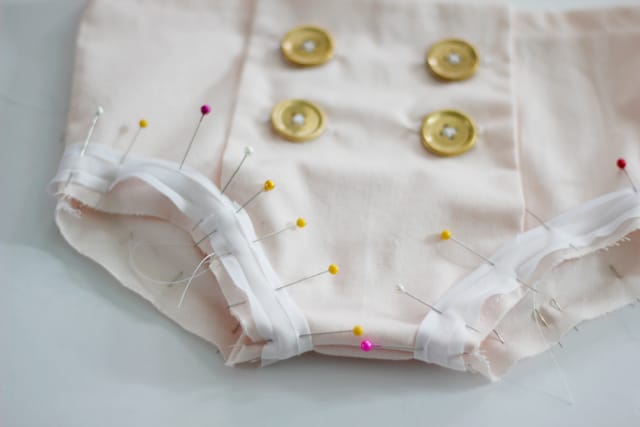
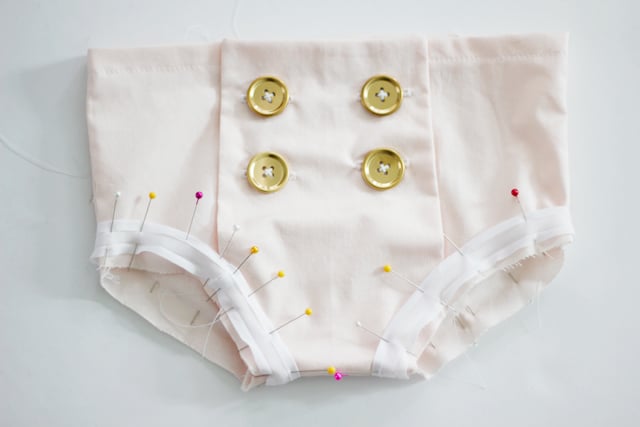
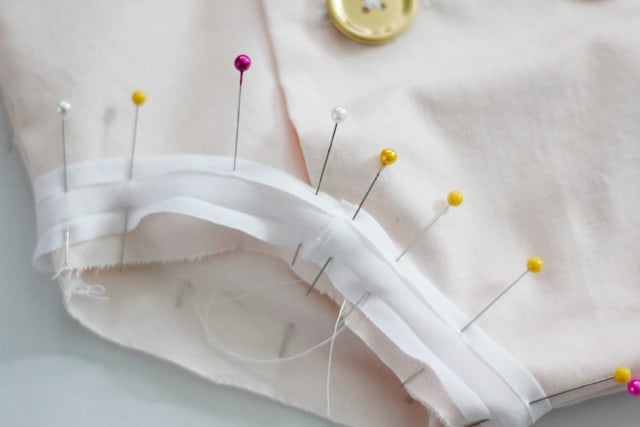
Sew bias tape to the leg openings. Align crease of the bias tape at 3/8″ from the opening. That is where you will sew.


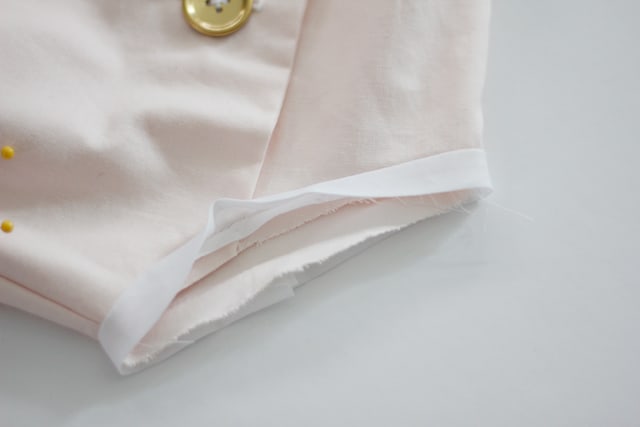
When you get to the point where the bias tape meets itself, fold over one side so you get a nice clean finish.

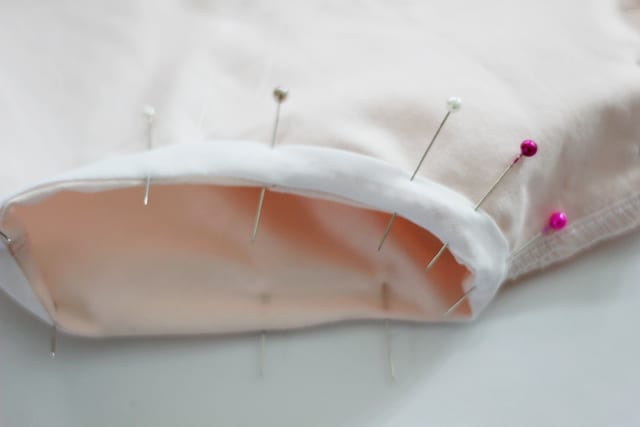
Sew around the bias tape. Then use pinking shears to trim the seam allowance. Reduce as much bulk as you can. Then fold over the bias tape to the inside and pin.
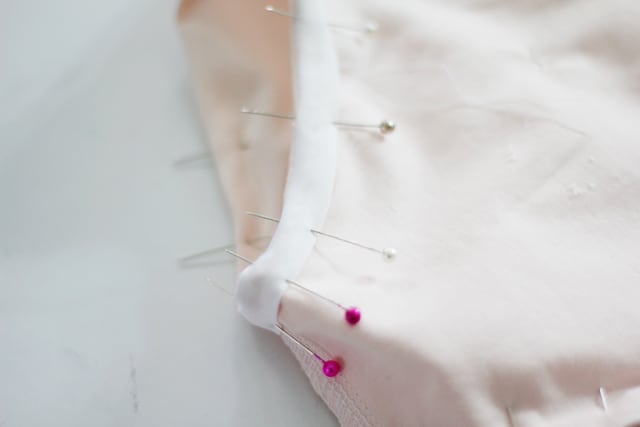


Sew it up to make a casing, leaving a small opening for now.
Finish top edge. Then flip over 1/2″ at the top and press. Create a casing by sewing at 3/8″ around the waist, leaving a small opening to run elastic through.
Add elastic to the waist and leg openings and then close them up.
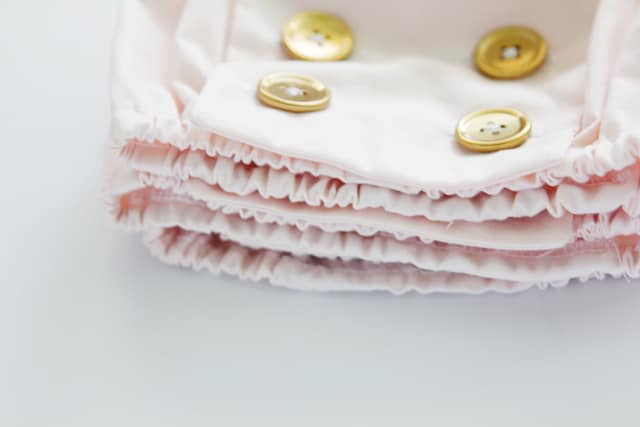
Sew on the buttons, attaching the flap to the front piece of the bloomers.
And you’re done!


The post gold button bloomers tutorial appeared first on see kate sew.