
sewing 101// make your own laminate fabric + tips for sewing with laminates
Written by Michael Ann of Michael Ann Made.

Hello friends! Michael Ann here from Michael Ann Made, and today, I’m excited to venture into the world of laminates and coated fabrics with you!

Now what is a laminate? Any fabric with a plasticy coating – oilcloth, vinyl, chalk board fabric, and some faux leather. These fabrics are great for projects that might get a little messy, like baby bibs or makeup bags, as you can just wipe them down with a damp cloth.
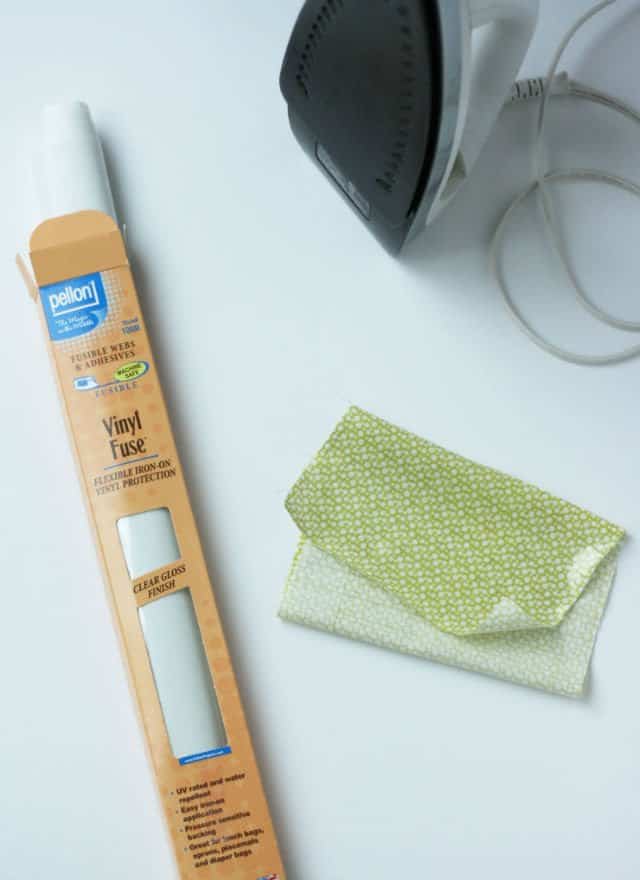
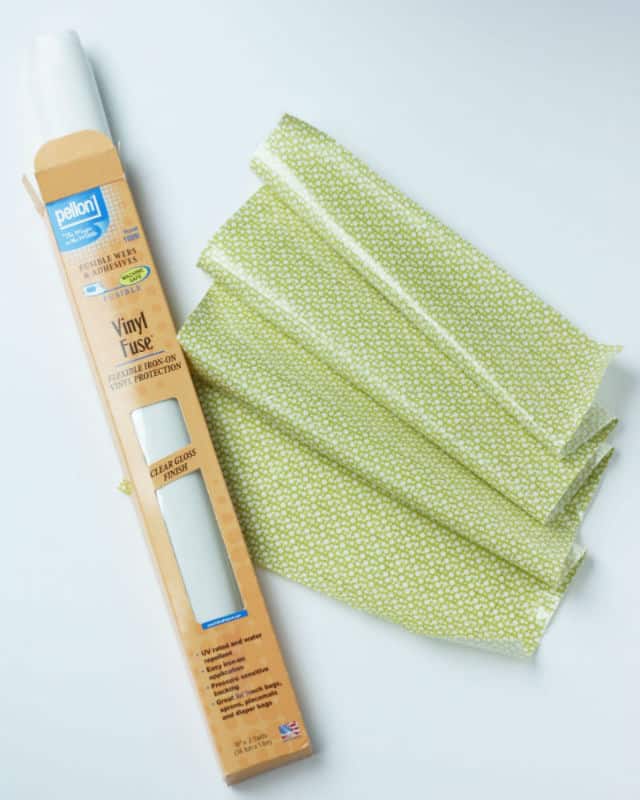
But what if you can’t find the perfect coordinating print for that vinyl diaper bag you’re making? You can make your OWN laminate fabric! A couple different companies make iron on vinyl (Pellon, Heat-n-Bond, Thermoweb) you can buy in 2 yard rolls, about 12″ to 17″ wide. Today I’ll show you how simple they are to use!
There is also no need to be intimidated by sewing with vinyl. With a few simple tricks, you can stitch up any laminated project with all the sewing supplies you already have.
So let’s get started by making our very own fabric!
First, you will want to cut a piece of your vinyl to fit the fabric you’re working with. If your pattern piece is a simple rectangle, you can cut the vinyl to match the already cut out fabric. If your pattern piece is more intricate, I would suggest cutting a larger square of both fabric and vinyl, so you will cut out your pattern piece after ironing.

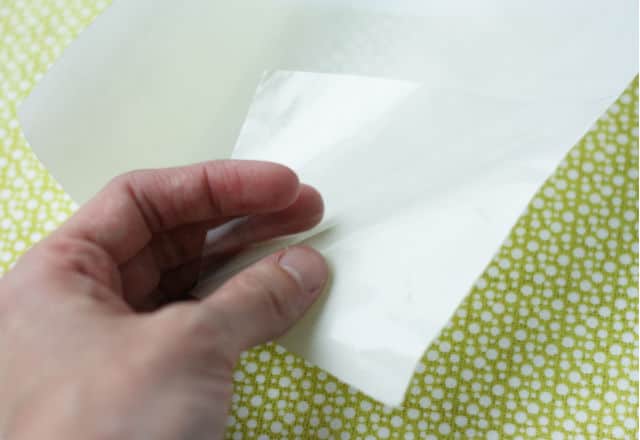
To prepare your fabric, iron it well and make sure it is flat on your ironing surface. You will then peel the paper backing off of the vinyl. Be sure to keep the paper! Place the vinyl on your fabric, sticky side down, making sure the vinyl doesn’t hang off the edge.

Now, for the magic! Place the paper backing that you saved, shiny side down, over the vinyl, and iron the vinyl to the fabric with a medium heat, dry iron. You want to be VERY careful that you don’t melt any vinyl onto your iron!

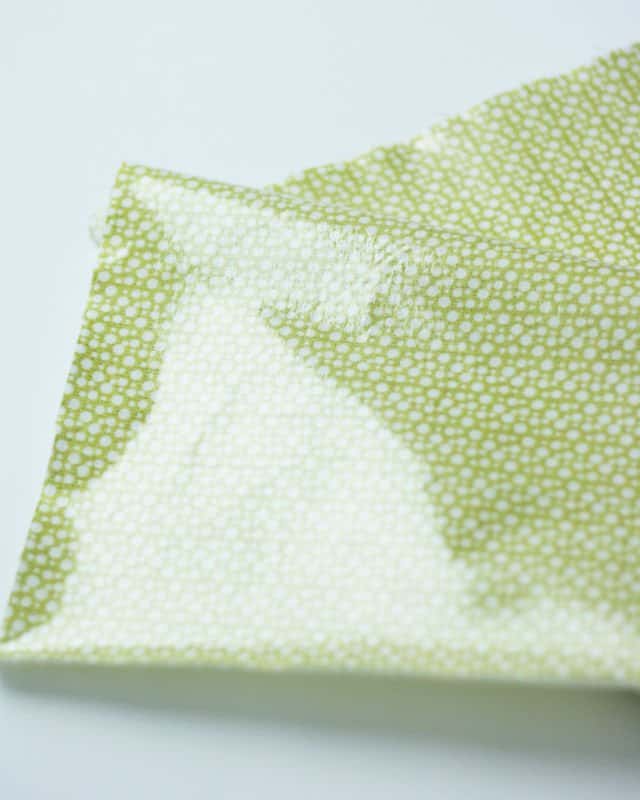
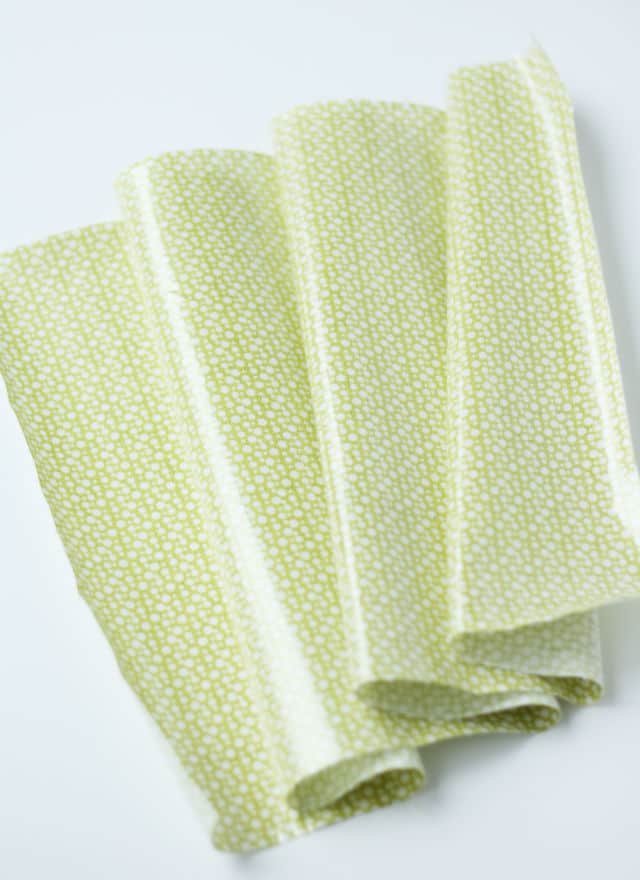
Take off the pressing paper and tada! You have your very own oilcloth fabric! You are now ready to stitch up your vinyl creation!

Here are some tips on sewing with laminates to help you through your project -
- When ironing and pressing, either iron from the back of the fabric, or use the backing paper. You want to make sure the vinyl doesn’t get too hot and melts, and you never want it to touch your iron!
- When sewing on a machine, the vinyl will stick to any metal surface it touches, keeping it from gliding through. To fix this, you can either use a plastic or Teflon presser foot. If you don’t have either of those, a bit of matte Scotch tape or blue painters tape will do the trick! You can also put a bit of tape on any metal areas of your throat plate, making sure to keep the feed dogs uncovered.
- Using pins to hold your vinyl together will make holes in the fabric, so either pin parallel to the seam line within the seam allowance, or use sewing clips.
- It is also helpful to use a bit longer of a stitch length and a larger needle to help pierce through the fabric.


There you have it! Sewing with laminates is just another skill to be mastered, not something to fear. And now that you know how to make your own vinyl, the possibilities really are endless!


