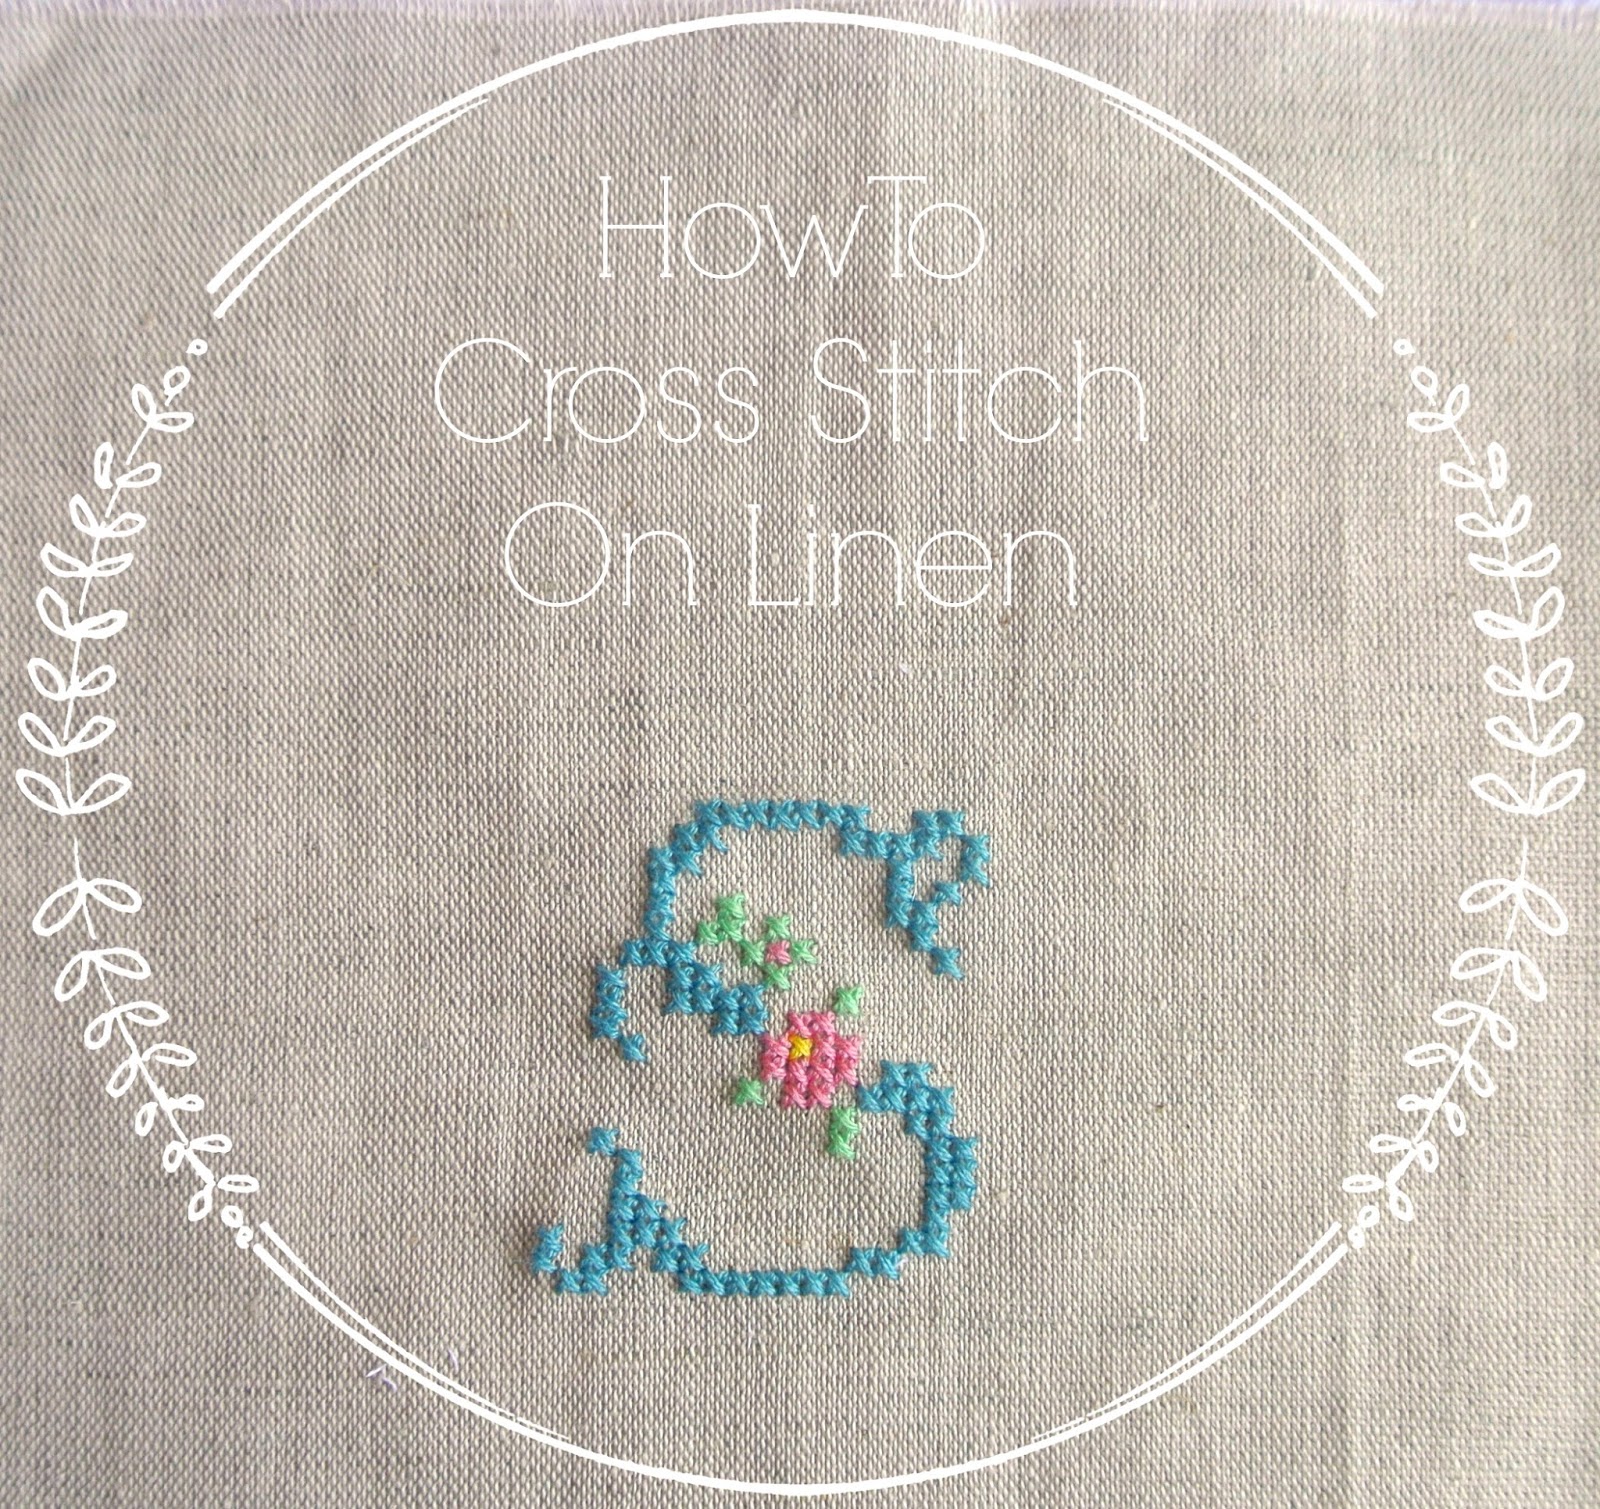
My first tutorial :: Cross stitching on linen

I’ve been asked lots of questions about cross stitching on linen recently and as you know it’s something that I REALLY love to do So, I thought it was about time that I make a little tutorial It’s very simple really ..... once you know how This technique can be used on any non-even weave fabric which is actually most fabrics
I’m no expert, let me just start by saying that I’ve never been to classes Self ~ Taught ~ Sally ..... that's me So what I’m about to explain is my way and probably not the correct or proper way!
You'll need .....
♥ A cross stitch pattern ♥ Fabric that you’d like to cross stitch onto ♥ Waste canvas
♥ Embroidery frame or hoop ♥ Embroidery threads ♥ Cross stitch needle ♥ Scissors ♥ Tweezers ♥ Spray water bottle ♥ Towel
Waste canvas ~ I used 14 count but there are many counts just Google it, I got mine from Ebay. When choosing your waste canvas all you have to remember is that the higher the count number the smaller the stitches will be

♥ Find a cross stitch design that you’d like to stitch I’m making an initial bookmark for a gift and am using Alicia Paulson’s amazing book Embroidery companion which I absolutely adore and use often Alicia has such a pretty cross stitch alphabet which I’ll be using
♥ Cut a piece of waste canvas that will be big enough for your design I would say to always cut bigger than you think you’ll need
there’s nothing worse than happily cross stitching away
when you realise that you're running out of space
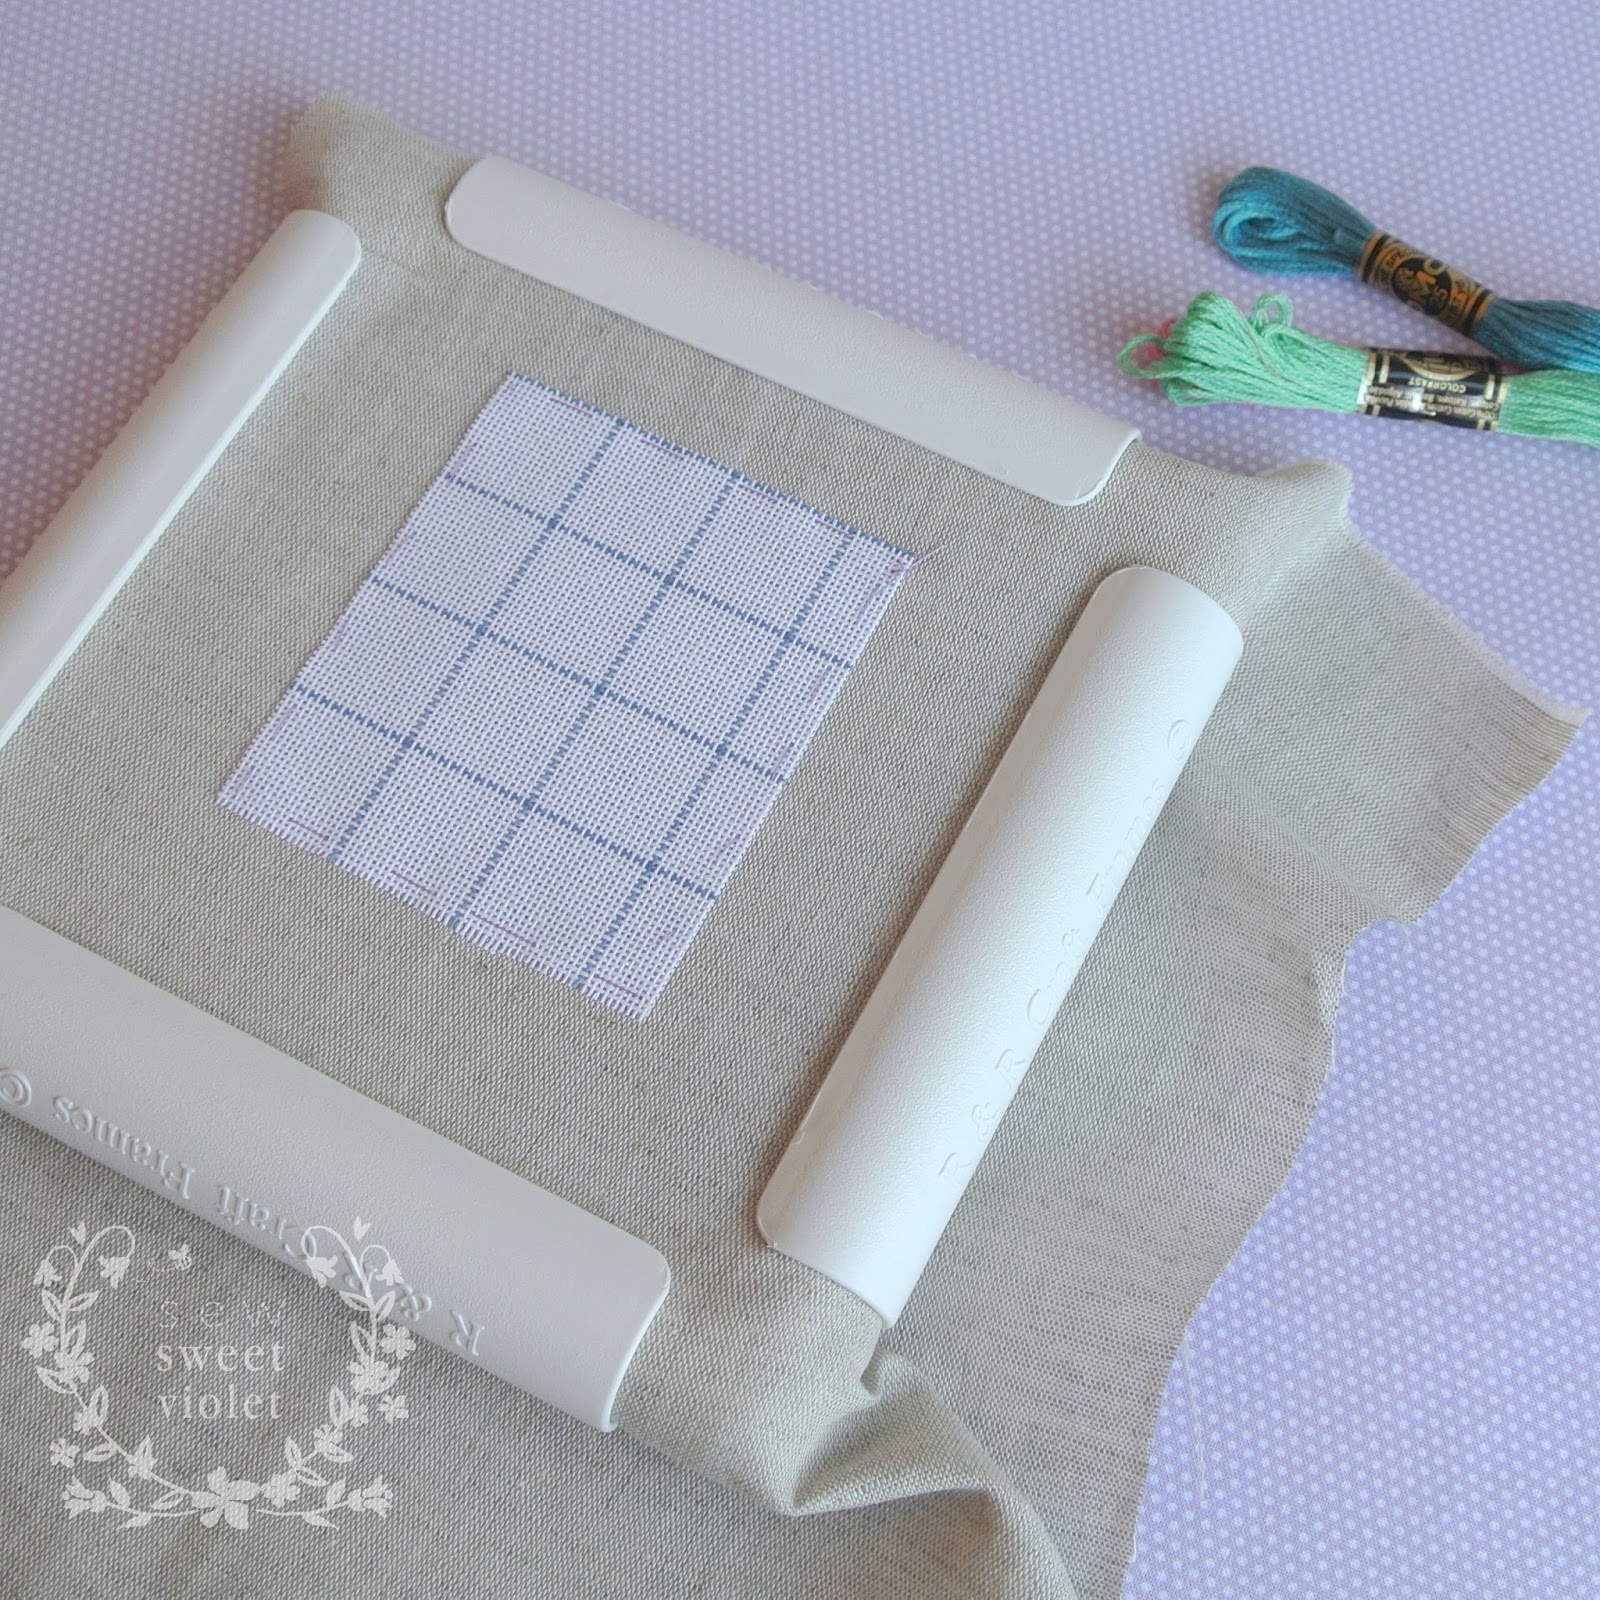
♥ Tack your waste canvas to the right side of the fabric that you will be stitching onto allowing enough fabric all around so that it will fit into the embroidery hoop the tacking stitches don't have to be neat as they will be unpicked later just a few running stitches around the edge to hold it firmly in place. Try and get the waste canvas as straight as you can with the weave of the fabric

♥ Place the whole thing into the embroidery hoop or frame pull it evenly, you need it nice and taught, like a little fabric drum. I've recently found these frames and have been converted they are so easy to use and they allow for a nice even tension. The one I used here is the smallest one which is 6" x 6"
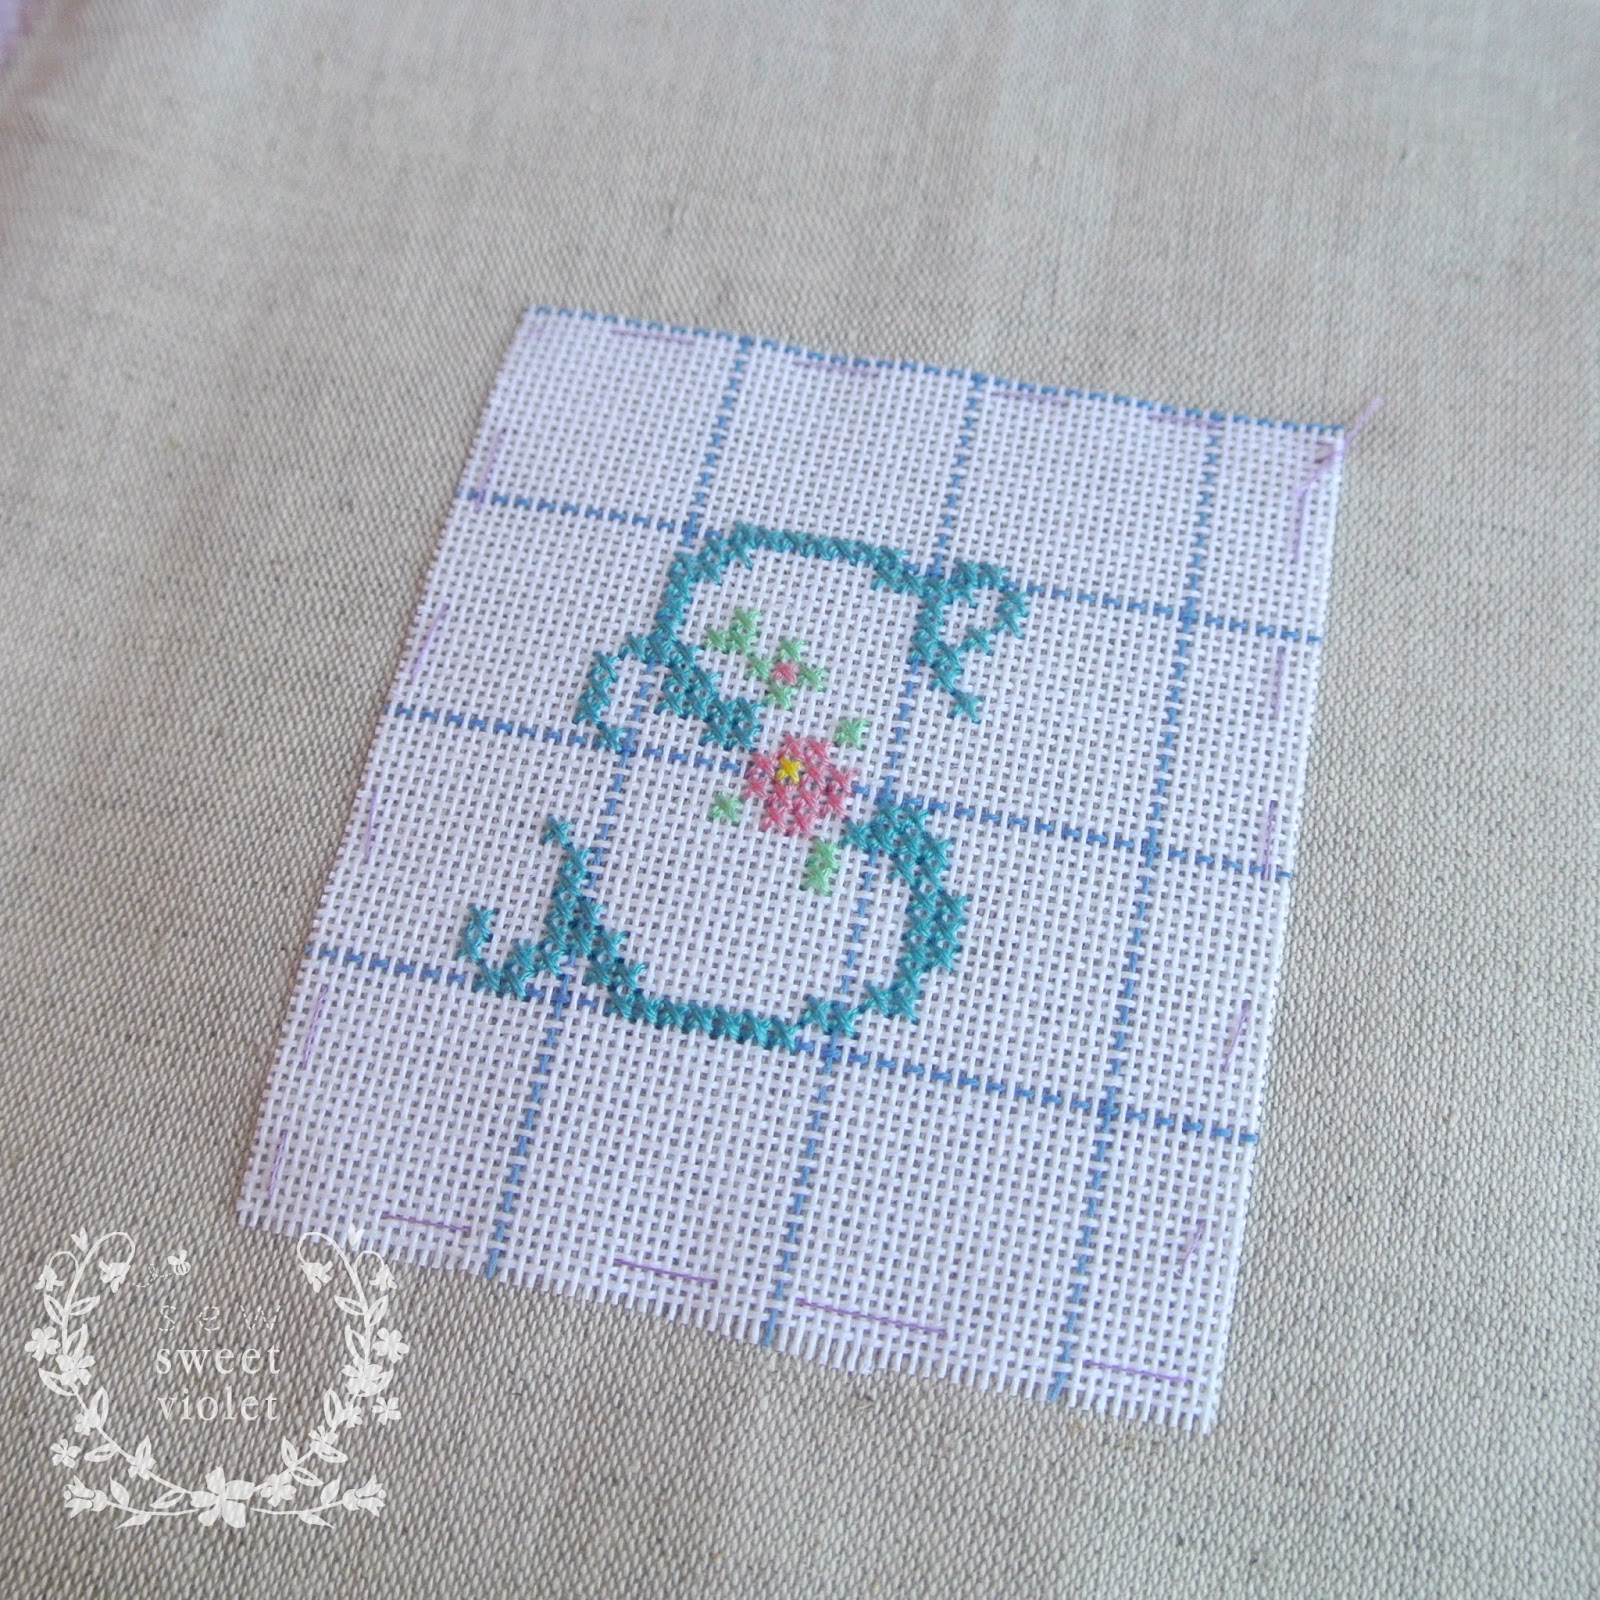
♥ Work out the rough centre of both your waste canvas and your cross stitch design I always like to start somewhere near the centre
this makes sure that your design will fit onto the waste canvas
♥ Start stitching, I used 2 strands of DMC embroidery thread I like to separate the two strands and then put them back together and smooth them down this gives a smoother finish. For my design I missed a hole, you can see it clearly here you can make your stitches smaller by not missing any holes

♥ If you are part way through the design and need to change colour just pull the thread out of the way
and make a little stitch to stop it from becoming tangled you can then pull the thread out when you are ready to use that colour again

♥ Sometimes the thread may end up in one area
and your next bit of stitching is over the other side if this is the case
I thread the thread back through a few stitches on the back of the work to wherever you need it to be this is especially a good idea if your thread is dark or your fabric pale so that it doesn’t show through to the front of the finished work

♥ When you've completely finished working with a colour
just thread it back and forth a few times
under some stitches on the back to secure it
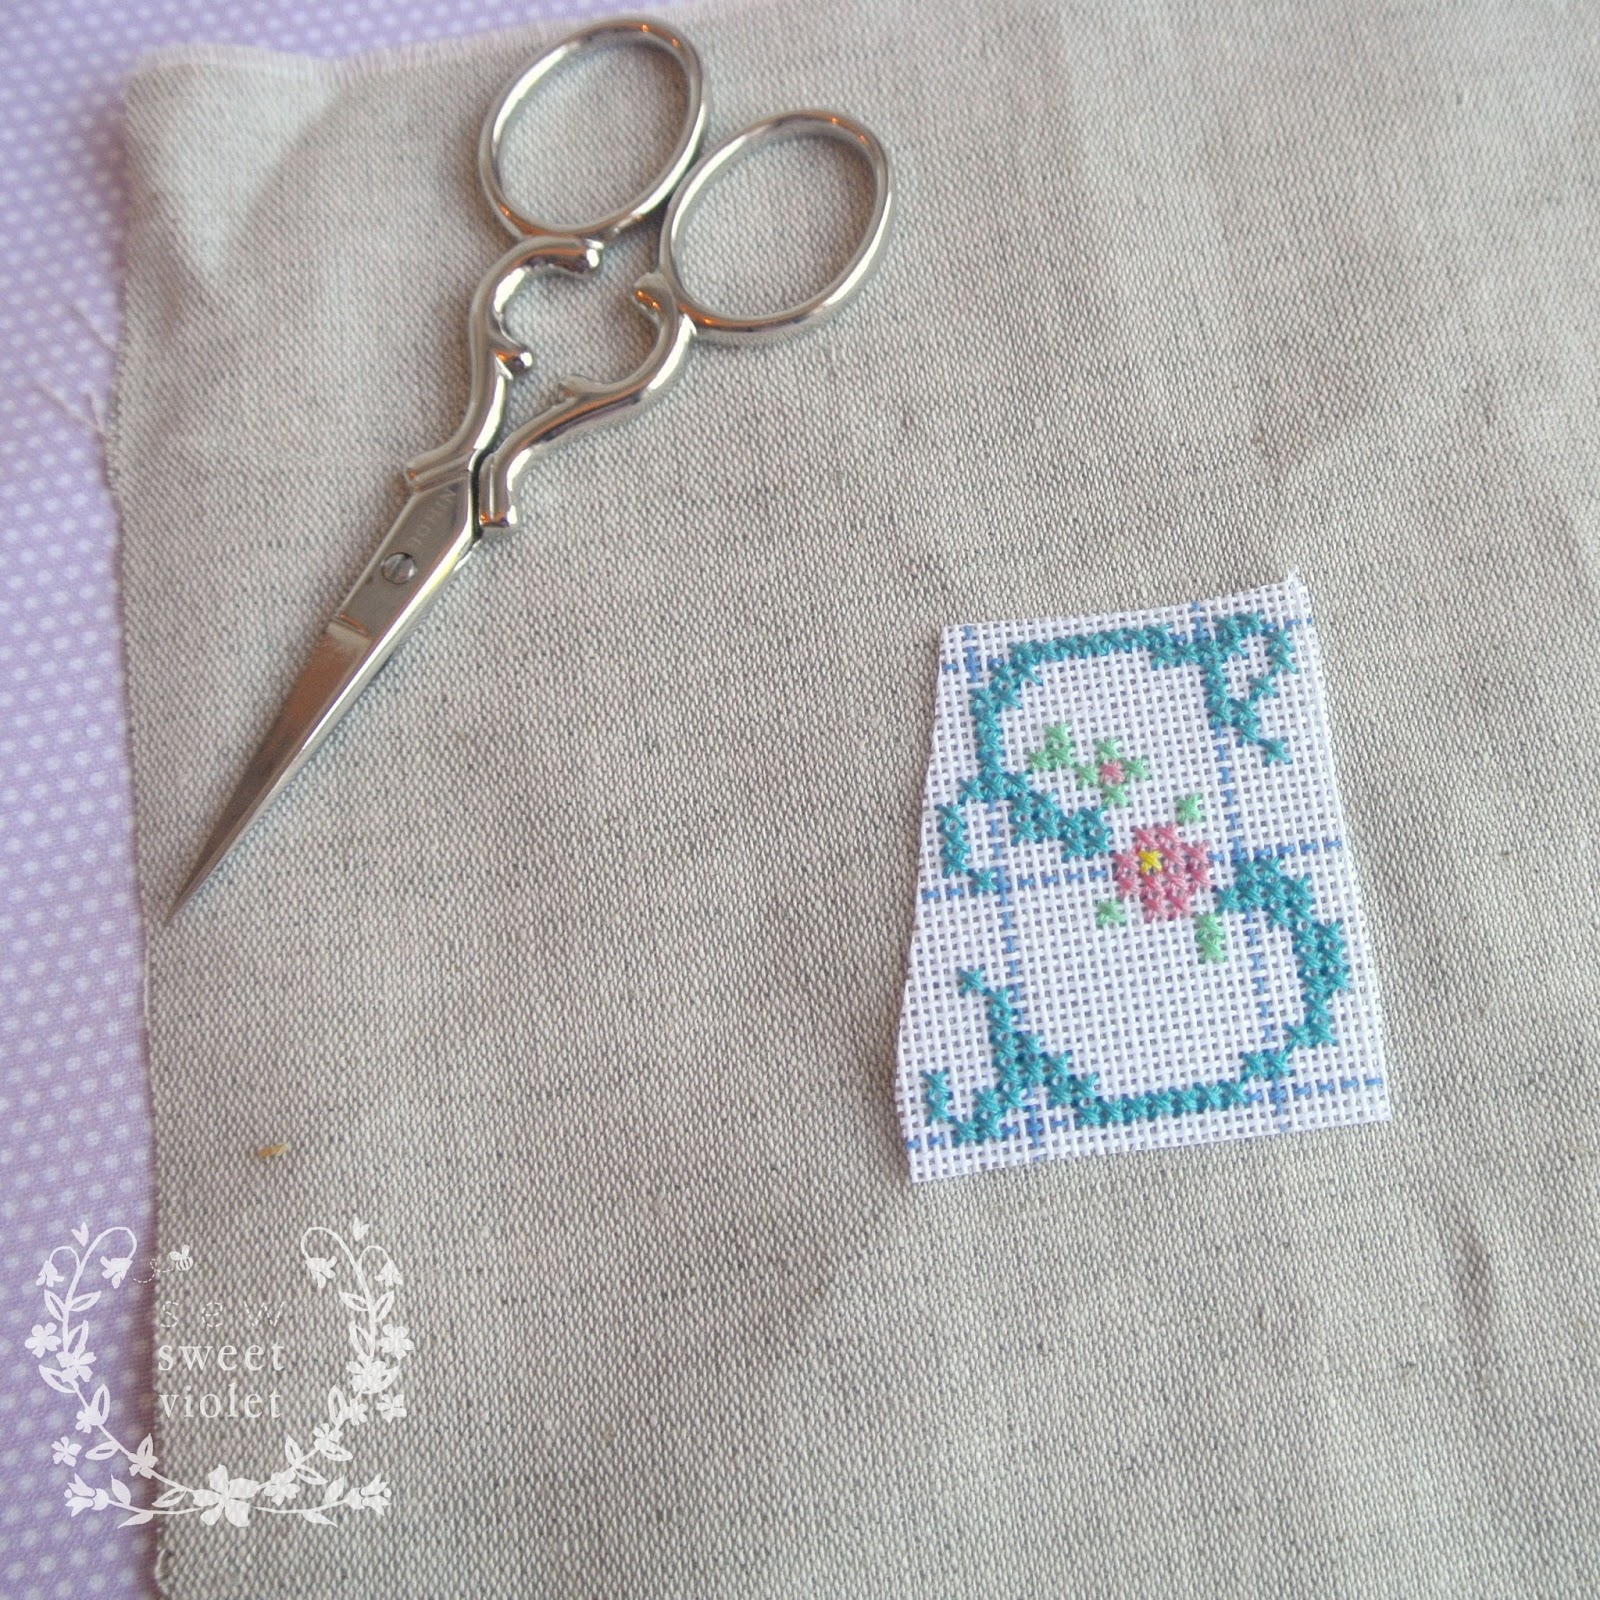
♥ After you’ve stitched your design
remove your frame or hoop and snip the tacking stitches that are holding your waste canvas in place and then VERY carefully trim some of the excess waste canvas away from the design don’t go too close to the cross stitches (I have done this before and snipped them ..... this made me say a rude word)


♥ Spritz the waste canvas with water, and leave it to soak in for a few minutes Using your tweezers carefully pull ONE strand at a time (yes just one, don’t be tempted to tug more than one in the beggining) I like to remove all of the threads in one direction first and then it makes it easier to remove the threads in the other direction you can usually remove these threads two or three at a time, but go carefully

♥ Lay a fluffy towel, doubled up on your ironing board and lay your design right side down onto the towel and press gently with a warm iron

Ta ..... Dah!
Now you can do what ever you like with your lovely stitching
mine’s going to become a simple bookmark for my sister~in~law, to go with her book voucher
If anyone would like to me to write a tutorial for it I’d be very happy to do that
I may have waffled WAY too much here but I figured
too much info is better than not enough
especially if your just starting out
Thank you for such lovely comments on my last post it was so nice to find out your favourites I'm so lucky that you come here to visit me thank you ♥
Guess what?
My blog will be THREE on Saturday
I can’t believe it, I really can’t ~ THREE ~
So to celebrate I’ll be having a giveaway to say Thank You
to YOU my lovely readers
♥
See you then! BIG love
x Jooles x
P.S It's absolute mayhem here ..... there are three carpenters downstairs and half a kitchen roof off! I'm hiding upstairs with supplies!