
How to English Paper Piece

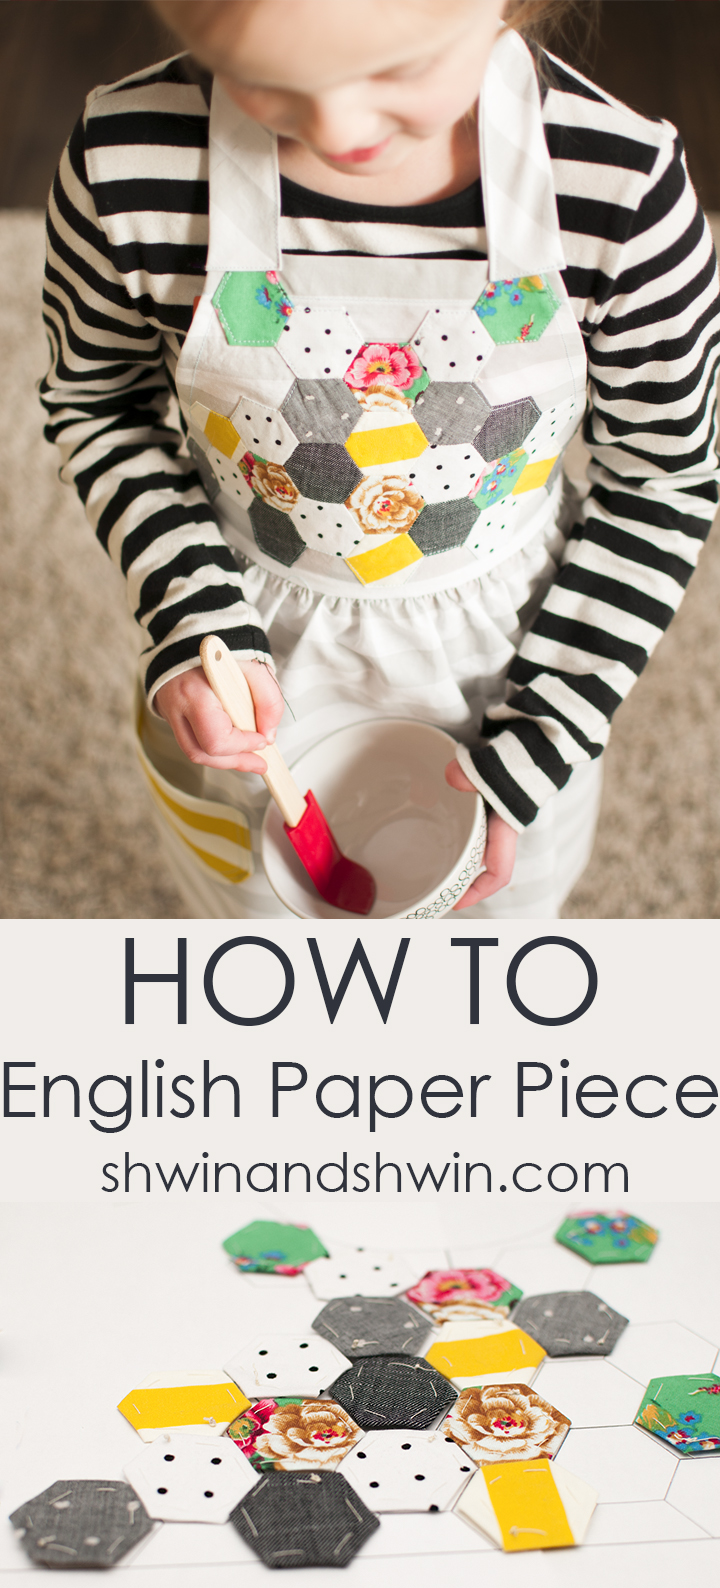
Remember when I shared the paper piecing (or foundation piecing) and I said I had a tutorial for English paper piecing as well. Well here it is, paper piecing is something I had been wanting to try for a long time, my grandmother gave me a bunch of sewing books a few years ago and 2 were just on the art of paper piecing. So I finally sat down to study and I have to say it’s really not bad. It seems complicated, or super time consuming, but it’s really not that bad.

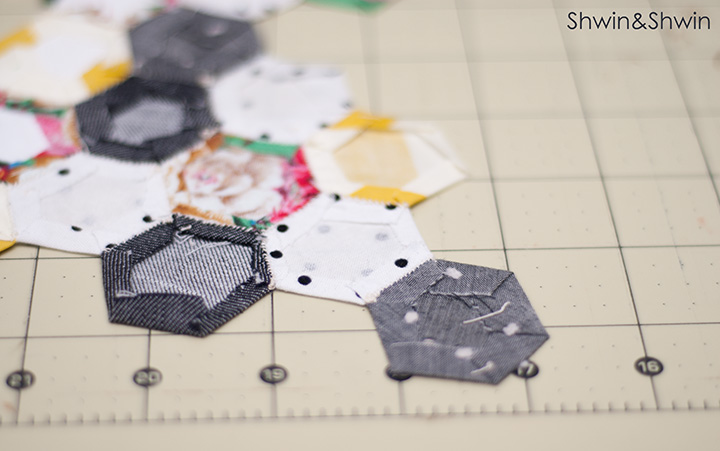
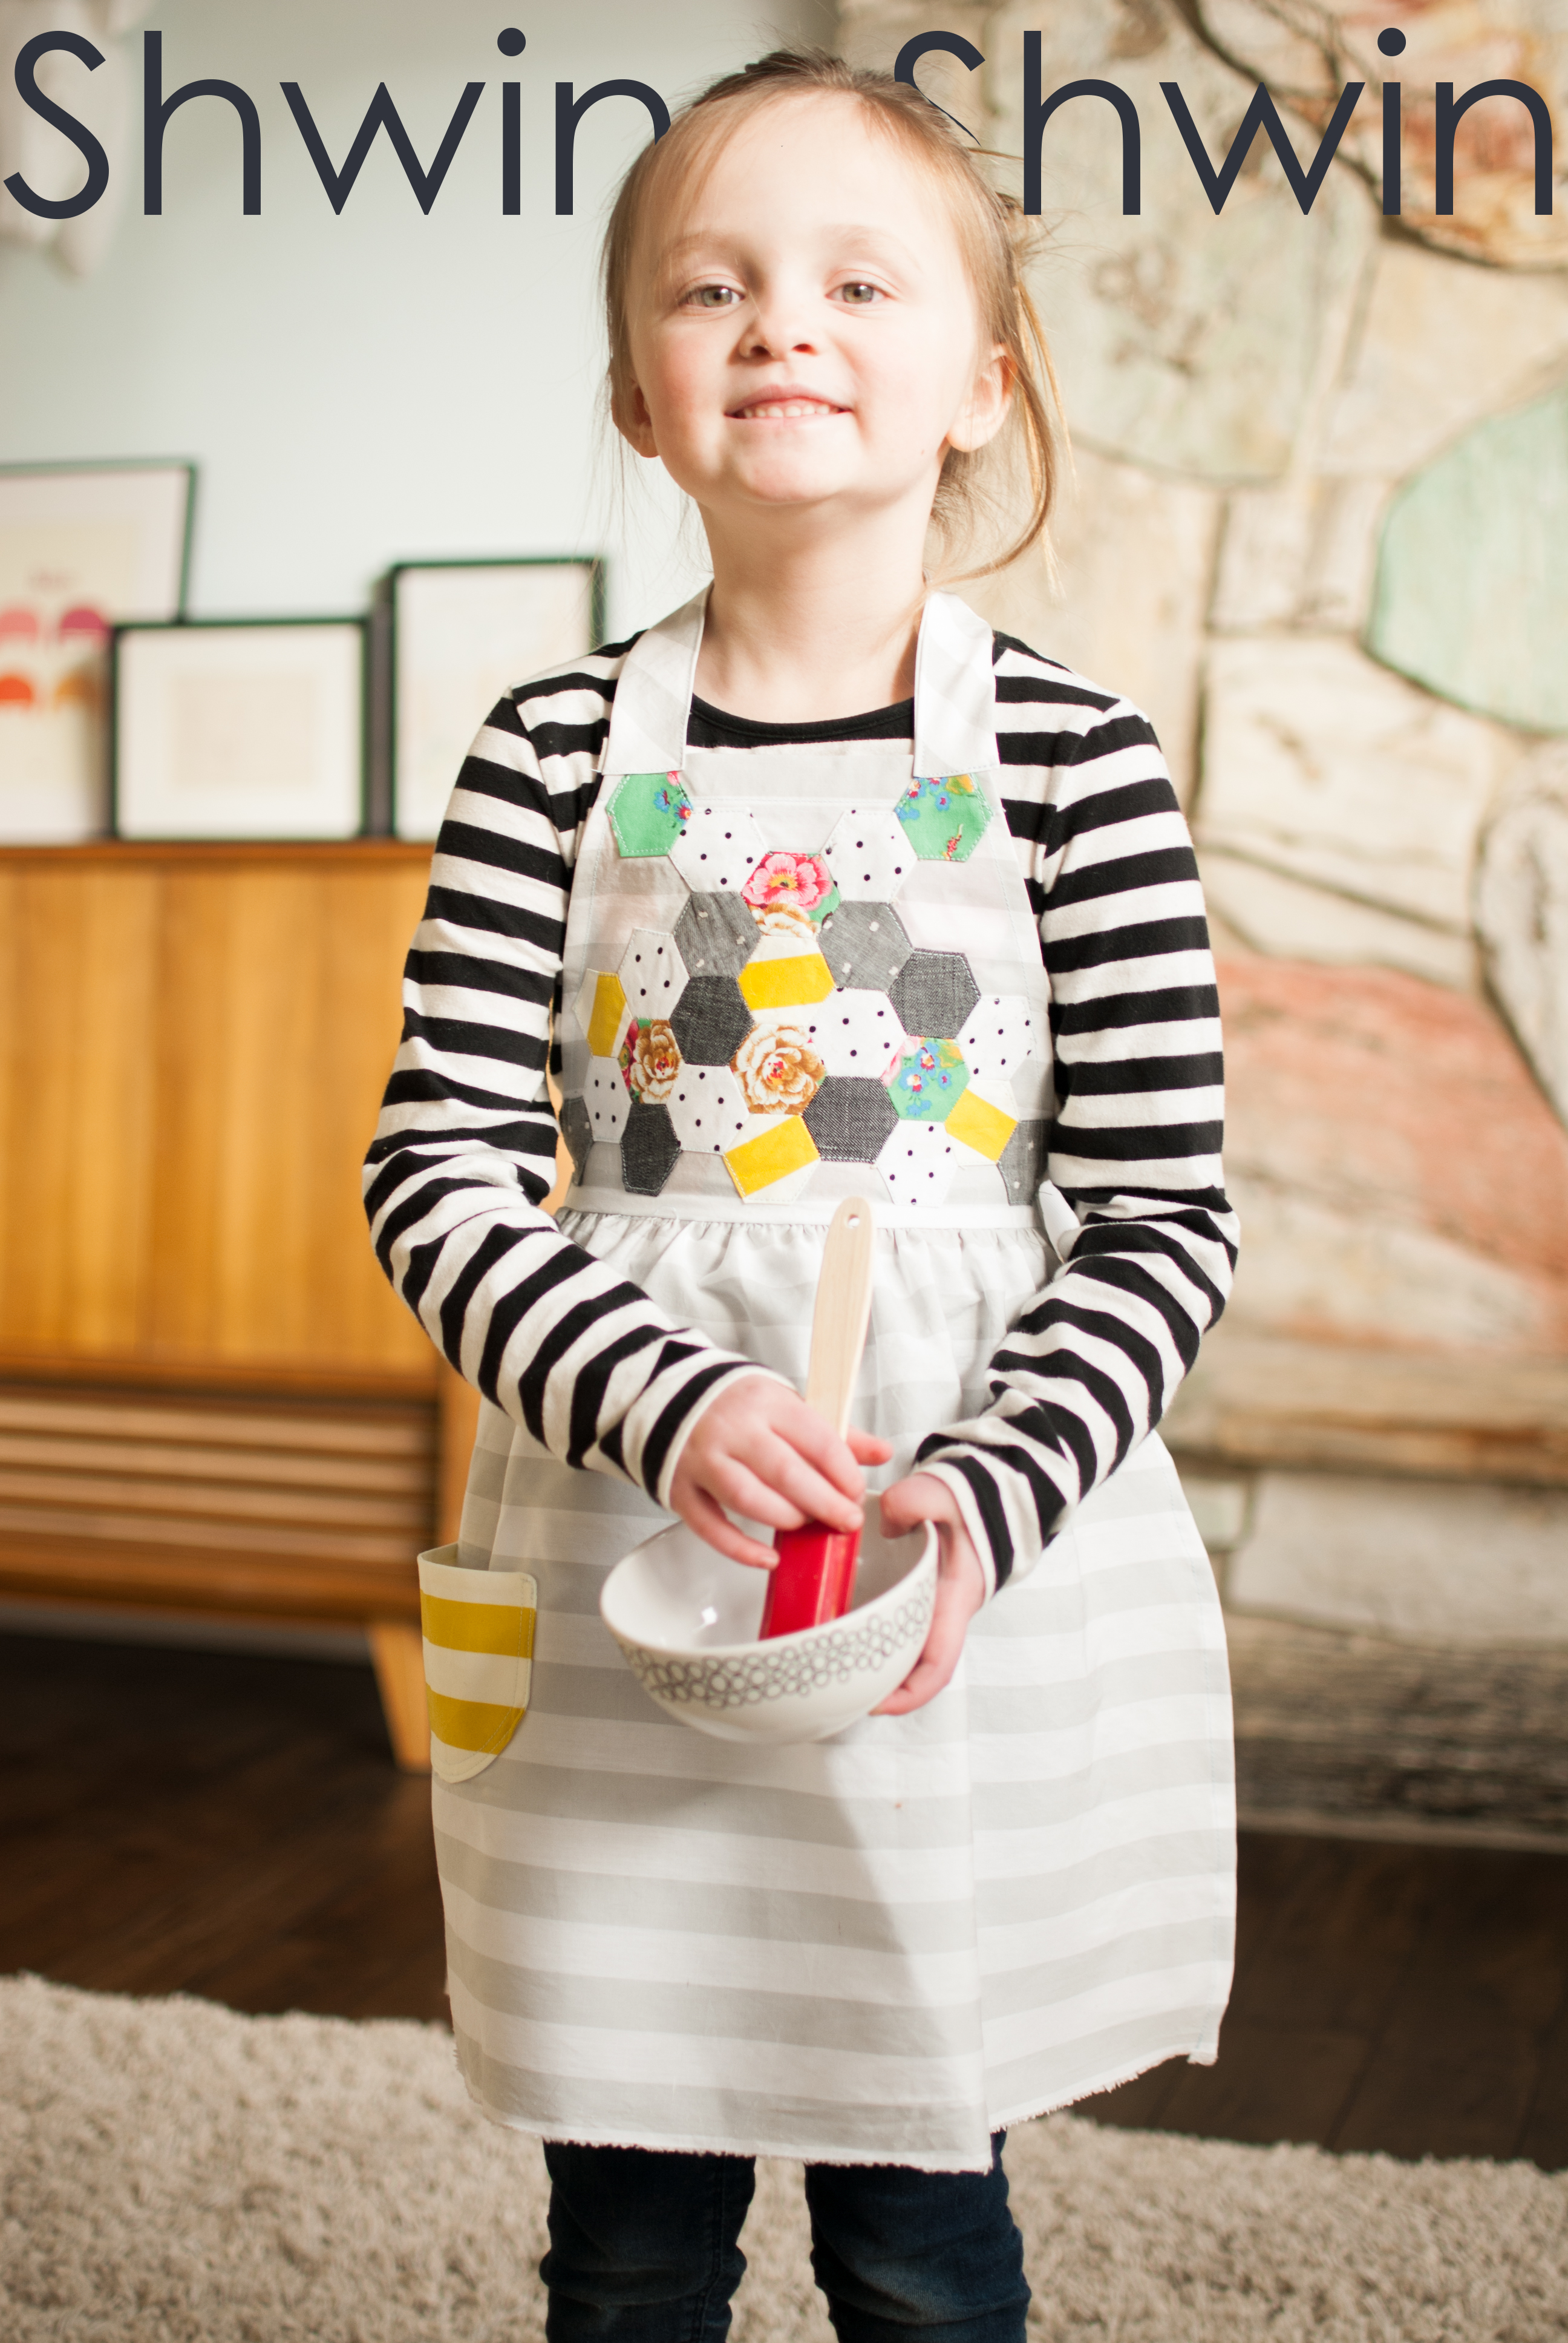
I did some paper pieced hexagons (I think they are the easiest) and in one evening I had them all cut and sewn together. I made put them on to an apron since Abbey has been wanting an apron for when she helps in the kitchen and something about the cut little hexagons said apron to me.

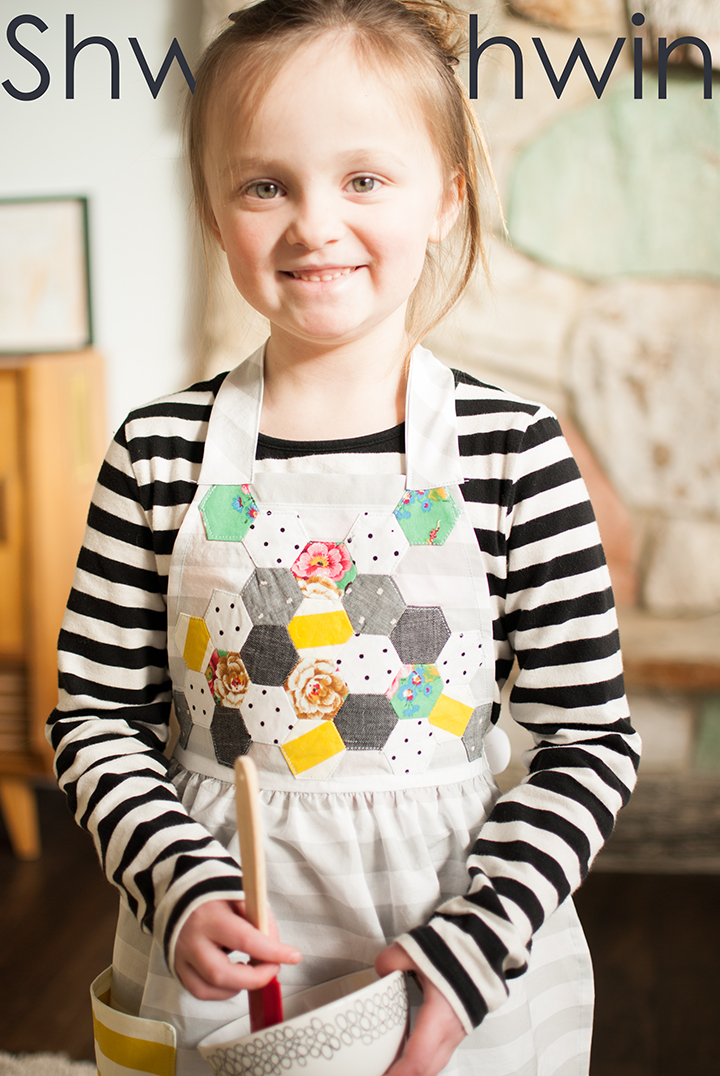
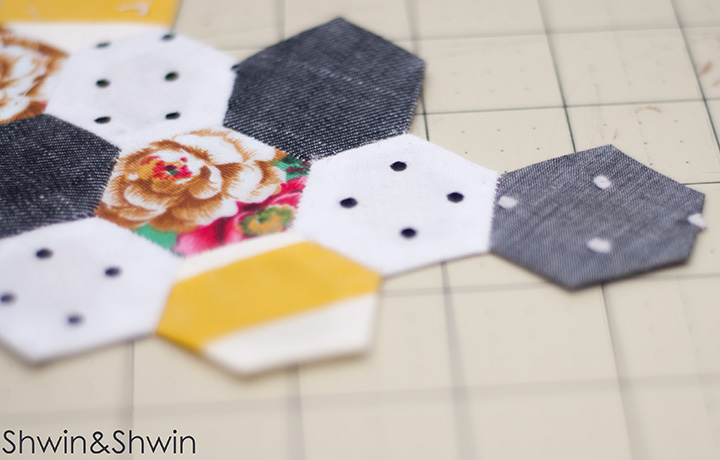
I really love the way they look all pieced together. So why do I love paper piecing? You don’t have to cut exact shapes, which is great since that can be boring You just need some paper, a needle, thread and scraps of fabric and you can do it anywhere. (like sitting in front of the TV should you wish)
So you will need:
- A template (hexagons are easy but you can paper piece nearly any shape you want)
- Paper (I just used plain old printer paper but card stock would work fine as well)
- Needle
- Thread
- Scraps of fabric
- Scissors

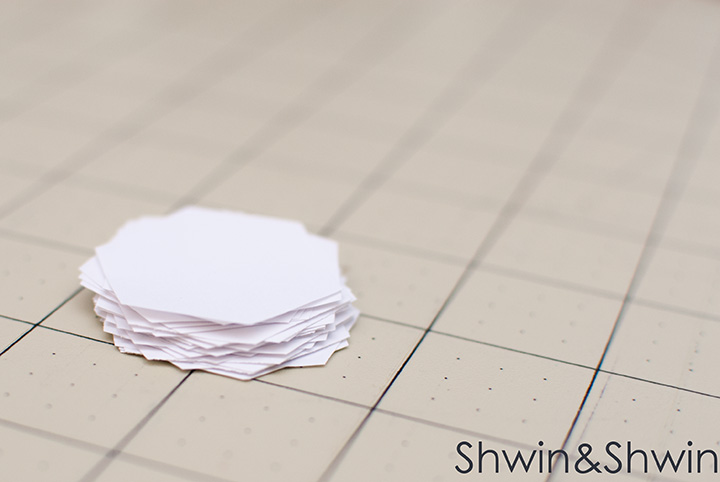
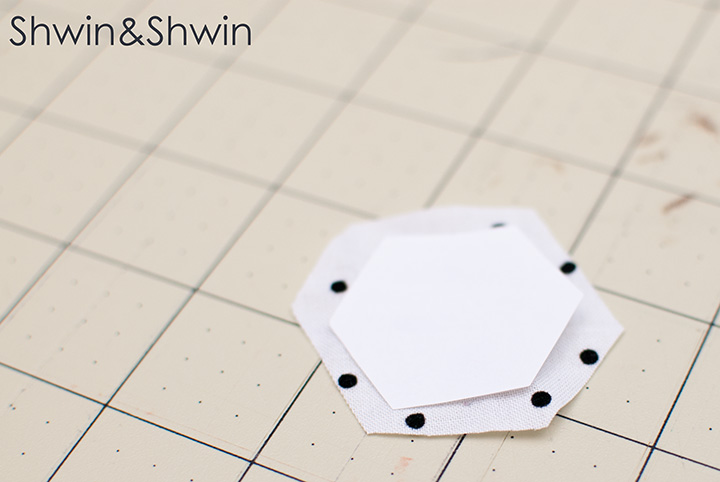
To start you need to cut your paper pieces. Use your template to cut out the paper. This is the only part I found to be annoying and may just use my silhouette cutter next time to cut all the shapes. You need one for each piece you are making. (so it could end up being a lot)

Then to get started cut a piece of fabric so it’s larger than the piece of paper. It doesn’t have to be a perfect shape you just want it to be 1/4″ larger around every edge.

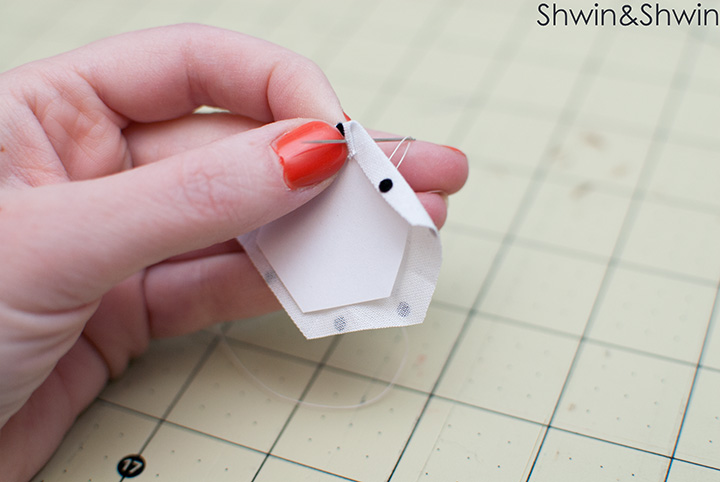
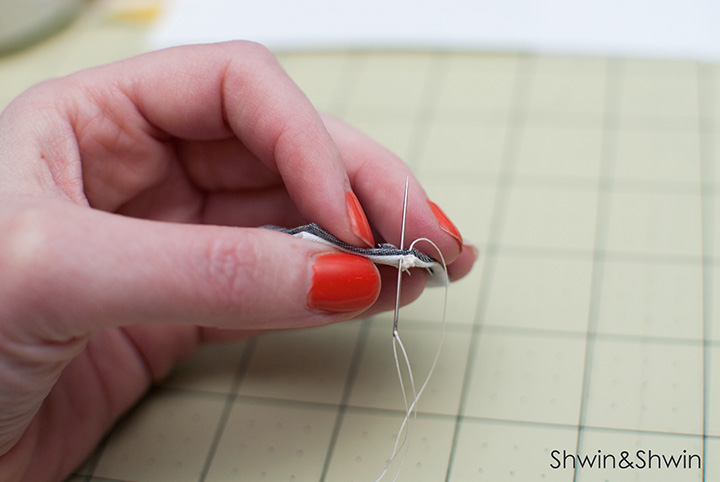
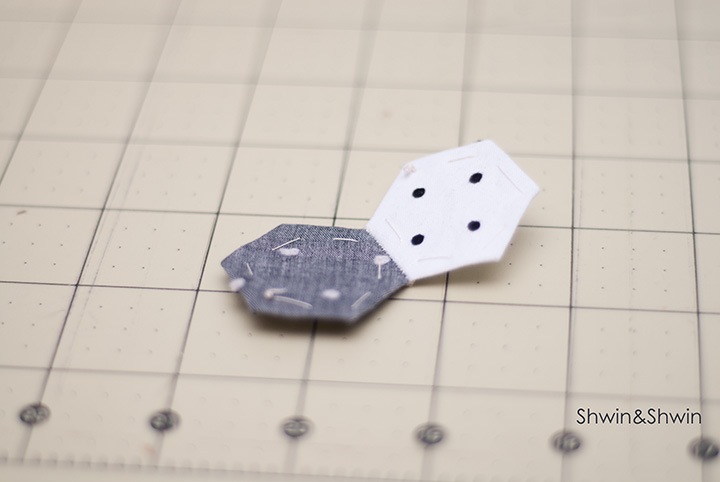
Then fold your fabric around the edges of the paper. Wrap the corner so it overlaps and with a thread with a knot in it simply pull the needle and thread up through the corner to secure in place.

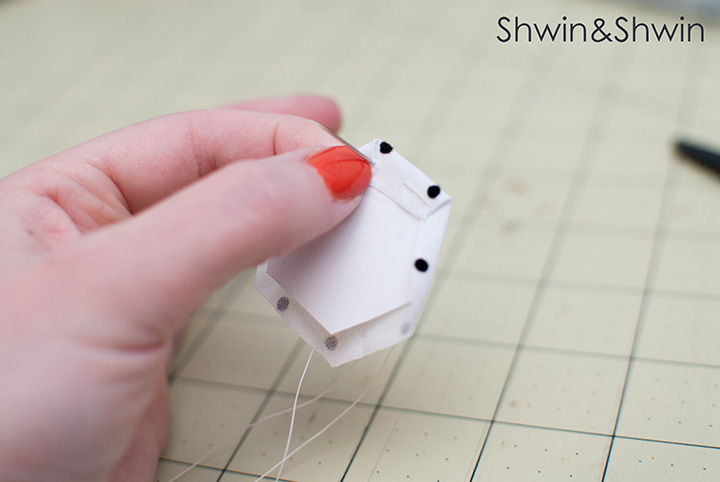
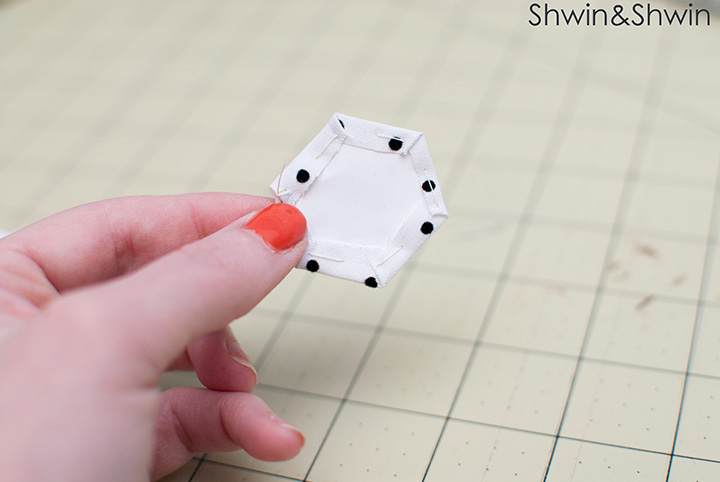
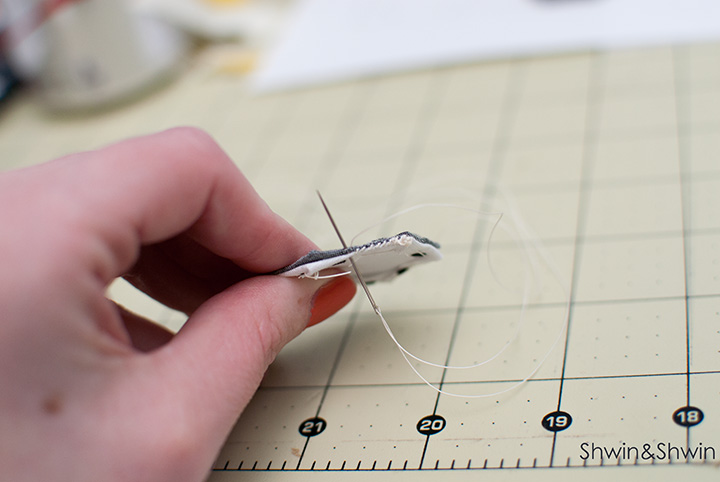
Continue folding the fabric around the paper. You will be stitching the fabric to the paper using large basting stitches. For this size of mini hexagons I just did one stitch in between each corner. When you fold the corners make sure they are nice and sharp. Always stitch through the corner to secure.


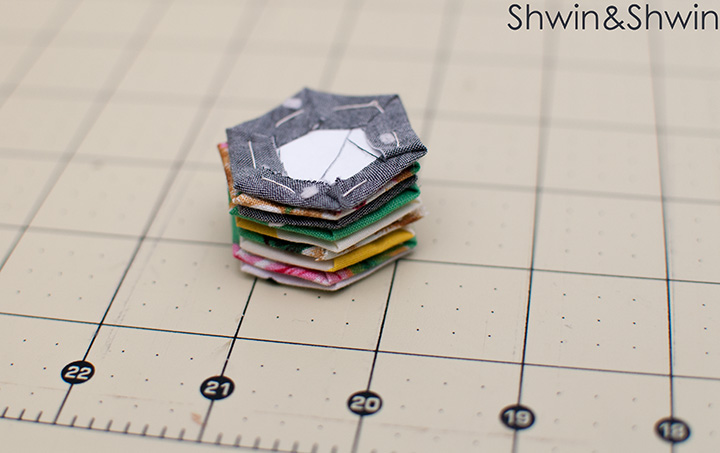
Now go ahead and make a whole pile of them. I recommend finding a good show to watch, it helps the time pass.

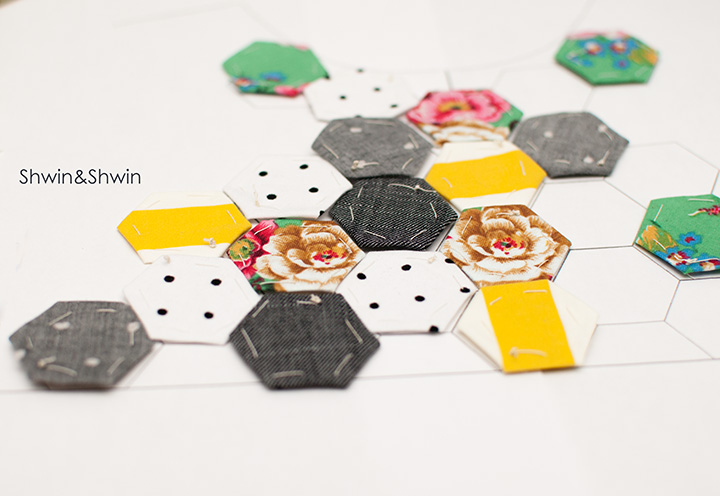
Once you have them all I like to make a layout of the design, to decide how I want them. For these I am putting them on an apron so I sketched out the apron front and then made my design to fit within.

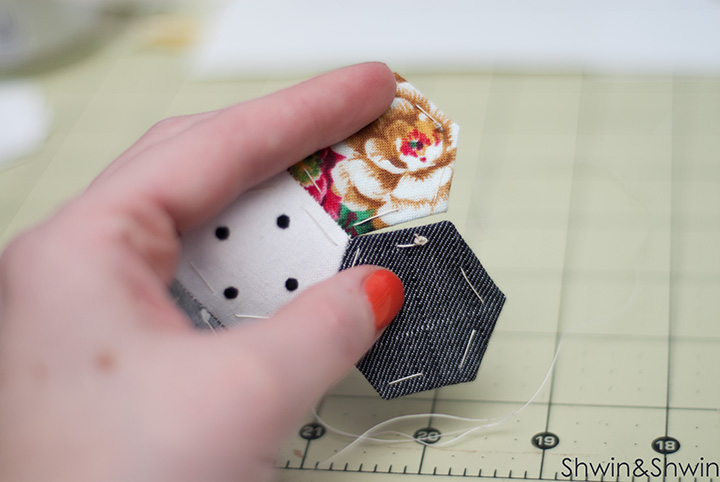
Now to sew them together, grab two place them right sides together. Sew a whip stitch (always go in with the needle on the same side fairly close together)

You want the stitches to be fairly close together, and be sure you are only sew the very edges together. DO NOT sew through the paper.


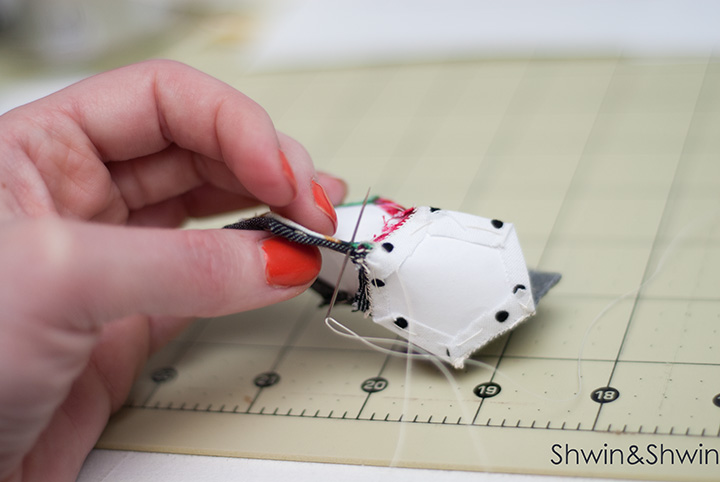
Continue sewing them together following your design of choice. When you get to a place like this, where two of the edges are already sewn to another piece and you need to join a slit.

Simply fold them so they are right sides together and the joining hexagon is folded in half. Then be sure to start sewing at the very edge of the corner catching right next to the seam that is already sewn, this will ensure that you don’t have a hole.

When you are done with your design give it a good press (I like to use starch) and then clip and remove all the basting stitches.


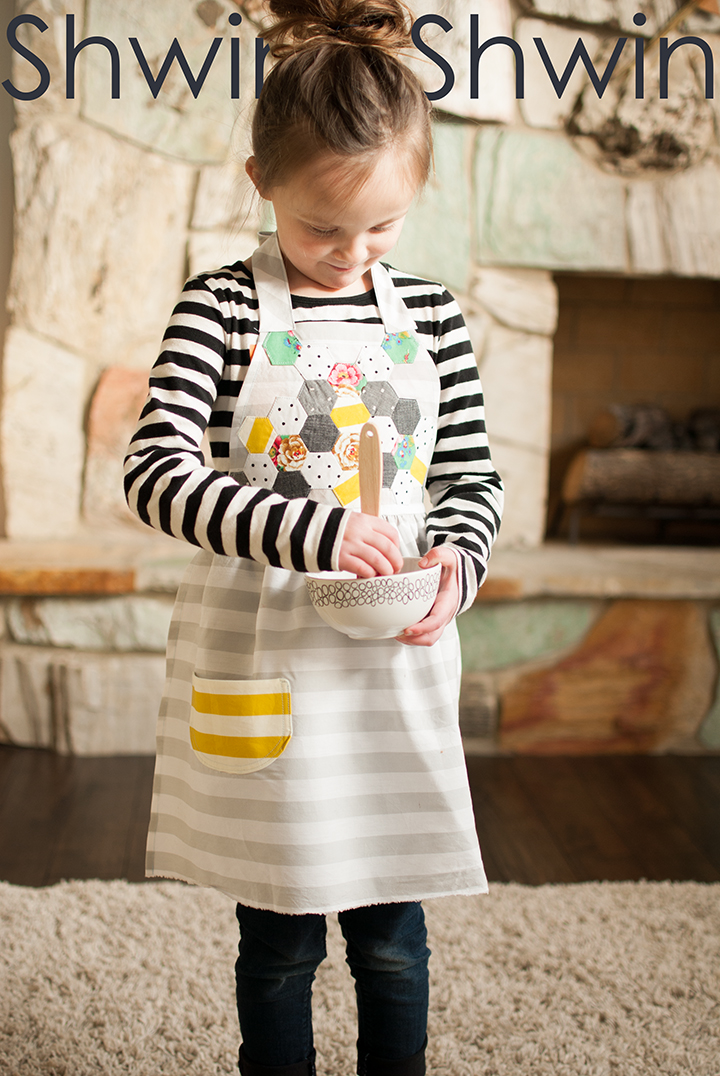
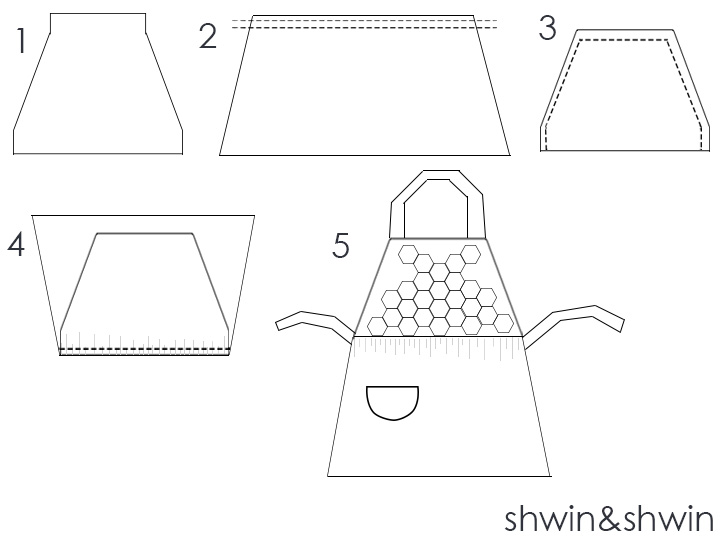
Now for the apron that I made, I just did a simple shape by taking a bodice pattern and cutting off the shoulders and underarm to get the basic shape (1) for the bottom of the apron I cut a skirt piece that was 2X the width of the top piece and the length I desired. Then I hemmed the side and bottom edge. Then sew two rows of basting stitches along the top and pull to gather (2) Hem the top piece by folding the top and sides under twice and sewing to secure. (3) With right sides together sew the skirt piece to the top piece. Spread the gather so it’s even along the edge. (4) Then to finish it so I used extra wide double fold bias tape to add a neck strap (long enough to slip over the head) and two waist ties. Then I added a pocket to the front of the skirt and the hexagon design (top stitched around the edges) to the top piece. (5)

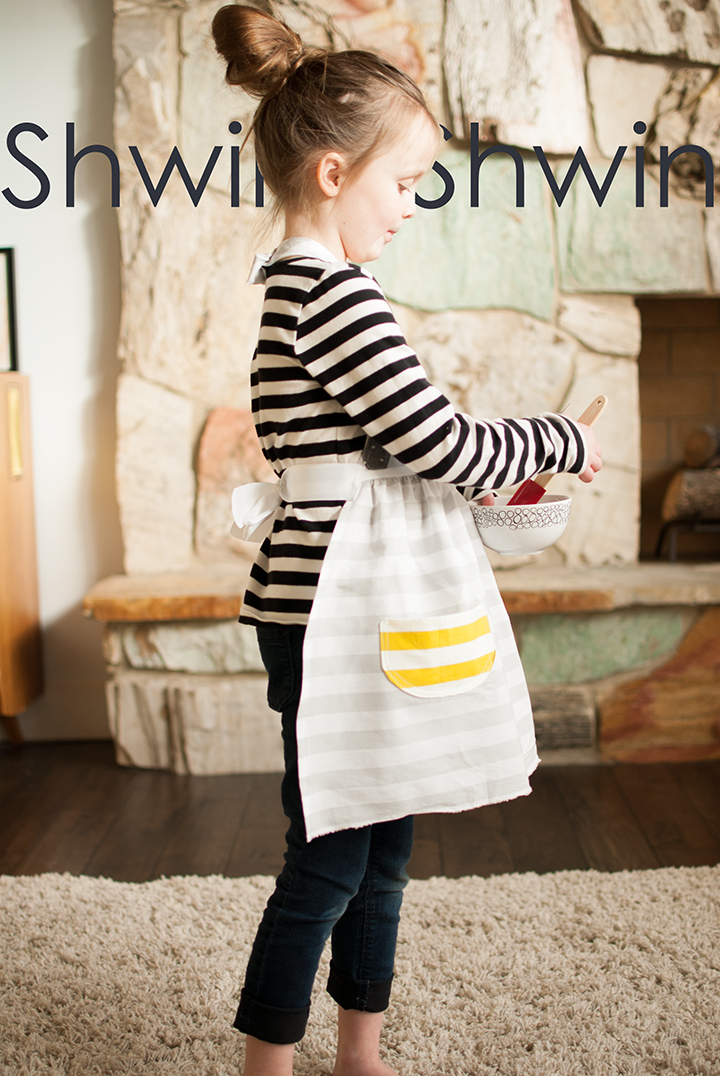
I really love the apron, and how it can be so simple, and complex at the same time. I also have apron envy now so I need to make myself one (obviously)

It was a lot of fun to play with different fabrics and colors and use up a lot of scraps
The post How to English Paper Piece appeared first on Shwin&Shwin.