Cutting Vinyl with Silhouette 101

Cutting vinyl with the Silhouette is arguably easier than cutting anything else on the machine. The main reason I say that is you don't have to mess with the cutting mat. First things first - get your vinyl (details here on where to get cheap Silhouette vinyl).
Get your design all worked up in Silhouette Studio. For this project, I just used one of the free designs that comes standard with the Silhouette. I had to pull out that card when the Mr. tried to accuse me of writing the popular phrase backwards...(did you pick up on that?)
Cut your vinyl down to size, but leave the backing in place. Now load it into the machine as you would if you were using the mat, but don't use the mat. Send the design to cut on the Silhouette (be sure you uncheck the box for the cutting mat) and sit back while the magic happens. It really is magic, don't you think?

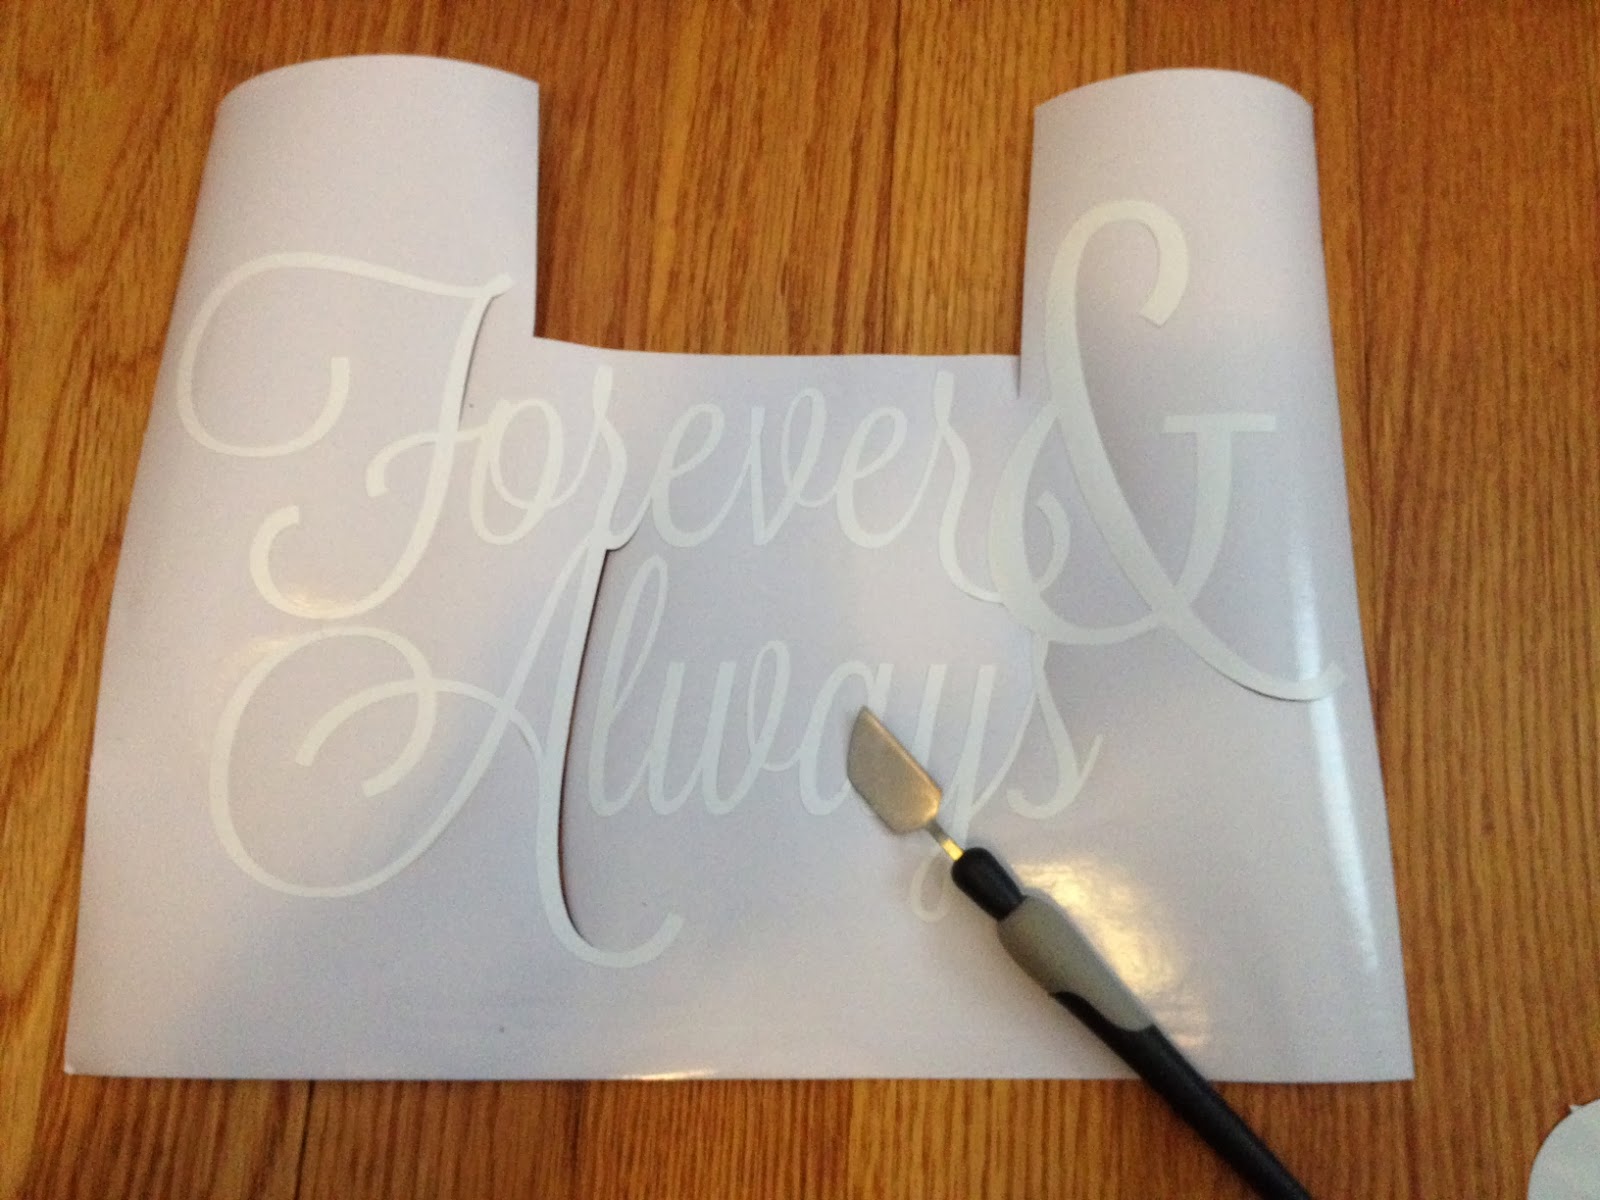
The vinyl is going to want to curl up, but lay it flat as best you can and remove the excess vinyl from the backing leaving just the design.

The transfer part is where the vinyl can get a little confusing. Get out your transfer paper or transfer tape. I used the Cricut brand...shhh don't tell anyone. ;) You can get the Silhouette Transfer Paper with grid

here on Amazon if you can't find it in the store.
Cut the transfer paper down so it's the same size as the vinyl. The grid side is what you're actually going to use to transfer the vinyl - the other part is the backing. Separate the grid transfer paper from the backing.
Cut the transfer paper down so it's the same size as the vinyl. The grid side is what you're actually going to use to transfer the vinyl - the other part is the backing. Separate the grid transfer paper from the backing.

Now with the grid side up and the sticky side down, lay it flat over the vinyl. Press it really flat to get out any bubbles and to make sure the vinyl comes off the vinyl backing. Slowly peel the transfer paper up with the vinyl attached.

Now you can move the Silhouette vinyl design where you want...a wall, a wood sign, a glass container. I used a wood shelf that I removed from an old bookcase. Position the vinyl exactly where you want the design because once it's on there, it's nearly impossible to move it cleanly (not nearly impossible to remove it - just nearly impossible to remove and reuse it). Press and smooth out as much as possible with your hand and then use a popsicle stick or a credit card to really rub the transfer paper and vinyl design. Starting in a corner slowly pull back the transfer paper using the popsicle stick/card at the same time to ensure the vinyl design does not peel off.
TIP: Don't throw out your transfer paper or the backing! You can reuse it!
And there you have it - easy peesy...and it looks so beautiful!
Thanks for coming to class today at Silhouette School. If you like what you see, I'd love for you to pin it!


