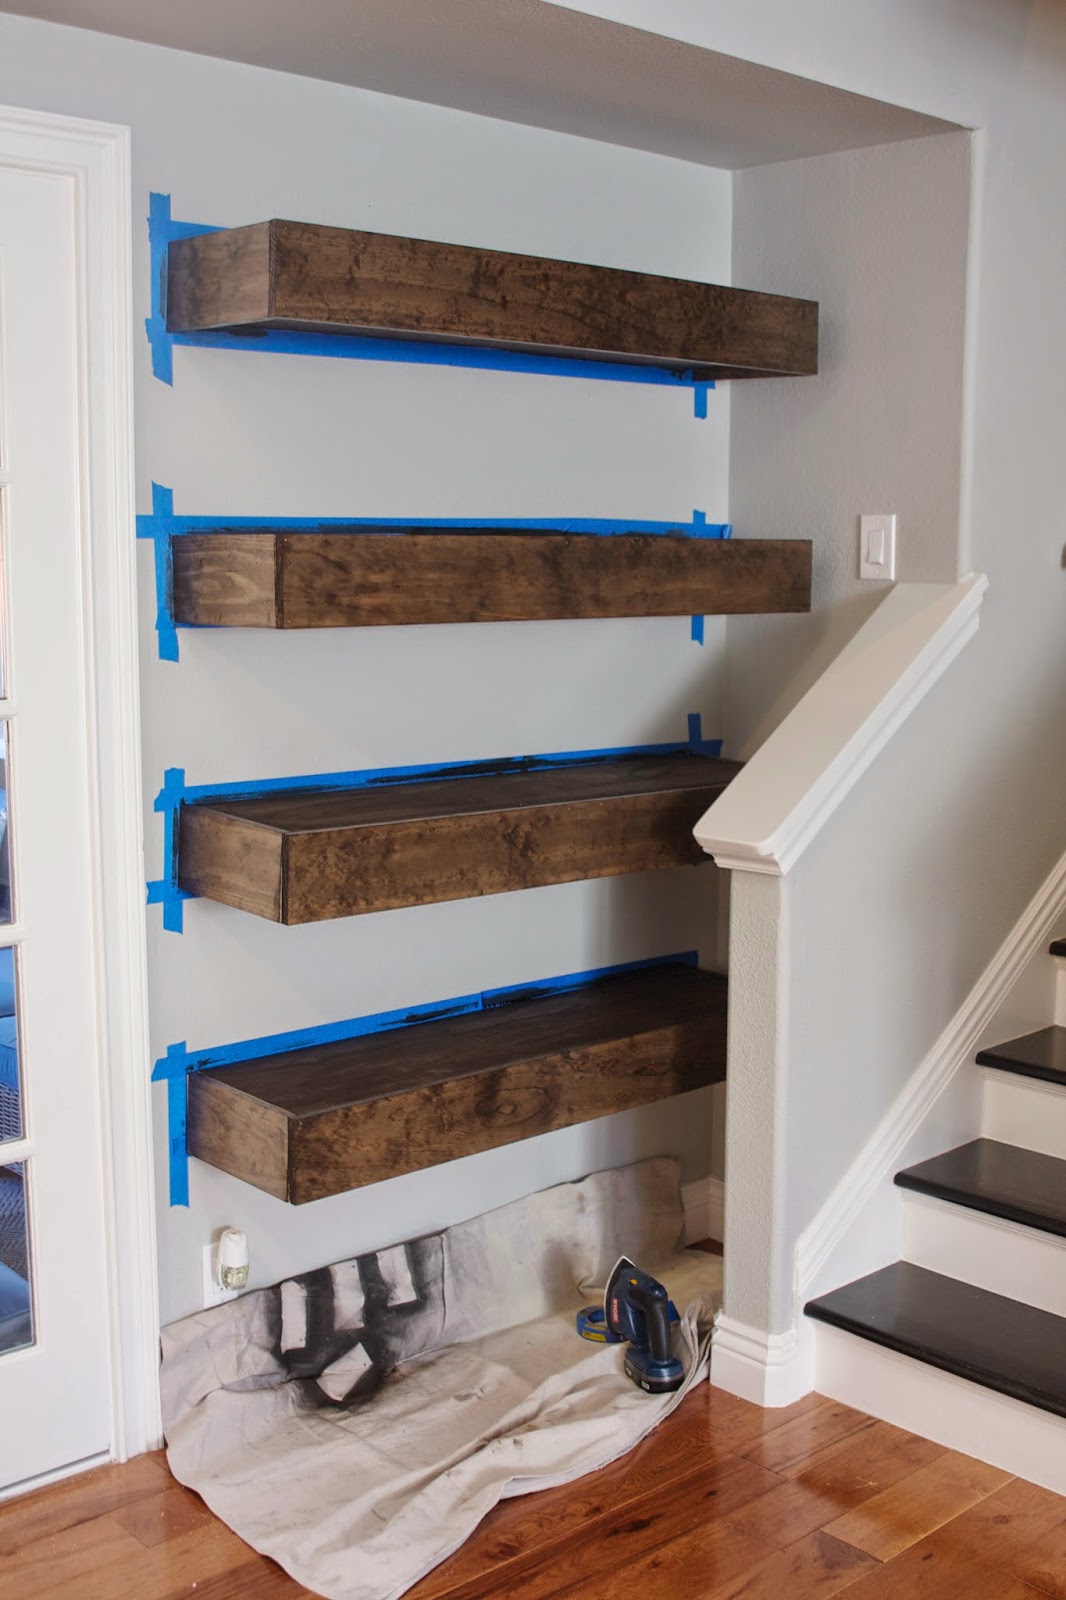
Simple DIY: Floating Shelves Tutorial + Decor Ideas

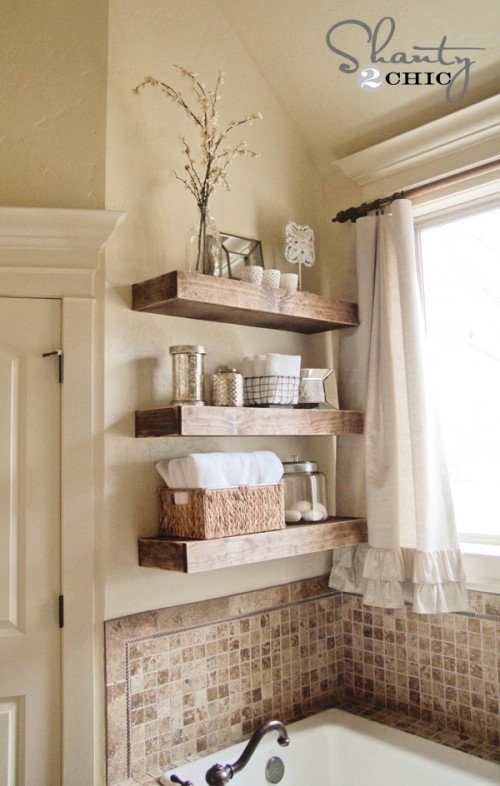
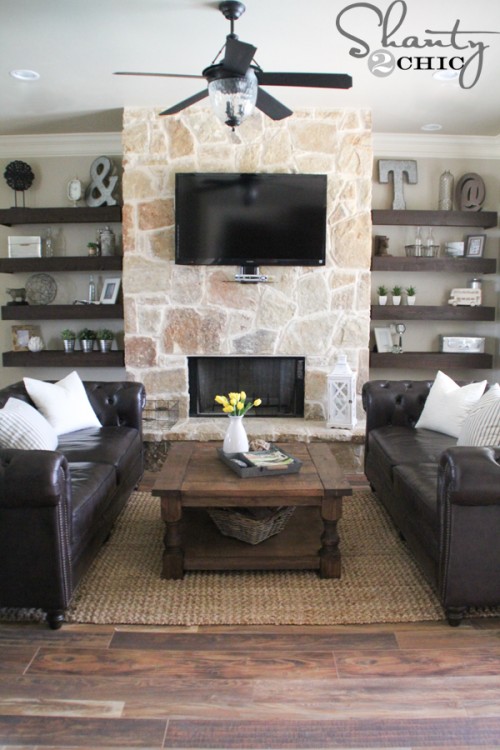
Hey friends! Completed a very easy DIY project this week and couldn't wait to share the end result AND exactly how I made them. A special shout out to those following along last week on Instagram. And of course a special shout out to my Shanty girls, Whitney and Ashley, for the build plans and inspiration. You can find links to each of their projects below too!
Yes, three women each built floating shelves in 3 different homes and 3 different rooms.
#buildlikeagirl, my friends!
Anyway, you've been asking how I built them, what my wall color is, what items I grabbed from Pottery Barn to decorate…and more. All of your questions/answers are here! But if you have more, feel free to leave a comment so I can answer you or help!
Now wait a second…before you click away and think "I love this look, but no way can I build this!"…please don't! I promise you, if I can build these…you can too!
First, let's start with my supply list...

A few things…
1. This is enough product to build 8 shelves. I have plans to add more of these in various spots around the house. Maybe the office and master bathroom. If you would like to start smaller, check out Whitney's version for 3 shelves right here. She made these for her bathroom…


What I did was take away various points from both of their build plans and made it my own.
2. This is only a recommend supply list. I realize not all of you need to have a Kreg Jig or Ryobi drills. You may have something else that already works well enough or you have a different brand you prefer. This just happens to be what I used. And I am NOT profiting from mentioning any company or brand here!
And 3. The lumber for 8 shelves was about $180. So figure it will cost about $22 per shelf. Unless you need to buy items like wood glue, brad nails, or big gun equipment you don't already own.
Moving on…what I did first was head out to Home Depot and grab my lumber…

Since I don't own a saw (hope to buy one soon!), I had the helpful lumber guy do all the cuts for me. It took a while because there was about 70 cuts, and it did cost me a little money (about $20), but it was worth it to have them cut the wood. Mainly because, again, I don't own a saw.
How exactly is all of that lumber cut? Here you go!….
3/4" Plywood: First cut into 4 11 1/4" boards. Then each board is cut into 46.5" pieces. This gave me 8 boards that are 46.5" long and 11 1/4" deep. (These make your shelf top boards)
1/4" Plywood: First cut into 4 11 1/4" boards. Then each board is cut into 46.5" pieces. This gave me 8 boards that are 46.5" long and 11 1/4" deep. (These make your shelf bottom boards)
2 x 4 x 8: 8 pieces are 46.5" long 24 pieces are 9.75" long. This took a total of 7 2x4's. I came home with 1 long scrap piece which my 9 year old gladly took on as a project. (All of these pieces make up your base for the floating shelves)
1 x 6 x 8: 16 pieces are 11 1/4" long 8 pieces are 48" long (These make up your shelf fronts and sides)
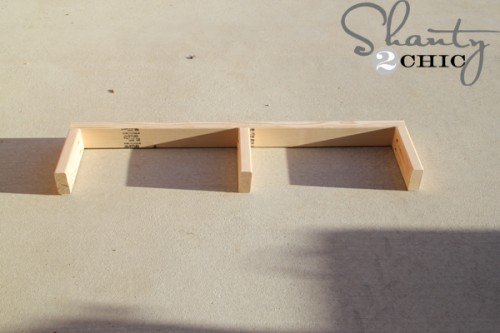
Now that I had my cuts ready for assembly, I started by making the shelf bases for the wall. This is what will support your floating shelf. I used my Kreg Jig to make 2 pocket holes in each. You can find all kinds of great online video tutorials for using a Kreg Jig. It's so easy! First place your wood into the Jig...


Once my E's were completed, I brought them inside for hanging. Your shelf placement will depend on how tall your wall is and your own preference, but I wanted my shelves to be about 12" apart. I started by measuring 12" down from my ceiling to make my first line…

My long level is 4' long, so it worked perfectly for drawing a level line in pencil…and that line would be covered with my shelf base so there was no need to erase it! Yay!
Each shelf is about 5.5" tall, here is how I measured down my wall…
From the ceiling I measured 12" down, then 5.5" down (to accommodate entire shelf height), then from the top of that 5.5", I measured 3/4" down (this accommodates the top shelf piece). Make sense? I hope so! Basically, I wanted my base pieces to be placed 3/4" below the top of my 5.5" line. I just continued down the wall making sure to accommodate the 3/4" space where that top shelf piece would be sitting.
After that, I found my wall studs with a stud finder to note where the studs are. You'll want to drill these E's into a stud because the shelf is heavy, sturdy and chunky…and you'll likely be loading them up with all kinds of pretty things or books. So - find your studs!


Each of my shelf bases, or E's, is drilled in with 6 3.5" spax screws. This baby ain't going anywhere!...

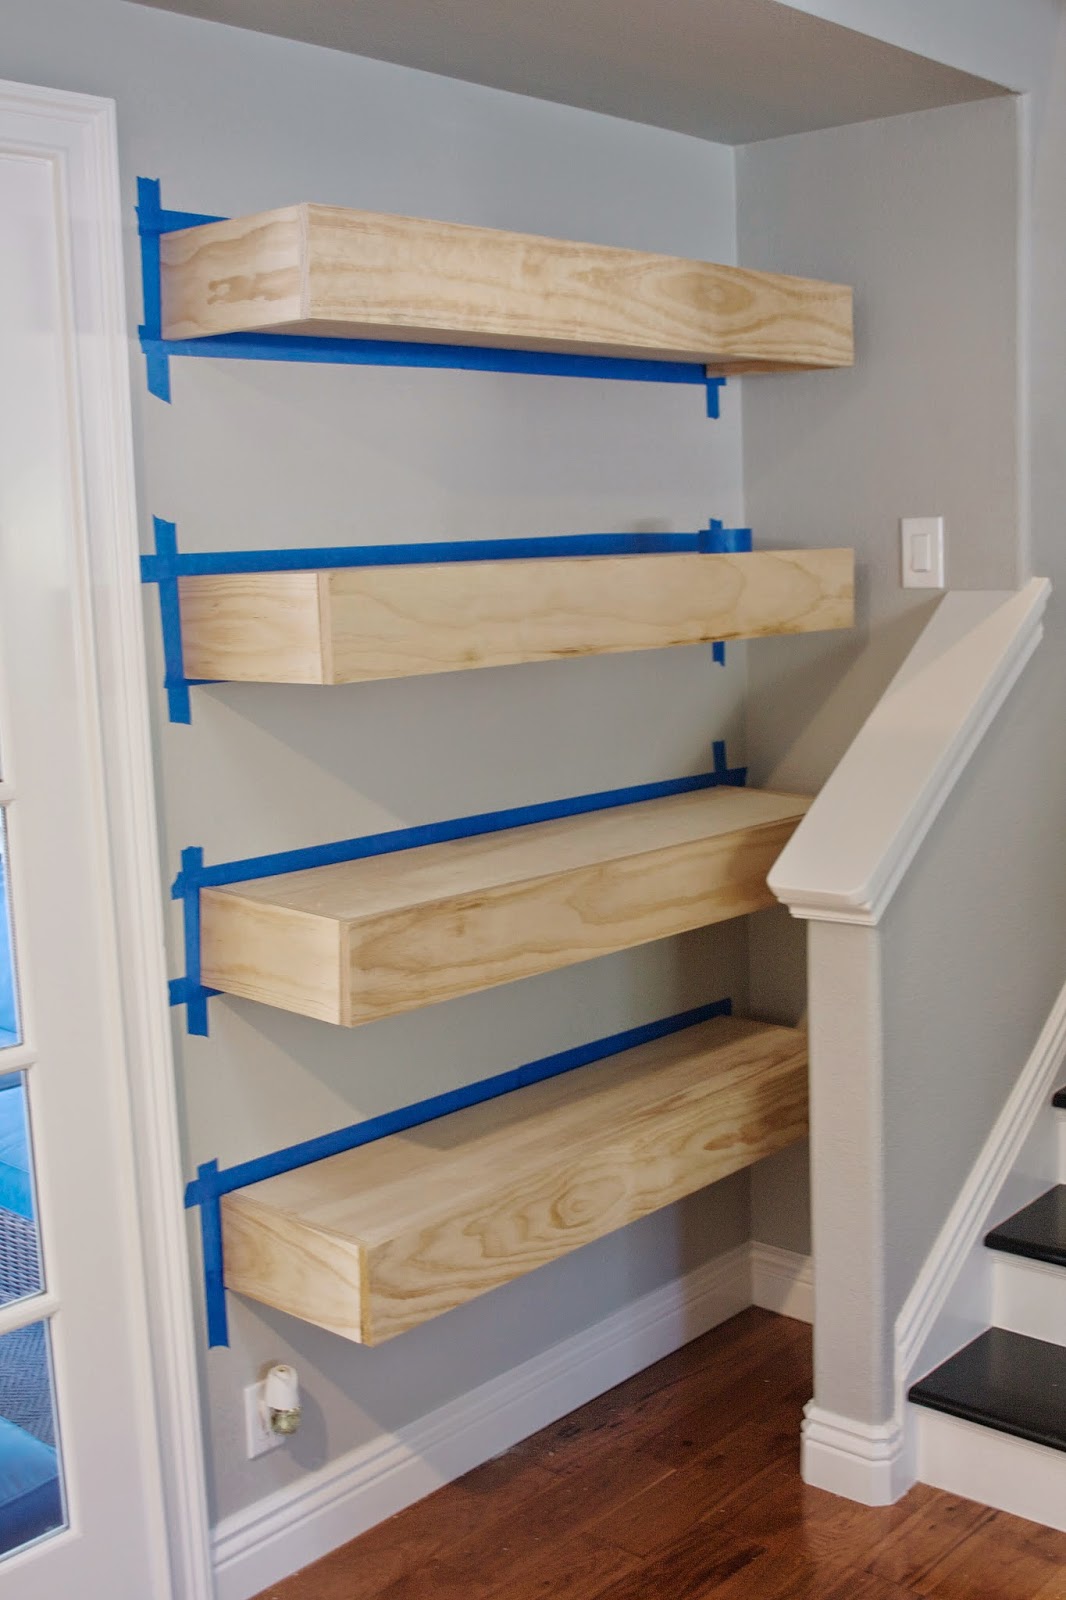
I continued down the wall, making sure I double-checked measurements and wall studs and levelness (is that a word?!)…


Once the shelf bases were up, I headed back out to the garage to assemble the 4 shelf tops. Essentially you are building this…

You'll attach the sides of your floating shelf to the top. I did this by drilling 4 pocket holes into the top piece for my shelves…


Next you'll bring in the 1/4" plywood pieces for the bottom of the shelves and add those with your brad nail gun…


Now I was starting to get excited! I couldn't believe *I* built these!! Before staining, I lightly ran a sander over any splintered edges...


Then I taped off the shelf edges for staining. I waited until day 2 for sanding because it's summer and my kiddos are home. I had to break up my project into 2 days, but if you are kid-free and looking for a fun day project, this is the one for you!
On day 2 I made sure my painters tape was secure…


I started by using a paint brush, but quickly realized a rag would do the job better. Get a few that can be tossed!…


Next was the fun part - adding the decor! I shopped around the house a little bit and then gladly treated myself to a few new things from Pottery Barn. Here's how it all came together!…

These shelves are at the bottom of the stairs (stairs lead to the master suite and office), but the rest of this room is our playroom (to the right in this image)...

As well as our entry into the house from the garage (the white door you see on the right) and the outdoor patio is to the left (seen outside the white french doors)...

This shelving was perfect for this odd little nook. And it doesn't affect the french doors being able to open. It also created a landing pad for the playroom blankets the kids love to cuddle up with...


As far as what's on the shelves, various (currently empty but soon to be filled) standing frames and other decor items from Pottery Barn…


I happened to pop into their store at the right time. Many of the items here were found on clearance / sale. Score!
For those asking about the specifics of these items...

Most of it is new from Pottery Barn or older items I've had on hand from both Pottery Barn or Restoration Hardware. I was having a hard time finding my new PB items to share, but here is what they did have on their site...


(Hyannis Lantern - I filled the bottom of their smallest lantern with lavender vase filler and a small candle)

With the shelves being on the darker side, I tried to mix in some fresh (although faux) elements like the 3 topiaries on the top shelf, the vase full of sand and beach shells, and another small decor bowl full of faux moss. Then I added brighter items like the shiny silver frames, mother of pearl frames, and white candle holder...


Our previous home had a lot of browns and dark tones so in this house I wanted to brighten it up. Most of my wall colors are light gray tones. There is not ONE gray tone in my home that I don't love. You can see all of my wall colors in detail right here!…

Hard to believe how far this room has come since it was painted…only 1 year ago this month!
I truly hope my floating shelf tutorial was easy to follow. A description like this isn't normally my gig, but I wanted to help those of you that had been asking a lot of questions on social media. Also, a few have asked for a video of my process. Soooooo, soon that will be coming! Hey, I have 4 more to build and add to the house….why not get these bad boys on film! No better way for you to really see how easy the process was!
Finally, my happy before and after!…