
Simply Done: Custom Wall of Garage Shelving
While writing this post I realized a good topic to share soon will be “why shelving matters and how it can impact your space?”. You’ll get a pretty good idea after reading this, but the shelving you choose does matter. It not only impacts (or hinders) the amount of space that’s possible, but a bad shelving choice can keep you from easily accessing your stuff.
Let’s go right to the before in this garage…

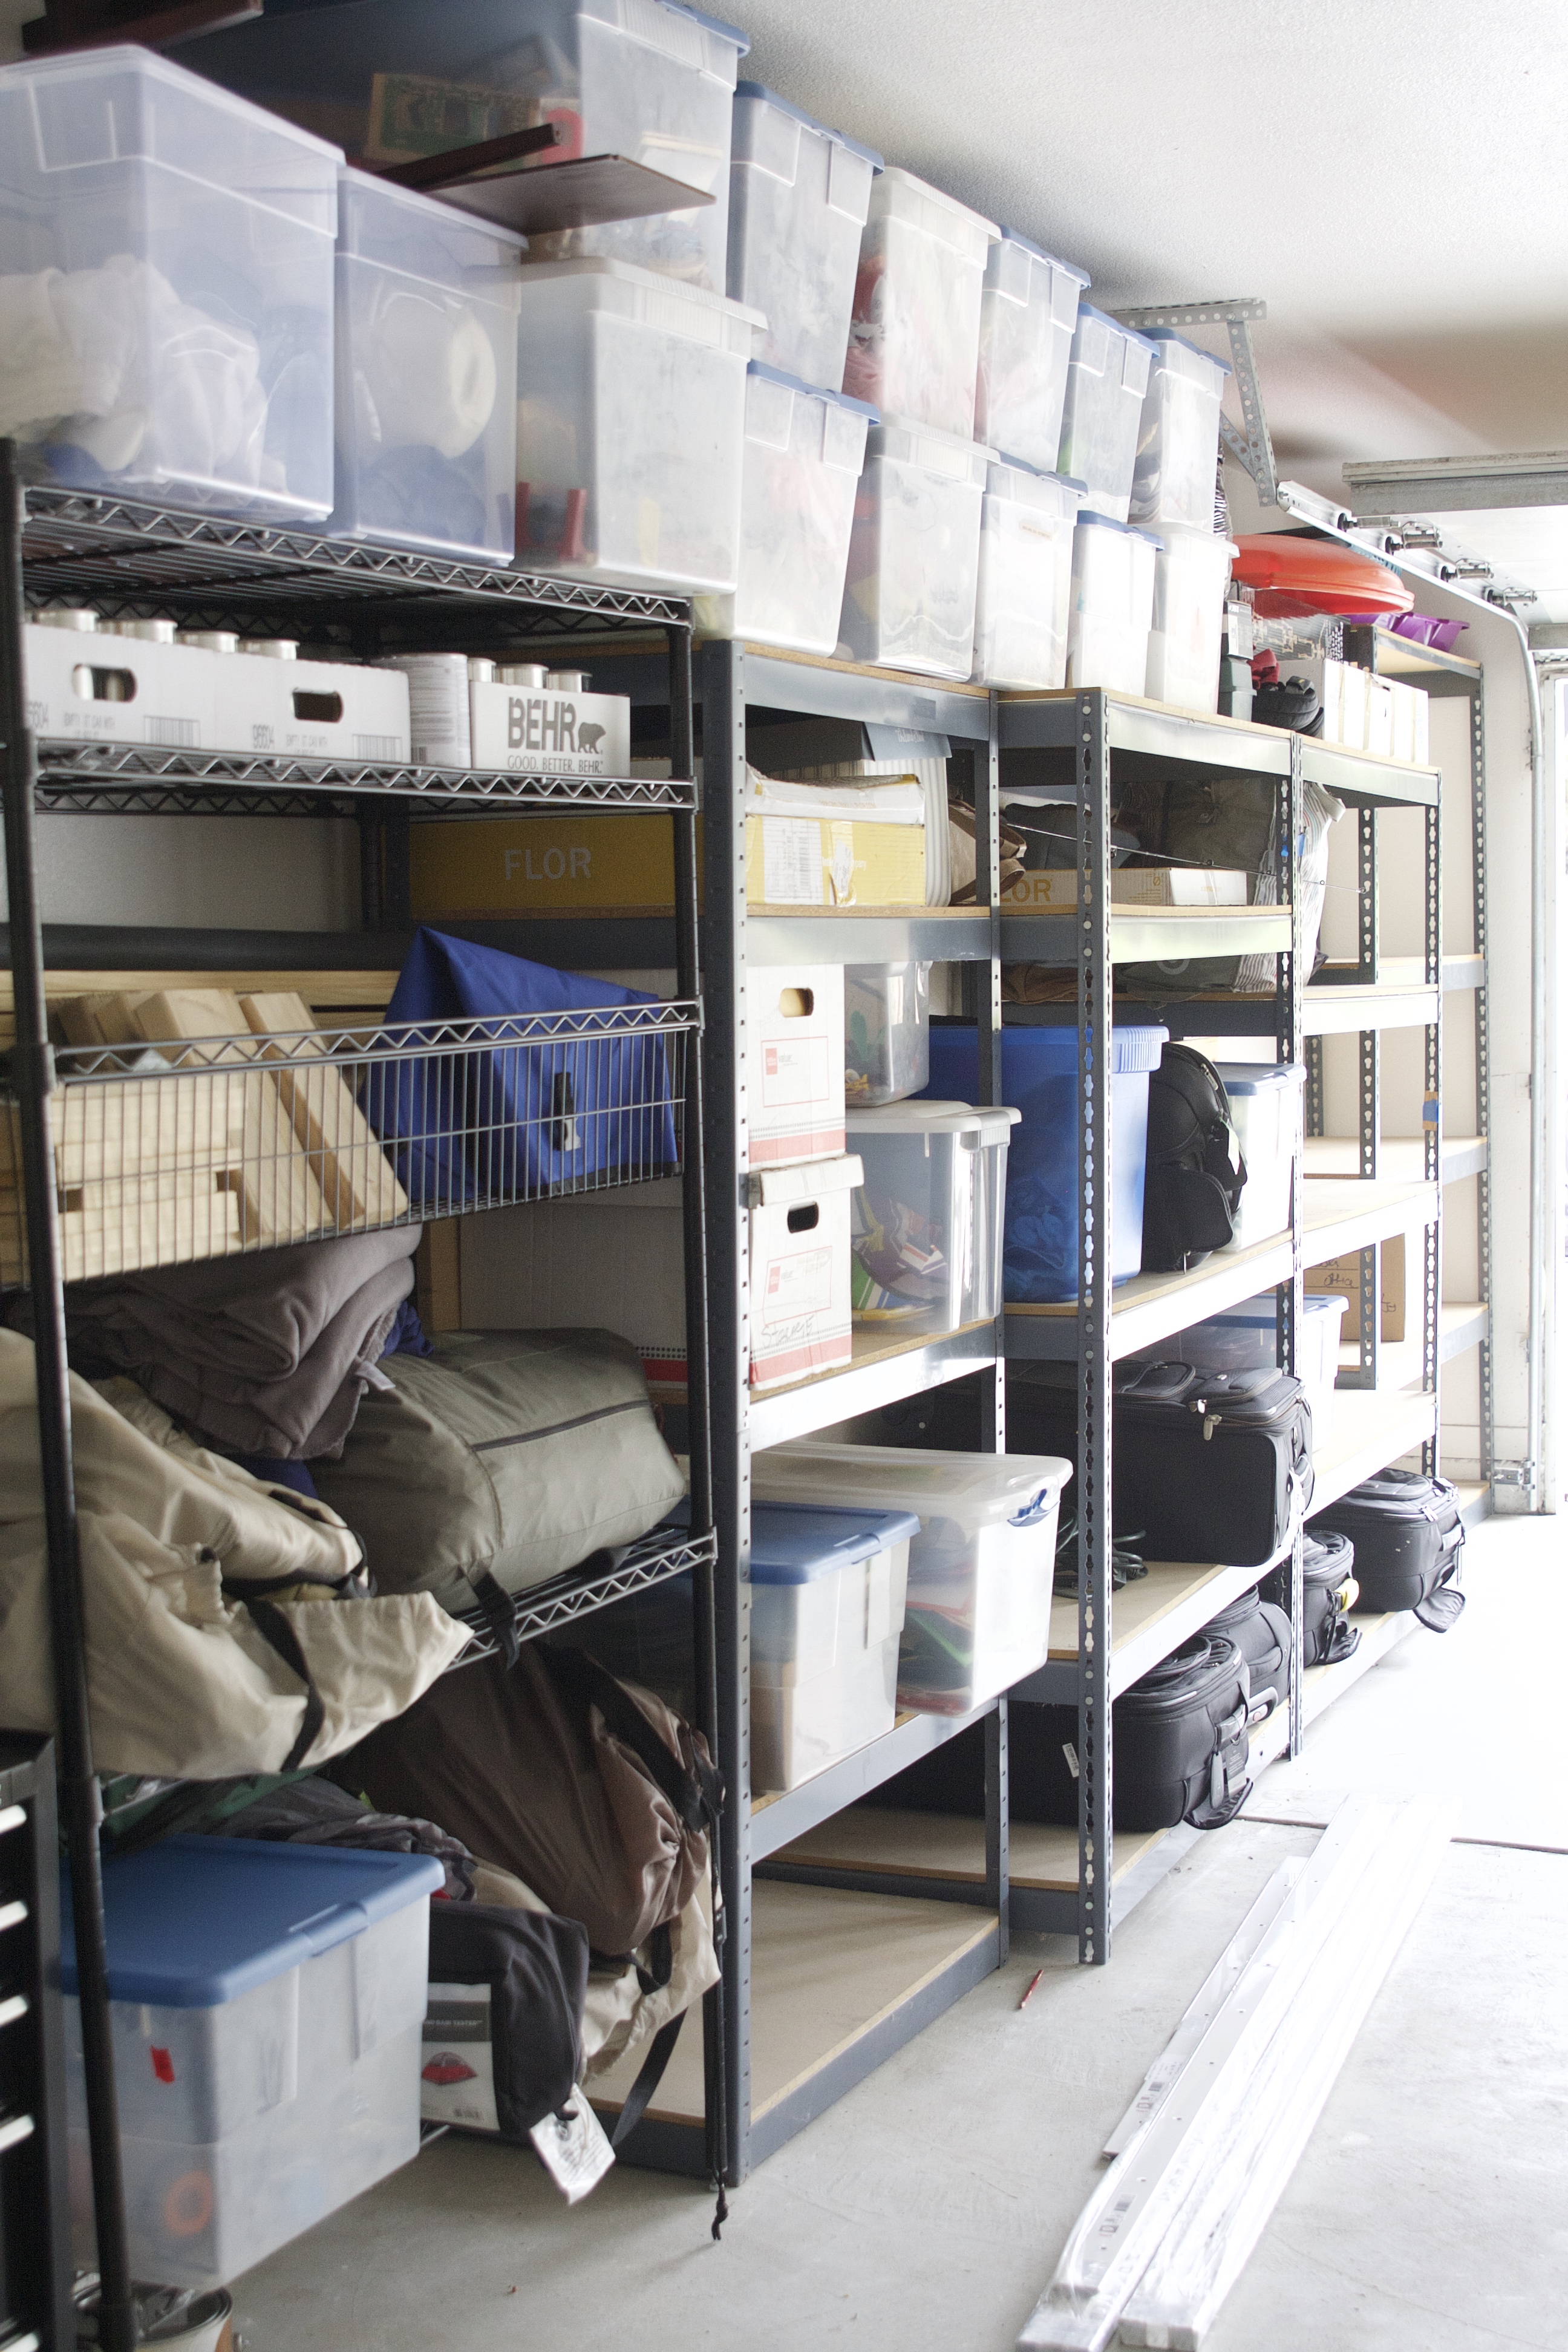
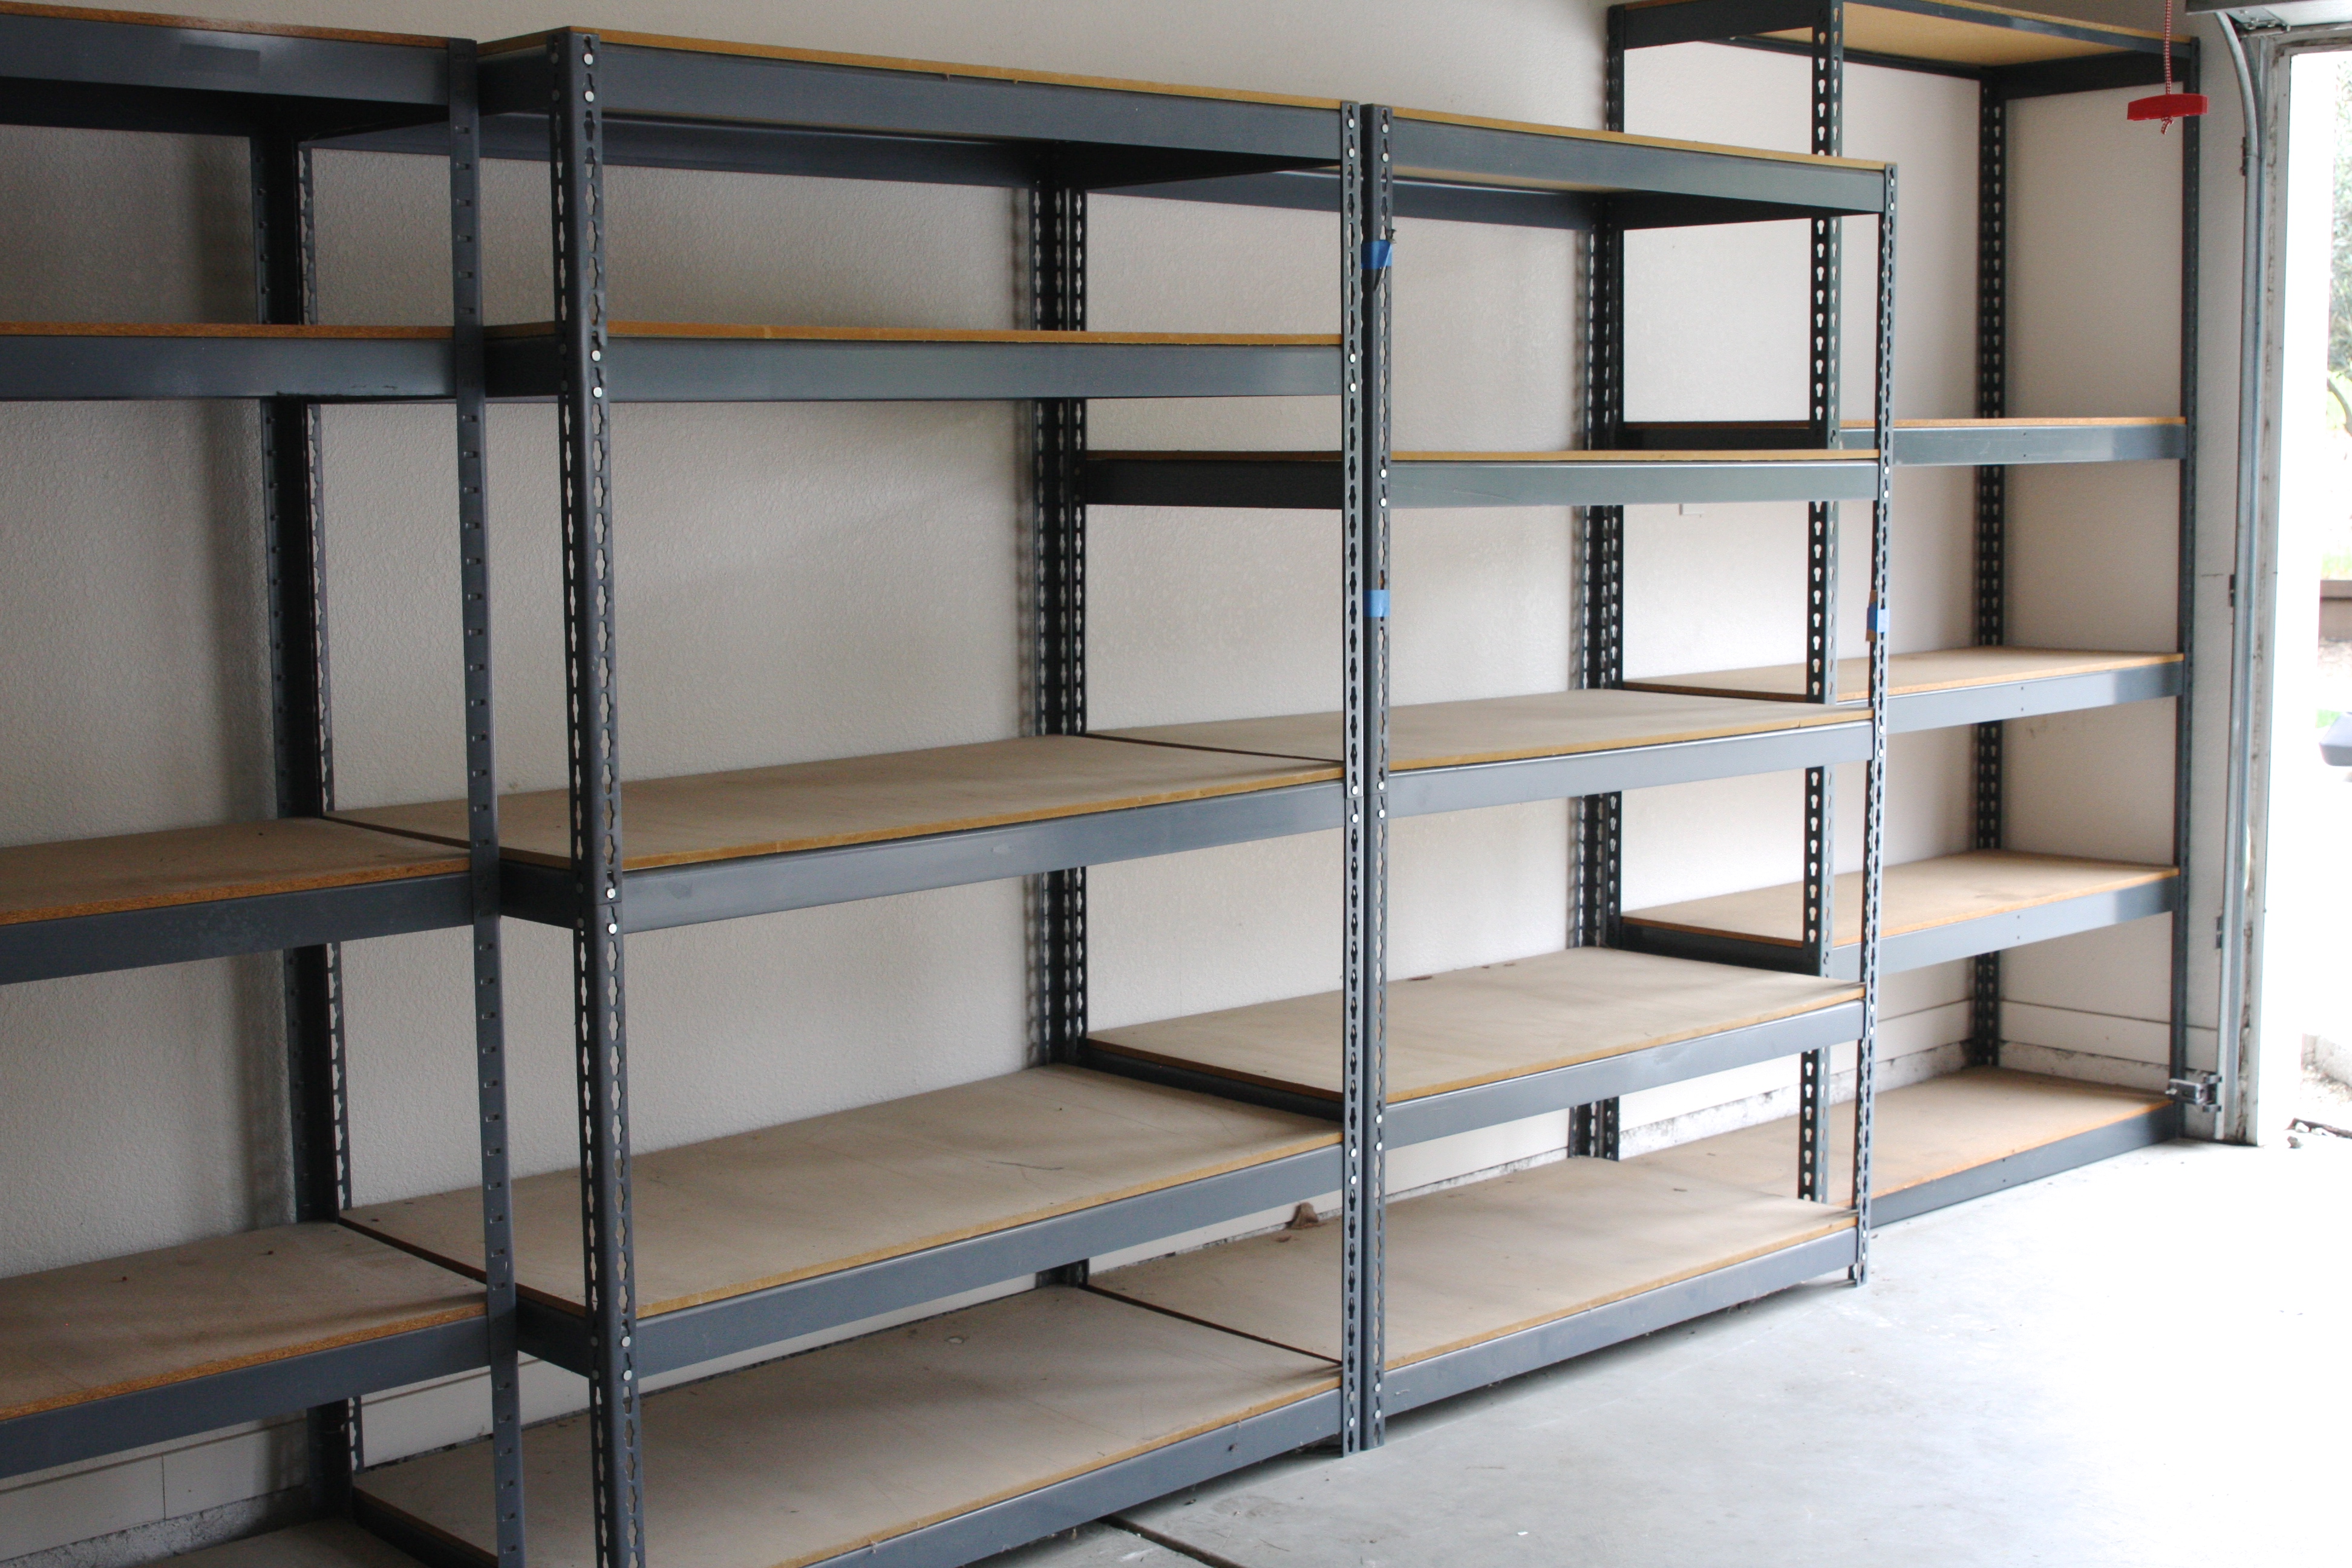
There’s a mix of shelving here, which I frequently see in the homes I work in. Nothing wrong with that! Families choose shelving based on their budget, purchase something because they found it on sale or are gifted stuff from friends and family. Any kind of storage in the garage is a great idea and will give you more space because you’re going vertical. The problem occurs, however, when a couple issues collide. First would be that the shelves aren’t easily adjustable. Both of the racks shown above are adjustable, but in order to make those changes everything needs to come off the shelf and tools are required. The gray shelving on the right looks like this…

It’s known as commercial grade bolt-less shelving. Meaning, there are no bolts or screws needed to assemble, but you do need a hammer. To adjust a shelf you’ll need that hammer again…and everything should come off the shelves for safety. Not to mention, you should wear gloves while doing this because I cut my palms pretty well by simply grabbing the steel pieces during disassembly…they aren’t completely smooth to the touch. To give you a better idea, here’s a close-up of how these are assembled at the corner posts…

When shelf adjustments are needed, you have to remove all 4 steel pieces that hold up the particle board decking. As you can imagine, this is a big pain. Especially if you aren’t the type with much patience.
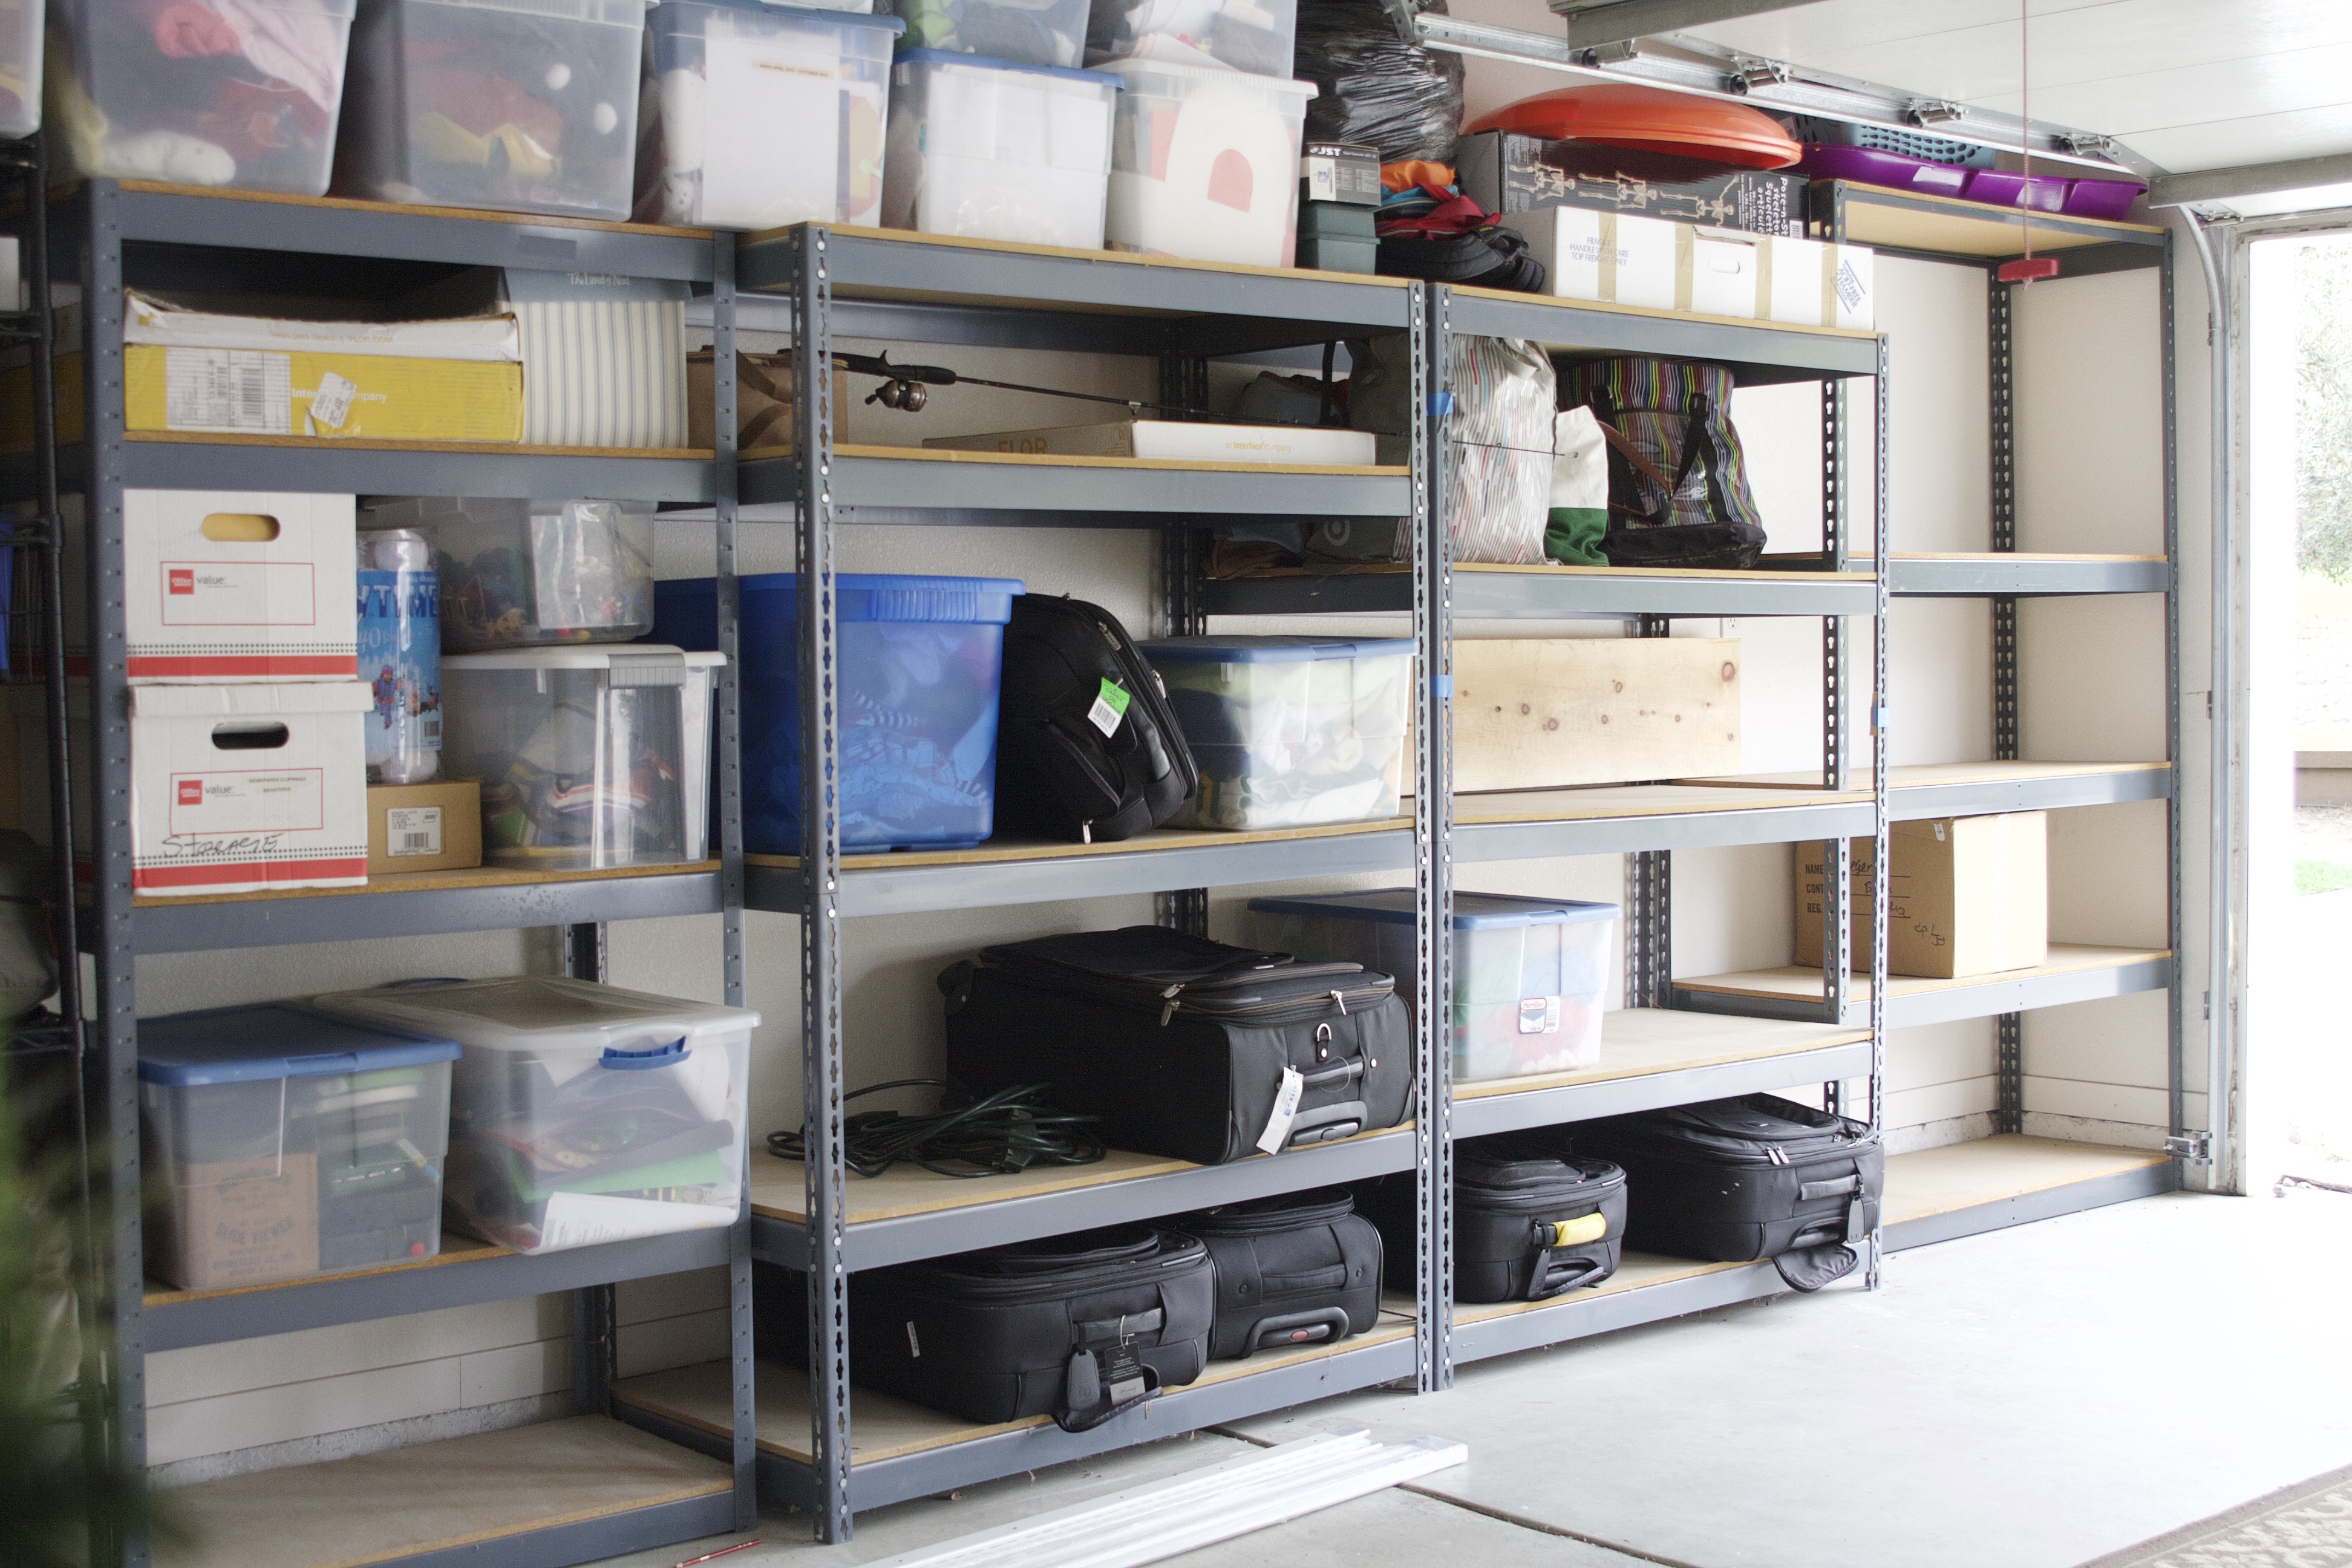
The other shelving in this space is Metro from Container Store…

This option is an upgrade in the looks dept, but again – to make adjustments you’ll need to remove your items and use a mallet to gently tap the shelves out of their current position.
Another issue with this semi-fixed type (let’s call it what it is – ha!) of shelving is that you’re constantly in search of bins or containment to fit on those shelves. Most people who hire me aren’t patient enough or simply have the time to remove everything from the shelving to make adjustments … so instead they run around finding bins that fit. I don’t blame them! But it also sets them up for having bins that don’t necessarily contain everything. Meaning some stuff ends up in bins while other items are left open on the shelf. Garages get dirty. If it can be contained, especially holiday decor, it should be. And categorized too. Case and point, there’s 7 different kinds of bins and boxes here along with many items just sitting on the shelves…

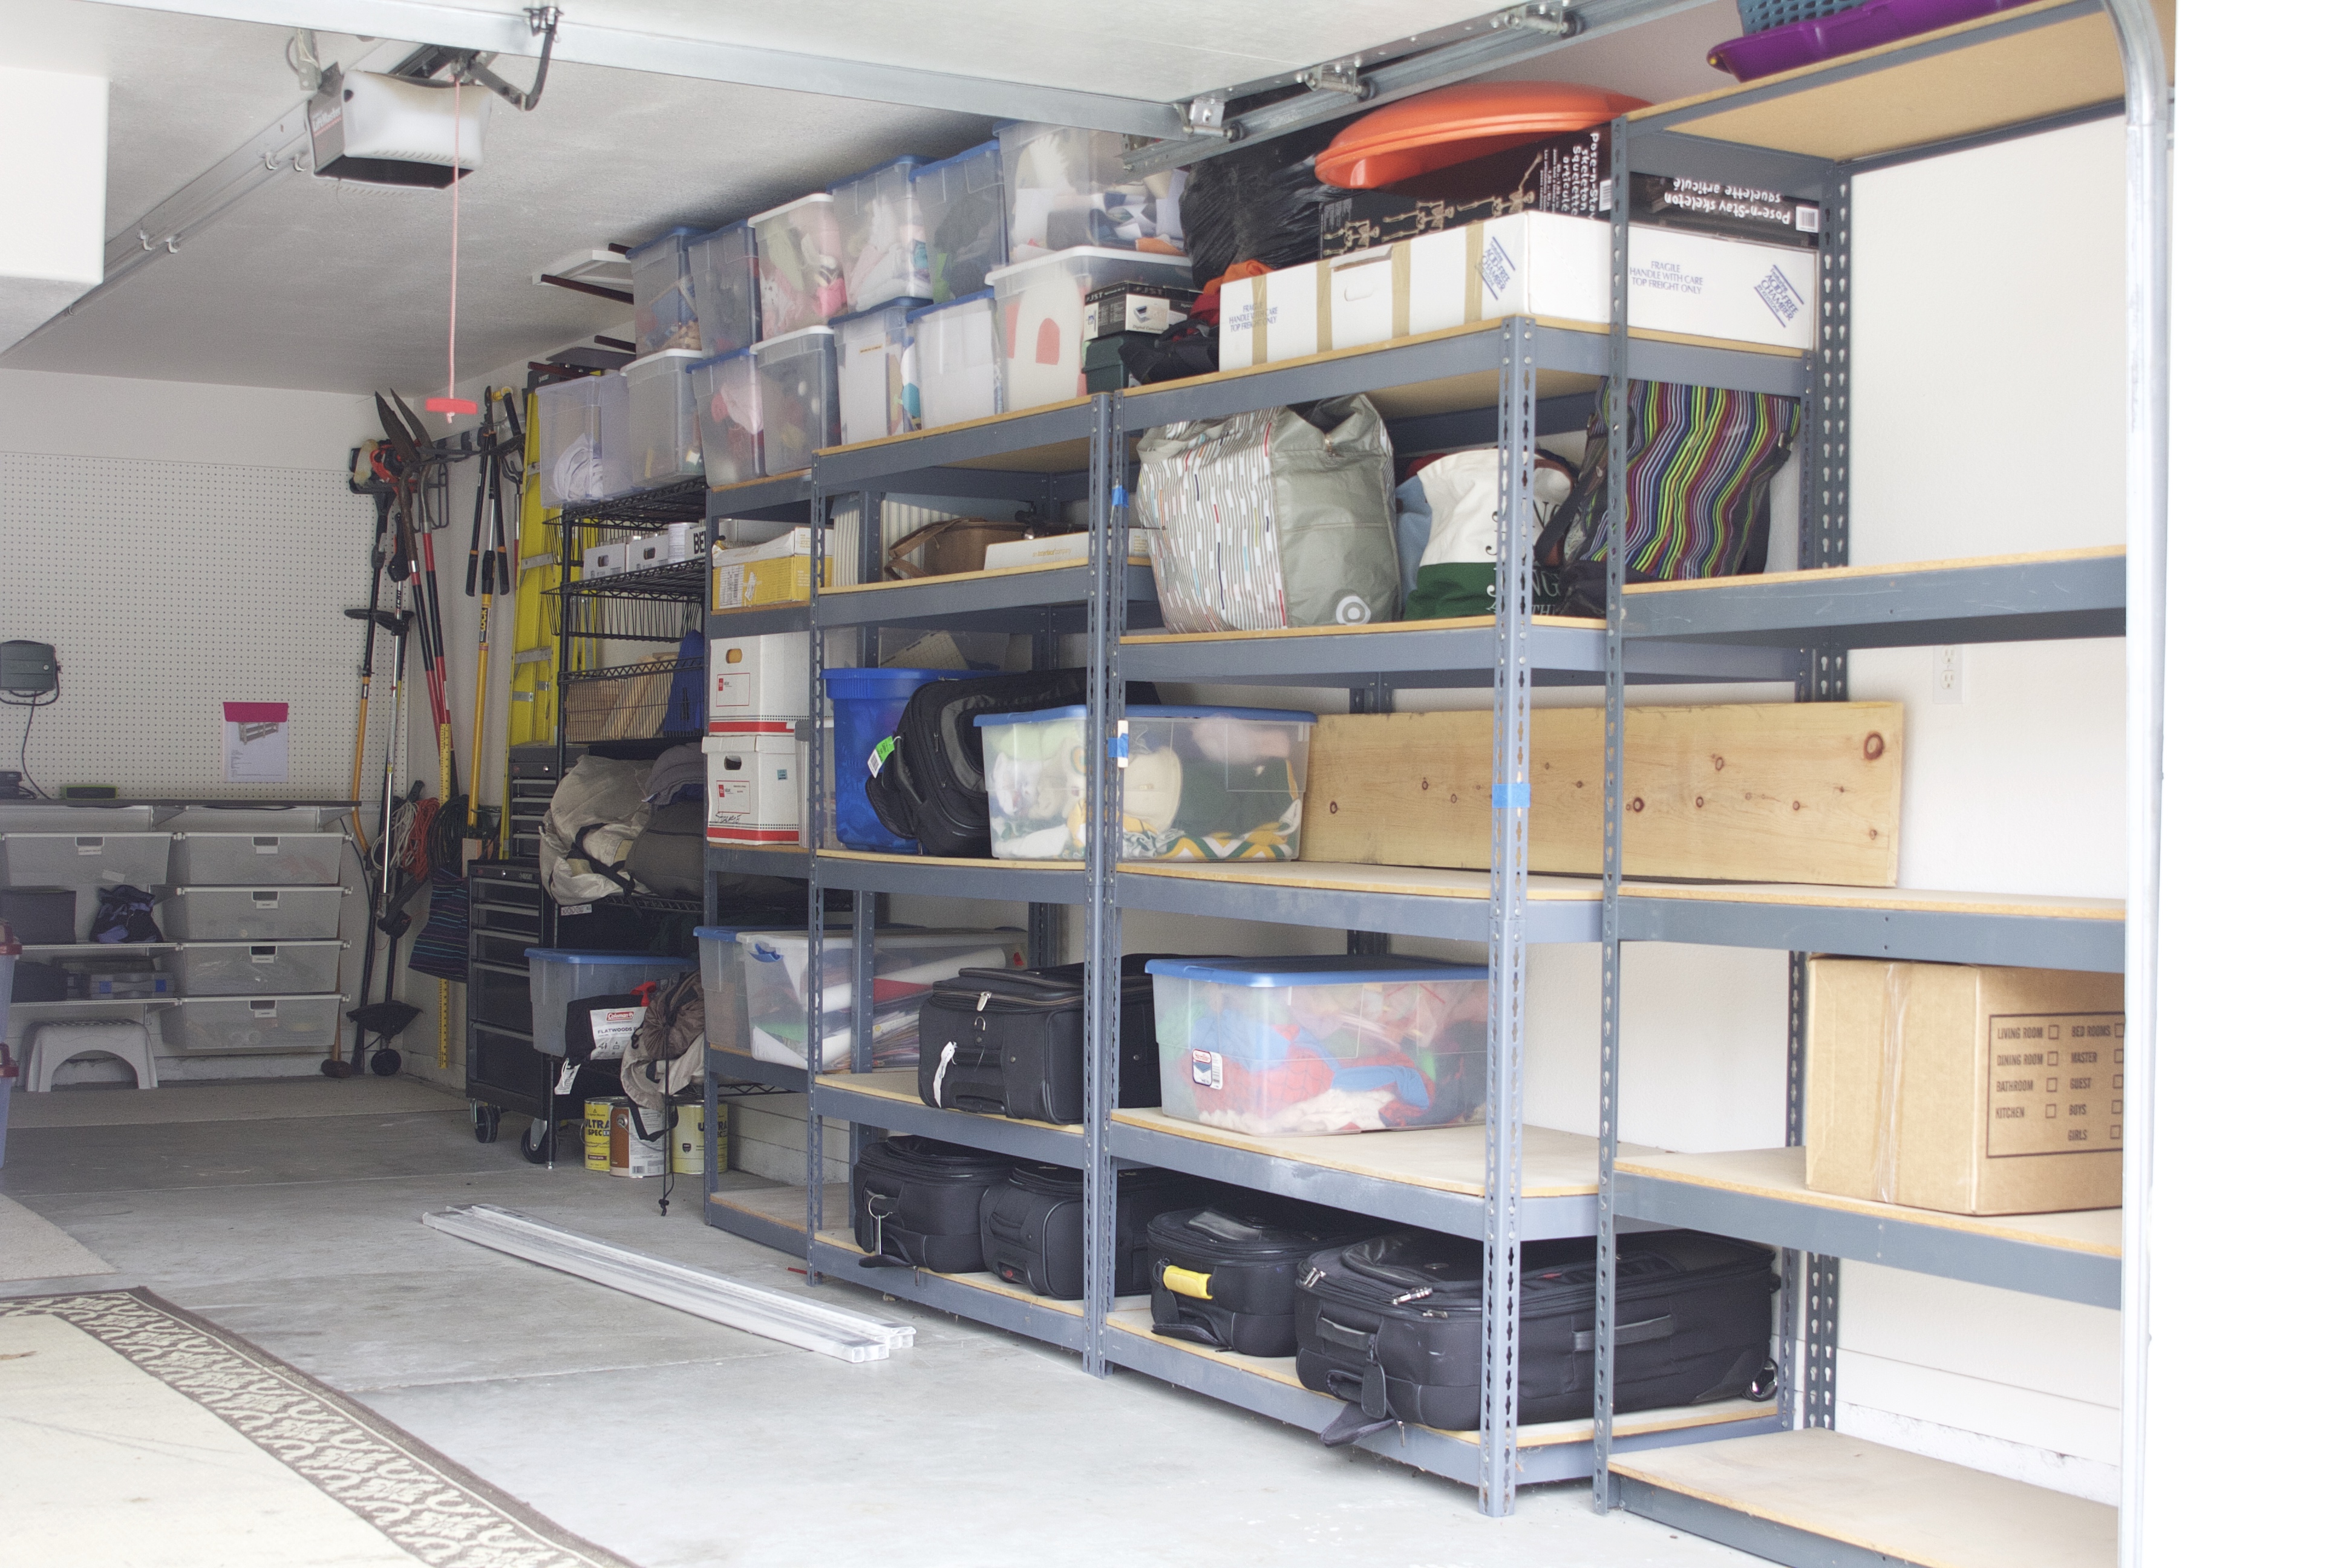
In regards to safety, how exactly are we supposed to access that top row of bins stacked on top of one another? #yikes…

Finally, free-standing shelving doesn’t use the entire wall space. It’s a garage! – Use that vertical space! It doesn’t have to be pretty out here (although, I like that for the folks who hire me – and for myself!), it just needs to contain and maximize…so be sure to use all of the wall space. Top to bottom.
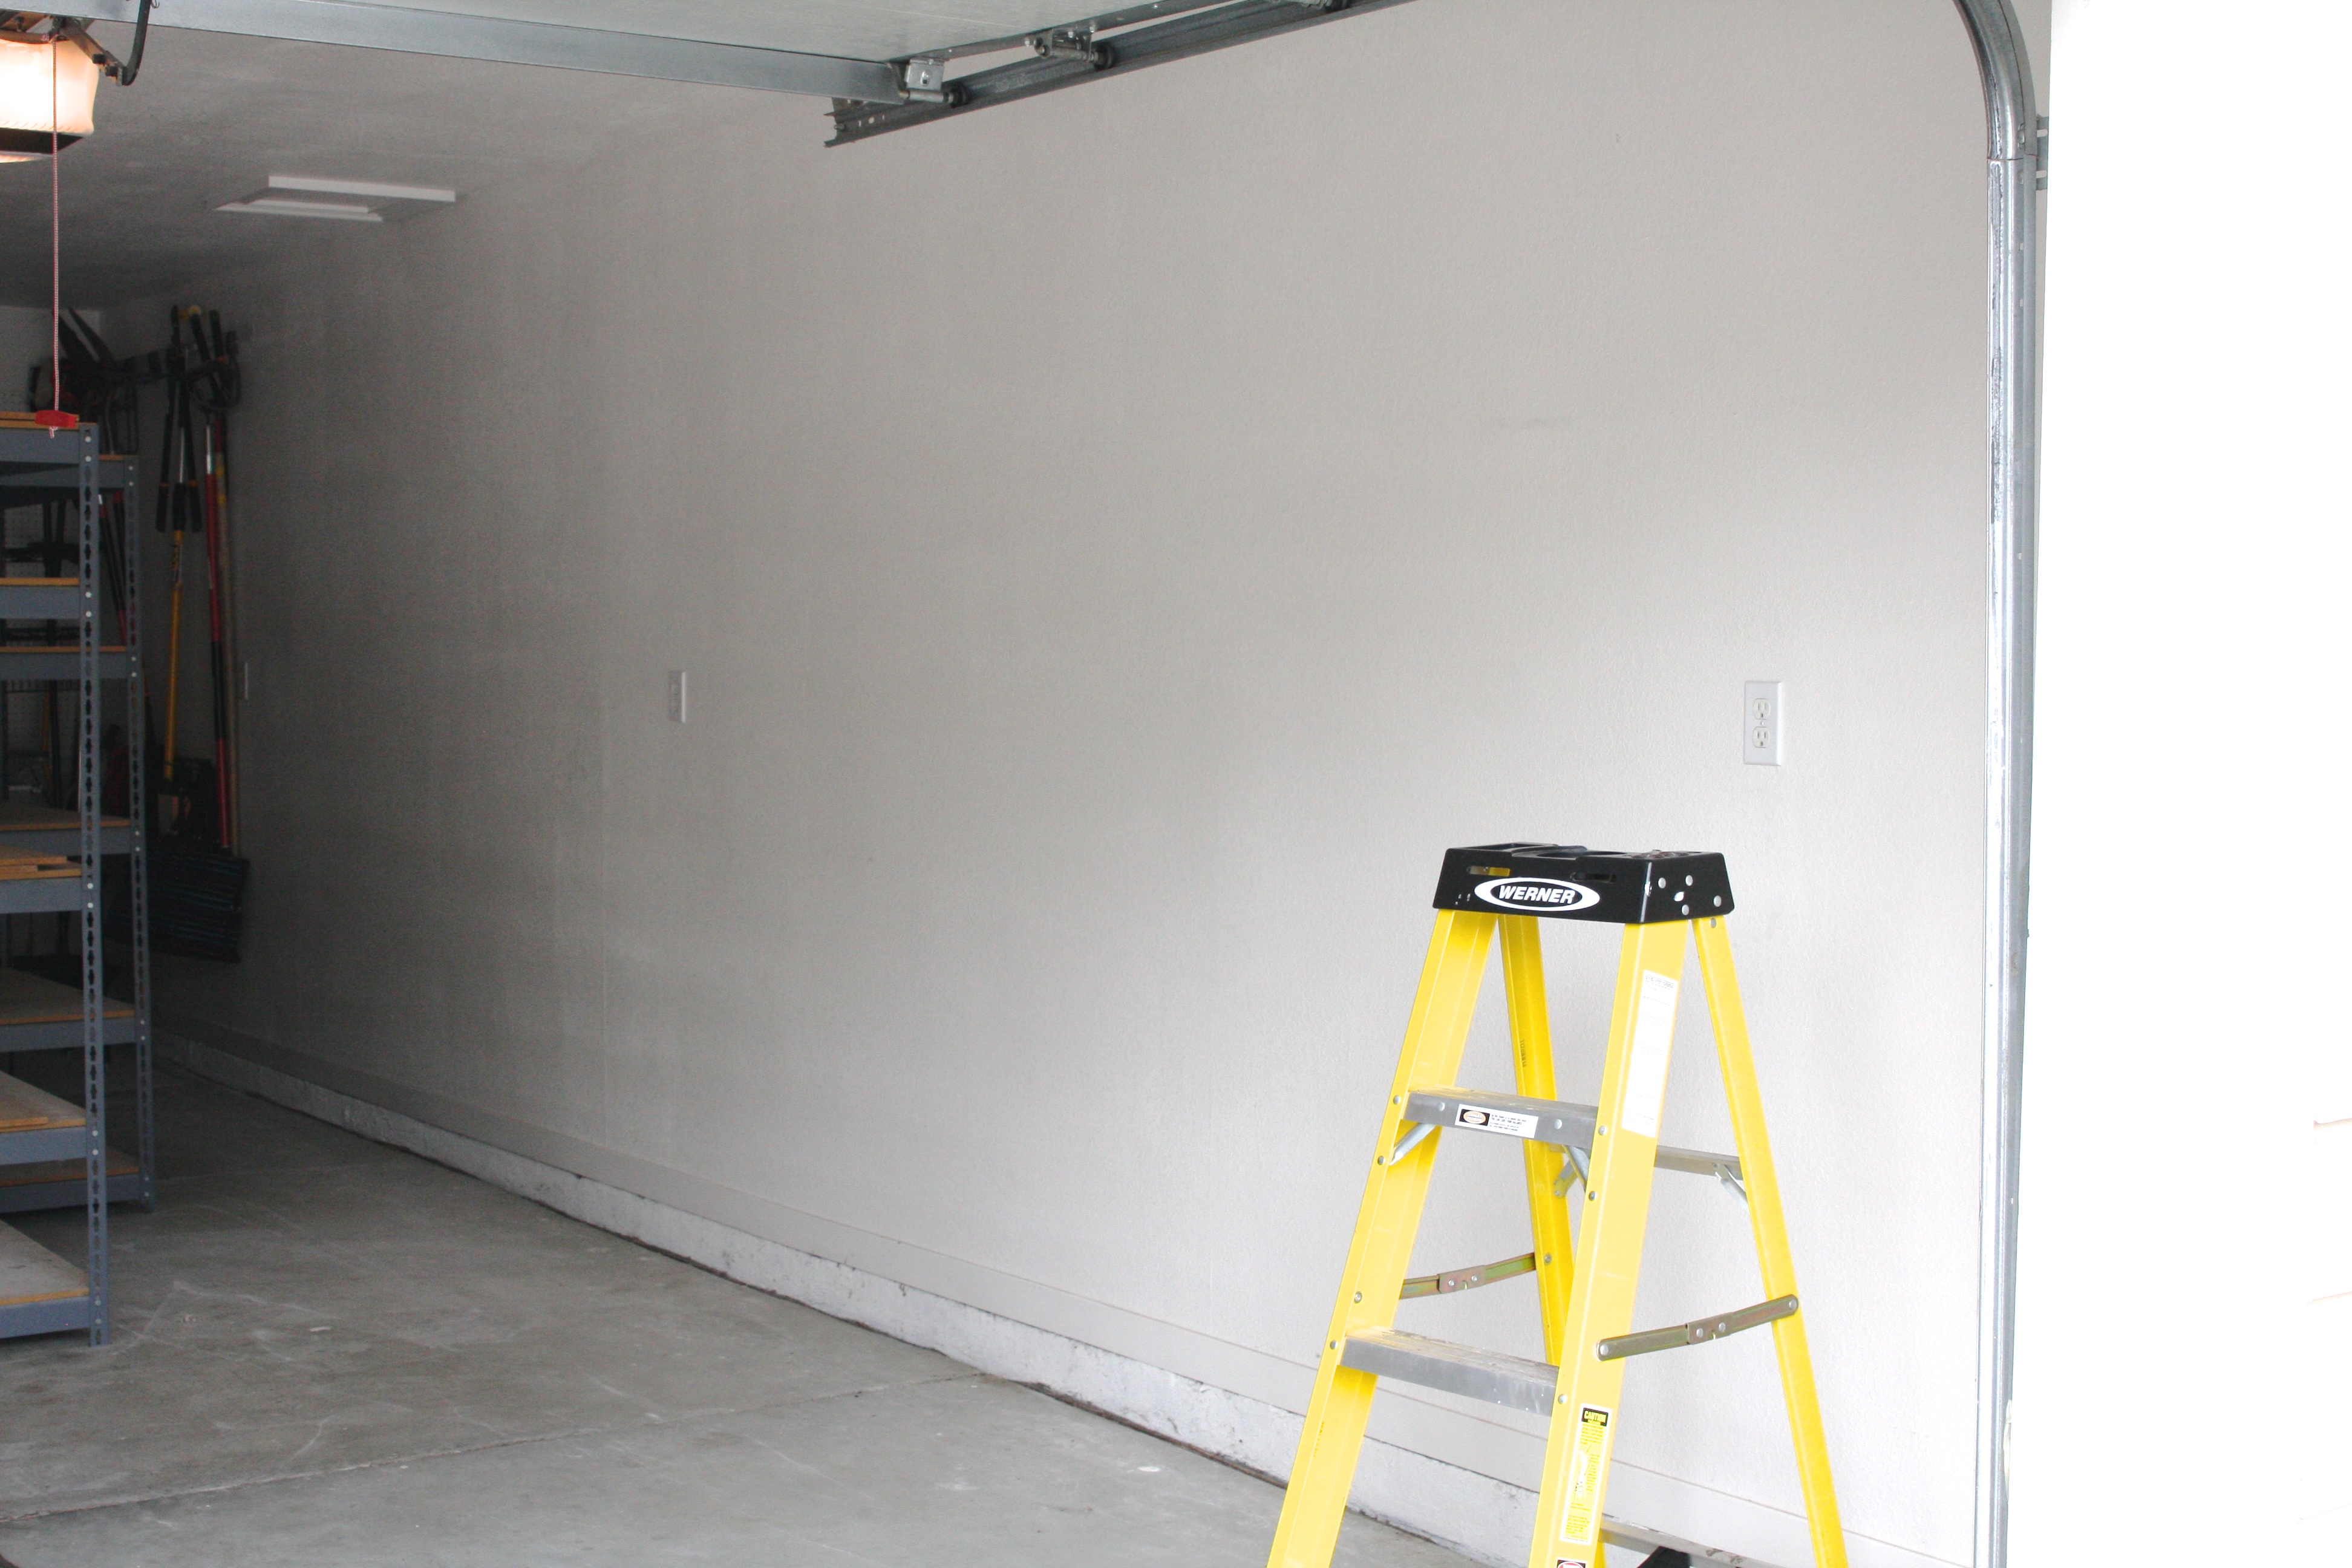
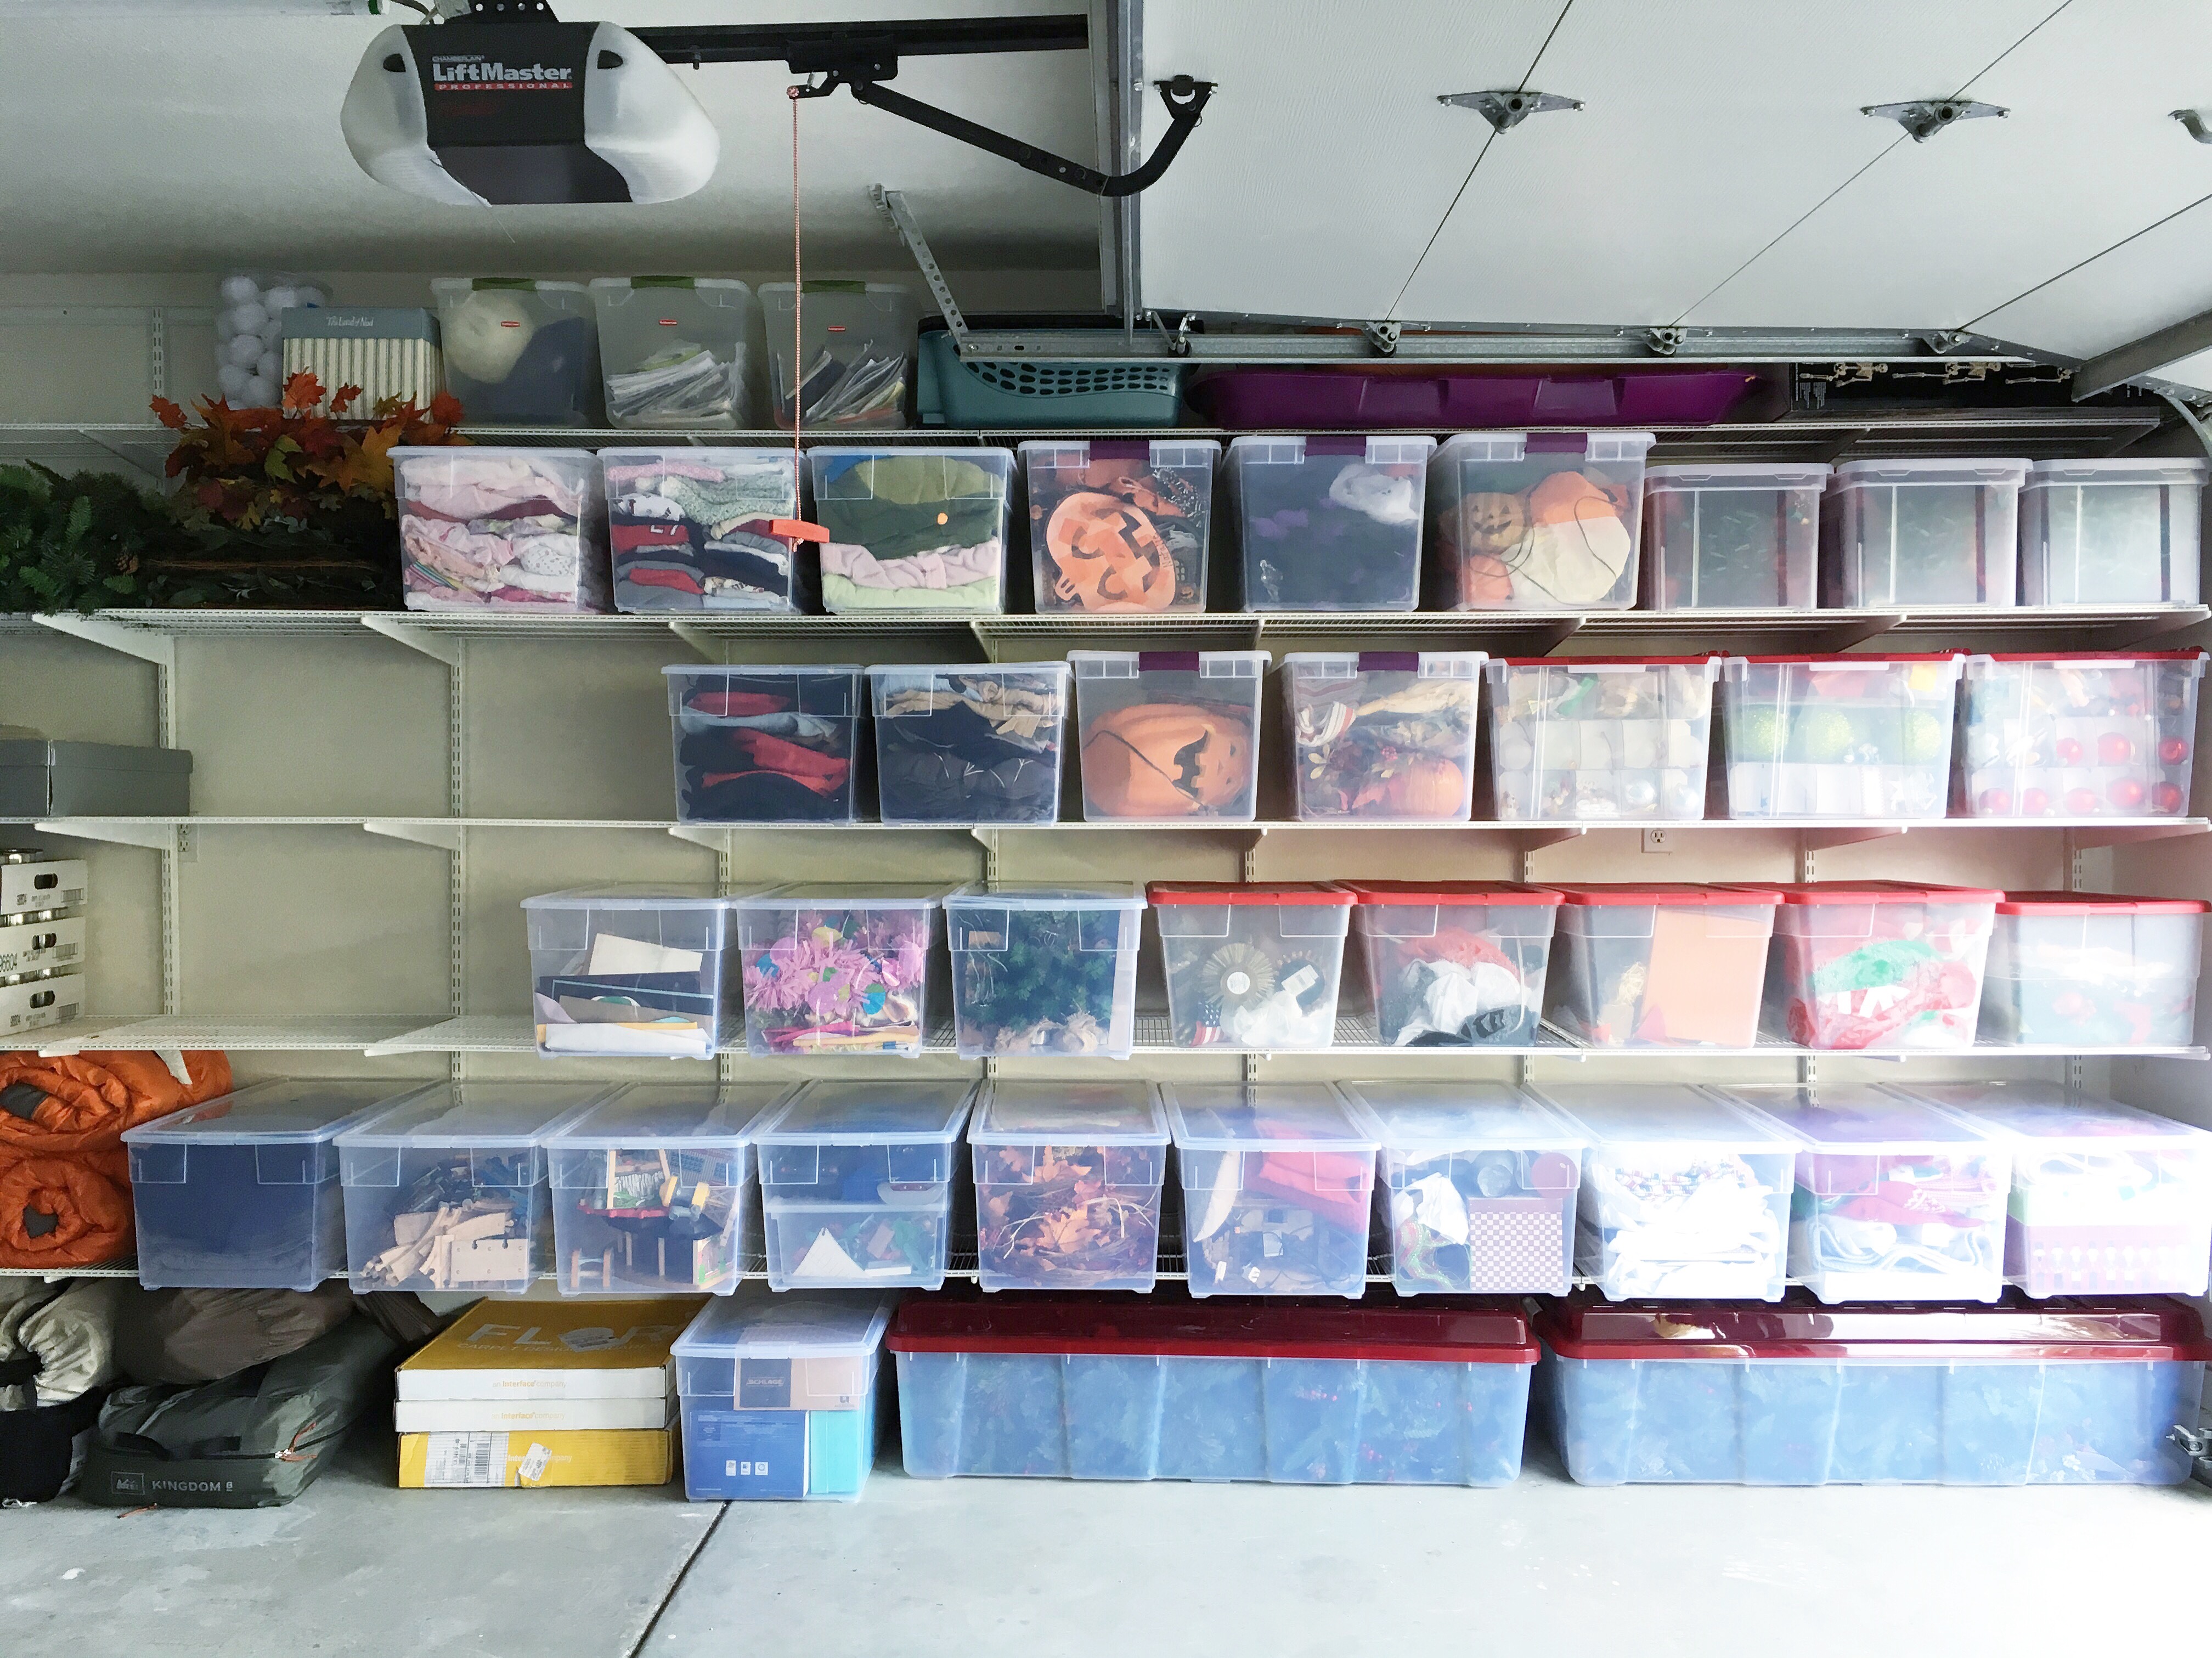
That’s exactly what I did here!…

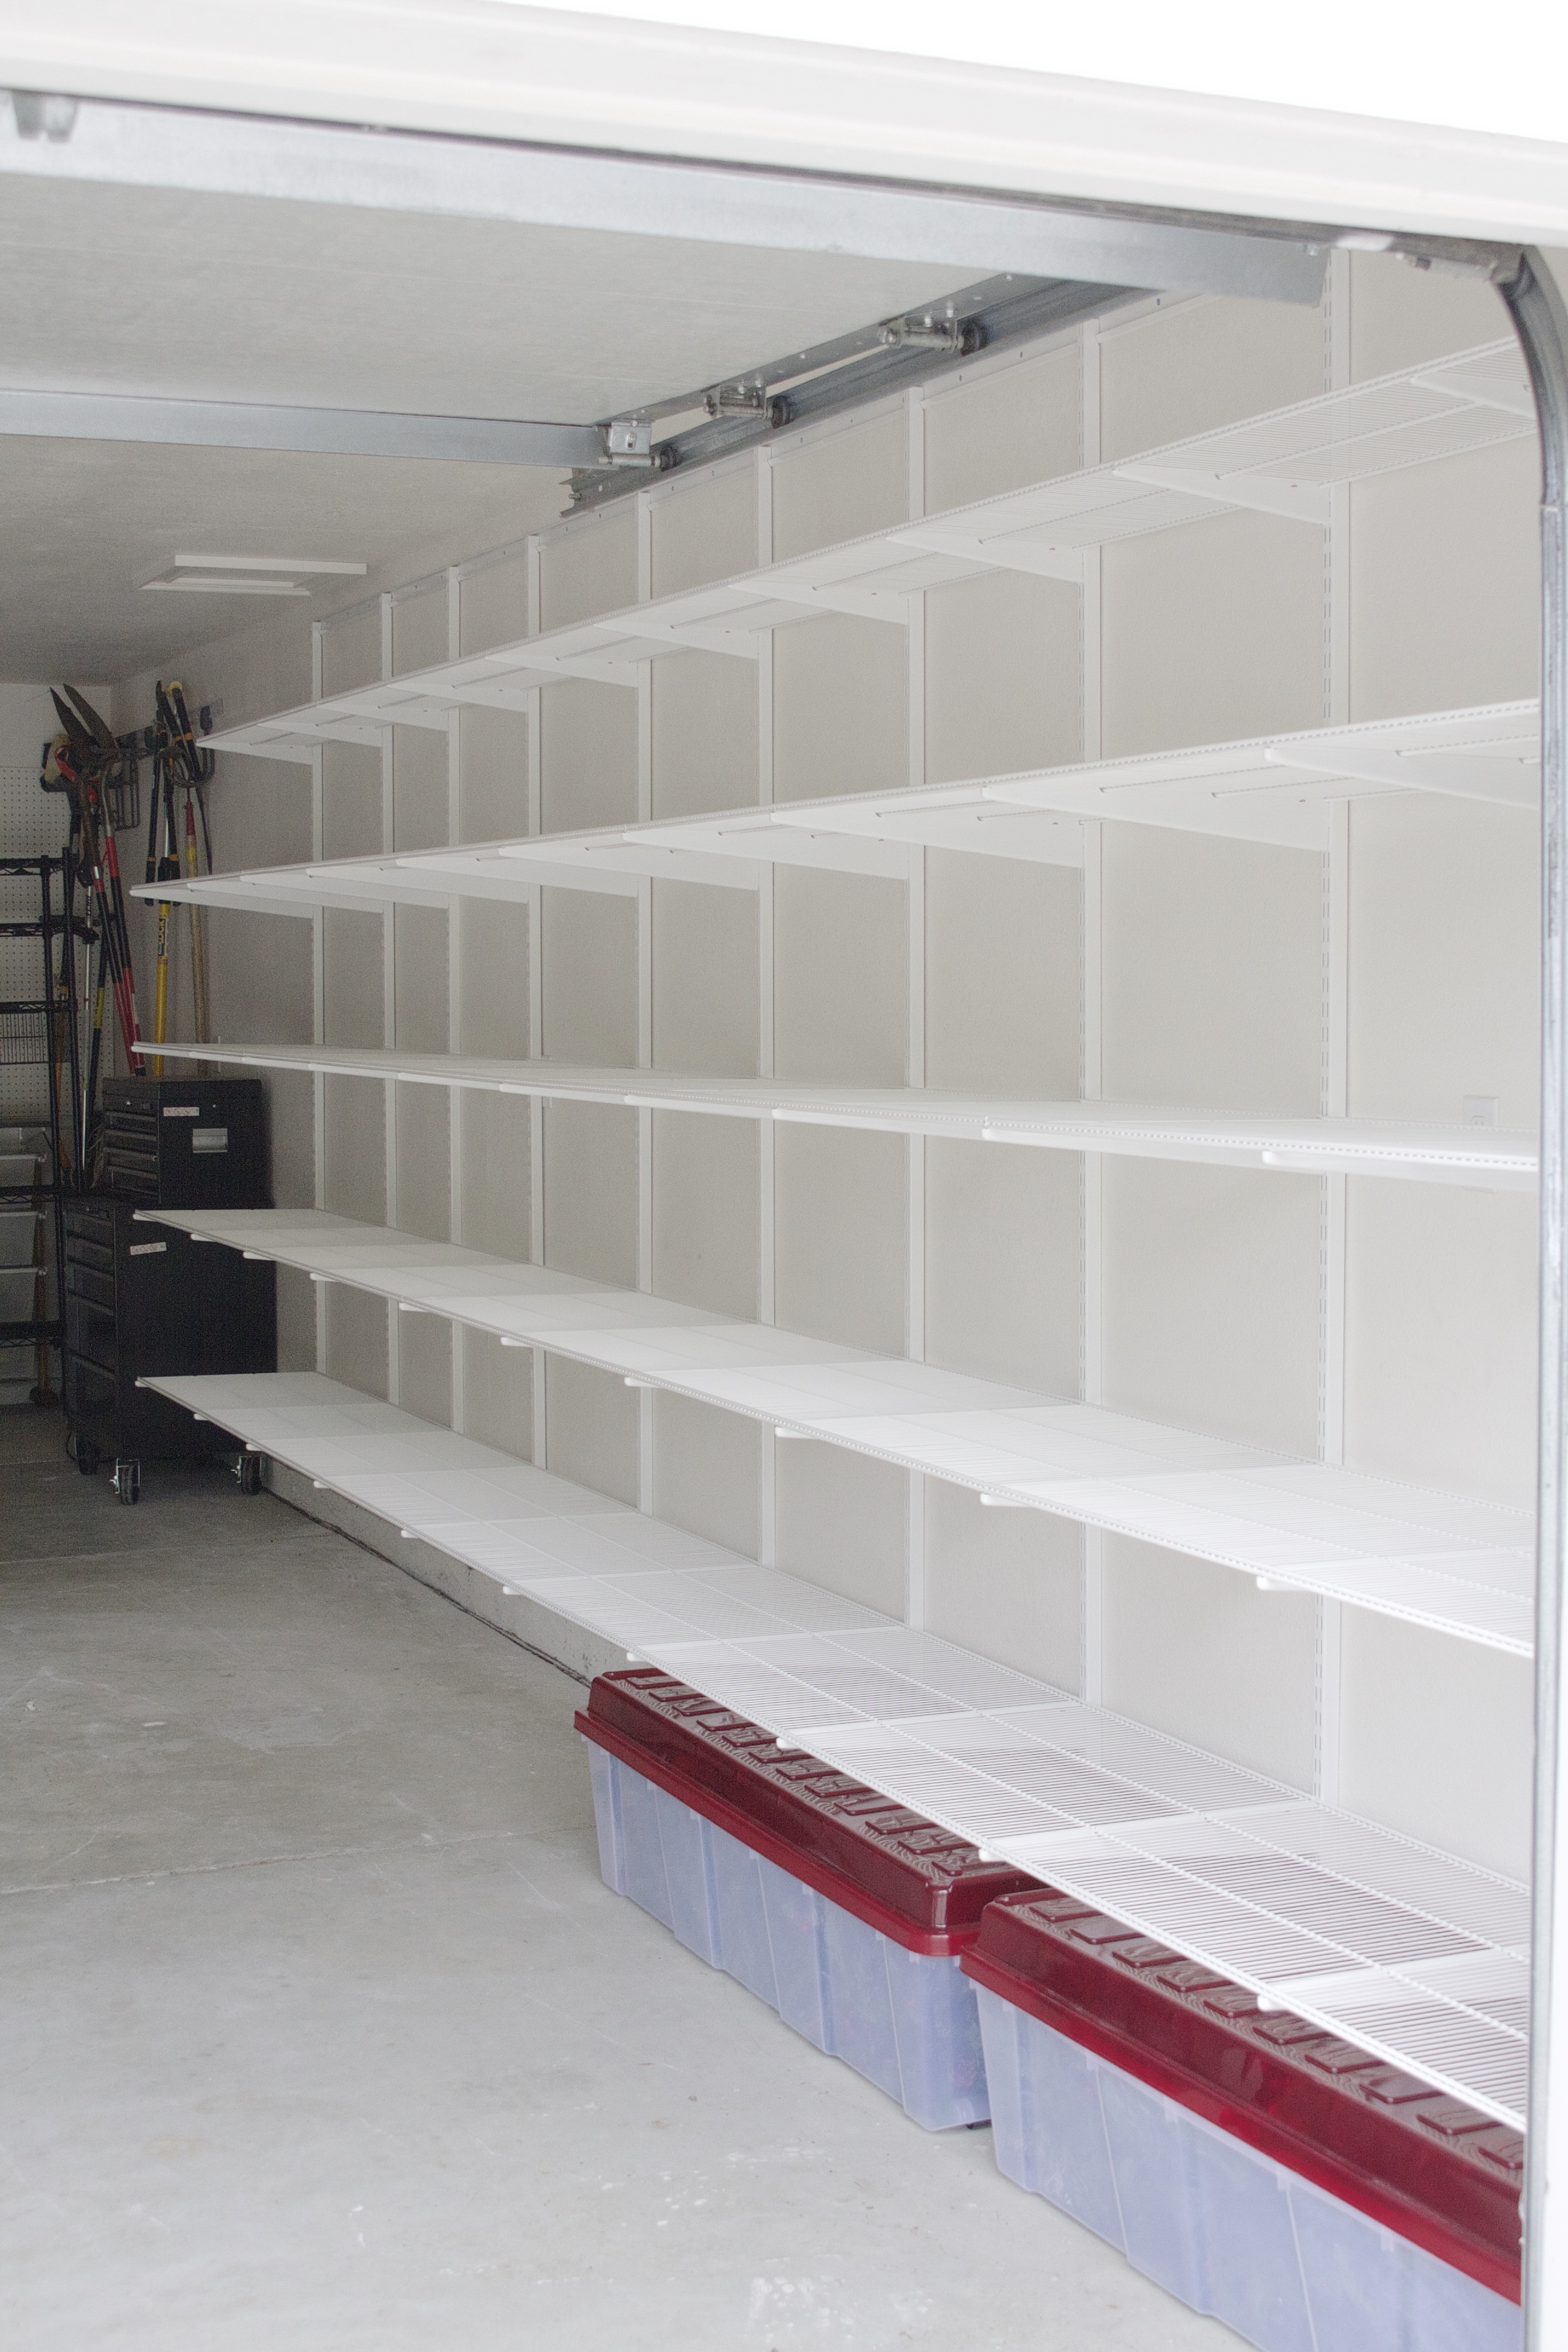
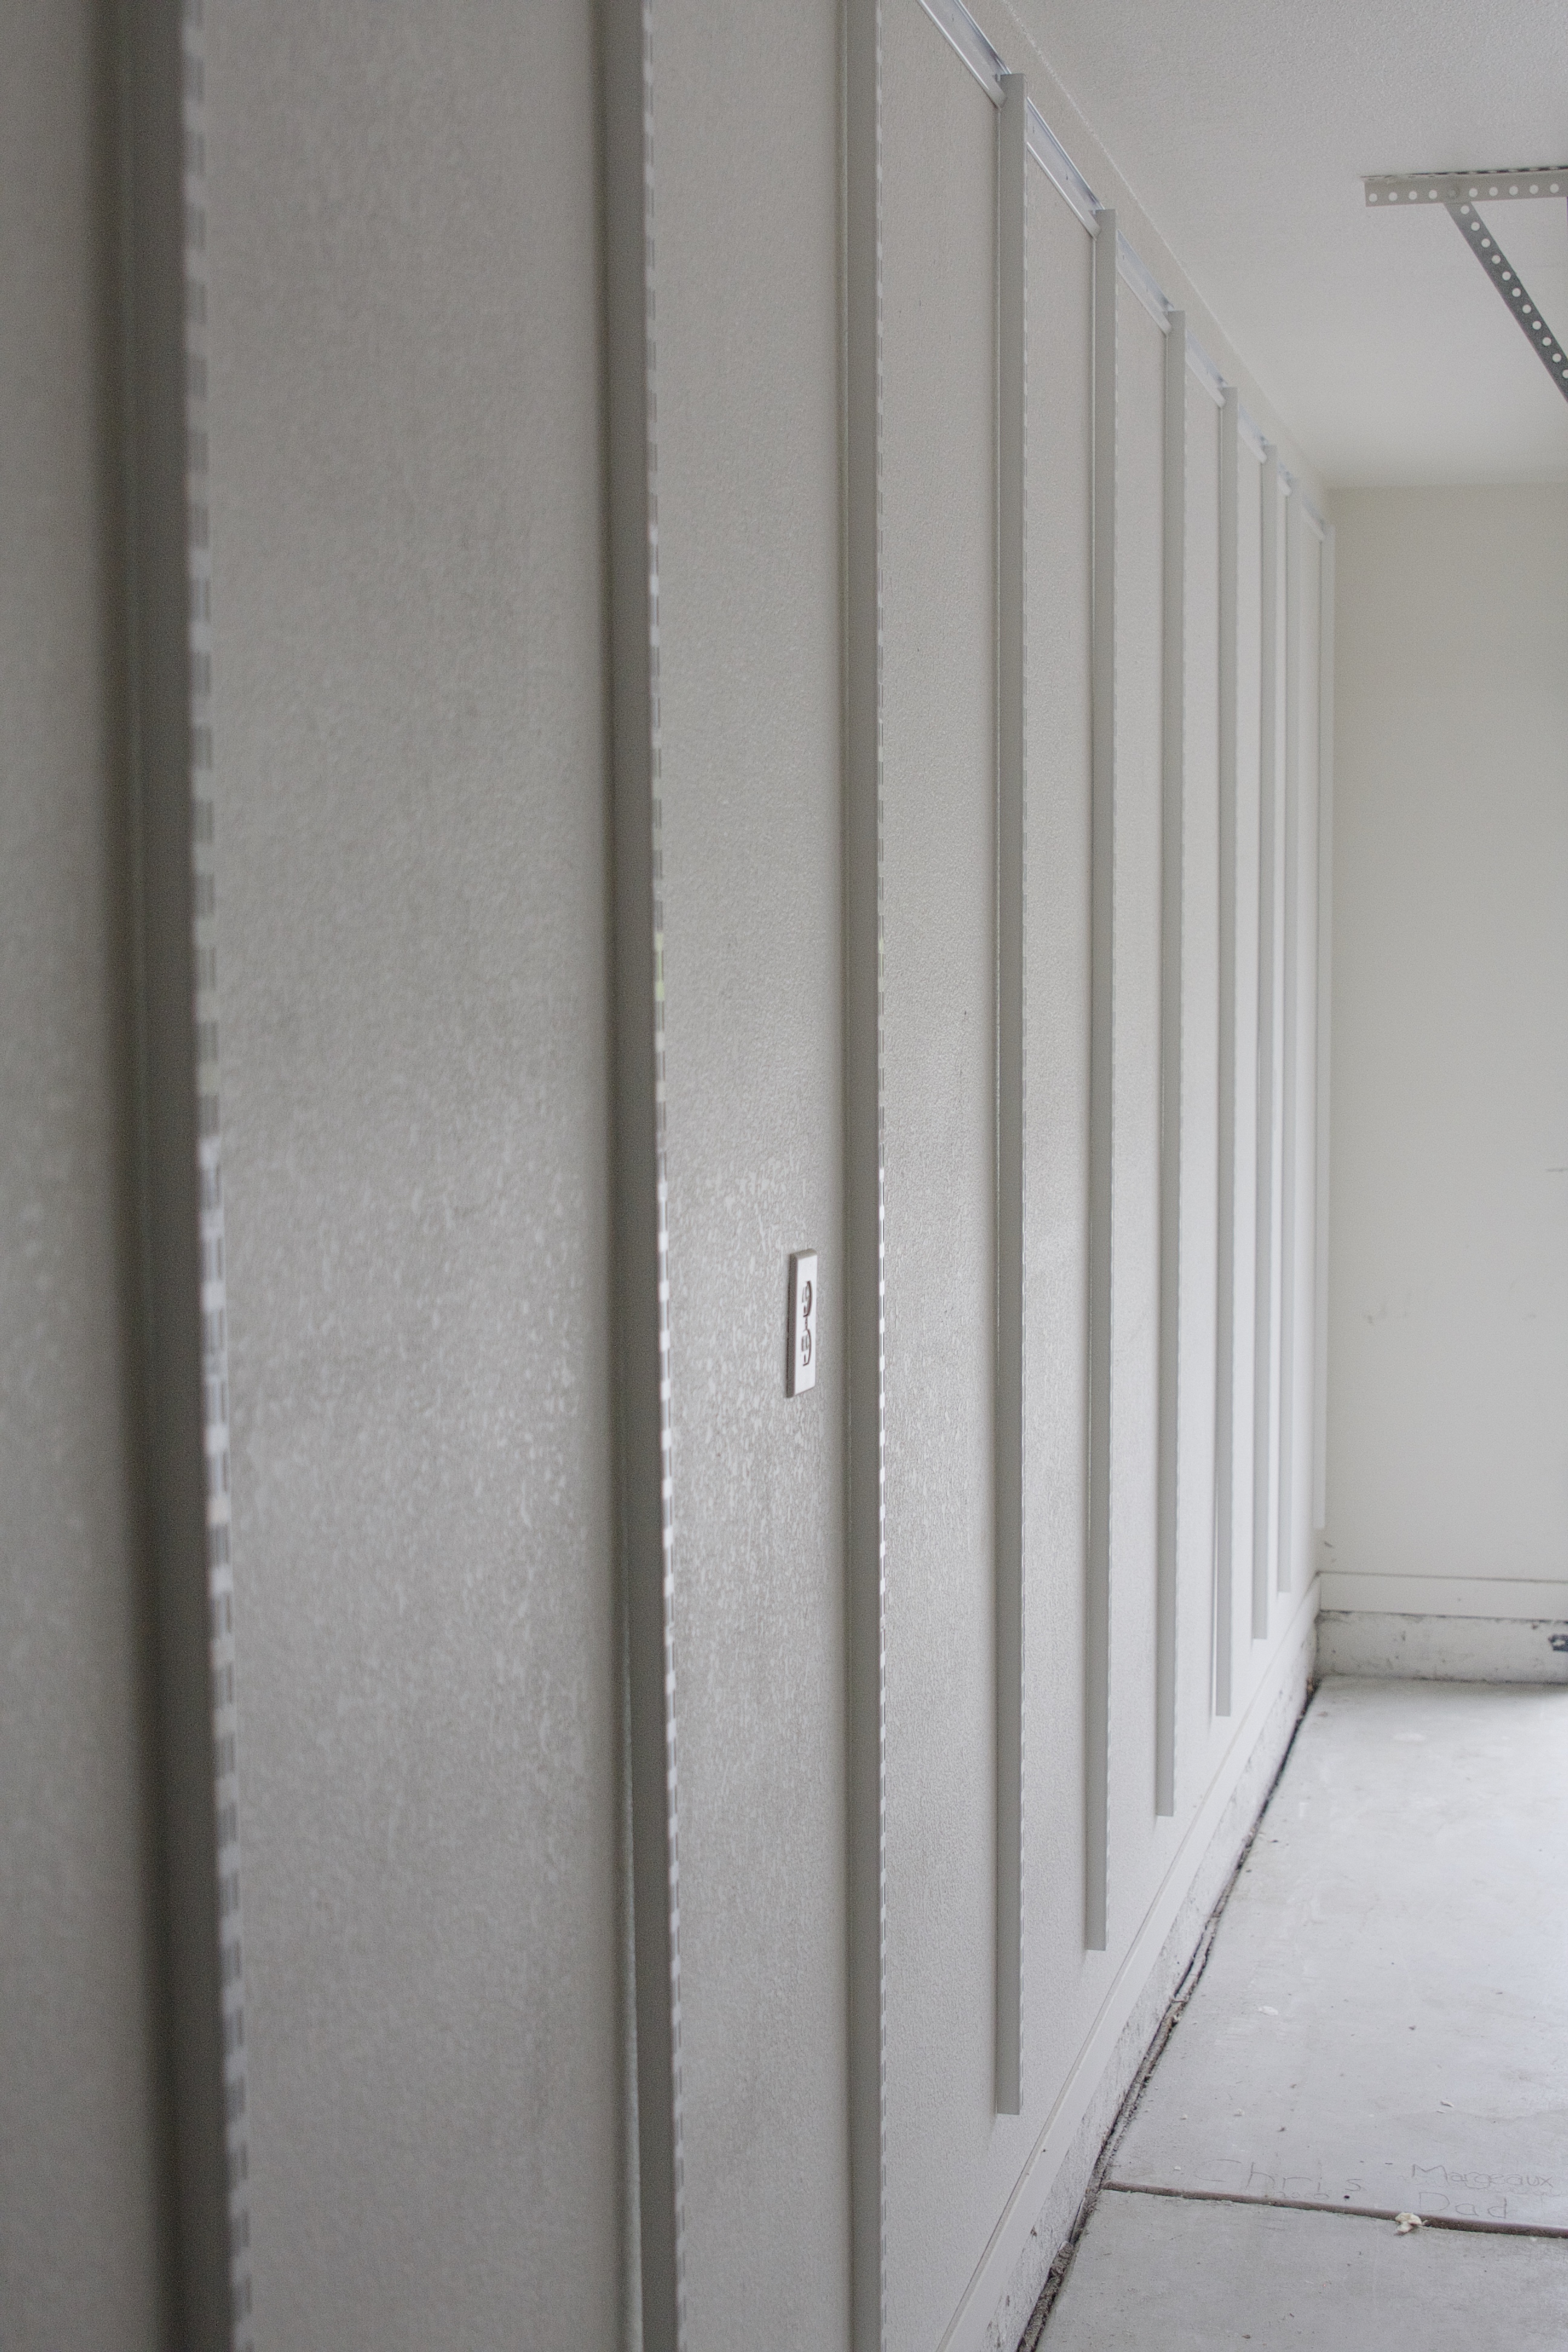
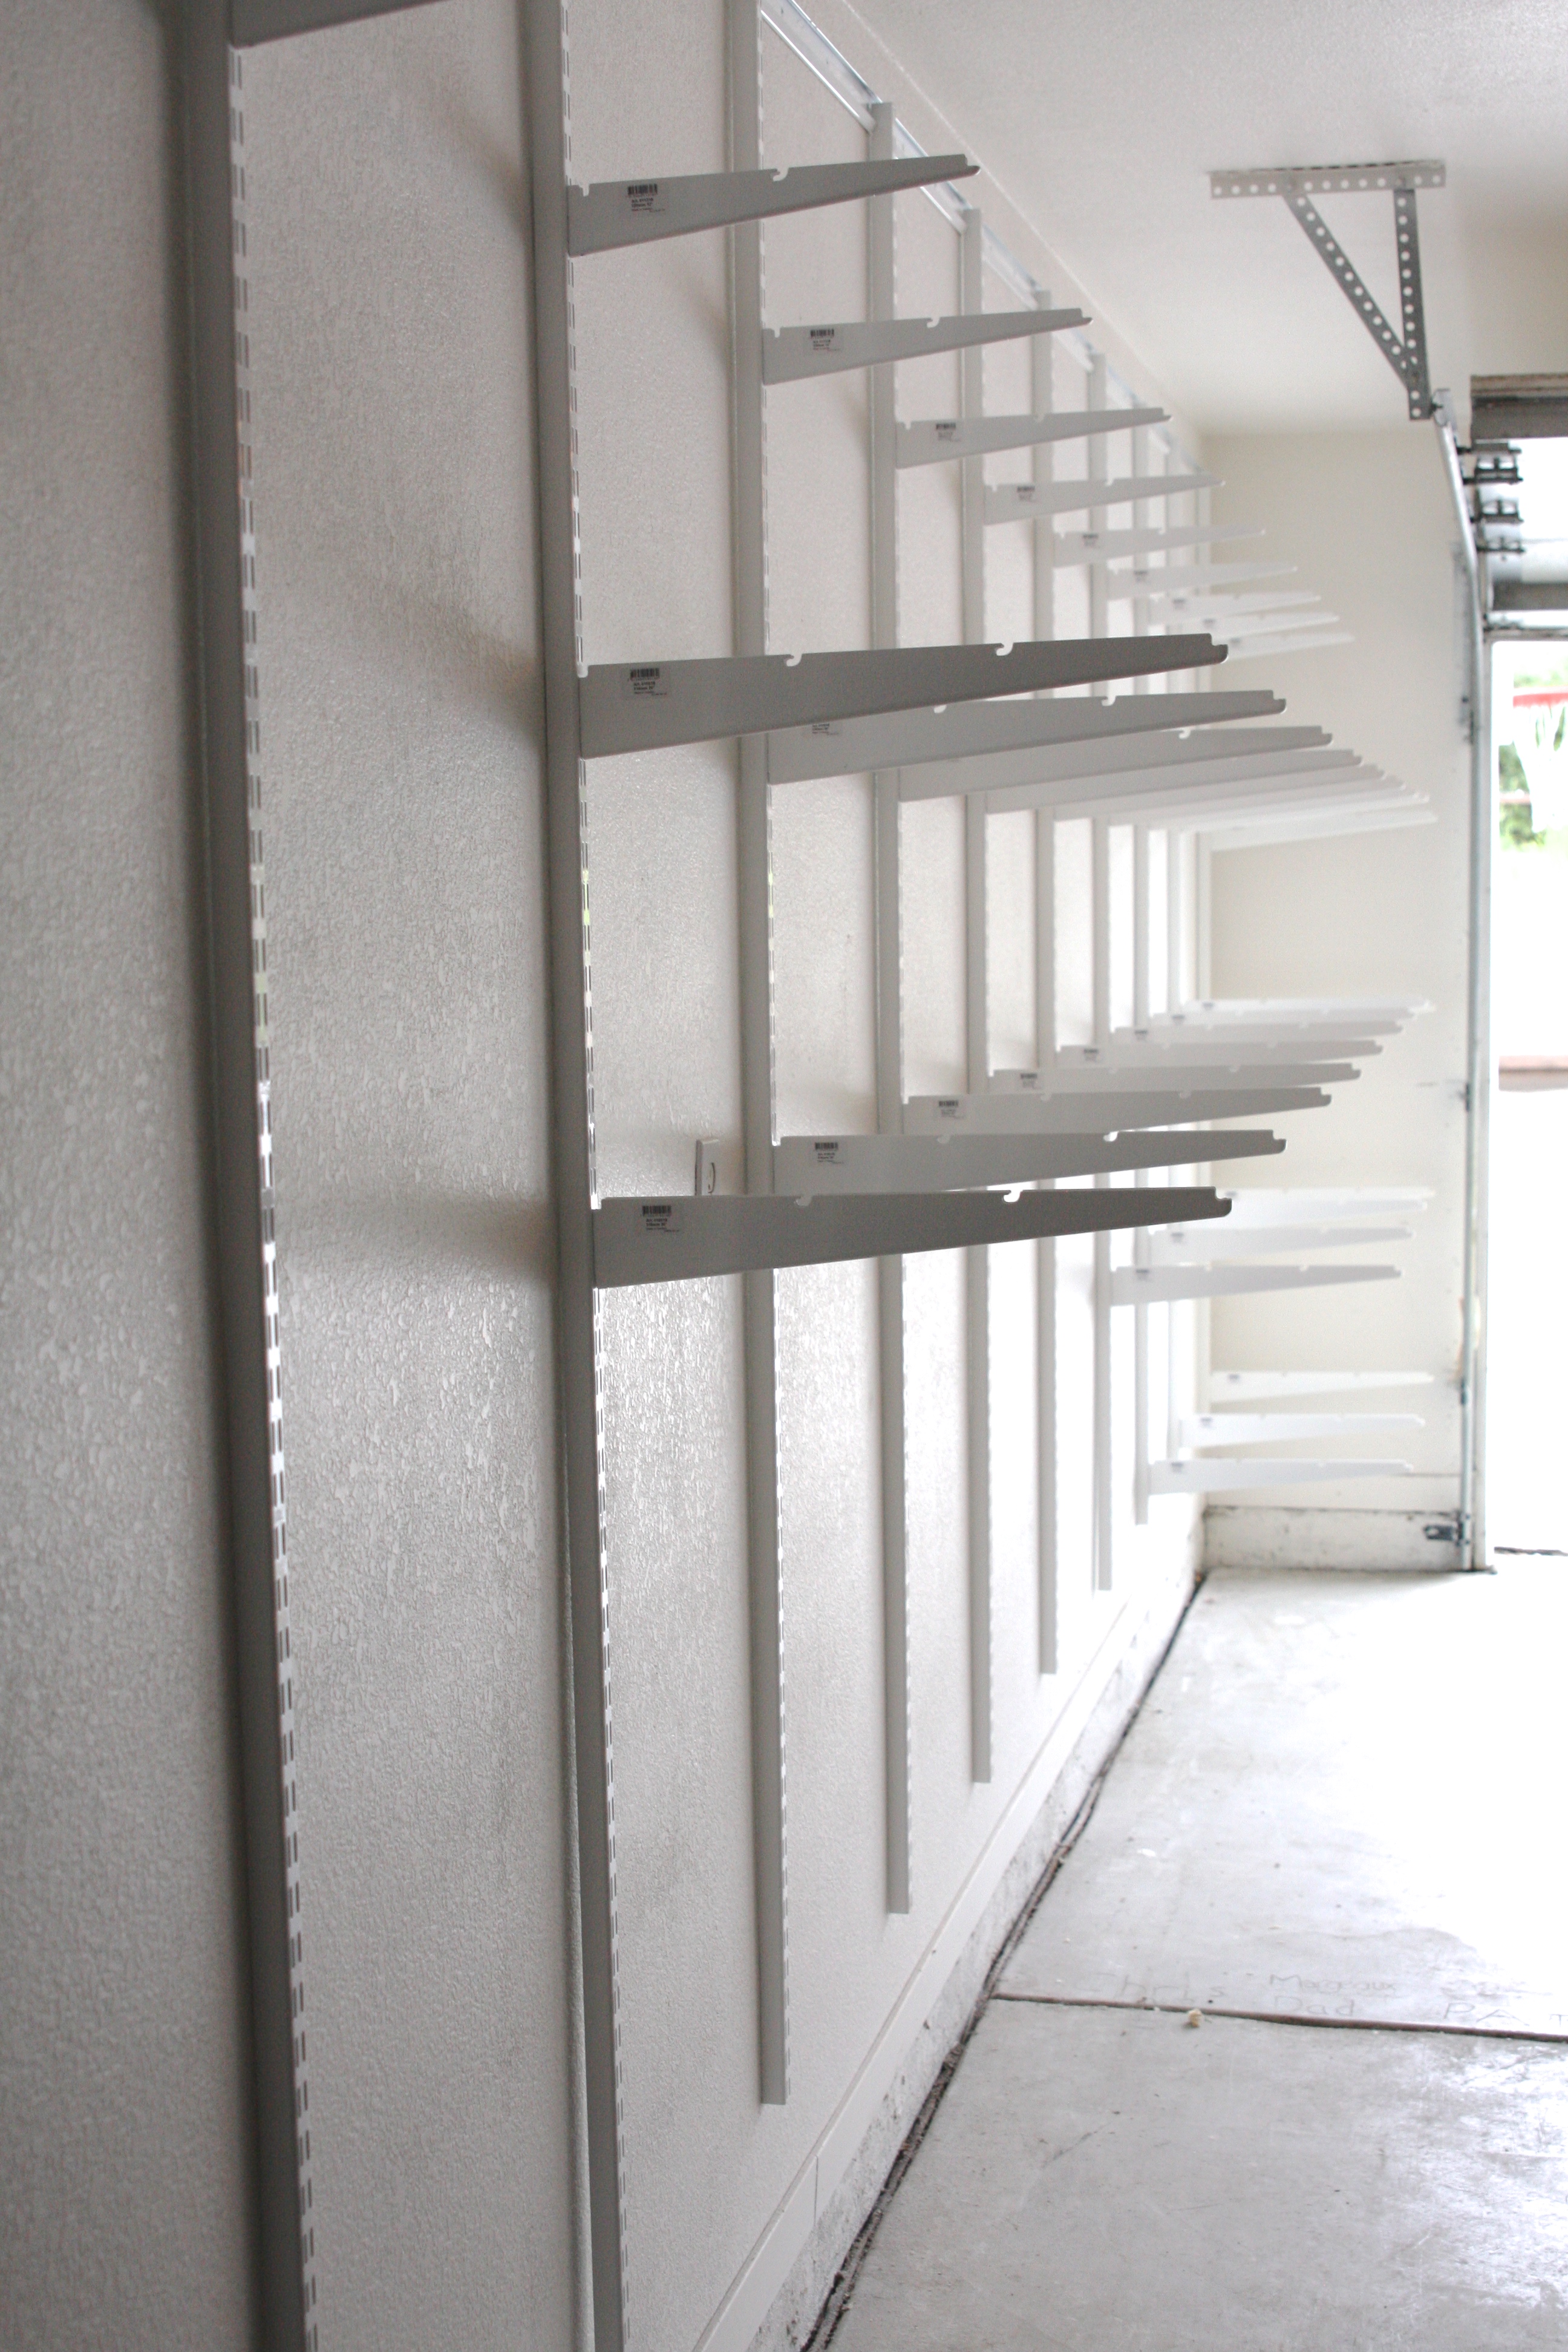
Not only did I use a wall-mount system, but it goes ceiling to floor AND is easily adjustable – no tools required.
With the shelves empty, we listed them for sale on a local closed Facebook garage sale group…

If you’re on Facebook or a member of a Moms Club, you can find a closed garage sale group that’s perfect for listing items like this! These were listed and sold within 2 days. Done deal and good bye!

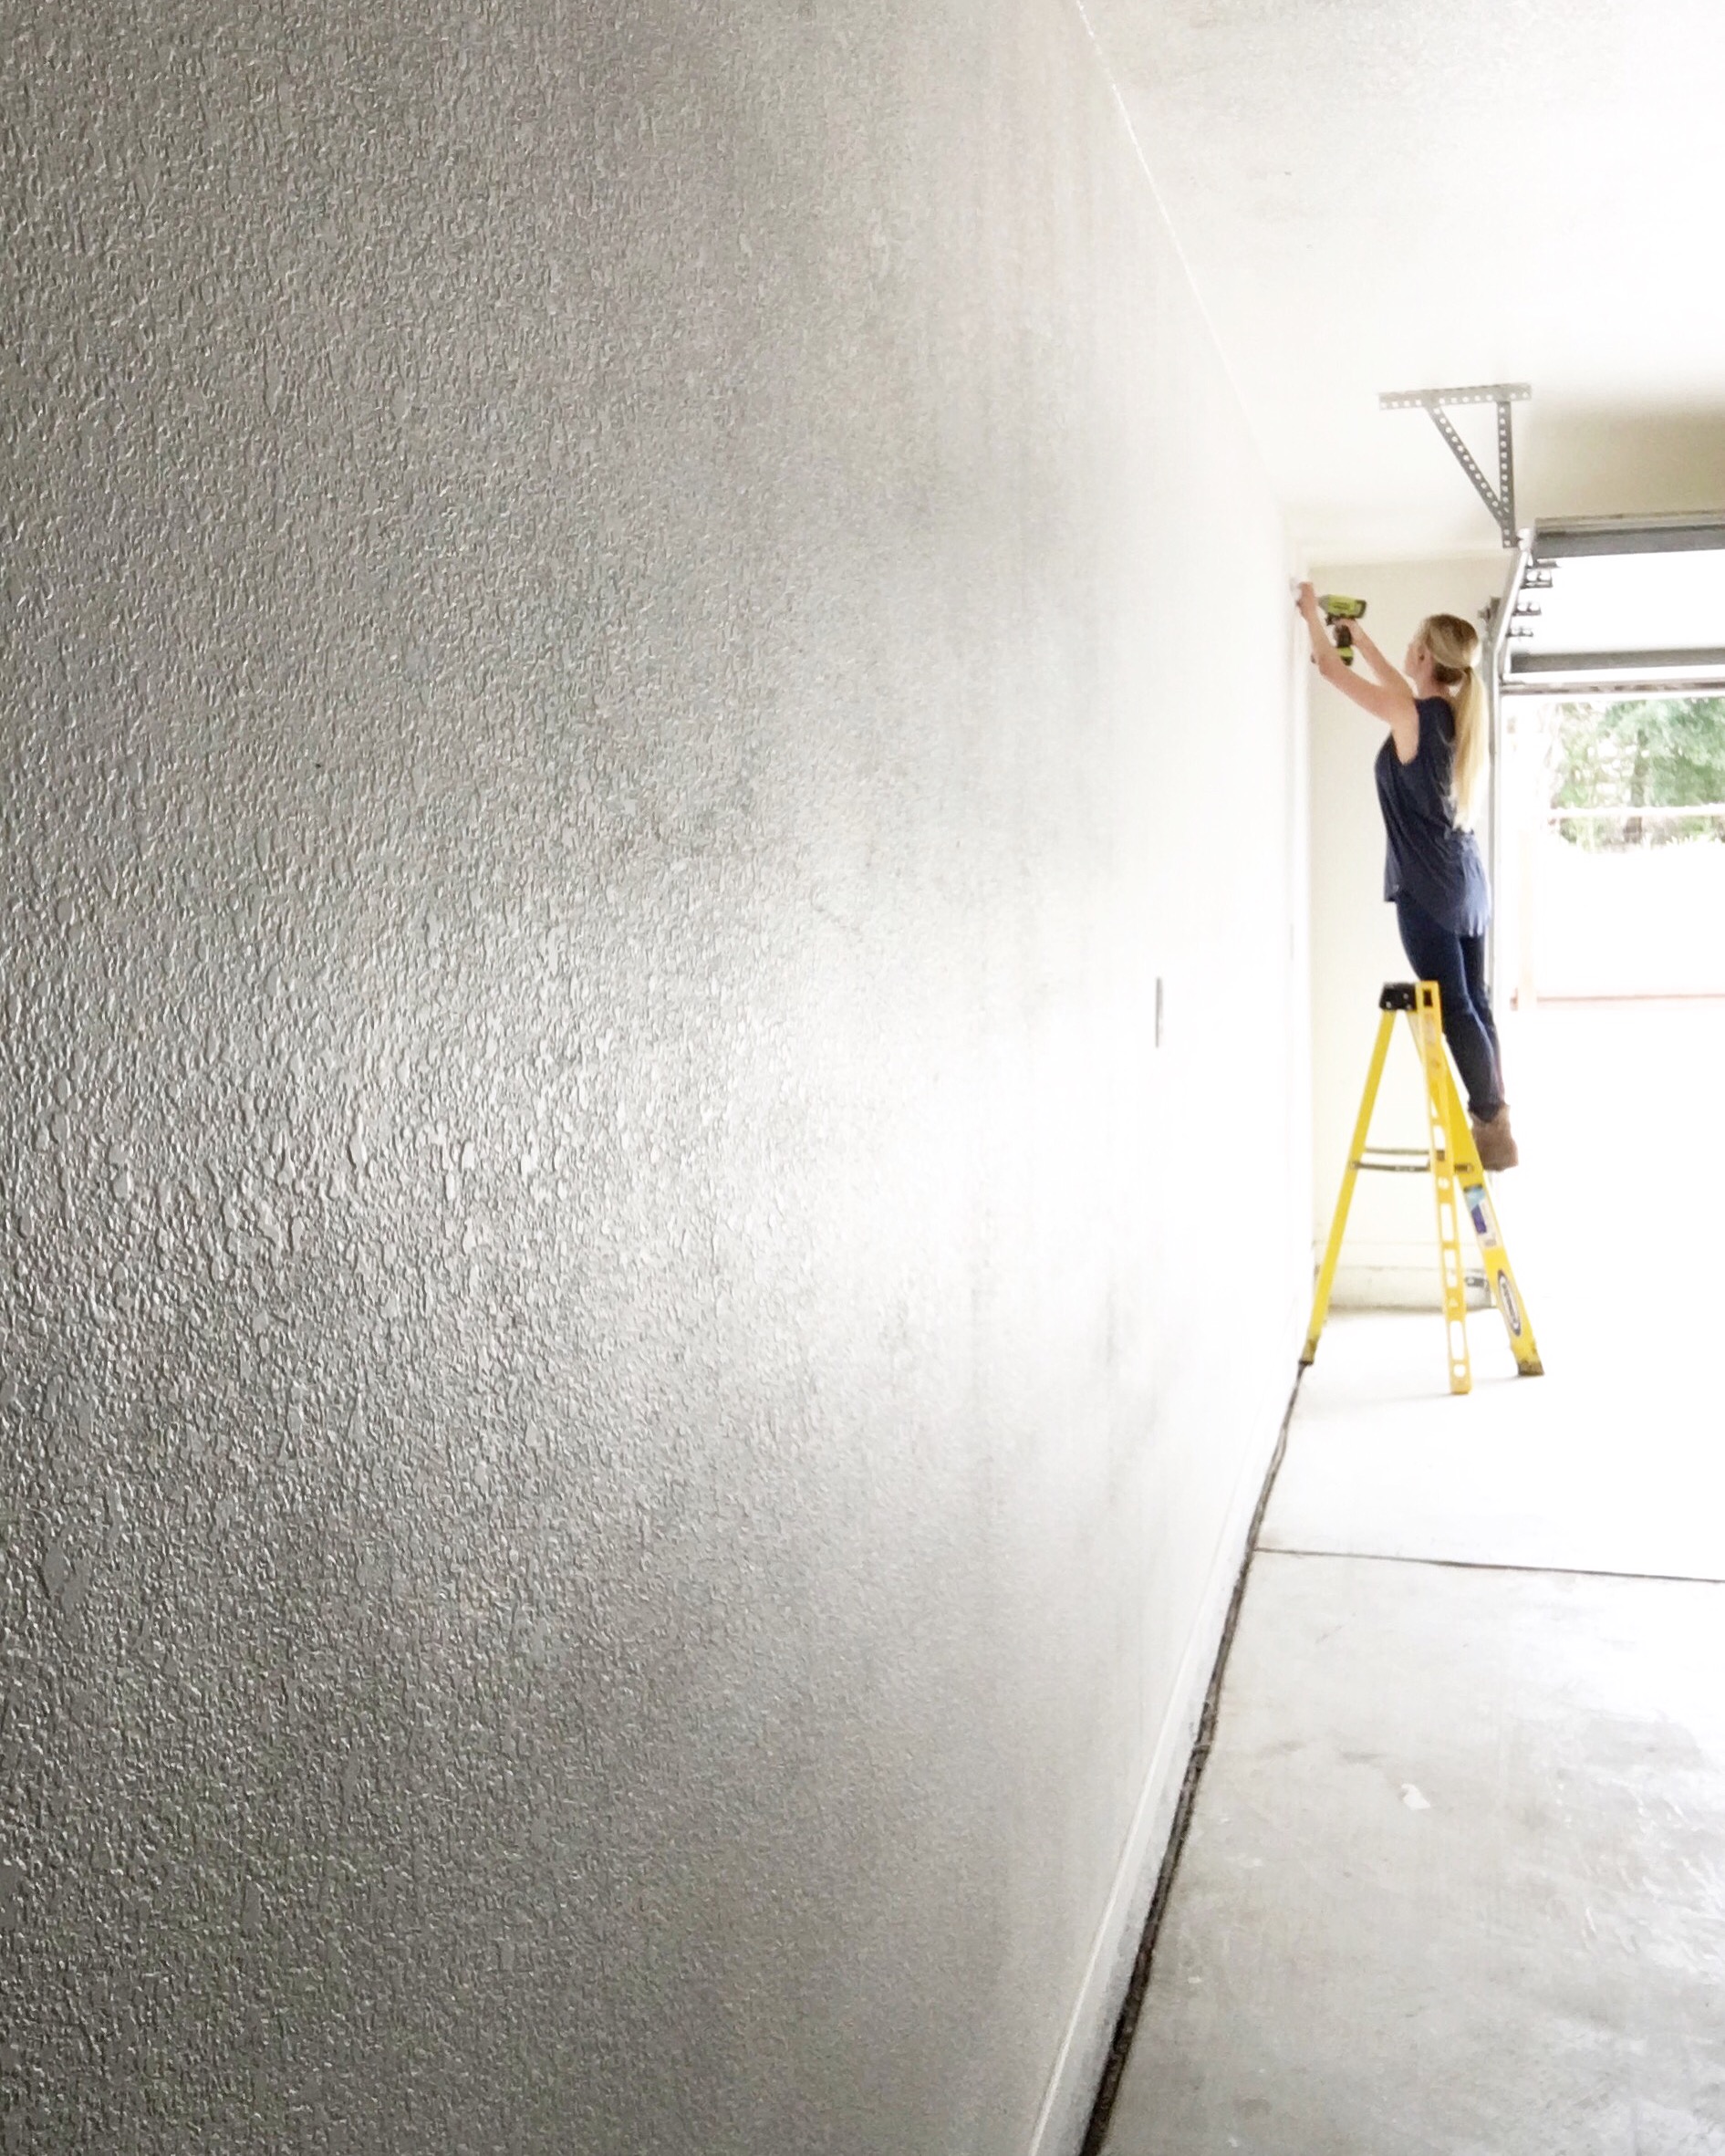
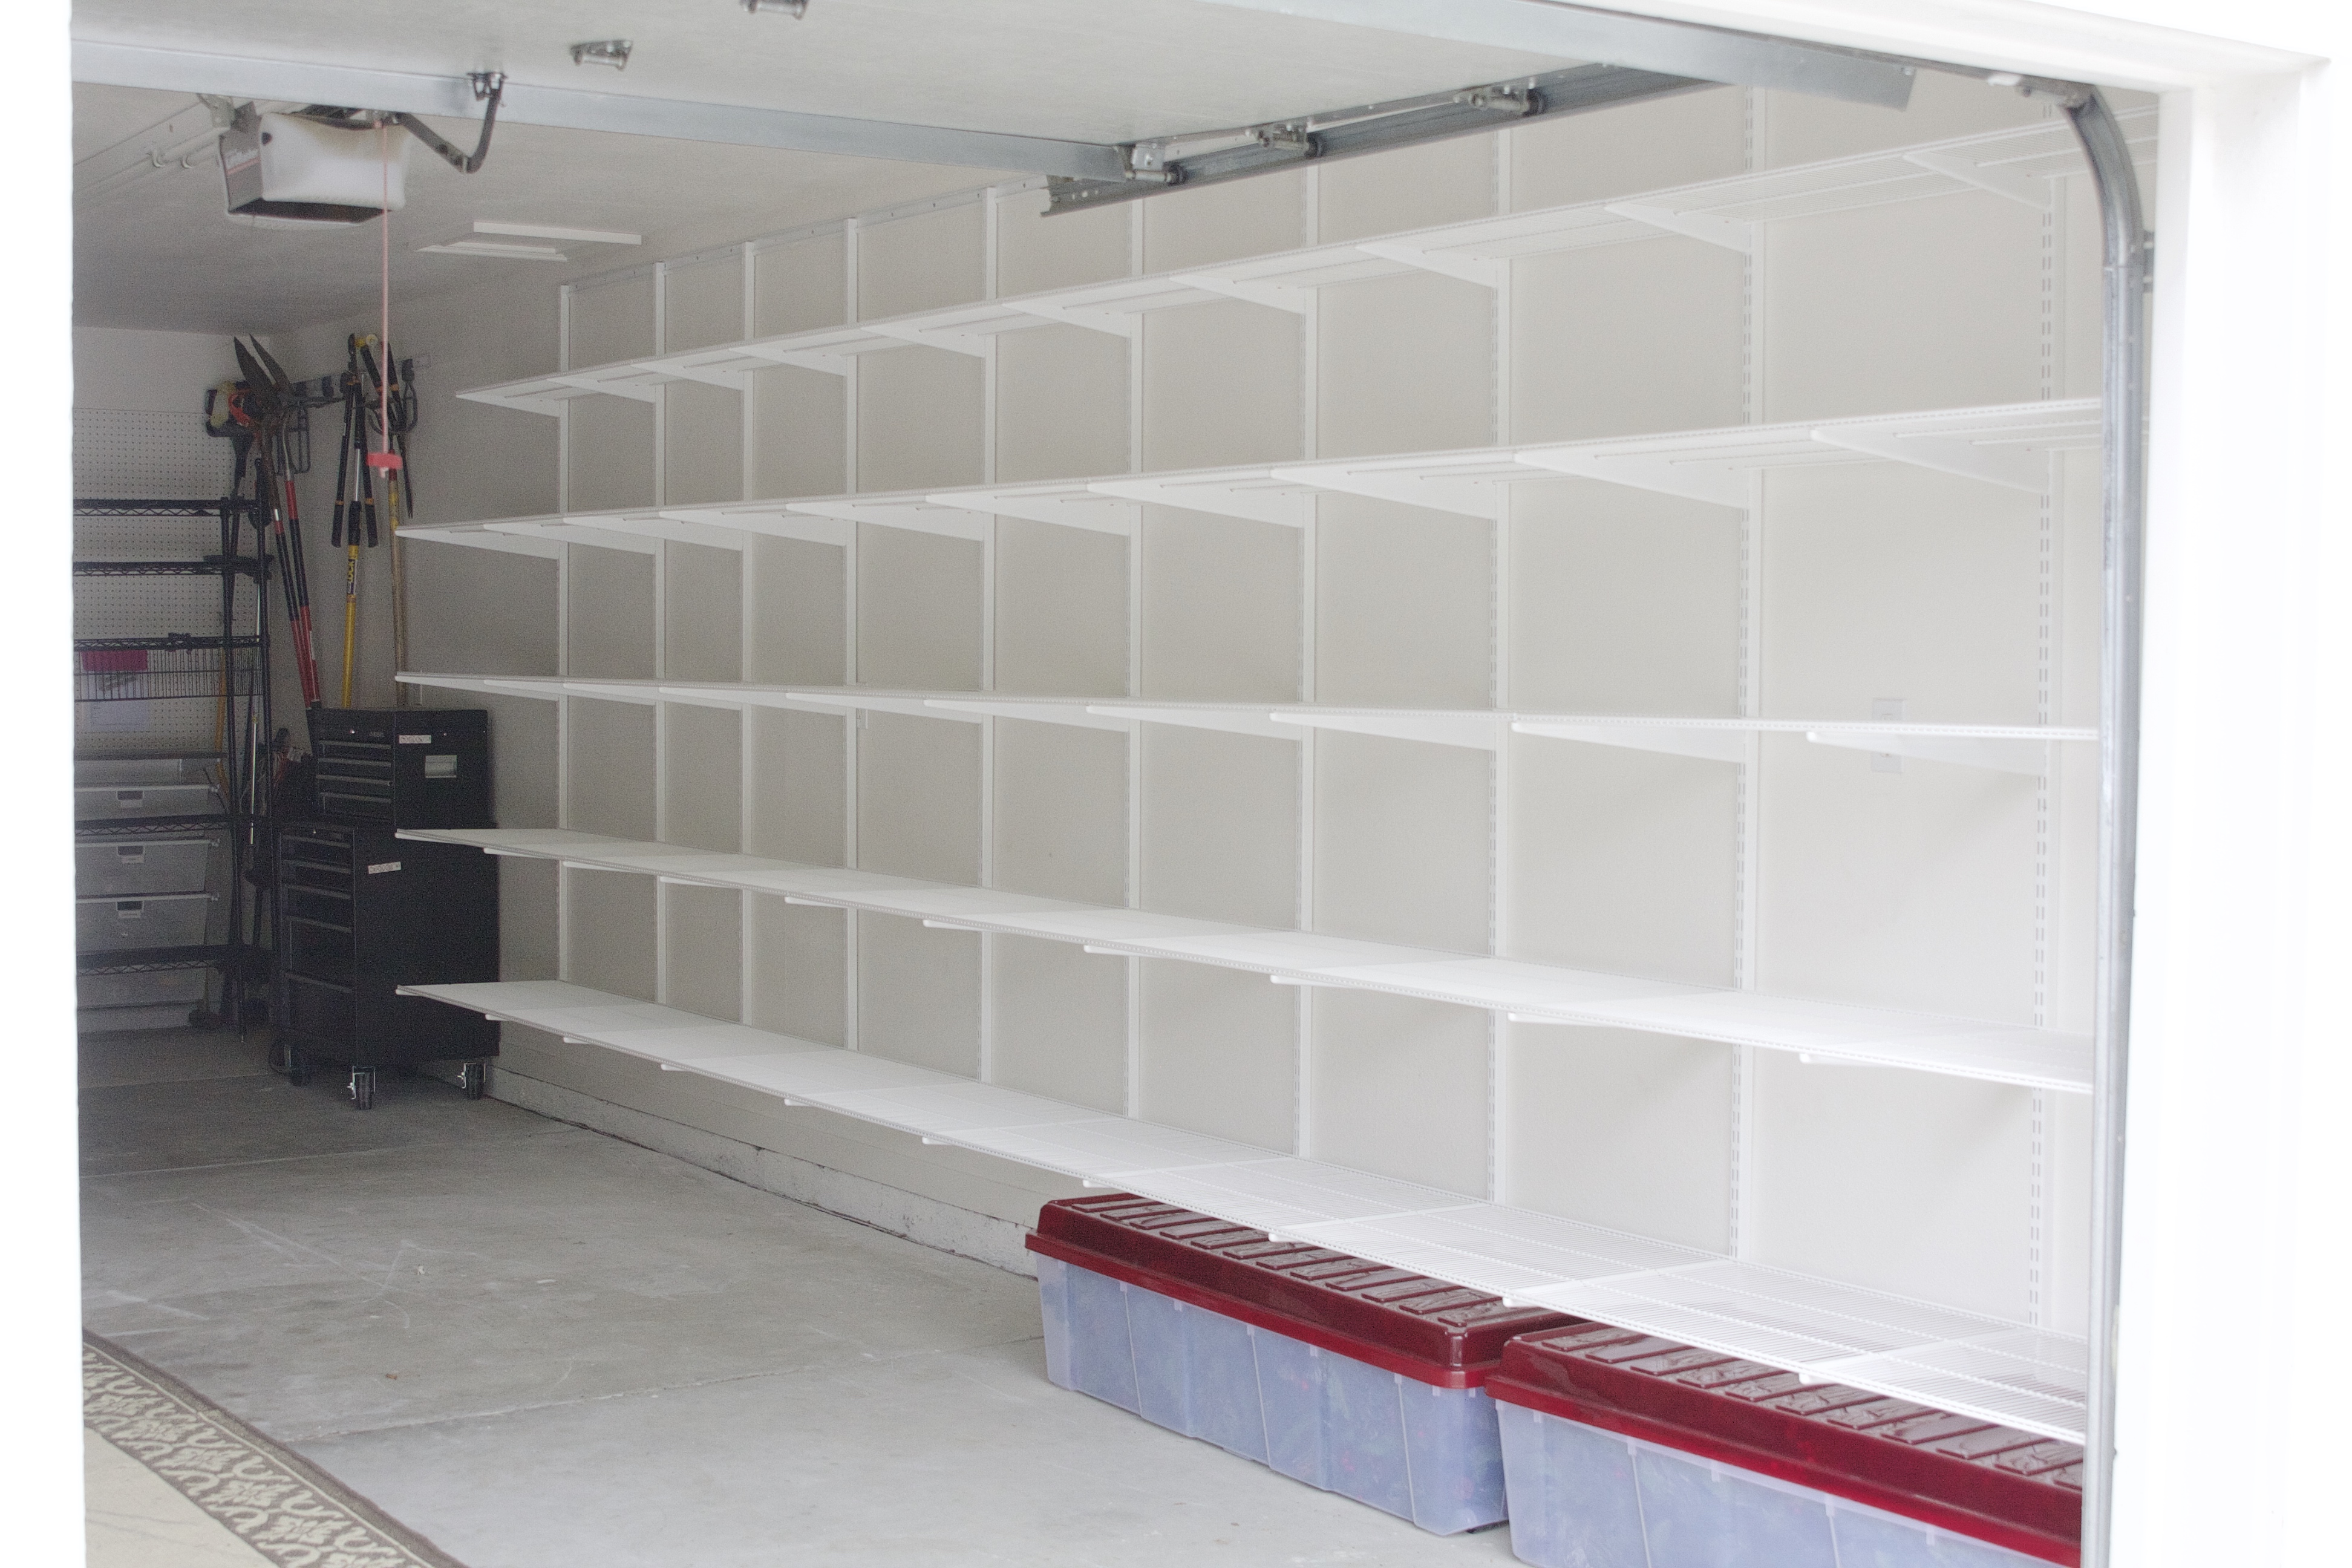
This wall is much longer than 20′, but given the work station set up at the far end and keeping in mind what I was containing in this space, that’s the measurement I went with = yes, 20 feet of shelving. And remember, we’re going to the ceiling so we also had 100″ of height! I’m drooling again, aren’t I?
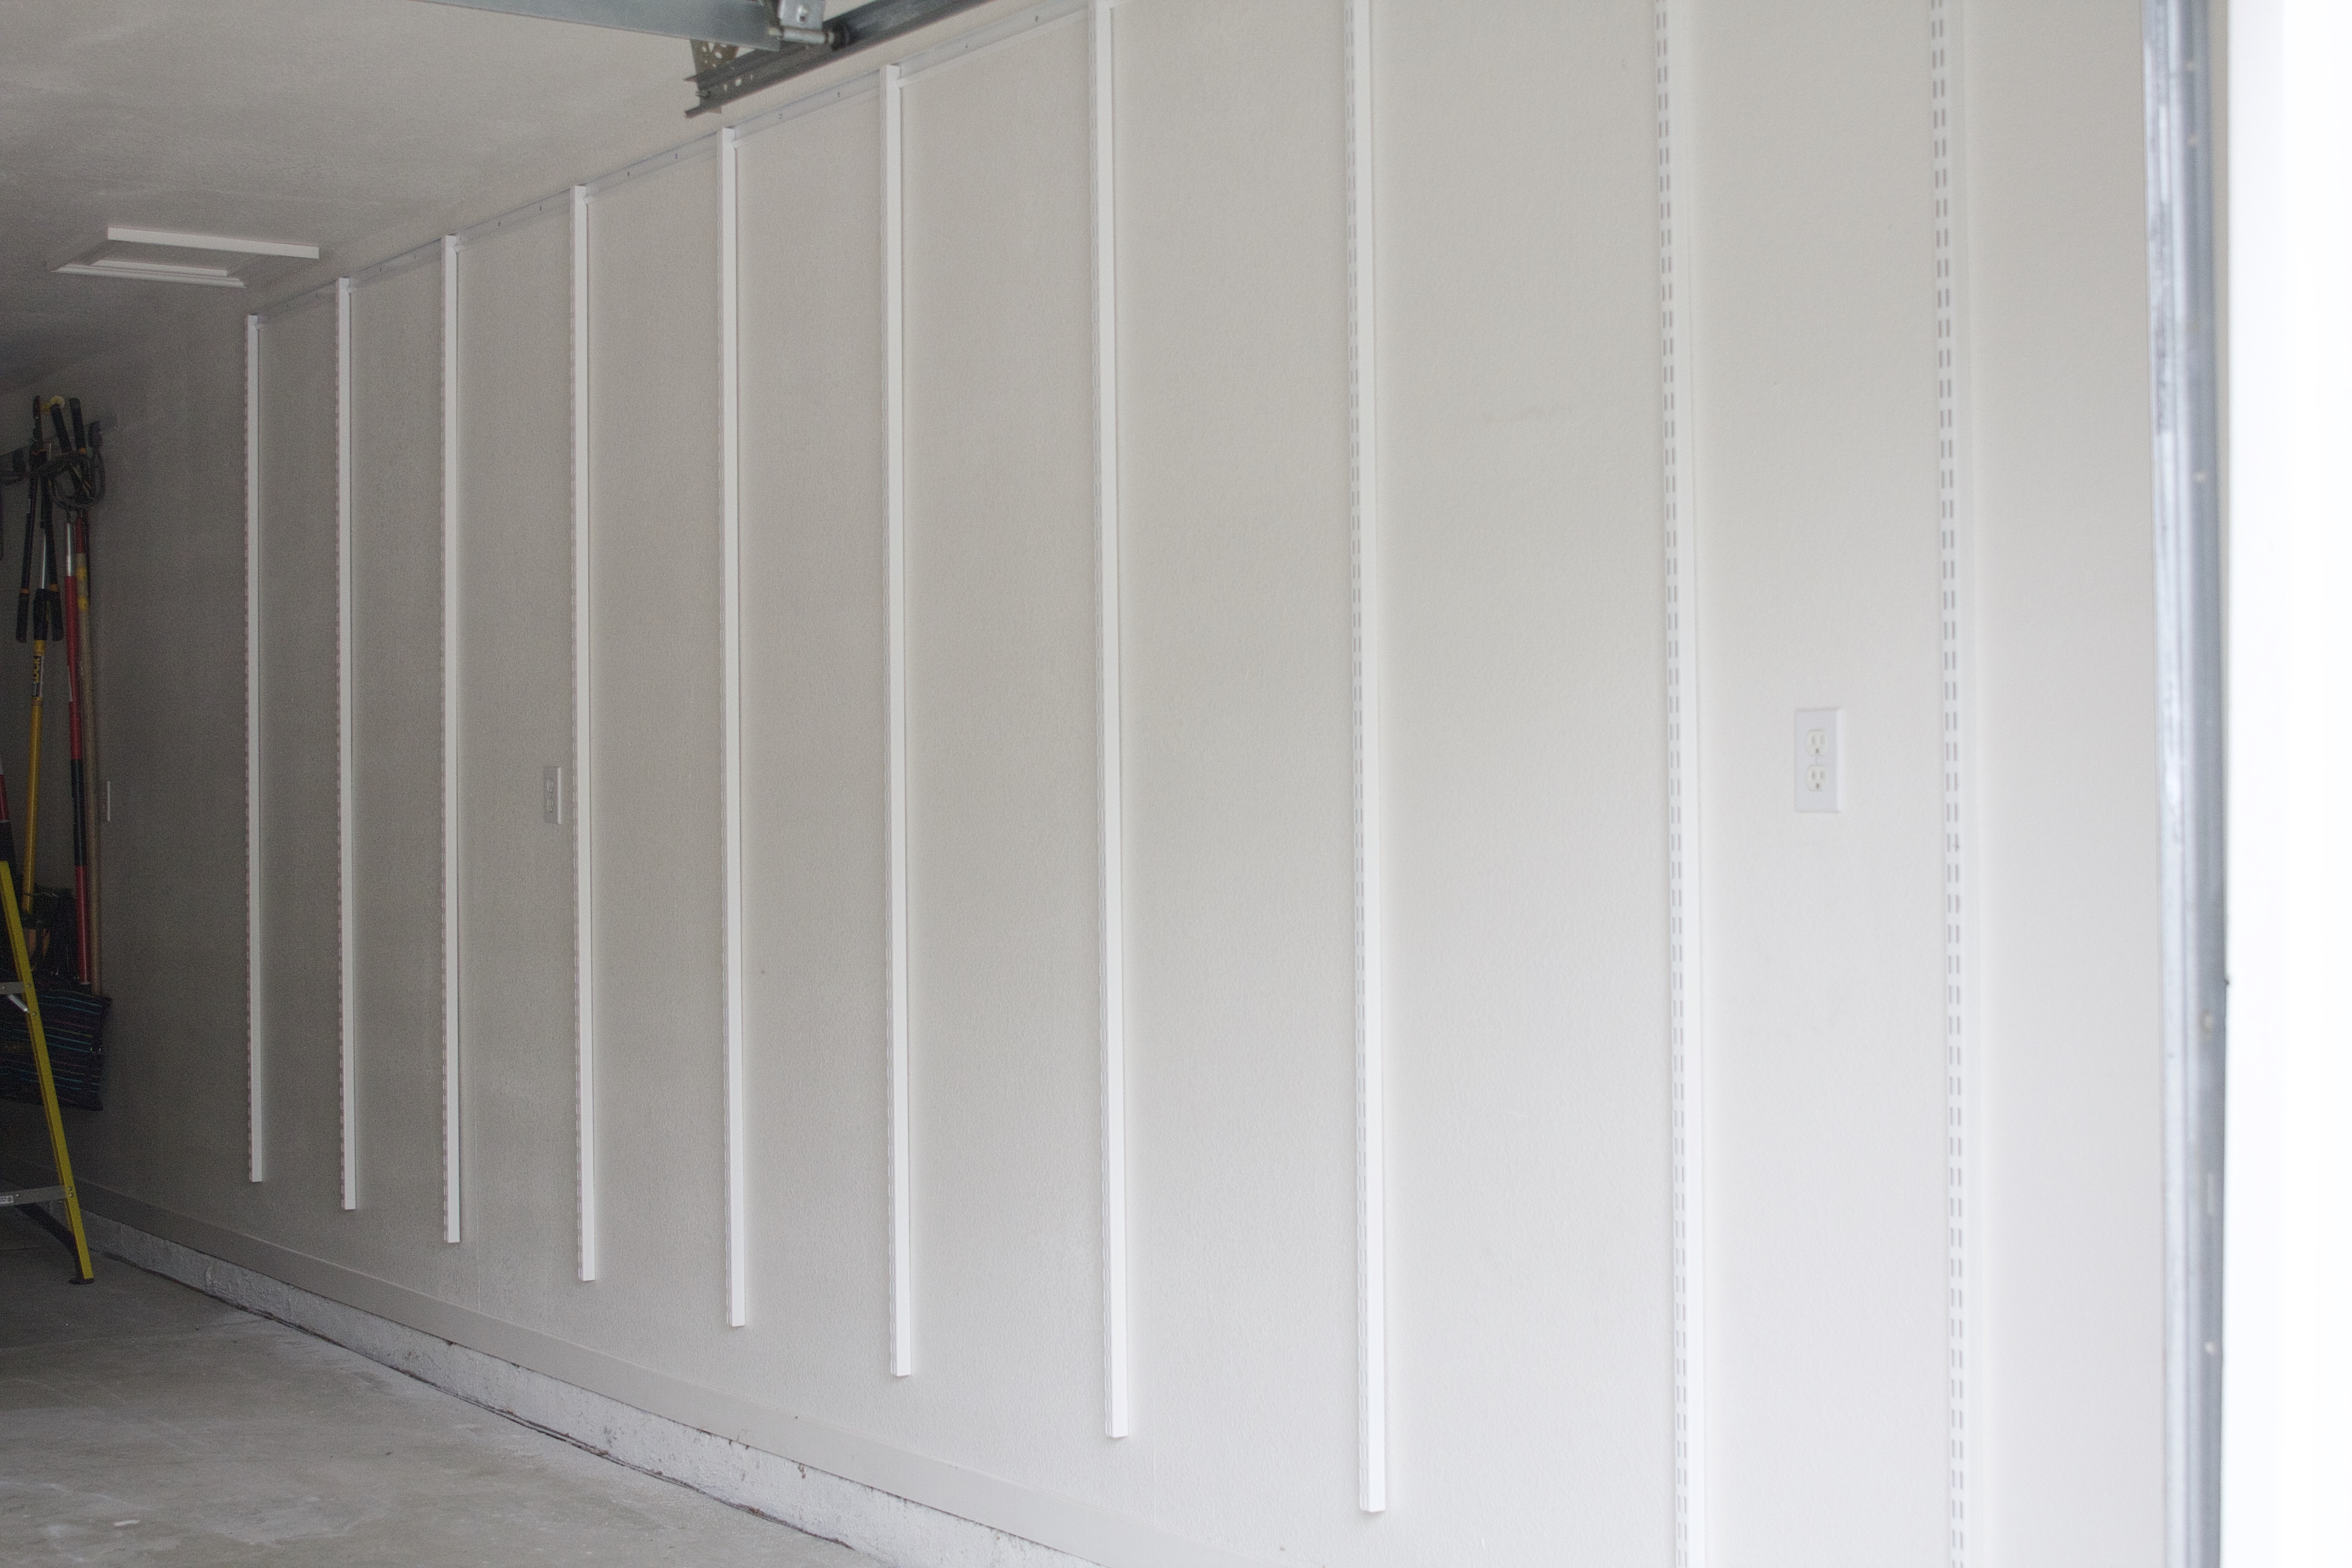
The shelving is Elfa from The Container Store. I went with this because I know it very well and it was 30% off. Previously, I’ve shared tips on installing this system. It’s really very simple! You can see some of those tips here. One day, I’ll make a video for you guys! #oneday


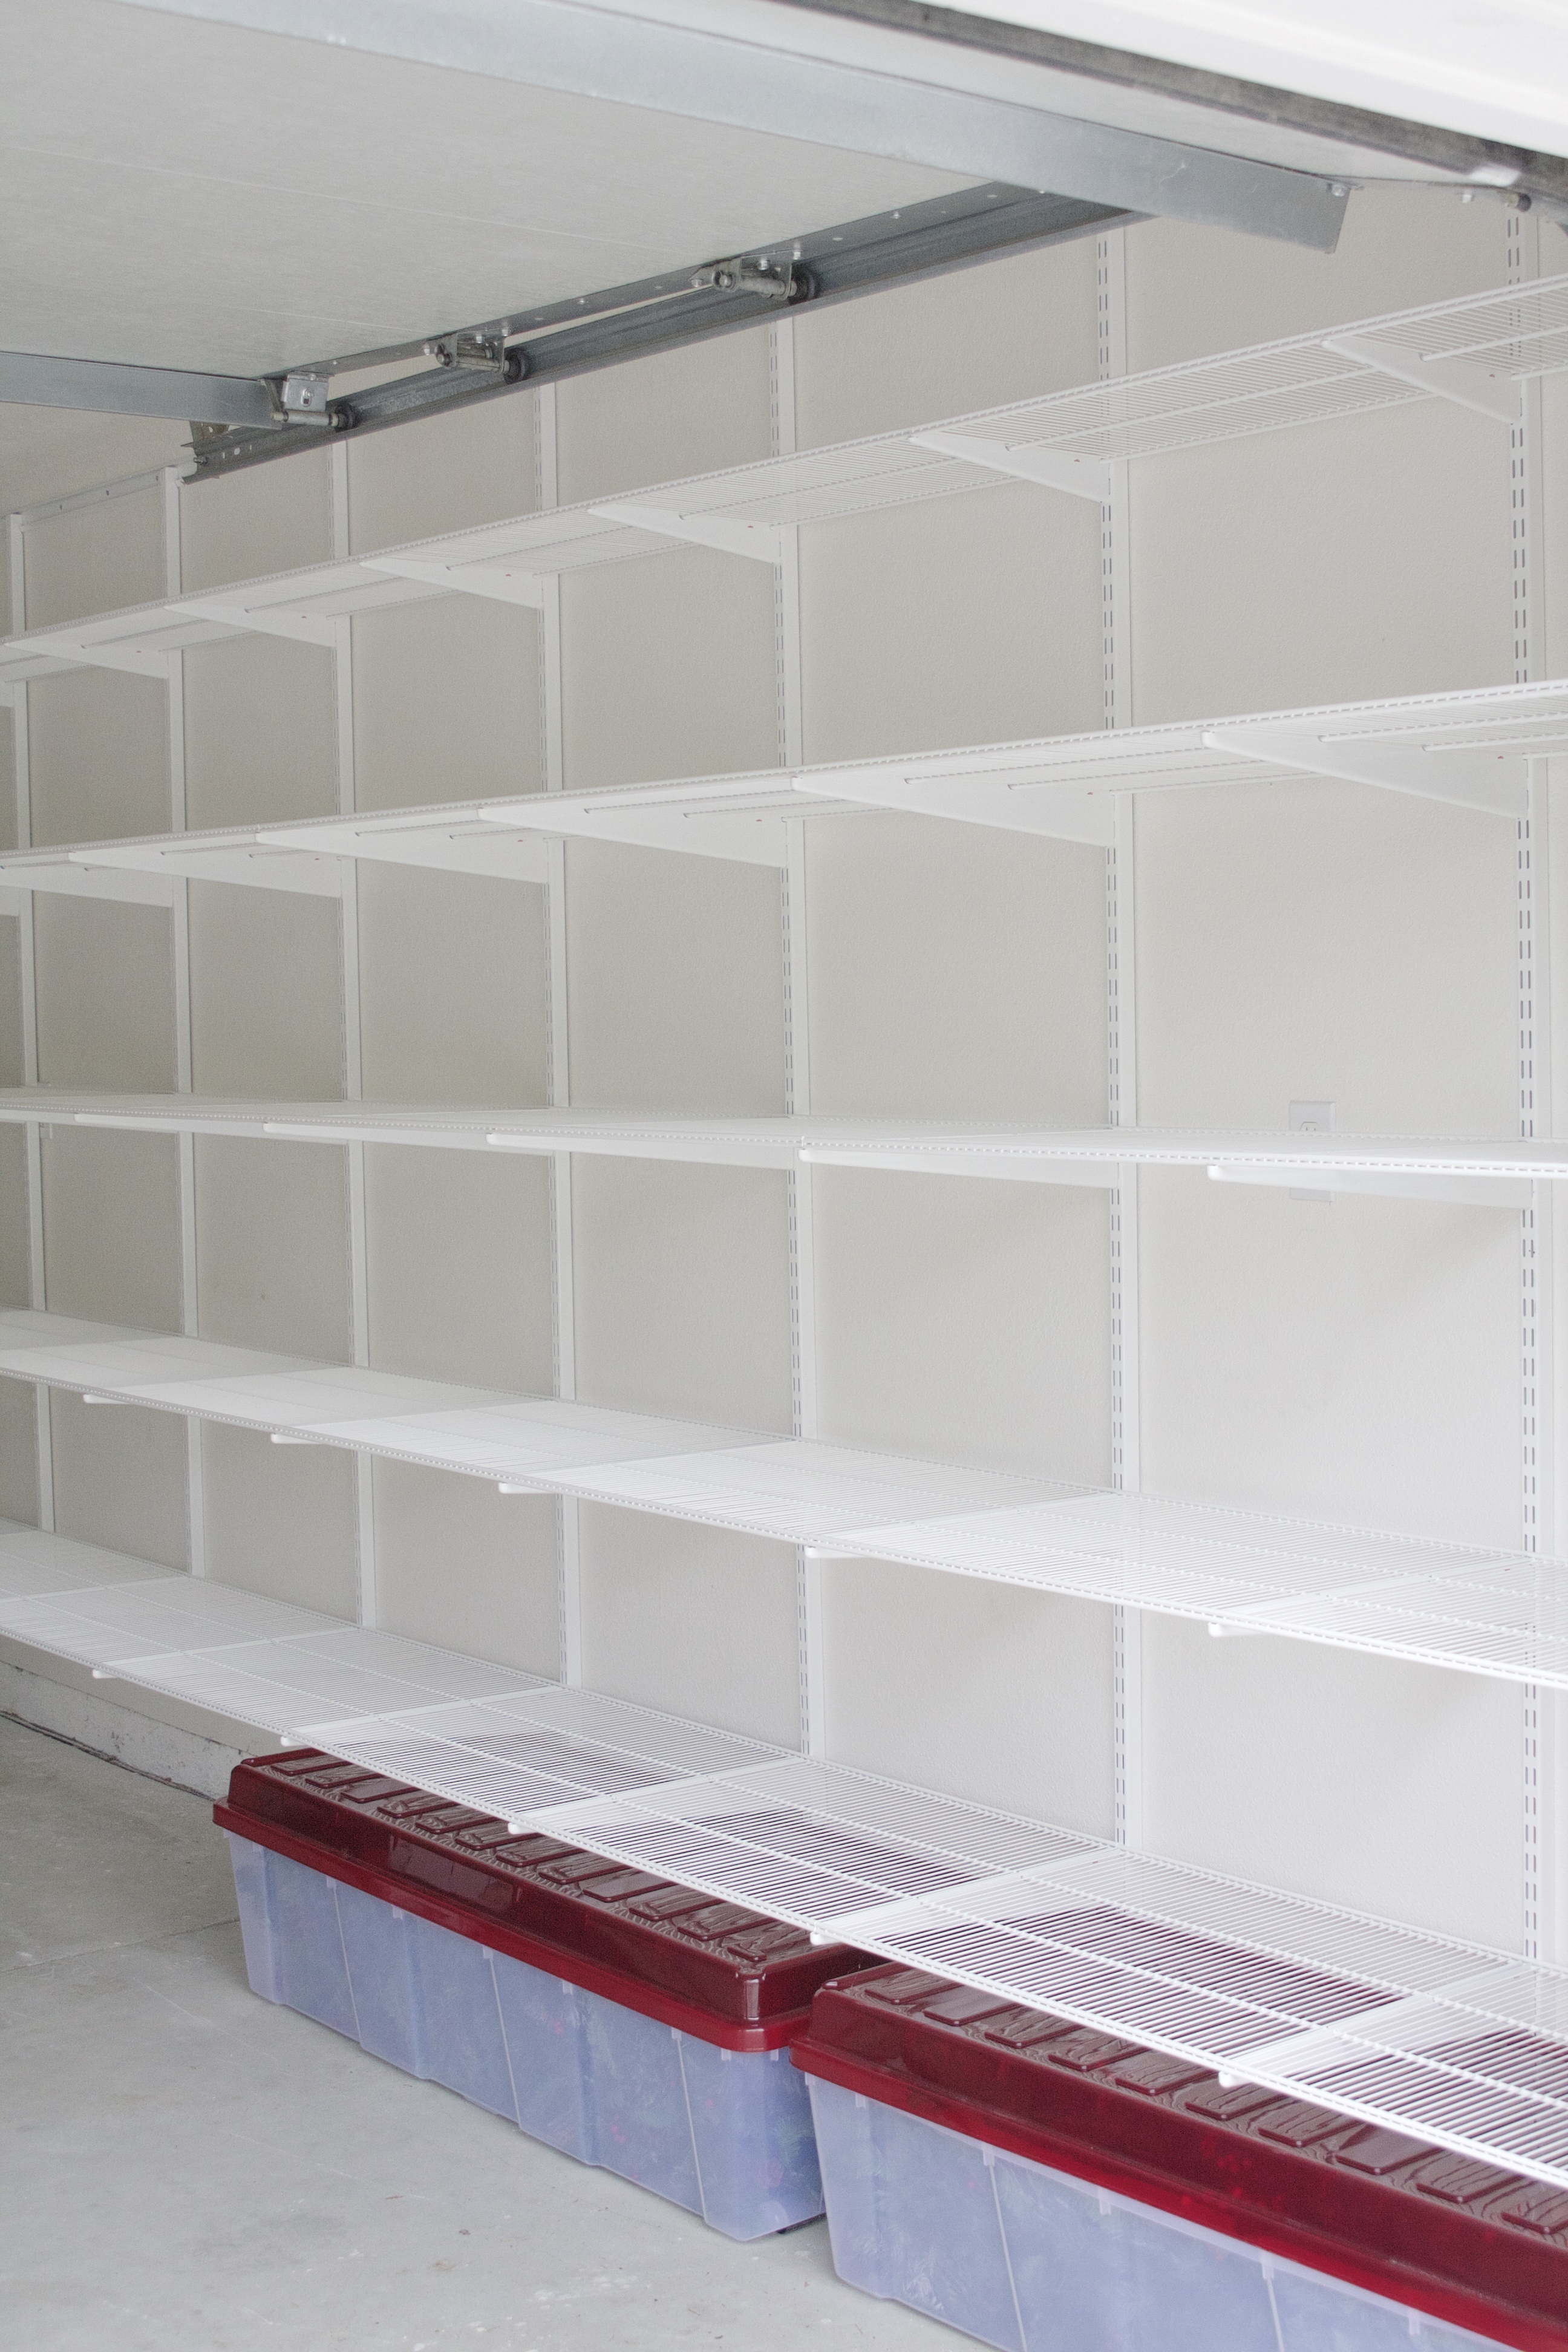
Since we’re using bins, I went with ventilated shelving. It’s the least expensive option – no need for shelf liner.

That’s 5 rows of 20′ shelving…plus the floor space! What an impact! I shared this sneak peek image on Instagram…

But will be back again to share better quality after images and we’ll talk bins!
By the way, this wall doesn’t only contain holiday decor. There’s camping gear, a few sentimental items, winter gear, touch-up paint, work tools, household items that don’t need to live inside the house and more. There are many goals in mind beyond this wall. There’s a wall opposite this one that needs an overhaul too in order to accommodate kid’s sporting items and overflow kitchen stuff – think costco purchases. By adding 20′ of shelving to this side of the garage, many items from the other side were able to relocate. And you can see we have plenty of room to spare here.
Is organizing your garage on the spring cleaning list? It should be! I’ll be back soon with bin chatter – get excited…ha!
The post Simply Done: Custom Wall of Garage Shelving appeared first on simply organized.