
Gorgeous Gold Glittery Mason Jars
Fancy jazzing up your table with a quick and easy centre piece? These gold glittery mason jars are perfect for bringing the WOW factor to any occasion.

This post contains affiliate links. *Not sure what an affiliate link is? – If you click on any of the links in this post and make a purchase I will earn a small percentage of what you have spent, however it will cost you no more than normal! Thanks for your support!*
Way back in January, it was my sister’s 30th birthday and she asked me to organize her party. I decided on a gold theme with splashes of hot pink – here’s a look at the party bags if you missed that post.
Equipment: a selection of glass jars - I used two sizes of mason jar and then a smaller hexagonal jam jar


gold glitter PVA glue
old paint brush low tack masking tape newspaper rubber gloves Time: 1-2 hours plus drying time
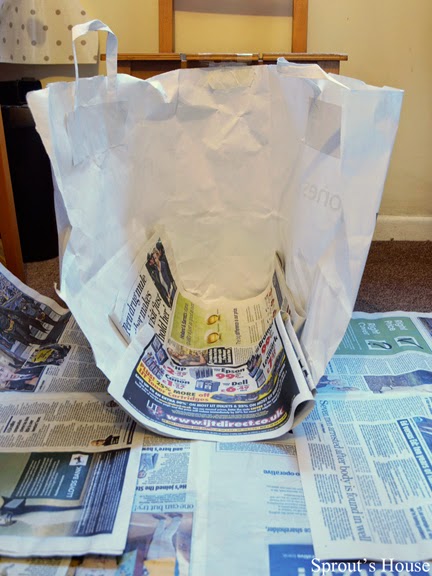
1. Remove all the lids and sticky labels. 2. Wash the jars to remove dust and the sticky residue from the labels. Allow to air dry. 3. Set up the area where you are going to spray by laying out newspaper and covering anything that might get sprayed. I used an old paper bag lined with newspaper to create a little spraying station. (Ideally spray outside or with all your doors and windows open. The spray paint can be pretty potent stuff!!)
old paint brush low tack masking tape newspaper rubber gloves Time: 1-2 hours plus drying time
1. Remove all the lids and sticky labels. 2. Wash the jars to remove dust and the sticky residue from the labels. Allow to air dry. 3. Set up the area where you are going to spray by laying out newspaper and covering anything that might get sprayed. I used an old paper bag lined with newspaper to create a little spraying station. (Ideally spray outside or with all your doors and windows open. The spray paint can be pretty potent stuff!!)

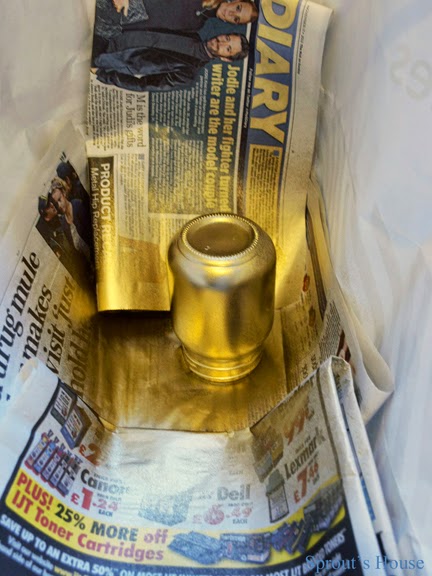
4. Lightly spray the jars. Allow to dry and then spray again until each jar is completely covered. You may have to repeat this cycle a few times.


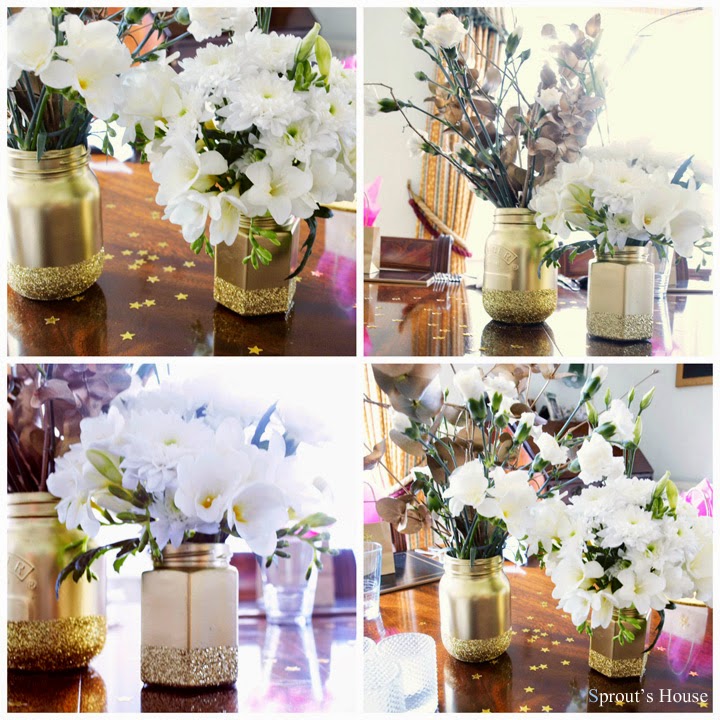
6. Decide how much of the jars your are going to cover in glitter and carefully mark in pencil. I decided to cover the bottom third of each jar with glitter.
6. Using your pencil marks as a guide, wrap masking tape around each jar above the mark.
7. Brush on PVA glue and sprinkle with glitter. I did one side at a time and then moved on to the next jar. Repeat until you have covered each section of the jars.
8. Leave the jars to dry and then carefully remove the masking tape. Touch up if you need to.
9. Add water and flowers to create your centre piece.

If you enjoyed my post, I'd be really grateful if you shared it using the PINK buttons below.
Sprout’s House
xox


Linking up at ~
Sew Can Do
Redoux Interiors
The Pin Junkie
Huckleberry Love
Tumbleweed Contessa
I Should Be Mopping The Floor
It's So Very Cheri

More posts from V de Trense